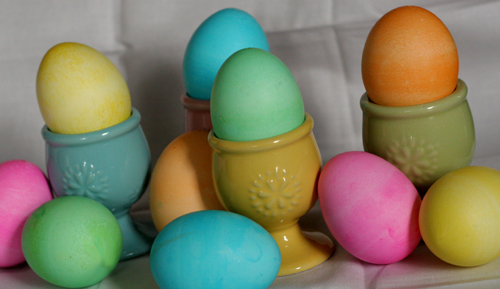
Yes, Easter is upon us and with it our family tradition of dyeing eggs to decorate the house. We generally use blown out eggs.

My mother hangs them in the Forsythia trees in her garden. Eggs are quite hardy. On a recent visit last year’s eggs were still swaying in the breeze. I like to incorporate them into a wreath and hang the wreath on our front door.
This year, I wanted to try something new, so here we go:
Marbleized Eggs
Initially, I wanted to use the float-egg-on-glue-covered-with-paint method to marbleize the eggs. If someone is successful with that project, please let me know. Instead I used two different techniques:
 Method 1: Nail Polish and Water
The pink and white egg was created with nail polish and water.

Fill a bowl with a couple of inches of water and add a few drops of nail polish on the water. The polish will swim on the surface and create a thin film.

String the blown out egg on a wire and carefully skim the egg over the surface. The polish film will cling to the egg and create this marbleized pattern.
 Method 2: Egg Dye, Oil, and Water
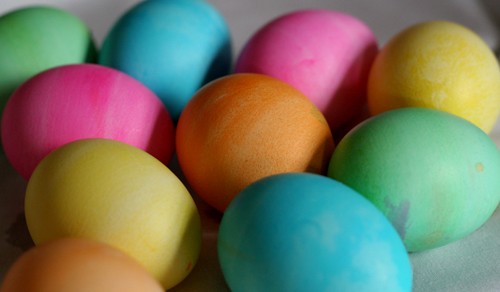
This was easy. The yellow and purple egg acquired its shading with this method. First we dyed our usual batch of eggs with commercial Easter egg dye. This particular egg became a nice shade of yellow. When we were done, I added a tablespoon of vegetable oil to the purple dye and rolled the yellow egg around in that concoction. The oil prevented the dye from clinging to the egg creating a marbled pattern.
Papermache Eggs

For these eggs we used white glue and tissue paper for the yellow chick egg and newspaper for the wanna-be avantgarde egg.

Tear up your paper into specific shapes like my daughter did to create the chick, or just little pieces like I did with the newspaper.

Use your brush to apply a little glue to the egg. Position your paper on the egg and then brush glue on top of the paper. Continue until the egg is covered to your liking.

Once your egg is done, you can rest it on some pins pushed into the egg carton to dry.

How do you like to decorate your eggs?
]]>The mini messenger bag-

A taco holder, to keep your lap clean-

A trough for snacks-

The Easter bonnet- (yes, Candace you can borrow it Sunday, alright!)

The toddler arm sling-

What do you think? Have I cornered a new market with any of these?
Better luck next year!
They’re super easy, but b/c they take a bit of lung work and a gentle grasp, an adult should do the hollowing, leaving the decorating to the kiddies.
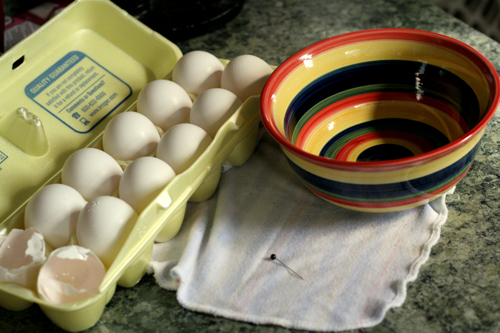
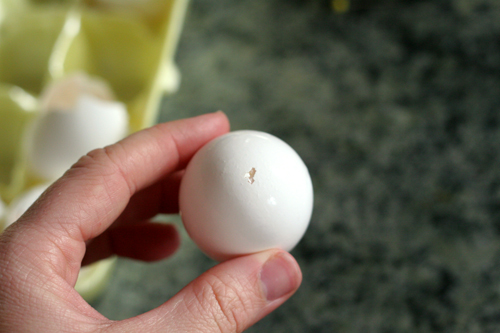
You’ll want to gently cleanse the eggs first. Then you’ll take a pin and puncture the top and the bottom of the egg.
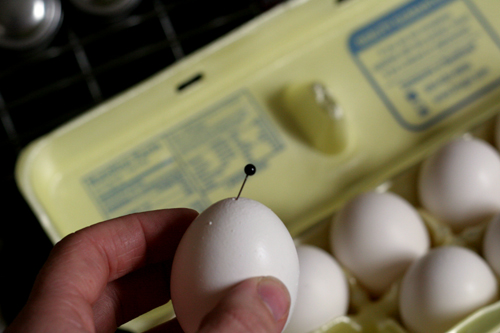
You’ll want to make sure the hole is large enough for air to go into the egg, and for the contents to empty. What I do, is make three pinholes close to each other and then connect them, making a larger hole.
Then you’ll clean off the top of the egg that will touch your mouth. Hold the egg gently in your hands and blow through the hole, blowing the contents into a bowl (sorry, no picture for that, trust me, it’s quite disturbing). To make it easier, take the pin and insert it in the bottom of the egg, moving it around to break up the yolk. If you find you’re having a hard time, try and enlarge the hole some more, or shake the yolk around after you’ve broke it up. Once the egg is empty, run under cold water, and blow any excess water out. Let egg dry on a paper towel and decorate as desired, but be careful with the hollowed eggs – they are extremely fragile.