
This year has become my ‘Year of the Bag.’ In the past, I’ve usually bought a bag a year or maybe every other year. Then Kristin La Flamme’s bag pattern
caught my eye and since then my household has been inundated with bags, purses, and pouches.

Currently, my favorite pattern is the basket bag designed by Lisa Lam on her blog U-Handblog.

It is the perfect size, amenable to countless variations and a great gift. I make mine out of felted sweaters, but you can obviously use any kind of sewable fabric. If you are thinking of pledging handmade gifting this year, this would make a fabulous present.

The mini messenger bag-
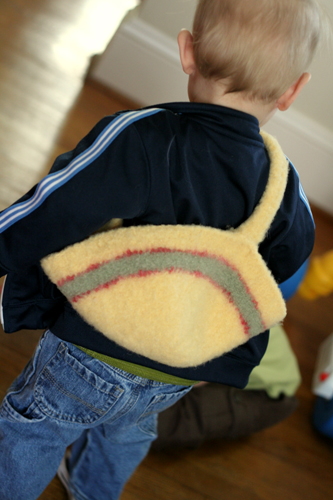
A taco holder, to keep your lap clean-
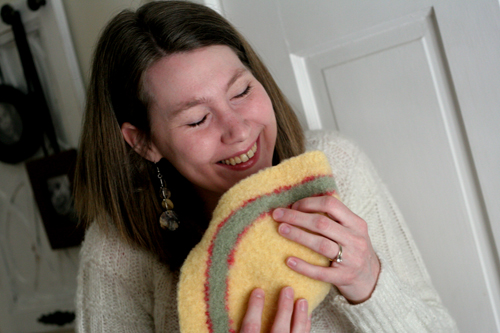
A trough for snacks-
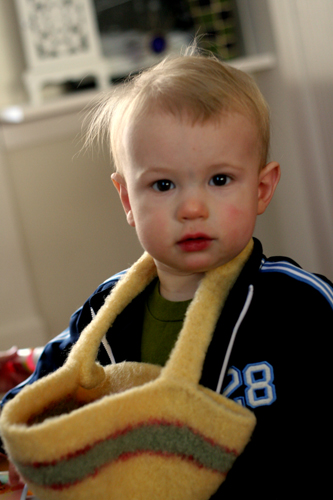
The Easter bonnet- (yes, Candace you can borrow it Sunday, alright!)
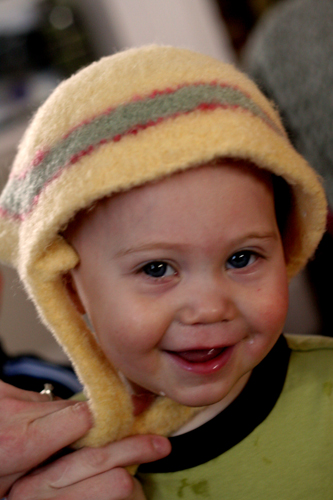
The toddler arm sling-
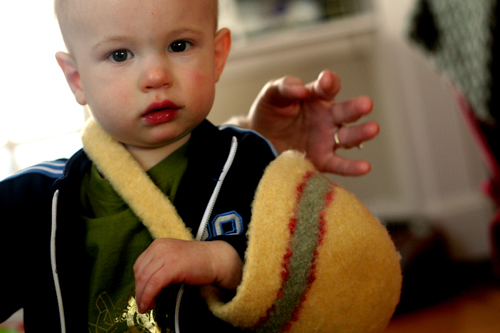
What do you think? Have I cornered a new market with any of these?
Better luck next year!

I knitted the main color and contrasting color yarn with random stripes. Then I used a big, plastic needle and a double strand of the contrasting color and weaved in and out about every 4 rows vertically. Since I used a new piece of yarn for each vertical stripe I did not tie knots but just ran it through the brown to secure the stripe. I just cut off all the ends after the bag was felted. This was rather time consuming.

One good thing that I also learned about felted wool is that you can cut off your mistakes! I knitted a flap and sewed a washer (like goes on a bolt, ladies) but somehow sewed up the bottom of my bag crooked resulting in a flap that was not centered. Luckily, I cut the entire flap off and you can’t even tell! This is the wonder craft for me!

I think it turned out to be a cute bag but am wondering if the vertical plaid stripes would have popped out more if I had chosen a more contrasting color. I think I will try bright, solid colors for the stripes next time instead of a veriegated yarn too close in color. If any of you have done this I would love to see your successes!
]]>Lesson 1: When knitting a hat, use a pattern or your hat will turn out like this.

“oh no it’s too big, I don’t think it will work. Maybe if I felt it…” she thinks to herself
Lesson 2: never felt wool knitted with acrylic yarn or you’ll get this.

Yes, the knitted pizza. It is flat as a pancake.
Lesson 3: use a freekin’ pattern, Joy!
PS. I’d like to also say, thank you all for your kind comments on our work. You make this fun blog worth while! We love you!!
]]>
My fingers have been busy lately! I have become really addicted to felting, which is knitting with wool yarn and washing it to shrink it about 1/3 of its original size. I have posted several times before about the magical mytery of felting and wanted to show off the WIP from a few weeks ago that is finally finished! I can’t stop lately. As soon as I finish one I cast on another. Right now I am working on a gray bag with a pink, puple, ivory, and gray swirly border.


I have an orange bag just like the green one that I often carry and have been encouraged by friends to try and make them to sell so I am excited to try it out. (Anyone interested?)
I am so happy with how they have turned out, which I can’t always say about my work. Felting is magical!
]]>This pattern is loosely written because you can adjust to make it any size you want. One of the reasons I like felting and making up my own pattern, is that I love throwing it into the washing machine and waiting expectantly for the buzzer to sound! So knit this pattern as long and wide as you like, fold it over and picture what it will look like, keeping in mind that it may lose about 1/3 of its original size.
So here’s what I did: Cast On 40 stitches, double stranded, size 11 needles (straight or circular, but do not knit in the round). You will need wool, feltable yarn.
1. Stockinette stitch (knit row, purl row, repeat) about 88 rows, fold from the bottom up to decide what size you want the body of the bag to be.

2. When you get the body the size that you desire, tie a piece of scrap yarn in the end of your row to mark your place, and knit, purl a few more rows. This will allow more room to cover your contents when you fold the flap over.
3. To begin the triangular flap, start on a knit row, knit two onto the second needle and then bind off the first stitch as if you are finishing your knitting. Knit the rest of the row and bind off last stitch.
Purl the next row, without any decreasing. Repeat directions until the flap is as narrow as you desire. (I stopped when there was only 4 left.)

4. With a large needle, sew up the sides of the bag and tuck in any ends. Fold as if you are making your own envelope.

5. Knit an I-Cord for the strap. Using same size double pointed needles, knit 3, slide stitches to end and knit 3 until desired length. Do not turn over your knitting. I love this simple method and the results. Keep in mind when you throw the cord over you shoulder to preview how it will look, that the strap will be quite shorter after you felt it. Sew strap inside the bag along your side seams and tuck in ends.
6. Felting, finally! Wash in hot water with another sturdy item (I use jeans). Bite your nails and wait anxiously…then take out and lay flat to dry. If you are not happy with the size, you may repeat. My final product was 12″ wide, 6″ deep (with flap folded) so I thought it was a perfect small bag. You may also want to clip off the fuzz with scissors.
This only took a little more than a 3 1/2 oz. skein and a weekend (and I have a busy one year old!) Hope you are happy with your results!

*You could also make this bag with a straight flap instead of triangular. It would look just like knitting a wide scarf and sewing up the sides. Too easy!! Any other ideas on how to modify this? Also, I haven’t decided yet if I should add a button loop and button at the end of the flap to finish it off. Any suggestions?
]]>