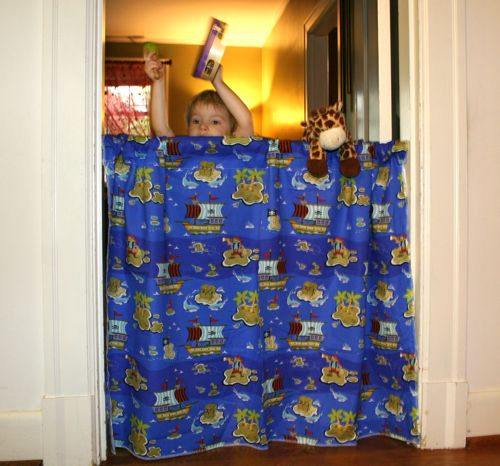
With a $4 tension rod and 1 yard of fabric we have already had hours of fun around our house playing with puppets and stuffed animals, having musical concerts, and using as a special door into my son’s room with a “doorbell” you have to ring.
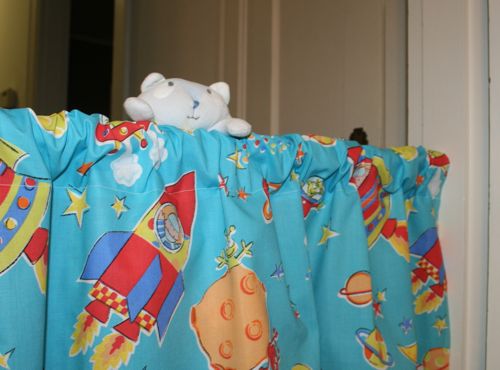
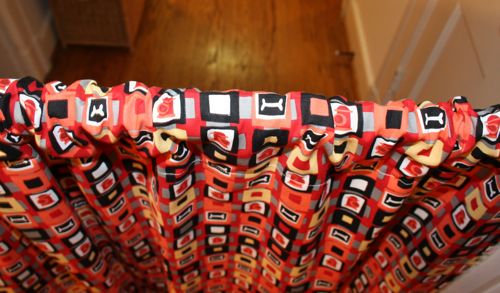
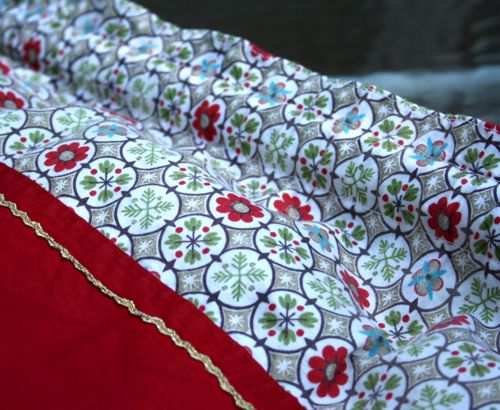
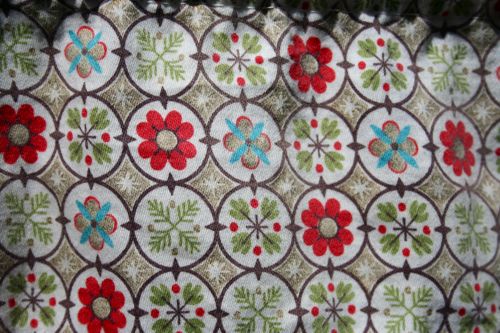
Two of the sides of fabric didn’t even need hemming because they were the finished edge off the bolt and the other 2 ends I serged and turned over and hemmed across to make a casing for the rod. I have specialized curtains too by “monogramming” with a large felt letter sewn on and sequin ribbon stripe near the top, to make it more girly. There is so much you could do to personalize this to your child’s taste, like the different fabrics shown that I have used. And with it less that 3 feet tall it is perfect for a toddler to stand behind or an adult to sit behind.
I love a 10 minute project that can really spark his imagination and turn our ordinary hallway into a fun place!
]]>So I am asking for HELP in any of these ways!
1) You have some of this fabric in a bag from grandma and you would like to send it to me (or sell it to me)!
2) You have seen it for sale somewhere and how to contact the shop.
3) You know of any website that will help you find the pattern/number/code to identify old fabric so you can look it up to buy. I have tried to look for any such sight or discussion board but they are mostly about identifying the type of fabric (ie. wool, wool blend…)
I know this may be a long-shop but any suggestions or leads would be great! Thanks!
]]>There are no measurements for the fabric because you will want to use up what strips or scraps that you have and make size bag you desire. You will need: measuring tape, pins, fabric, wide grosgrain ribbon, iron, & sewing machine/serger.
1. Lay out the fabric strips that you want to use. Fold it to picture what the bag will look like finished. My seam will be on a side, though it could be at the bottom, depending on your pieces. You can see one piece in taller than the other.
2. Cut ribbon the same width as fabric. Measure and cut 2 ribbon handles, either short handbag length or longer to fit over the shoulder. (Cut 1-2″ longer than you want the finished handles to turn out.) I cut red handles here but decided to do white as you can see in my finished product.
3. Lay right sides of fabric together and sandwich in the ribbon. Match up the 3 layers at the top edge, pin together, and sew across this top edge.
4. Turn fabric right side up to inspect that the 3 layers are all included in seam. Pretty already!!
5. On wrong side, press seam to one side and iron fabrics flat. Do not iron over right side of ribbon. Trust me!
6. Turn top edge down twice about 1/2″ each time and press. This will be the casing your handles will slip under.
7. Do not sew over the edge you just pressed. We will do that last. Next, sew down the other sides of the bag. You can see the pins pointed to where I am going to sew. (I am using a serger to make that enclosed edge but a regular machine seam is the same.)
8. The handles: I like to point the open, top edge toward myself. Take a ribbon handle (or whatever you want to use for a handle, fabric will work too), measure in from the edge where you want the handles placed and slip the handle in.
9. Fold the handle then toward yourself and pin. Curve the handle over and pin it the same distance from the opposite side. Flip bag over to back and repeat with second handle.
*Note: There are many ways to make and attach handles, this is just the way that I made up that I like.
10. Last step – Choose a stitch and sew across the top edge that you pressed. I like to use a wide, tight, zigzag stitch. Turn inside out and you are done.
Suggestions: Use different fabric stripes; quilt pieces together; sew several stripes of ribbon; square the bottom of the bag.
If you follow these directions and want to share what you come up with, email your picture to us by June 1 and we will post them to spread the ideas. Send name and pic to craftydaisies@gmail.com. Thanks!
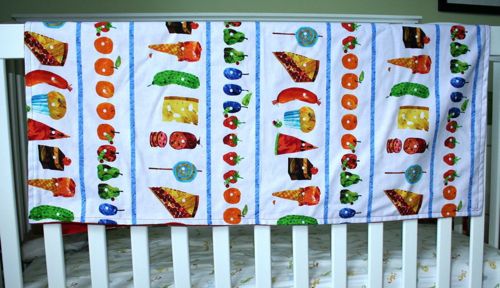
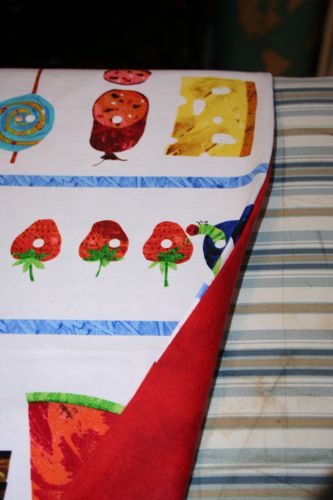
]]>Now that I have done this once, I think I can seriously do it in half an hour (and you can too!) For the front I used 1 yard of nice cotton fabric- I love this series of prints from “The Hungry Caterpillar” books. The backing is 1 yard of lightweight cozy quilting fleece, a marbled red.
1) Line up fabrics wrong sides together and sew around 3 sides. I used a serger on all 3 sides but you could use a regular sewing machine too.
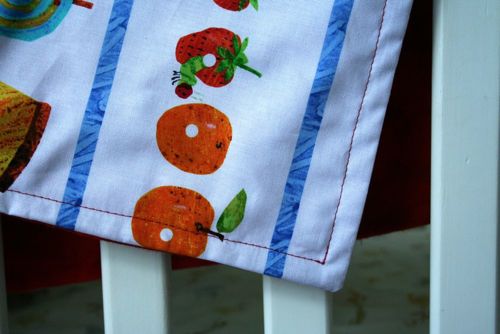
2) Turn fabric so it is right-side out and press neatly around all 3 sewn sides. Fold 4th side under and sew across the edge, starting and stopping just short of each corner.
3) Lastly, starting with the 4th edge just sewn, sew on top of the fabric around right-side edge, turning just short of each corner. This will hold the 2 pieces together. I could have also sewn across the blue stripes for added accent since this fabric is patterned this way (but before sewing around right-side edge). You could also sew a pattern on top, or around the characters on the fabric.
Very quick, easy and inexpensive! Great for summer traveling, picnics, for a crib or pack n’ play!
]]>
I picked up these for cheap at my favorite antique store to stack in my craft room. I am alway needing more bins to put my fabric and supplies in and know these will travel! My favorite part is the inside because you don’t expect this bright apple green lining.
I filled the smallest suitcase with my wool yarn. The second with scraps and smaller pieces of fabric. And the largest with fabric I know I have at least 1 yard. This helps to keep me organized and to know where to go when I am looking for a new idea, and easy to travel to another room to work. Plus I like buying something that is multi-purposed; if I get tired of them in my craft room I could always use them for luggage!
]]>I love this fabric and went back to buy it numerous times until one day it was gone forever. I had a request for another bag out of it and only had 2 long, skinny strips left. I don’t like to sew a seam across the middle of a bag so I used extra wide grosgrain ribbon to hide where I sewed the 2 strips together. With fabrics wrong side, I lined up my 2 strips and inserted the ribbon in to sew between. I used this kind of ribbon for the handle too and like the layered look that the ribbon gave to the body of the bag. You could try this obviously with skinnier ribbon or with multiple rows if you have several strips you want to use up. I am excited to revisit some scraps I had doomed to the attic!
Magically this lined up almost perfectly, which I didn’t notice until I took the pictures!
]]>
Tada! This is the beautiful serger that I got for Christmas! (Thanks family, I am finally using it!) It was intimidating to even get it out of the box but I am hoping that it will really make my sewing look more professional and many projects much quicker, so it’s plugged in now!
One of the first uses I had for it was hemming a pair of jeans. Apparently alterations are a dying art and everyone that enters my house and sees my machine ends up coming back with pants to shorten. I hate turning denim over twice and breaking multiple needles trying to get over the side seams, so I let the serger cut the fabric and edge the bottom of the jeans. Then I just had to turn them under once and sew the hem on my regular sewing machine. It went really quickly so bring them on friends, I’m equipped now!
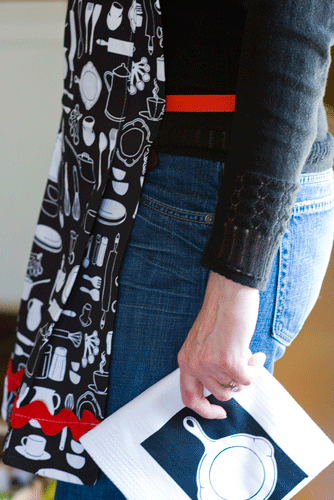
]]>This towel set came folded in thirds so I used the pleats to narrow this towel to better fit as an apron. I made a 2″ overlap from the pleat on the right and left and pinned the neck strap within the pleats. Then sewed across the top, securing the neck straps. Next I measured 15″ down from the top and sewed down the pleats. This left it to flair like a skirt a little at the bottom.
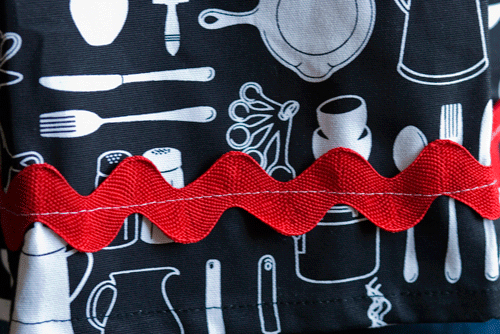
I tucked the ric rac ends under on the back side and sewed down the middle of the ric rac on the front. This would be such an easy way to make any color combination to match any kitchen.
I used grosgrain ribbon for the waist ties. I burned the ends slightly so that they wouldn’t fray and just sewed on the back side along the edge seam higher than where the sewn pleat ended. Super quick and easy!
This apron can be found at my shop in black and red.
]]>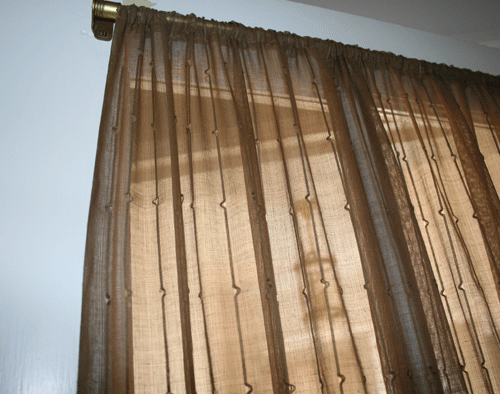
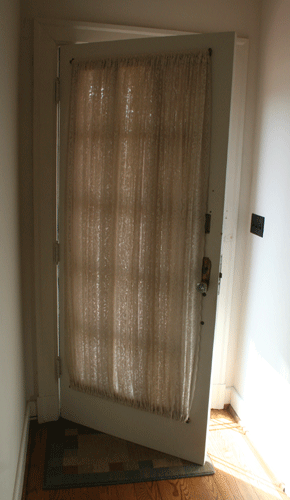
This will be the first of many updates I post as I slowly update the house we just purchased from an elderly couple. The first thing you saw when you entered my front door (previously) was a thick, dusty lace curtain on the back of the pretty paned glass door. Followed by its brother door about 6 feet away at the end of the entry. But these door curtains proved to be about the easiest to remake.
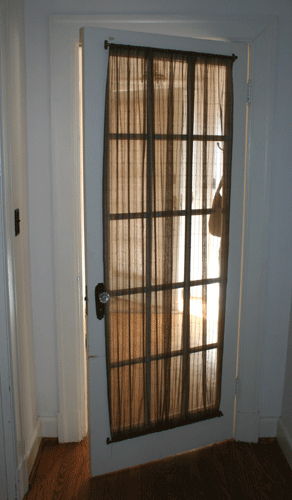
I chose an earthy, brown, gauzy sheer that would give some privacy but still let in some sunlight. I hardly ever pin my fabric but turn it under twice and iron down my hem to make the casing for the top and bottom curtain rods.
Then I sewed each end and slipped it on! The trickiest part was making sure I measured the fabric and sewed my hem at just the right height because I had barely enough fabric to make the two curtains. Of course I bought the fabric because it was on sale, and estimated the yardage using my arm, but that is one of the ways God looks out for me because it is always enough (just barely!!)
These should look nice with the warm color that we are going to paint the long entry and hallway (still to be determined). Any favorite hall colors?
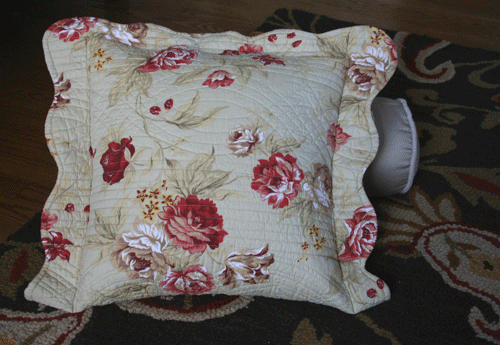
]]>I found a single king-sized sham to make a cover for my old couch pillow. I like using shams because they are already lined, thick, and since they are quilted already have style to them. I also like to be able to take the pillow cover off and wash it since we snack alot on our couch. The sham was so long that I could fold it in half and perfectly surround my old pillow.
To make your own:
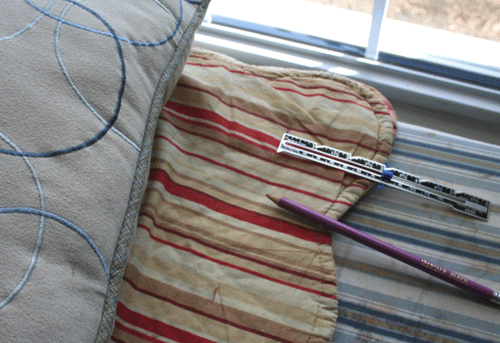
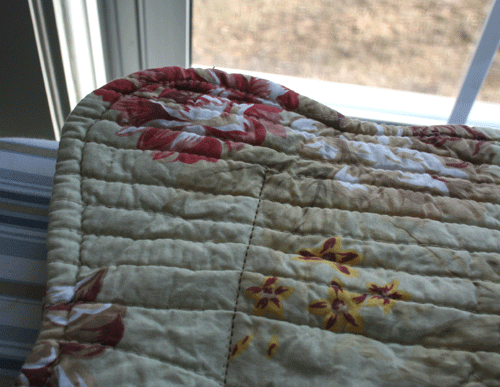
1. Fit pillow (or make one desired size) and measure how far in to make the seams. I made a mark all the way down with chalk. I liked the striped fabric the inside was lined with and the scalloped edges, so I decided to sew the seams on the right and left on the right side of the pillow sham, stopping a few inches from the top. This left a slight flap so I could see the reverse lining. (do not sew on the wrong sides as I marked to do here!)
2. Sew down chalk line on top (right side) of sham, or on reverse side if you want to turn it inside out (like making a normal pillowcase).
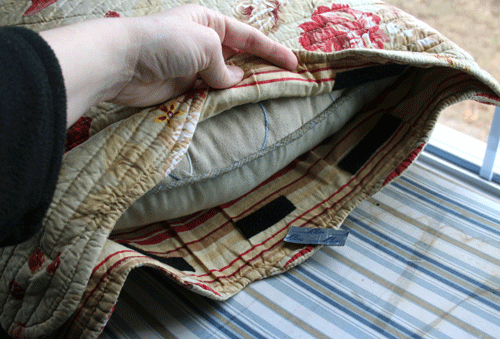
3. Measuring down on the inside along the top I used adhesive strips of velcro every few inches to attach at the top. Even though this doesn’t need to be opened every day I am going to now sew a line down the middle of the velcro because it hasn’t stuck as well as I’d hoped.
I liked that this was $5 update and the recycling of my old pillow!
]]>