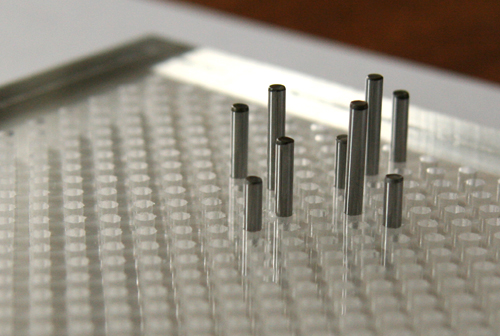
I have a new toy. It’s called a jig and you use it to shape wire into pretty, fun things. It’s essentially just a peg board with pegs.

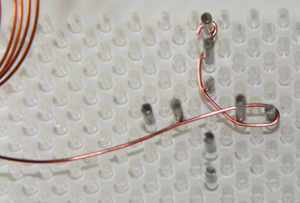
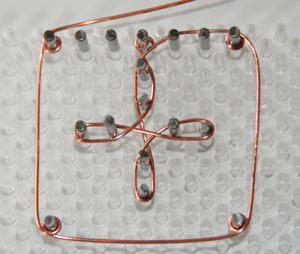
You kind of guide the wire around the pegs. This one is going to be. . .

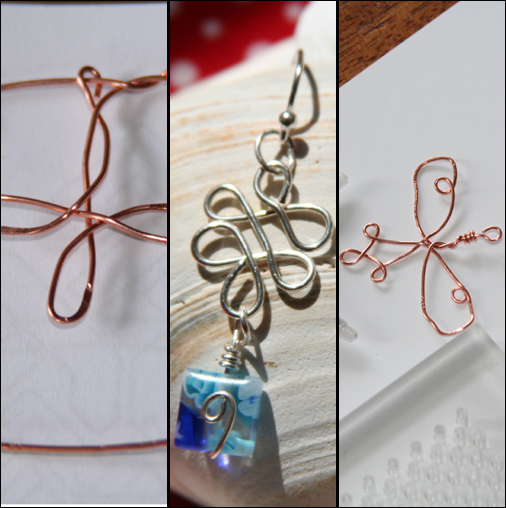
… an “interesting” bookmark.
So far I like my earrings best (note to self: buy more wire).

If you are interested in learning more about this tool, check out these links:
Jewelry Making Using a WigJig Jewelry Tool
Jewelry Making about.com: Wire Snake Jewelry Jig Component
There are other jig related articles at the end of that tutorial.
The WigJig company appears to have cornered the market on jig tutorials. Here is a collection of their videos on YouTube.
]]>

I love hardware stores! I like all the little doodads and tools and whatnots you never knew existed. So here is my homage to the humble hardware store, a wrapped washer.
Materials

For this pendant you need the following materials:
- 18 gage copper wire
- 3/4″ washer
- wire cutters
- round nose pliers
- chain nose pliers
- ruler
Instructions

- Cut four pieces of 5 3/4″ long wire and two pieces of 4″ long wire. Use a soft cloth to straighten the wire.
- Bundle three of the longer wires together and wrap the one remaining longer wire four times around the center of the bundle.
- Wrap each shorter wire three times about a 3/4″ to the left and the right of the bundle’s center wrap.
- Here’s the tricky part: center the washer on top of the center wrap and fit the wire bundle against the washer.
- Then secure the washer as follows: use the round nose pliers and place them in between the bottom center and the side wraps. Coax one strand of wire out of the bundle and pull it toward the center to form a sort of cage that will prevent the washer from falling out. Repeat on the other side and the back of the pendant. You should have two pulled-out strands on the front and two on the back of the pendant.
- Okay, don’t be intimidated by this picture! You’re almost there. Now on the top of the pendant, from the left and the right side, take a center wire from the bundle and tightly twist one wire around the other three times. Snip off the end of the wrapping wire only, not the stem wire.
- With the remaining stem wire shape a wrapped loop. Use the chain nose pliers to form a 90 degree angle right above the wrapped stem.
- To finish off the remaining wires, use the round nose pliers and make a small loop with one of the wire ends. Continue shaping a spiral around the loop. Once the spiral is complete, press it against the center of the washer using the chain nose pliers. Repeat this with the other wires. Use your imagination to create shapes other than spirals.


Insert the tip of the round nose pliers in the bend, bring the wire over the top of the pliers, and shape a loop. Reposition the pliers to form a complete loop and wrap the wire around the bottom of the pliers. Using the chain nose pliers, hold the loop with your dominant hand and wrap the wire around the stem covering the end of the previously snipped off wire. (If you’re hopelessly lost, refer to Wigjig’s wrapped loop instructions.)


Instead of a pendant you could also fashion some earrings. Here is the pair I completed for my 99 Earrings project.
]]>

To make them use your favorite origami heart folding technique and make four hearts. These were folded out of 5 x 5 cm paper scraps. Glue two hearts together, which leaves you with one pair. You can varnish the hearts to make them more sturdy. To suspend them, pierce the heart (very dramatic) with a pin and ease a jump ring through the hole. From there on out it’s up to your creativity: turn them into earrings, make a bunch for a charm bracelet, or skip the piercing and glue a pin back to the heart.
If you want to follow my progress with this endeavor, here is the 99Earrings project blog.
]]>