Here’s my confession: I live vicariously through the artistic abilities of my child. I believe she has a fantastic sense of color, line, and style (not that the state of her room is any indication of her design talents).
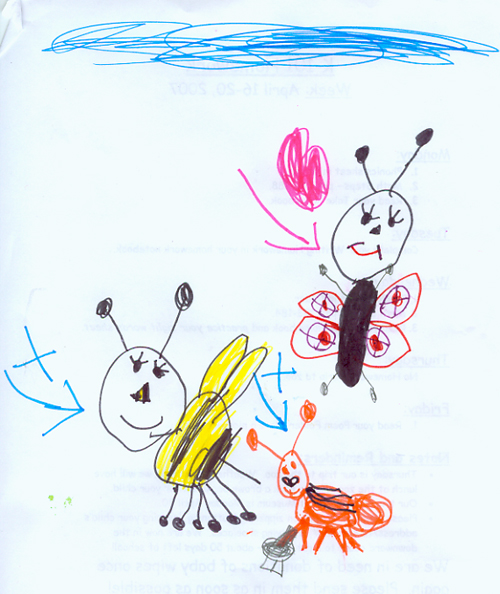
Being the stage mother of a single child I intend to exploit her vision for this year’s holiday gifts. To put it simply, her artwork will serve as an embroidery pattern to give a humble flour sack tea towel some extraordinary flourish. Since your child is obviously equally as talented, why not give this idea a try:

Materials
Copy of the artwork
Fabric
Transfer paper
Embroidery floss
Embroidery hoop

Select the Artwork and Make a Copy
I like simple line drawings because you don’t have to fill in planes of color with your embroidery. You can copy the drawing either with a copy machine, or scan it into your computer. If you have a scanned copy, you can use a graphics program and further expand on the original art by adding other elements like lettering.

Trace the Design onto the Fabric
I’m using a dish towel, but you could also embellish a whole line of linens such as pillow cases, napkins, aprons; or clothing like a t-shirt or jeans jacket. Place the transfer paper on top of the fabric where you want your design to appear and the copy of the artwork on top of the paper. Trace the design.
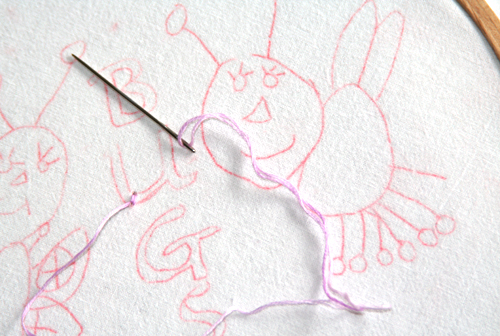
Start Embroidering
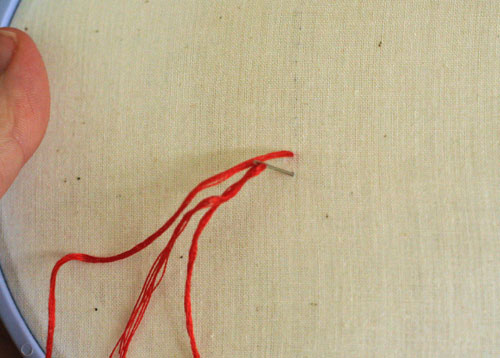
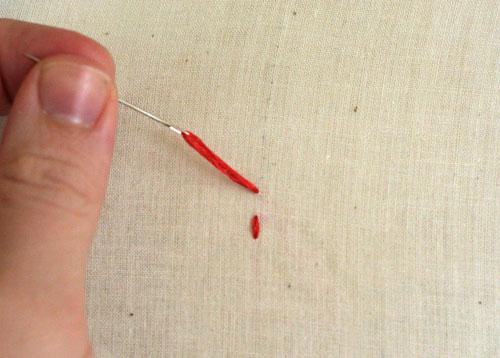
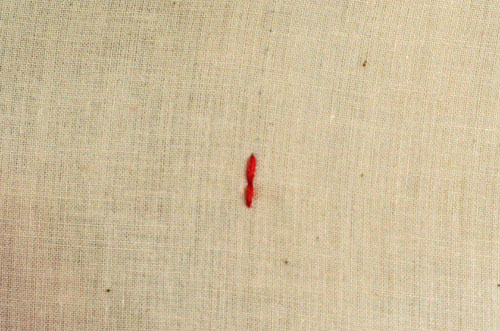
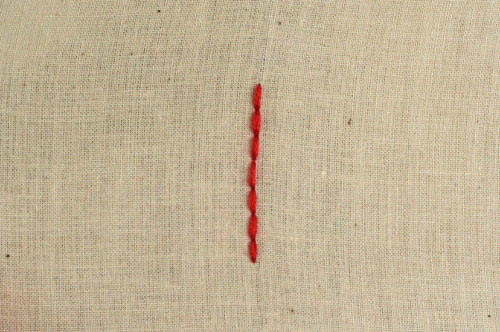
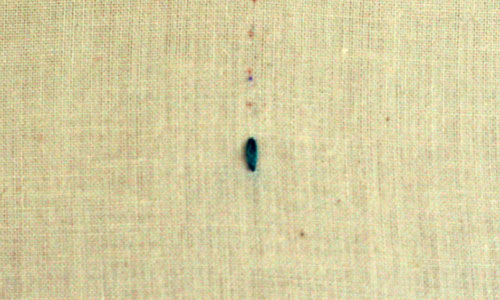
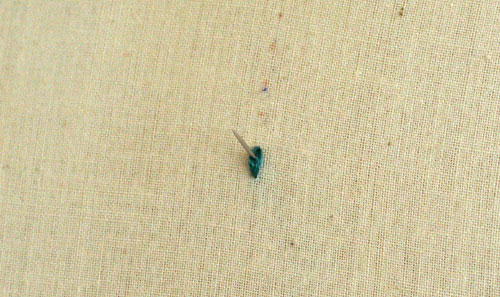
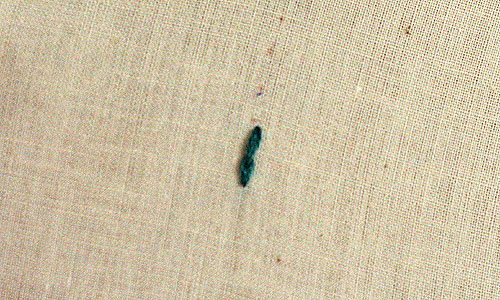
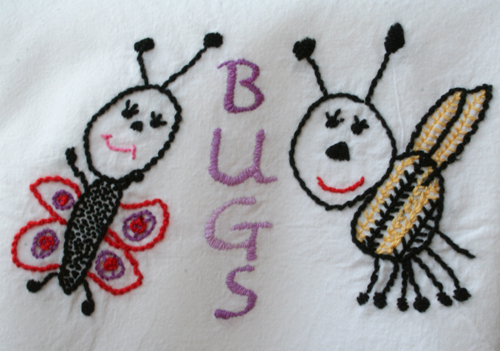
Take a look at Candace’s embroidery lessons to give you some ideas of what type of stitches might work well for your design. For this towel I used satin stitch for the letters, stem stitch for the outline, seed stitch for the butterfly’s body, a rosette stem stitch combination for the butterfly’s wings,and feather stitch for the bee’s body.
Tata
That’s it.

Below are more finished homework assignments that I wanted to share. Everyone did such a fantastic job, and I truly hope you continue practicing and learning the art of embroidery.
from Melissa
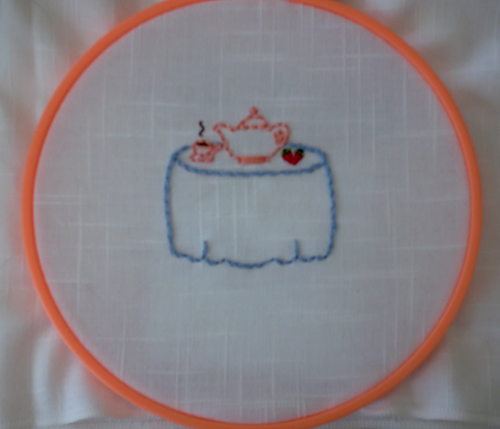
from Caley
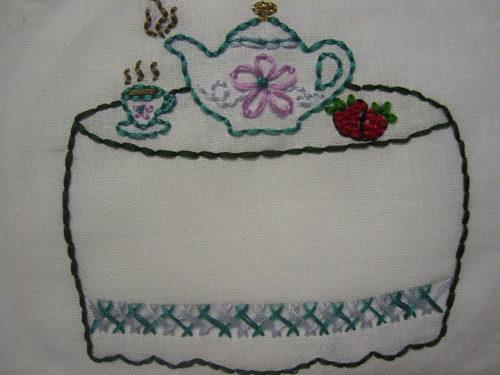
from Lauren
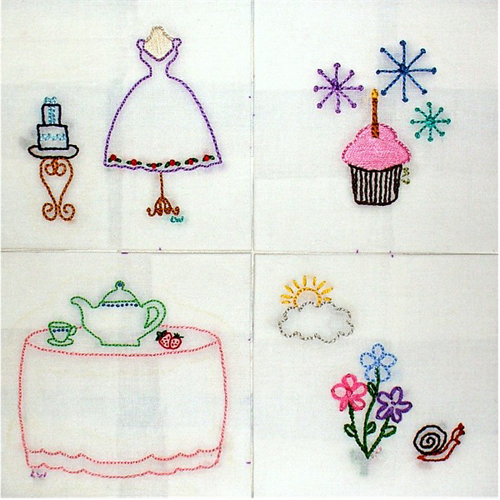
from Jessica
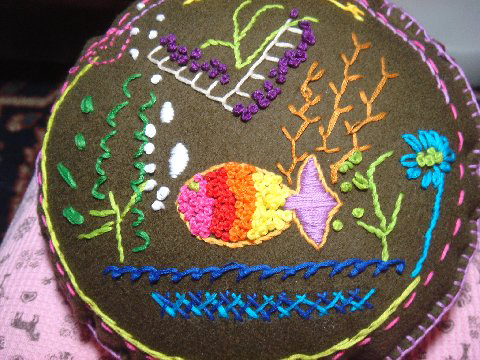
from Emily
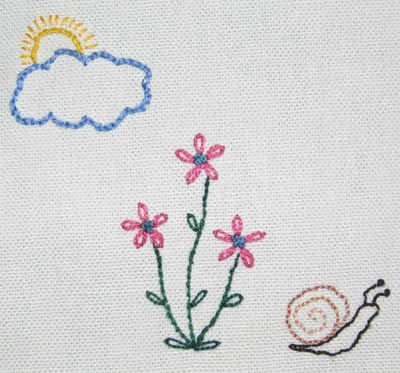
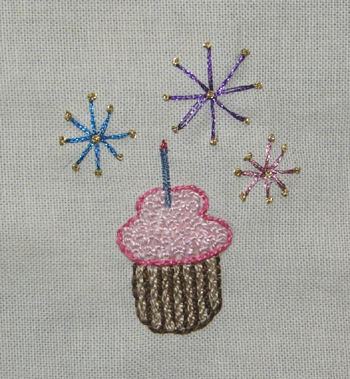
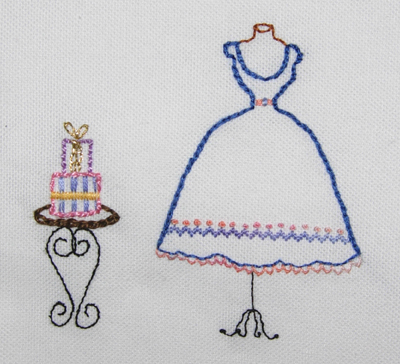
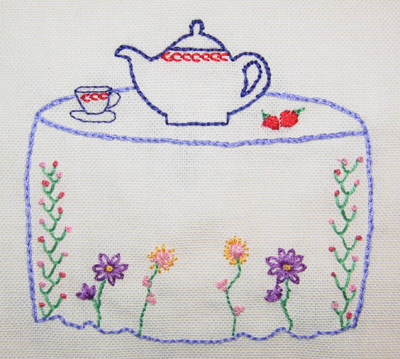
from Marte
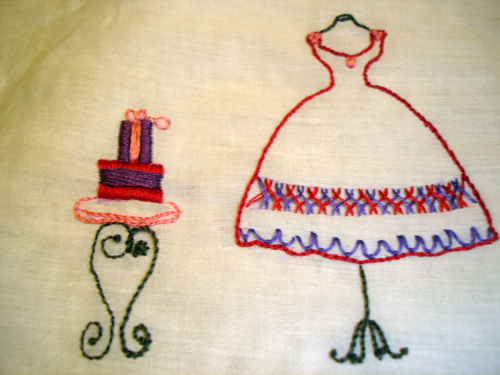
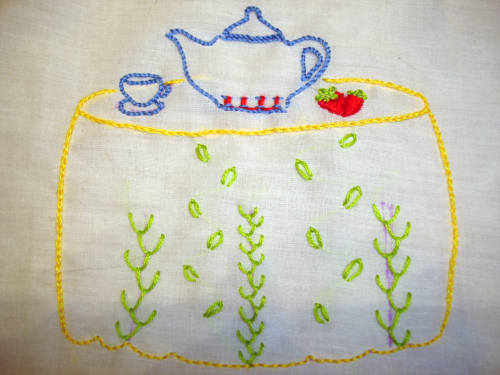
from Meg
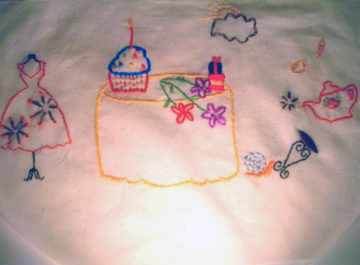
And the lucky winner of the random drawing is Chelle – congrats, Chelle! I will be emailing you shortly to get your mailing info. Thanks again to everyone who participated in the embroidery school!
]]>Stitch #13 Scroll Stitch
This is a great stitch to complement borders or fillers for designs. I didn’t do this for the tutorial, but it helps to use one of your ink pens to draw a line so your scroll stays even.
You’ll begin by bringing your needle and thread up to the front. Once your thread is pulled all the way through, you’ll make a loop that falls to the right of where your needle and thread came up.

You’ll then place a stitch about 1/2″ away and level with where you came up to begin, going down and then back up. Make sure that your needle is sitting on top of your thread.

Then you’re going to the hold the thread taut between your thumb and your forefinger as you pull the needle and thread through.


To continue, you’ll do the same thing again – make a small loop to the right, place a small stitch, hold thread taut while you’ll pull the thread through.


You’ll continue doing that until you achieve the desired length.

Stitch #14 Feather Stitch
While this stitch may not look visually appealing (atleast to me it’s not), it’s actually really fun to do. You’ll see this stitch edging blankets and for crazy quilting as well.
I apologize for my lines not being the clearest (it’s amazing what doesn’t show up on a photograph at times), but you’ll start by drawing four lines parallel to one another and the same distance apart (between 1/4″ to 1/2″). You’ll bring your needle and thread up at A on the first line. You’ll then place your thread down at B on the third line and level with A, and up at C (you can do this individual or as one action, as I have in the picture) on the second line about 1/4″ to 1/2″ below A & B (so it’s diagonal to both points). Make sure that your thread is under your needle as you pull the thread taut.


You’ll then do the same pattern, except you’ll move to the fourth line and you’ll go down at D (level with C) and up at E (diagonal to D and directly below B, making sure your thread is under the needle as you pull taut.


You’ll then move back to the first line, going down at F (even with E) and up at G (on the second line, directly below C), again making sure your thread is underneath the needle as you pull taut.


You will keep repeating the pattern until you’re at the end of your line, planting your final stitch just under where you came up.

Stitch #15 Interlaced Double Running Stitch
This stitch isn’t a common one and you may not like it, however I like how it’s so simple and adds a fun element to your needlework. You’ll start by doing two rows of running stitches that are identical in spacing to one another. The key for this stitch to look good is making the running stitches small and the spaces between short (as you will see that my final picture looks different than the first ones). It also helps to draw two parallel lines when completing the running stitches so they stay even.
You’ll start by bringing your needle and thread up just beside the first running stitch on the bottom line. You’ll then slip your needle underneath the first running stitch (but don’t go into the fabric) and bring it through.

Then, you’ll slip your needle overtop and then underneath the top running stitch and then back down underneath the bottom stitch (again, not going into the fabric).

You’ll continue in the same across all the running stitches until you’ve completed the design.


To finish, place the final stitch to the right of the last running stitch on the bottom line (not pictured – didn’t realize that until just now).
Now congratulate yourself for making it this far! Embroidery can be such an easy and fun way to personalize anything and my hope is that everyone who has been following the lessons continues to “school” themselves on it. There are so many great books and resources online (Primrose Design & Sharon B, just to name a few), so keep going and keep challenging yourself. And for those who turn in any completed homework (candace@craftydaisies.com) from lessons past by next Wednesday (if you already have no worries, you’re included), your name will be tossed into the hat to receive a goodie box of embroidery fun. For those who have turned homework in from last week, I’ll post them all at once when they’re all received next week. Thanks so much for everyone who supported this – I hope you enjoyed it just as much as I did!
]]>Stitch #9 Granitos Stitch
This stitch is complementary to the satin stitch (that we covered last week) as another way to fill certain shapes. They’re also great to do as leaves or petals instead of the lazy daisy (covered in lesson 2). This stitch is the same stitch in the same direction, coming and going in at the same point over and over. Sounds simple? That’s because it really is.
You’ll start by making a simple straight stitch (up at A, down at B). You’ll then bring your needle back up in the same hole as A and bring it back down in the same hole as B, pulling the thread all the way through, but so it goes to side (it helps if you hold the loop with your thumb as you’re pulling it through to make sure it lays beside the stitch and not on top of it).


You’ll continue alternating sides until you’ve reached the size or fill that you need. For this picture I did four stitches on both sides.

Stitch #10 Blanket Stitch
This is a great stitch to border items such as blankets (go figure), shirt collars, and also joining items together. The blanket stitch was the only stitch used to piece together this felt penguin.

You’ll begin by bringing your needle up at the base of your work, or where you’ll need it to be lined up (at A). Next, you’ll bring your needle down at B, diagonal to point A, and then up at C, which will be beside point A (about 1/4″ away). You’ll need to have the thread looped underneath your needle when you come up at C, or else this stitch won’t work.


Then you’ll pull the thread taut and you have a backwards “L”.

You’ll do this over and over until you get to the end of your edge or completed the length that you need.


When you’re done, you’ll take the needle through on the opposite side of where you came up for the last time, planting that stitch and leaving your thread behind your work.

When doing this stitch on the edge of a garment or piece of fabric, you’ll execute in the same fashion, starting on the backside of the fabric. Take the needle and go down through the hem vertically (at A), turn your fabric over and go down at B (diagonal to A) and through the hem vertically, like you did at A.


Make sure that your thread is looped behind/underneath the needle as you pull the thread taut.


Continue until you reach the end, planting your stitch when you’re done.


Stitch #11 Herringbone
These last two stitches aren’t the most common or the most used, but I love them, especially as a border for a garment or as a border within the design.
First, you’ll want to use one of your ink pens to draw two parallel lines on your fabric. You’ll bring your needle and thread up at point A on the base line. You’ll then take your needle up and diagonal to A and insert it at B and out at C (moving right to left as shown in the picture). You can actually go in at B, pulling the thread all the way through and then up at A, making two seperate actions, or you can do like I have done in the picture.

You’ll then move to the base line, put your needle through at D, diagonal to B & C, and out again at E, still moving right to left.


You’ll continue working this way until you reach the end of your lines.


You’ll also end this the same way you do your blanket stitch, and that’s to take the needle down beside the last point you came up, leaving your thread behind your work. Now if you want to add another element to it, you can now incorporate the double herringbone stitch.
Stitch #12 Double Herringbone Stitch
You’ll basically use a contrasting thread color and do the exact same thing in between the original herringbone, except starting at the top line instead of the base. You’ll work in the same way, except you’ll alternate taking the thread behind the original stitch (so you’ll go over then under, over then under, etc).


Lesson 4 Homework
Continue working on all the stitches so far on this week’s design template. I left the dress plain so that you could use any stitch you like for embellishment on it. I can’t wait to see what everyone does!
]]>
After threading my needle, I leave about two inches hanging and folded-over, and it stays secure in my hands as I stitch

Does that make sense? If not, just let me know and I will clarify. Okay, onto Lesson 3!
Stitch # 7 Scallop Chain
This stitch is a continuation from last week’s lazy daisy and chain stitch and gives a pretty, scalloped finish to a border or as a design filler. You basically create your chain by coming up at point A and down at point B, but again do not pull your thread all the way through. You will leave a small amount to make loop, and will hold it down with the tip of you finger while you bring your need up at the middle of the loop at point C. You’ll then bring it down just on the opposite side of the thread at point D (all of this just like the lazy daisy).


You will then bring your needle up at point E just beside point B and do the exact same thing as you did with the first chain and continue until you achieve the length you need.

Stitch #8 Satin Stitch
This stitch is great when you want to fill an area and give it color and depth and just as you imagined it would be, it’s easy! You are doing one stitch over and over and in the same direction. You will bring your needle up at A and down B (in these pictures working left to right).


You’ll continue doing this, bringing up at C (directly below A) and down at D (directly below B), working down and left to right, until the entire the area is filled.

Lesson 3 Homework:
Continue practicing all of the stitches used in the school so far, incorporating these two new ones as well in this weeks pattern. I would love to see some finished products so if you feel so inclined, email them to me at candace@craftydaisies.com. Below are some finished homework assignments from last week and they look so great – thanks for sharing them ladies!
from Caley

from Lynn

from Lauren

from Cristina

from Denise

from Shawna

If you sent me a finished homework assignment and I didn’t upload it, try sending it again – some of them got dumped into my spam and I’m pretty sure I got them all, but I don’t want to leave anyone out!
Stitch #4 Stem Stitch
This is another great outlining stitch, particularly when you need to stitch a stem (ha) or a rope or string. It’s very easy and can be done quickly.
First you make a stitch (doesn’t matter if you’re moving up or down, or side to side, just bring it up at A and down at B). Then you’ll bring it up (point C) directly above or beside where you put point B in and bring it down in the middle and to the side of your first stitch for point D. This is almost like the back split stitch, except you’re not splitting the stitch, you’re pushing the stitch a little to the side and planting your stitch.


Then you just continue on your path and voila! A stem stitch.


Stitch #5 Detatched Chain Stitch
This stitch is also know as the petal stitch or lazy daisy, and it’s fun because it’s easy and it’s pretty. This is the stitch you’ll use to make flowers, leaves, tears, and raindrops. Also changing one part of the stitch turns it into a different one, which we’ll cover at the end.
First you’ll bring your stitch up at A and down at B (directly beside A) but don’t pull your thread all the way through.

You’ll leave some of the thread to make a loop, and once you get the amount you need, you’ll hold the loop down with the tip of your finger, while you then bring the needle up just below the center part of the loop at C.

Then you’ll bring your needle and thread up and then back down just above point C and complete the stitch at D. (I moved the loop down a little so you could see where to put your needle in)


If you want your chain to be a longer and thinner one (when making a leaf, per se) then feel free to tug a little harder on the string at point D to draw it taut. But if you want a soft, round effect, pull gently at D.
Stitch #6 Chain Stitch
Altering the detached chain slightly can give you the chain stitch. You’ll complete everything the same, except instead of putting your need down for point D directly above point C, you’ll move it to the side slightly. As you pull your thread through, the same thing goes as don’t pull the thread all the way through.


You’ll hold the loop with the tip of your finger so you can bring the needle back up at E, and back down at F, directly beside E. Continue until you’ve achieved the length of chain you need.

Stitch #7 French Knot
I used to dread this stitch until I was taught how to do it correctly and now it’s a breeze. This stitch is perfect for finer details in stitching, and when bunched together can have a really cool effect (like the lei on Kiki).
Start by bringing your thread up at A. Then you’re going to hold the string tight between your pointer finger and thumb, and face the needle point away from the fabric (I do appologize that I am left handed – if this confuses you, let me know and I’ll flip the picture).

Then you’ll wrap the needle 2 to 3 times around the thread (twice will give it a small knot, 3 a bigger, and anything larger than 3 is bordering on becoming a bullion) – for this picture, I did it three times.

Then place it directly beside where you made point A. Do not put it into the same point as A. Some people say that’s the correct way to do it, but I find it’s much easier this way and you won’t lose your stitch by going back down through the same hole.

Continue to hold the thread taut while you’ll pull it through at point B – that’s your key for this to be successful.

Once all the way through you have a cute and easy french knot.

Your thread may get hung up and not go all the way through, so gently tug on it to pull the remainder through. As easy as this stitch can be, it takes some practice, so practice it before you try it on a project.
Lesson 2 Homework
I’ve attached a PDF of an image that you will embroider using one or all seven of the stitches I showed you. click here to download and stitch all of the image, or just certain parts. Since I can’t send every one of you following this an iron-on transfer, you can do what I do when transferring an image – I trace the image onto an index card (from the computer monitor), run over it with a black marker so it’s darker, place it under my fabric and then trace it again onto my fabric with my disappearing ink pen. I do this because I don’t have a printer at home, but if you do, skip that first step and just print it out, place under your fabric and trace. I would love to see some finished projects when you’re done so please email them to candace[at]craftydaisies[dot]com. And as always, if you have any questions please feel free to let me know. Can’t wait to see how you all do!
ETA: For those who had problems downloading the PDF, refresh your page and try again, it should be working now.
]]>What is it and Why do it?
Embroidery is the art or handicraft of decorating fabric or other materials with designs stitched in strands of thread or yarn using a needle. My grandmother taught me how to embroider when I was about seven years old, and I would often watch her hand-stitch designs on the many quilts she completed. There really is something beautiful, unique and romantic about embroidering by hand, so while you can have a machine stitch something up for you beautifully, if you have the time (and the patience) and are willing to give it a go, you really should try it.
General tools needed and used
Embroidery can be an inexpensive craft to learn, but so are most things. You can certainly get caught up in the cool new gadgets that are out there, but the only things you really need are material to stitch, a hoop, a needle, a pair of scissors, and embroidery floss. Depending on what you already have, you will only spend about $10 to get started.
Needle: Any needle that will accomodate your thread will do. In our lessons, we’ll be using 6-stranded embroidery floss, so a basic embroidery needle will be fine.
Hoop: This can be a cheap wooden hoop, or a heavier plastic. And it’s actually two hoops: one side is adjustable, the other is not. You will stretch your fabric across one piece and secure with the other, tightening or loosening it if neccessary. You don’t need to work with a hoop (and in some instances it will be almost impossible to use one) but I assure you it will make it so much easier to stitch, and it will keep your stitches from puckering up.
Scissors: Again, any that you already have should be fine. However having a small pair of embroidering scissors on hand that will help you cut easier and with more precision when you need to snip around stitches.
Embroidery Floss: The easiest floss to work with is 100% cotton, colorfast (meaning it won’t bleed when you wash it), and is six-stranded. You can buy this at any craft store anywhere from $.20 to $.40 a skein. You can also find it in almost any color, giving you another reason to love embroidering.
Material: I am a firm believer in you can stitch on just about everything…just be prepared for a fight at times. For this course, however, I suggest using any kind of 100% cotton fabric that does not have a tight weave (i.e. linen, flour sacks, tea towels, pique, and muslin, which I highly recommend since it is easy to work with and is very inexpensive). You’ll want to wash your fabric first, and iron it if necessary. If you have any scrap fabric lying around, you most certainly can use it, esp. for practicing and save the nicer pieces for projects you want to display.
Water-soluble or vanishing ink pens: You’ll find these in the quilting department of any craft store, and while they can be harder to use on some fabrics, they can be your best friend when you can’t find a pattern you like. You can draw on the fabric and depending on which you get, you just remove the ink with a wet washcloth, or wait 24-36 hours for the ink to disappear. They aren’t that expensive, so while this is an optional tool, I recommend it if you have some original designs in mind but don’t trust yourself to stitching free-hand.
Optional Items:
Thimble: These things drive me bananas, so you will not see me using one. However some people insist on them, so I’m just putting this out there that you might want to try using one. If your finger does get sore from pushing and pulling the needle and a metal or porcelain thimble doesn’t work for you, you can always try a rubber one, which feels a little more natural and comfortable to use.
Needle threader: You can get a pack of these for around a dollar at most fabric and craft stores and they can be incredibly useful. It does exactly what it says: it’s threads your needle by sticking a bendable “eye” of the threader through the eye of the needle. The threader “eye” is large enough so you just slip your thread through it and pull it back through the eye of the needle and voila! A threaded needle. I tend to get overzelous and excited when starting a new project and end up breaking them, so it’s just a step I like to skip. However, if this is the part you hate the most, then by all means invest in some of these beauties and skip the frustration all together.
Fusable interfacing: Honestly, I never use this stuff. I tried once and it just irritated me so badly, but truth be told I’ve never been taught how to correctly use it. I do know that it has a purpose (to smooth out your project, make it sturdier, and prevent knots from unraveling), but I also know it’s more trouble than it’s worth (over time will stain the fabric, become brittle and break off, and will pucker at certain places in your work). So why include this if I’m not going to even talk about it or suggest you use it? Good point, I don’t know. I just didn’t want anyone who believes that this stuff is the holy of holies to think ill of me that I didn’t mention it. And on that note, if anyone wants to make an argument for why this stuff should be used, please let me know and we’ll put it in this section.
Now it’s time to begin!
1) Position your fabric within the hoop. You’ll need to seperate the pieces and lay the piece that does not have the adjustable part on it on your work space. Place your piece of fabric overtop, then place the other piece of the hoop over it and push down on it so it stretches the fabric over the bottom piece, much like the head of a drum. You can tighten or loosen the top piece as much as possible, and you’ll want to pull the fabric taut so it creates a smooth, even work space.
2) Cut your thread to 12″ or 13″. This may not seem like much, but you can always use more when you run out, and working in smaller increments will keep your thread from tangling and will keep you from raising your arm high above your head to pull all the thread through the material.
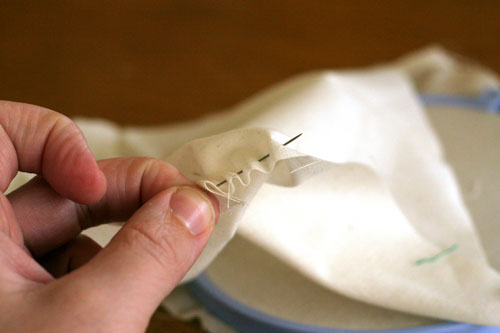
3) Thread your needle. You can use a needle threader or you can do the spit-and-flatten technique (not an actual technical term, but it’s pretty self explanatory) – lick the end of the thread and flatten it with your fingers (to stick all the strands together), thread your needle, then knot the other end. Doesn’t have to be any fancy knot, just something large enough not to pass through the material and small enough so it won’t create a large bump under your fabric.
Now it’s time to stitch!
The stitches we will be covering today are super easy and three of the most basic stitches you’ll see in embroidery. Please forgive the coloring of the photo’s – I took them at the worst part of the day, in a room with bright yellow walls, so if they’re blown out or miscolored on your monitor, please let me know and I’ll try to fix them.
Stitch #1 Running Stitch
This is the easiest stitch to complete. You can use it to outline items or run along an edge, and there are two ways you can do it.
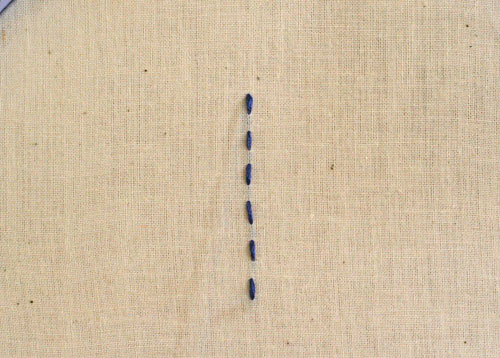
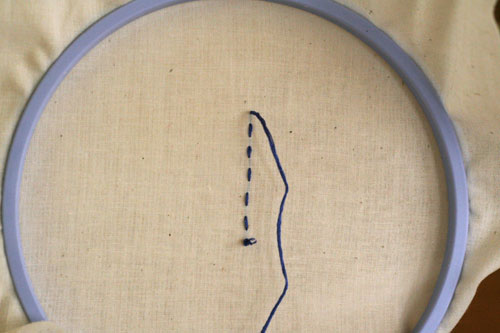
First, you bring your needle up through the material at point A and then back down through at B. You do this again (coming up at C, down at D), however you’re leaving a space in between each stitch, creating a dotted-line effect.
The back side will look exactly as the front
The other way to complete this is to gather your material and run the needle through in one seamless motion.
If you’re new to embroidery and unsure of yourself, you’ll probably be most comfortable with the first way. However, if you’re feeling adventurous or are more confident in your stitching, or want to create something that looks a little uneven but unique, then the second technique is the way to go.
Stitch #2 Back Stitch
This stitch is my personal favorite. Not only because it is quick and easy, but because it looks great (and clean) any way you use it. It’s also a great stitch to complete lettering with. The one thing to remember with this stitch is you’re almost working backwards, in a sense.
First you’ll bring your needle and thread up through the material, but at point B instead of A
Then you’ll bring it back down through, but in the opposite direction you’re wishing to go (hense the backwards part I was talking about), putting it at point A.
You’ll then keep going in that direction or bringing your needle up at point C, then back through at B, then up at point D then back through at C, etc. etc.
By the end you’ll have a seamless looking line and your stitches will connect beautifully.
Stitch #3 Split Stitch
This stitch is easy and a decorative finish when you want something a little more punchy than the running or back stitch.
You’ll bring your needle up through your material at A and back through at B (like a regular stitch).
Next you’re going to split the stitch in the center (at C), so you’re splitting the threads evenly (or as evenly as you can)
Then you’ll bring it back down at the desired point (D).
You’ll continue splitting each stitch, until it looks like this
One thing to remember about this stitch, is it’s easy for your thread to get tangled on the underside while you’re splitting the stitch. So this is very important that you work a little slower, and don’t use too long of thread.
You can also work this stitch a little differently, like the backstitch (calling it the split backstitch), by bringing up your thread at C and then splitting the stitch on the way down (from the top side of the frabric as opposed to the underside). Either way is fine, it just depends on which you’re more comfortable with.
My photo’s for this stitch are a little blurry, so hopefully this diagram will explain it where my picture lacks detail
If you’ve hung on through all that jibber jabber that’s great! I can promise you the next lessons won’t be so wordy, we just had to get the intro out of the way. If at anytime you have any questions or think I need to clarify a little more, you can leave a comment or feel free to email me at candace@craftydaisies.com.
Homework for Lesson 1:
If you have any scrap material, you’ll want to use it for practice this week. Draw a circle, a square, and any other shapes that you want on your material of choice and practice each stitch. If you haven’t gotten your pens yet or choose not to, you can use a regular pen or pencil, or do them free-hand. If you’re feeling confident enough, try stitching other images and letters using these stitches. It may sound simple enough – and it is – but like you’ve heard before, practice does make perfect. Next week we’ll go over three new stitches and I will have a PDF you can download and transfer onto your material to complete.
]]>
I drew the leaf and tree shapes out on cardboard and cut them for a pattern. Then cut the pieces out, arranged the order, and pinned each peice. This was fun since they could be kinda scattered. The time consuming part then was stitching each leaf.

The bag in the picture was stitched entirely in white but I alternated the thread matching the 4 colors of felt I used for the leaves. I embroidered the felt tree trunk in light brown to make it stand out against the indigo corduroy I chose for the bag.


When all of the embroidery was done I sewed up the sides and added a floral lining, which I doubt the original has. Overall, I am pretty happy with the attempt. What do you think of my version? Wait, you haven’t gotten to the best part yet!
The cost of theirs: $25.00
The cost of mine: -$2.50
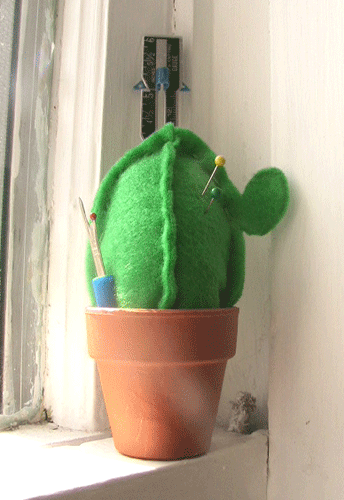
I saw this cute pin cushion in a book and ran home to try it! I use pins all the time in my sewing but hate how lightweight the cushions usually are, slipping off the table as I try to work with one hand while holding fabric in place. This little pot adds stability to the cushion. The original used a pot about 1″ around larger than the cushion and was filled with sand around the cactus. With a young child I could see that quickly getting knocked over. Instead I made the cactus to fit snugly in the pot with just enough room to tuck in a few other necessary sewing supplies.
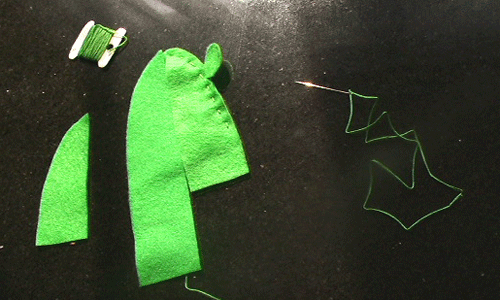
I handstitched 3 pieces of felt to make the cactus, one longer than the others to curve under and make the bottom. Then stuffed it in the pot. To weigh it even more you could glue a magnet or washer to the bottom of the cactus and glue that to the inside bottom of the pot. I am going to try this idea with other shapes as well to personalize a cushion for my sewing friends.
]]>
My fabulously amazing husband and his parents got me an iPod this year for Christmas. However, what’s a fantastic piece of equipment like that without an equally fantastic cozy to keep it in? So I fashioned a felt (are you surprised?) iPod cozy that only cost about $.60 to make, and only took two hours from start to finish.
First, you’ll measure out how much felt you’ll need. Then you’ll cut a front and a back piece, making sure the back piece is longer than the front (so it will fold over and close).

Next, you’ll decide on whatever shape you want (a flower, an animal, or just shapes of any kind) and pick your embroidery floss.
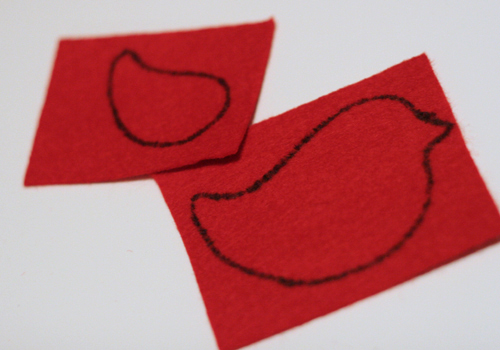
Cut out your shape, and adhere it to the felt with a needle (to keep it in place while stitching) and then using the backstitch you’ll sew it to the felt. You could also use a blanket stitch if you like as well. You can place your shape anywhere you like, but make sure you don’t place it too close to the edge – you’ll need to allow some room there for the seam.

Next, add any other imbelishments you like, (buttons, more embroidery or other shapes) and then attach the snaps to the tops of the two pieces, making sure they line up correctly so it will close correctly.

To finish up the cozy, stich together the front and back pieces (using either a blanket stitch or a running stitch), and voila, a fabulous and functional iPod cozy.


