I grabbed a onesie that my daughter has outgrown, and for the fabric for the T-shirt I used an adults XL shirt I got on sale from Michaels.

I cut off the bottom of the onesie to make it into a shirt, and then cut along the seams to take the onesie apart. This gave me a general idea of the shapes I was looking for, and using them as reference I drew the pieces out freehand on the yellow T-shirt.

I sewed along happily, thinking that I was going t have an cute little shirt that would work with the diaper I was making. I am making a brown and yellow wool cover and a fitted diaper with giraffes on it, so I used brown thread on the yellow shirt so that it all matches.
Well, here is how the shirt turned out:
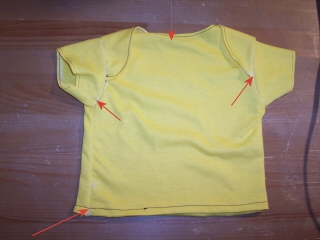
I’ve used the arrows to show the errors I made. I missed part of the neckline on the right hand side, the neckline itself is much too high and would choke the baby if they wore it. My left seam was about a half inch towards the middle of the shirt (must have made the back wider than the front) and the left arm seam doesn’t line up with the left side seam.
All in all, its not that bad considering I didn’t use a pattern. But definitely not wearable! Guess its time to search and find that pattern I have and use that ![]()
The mini messenger bag-
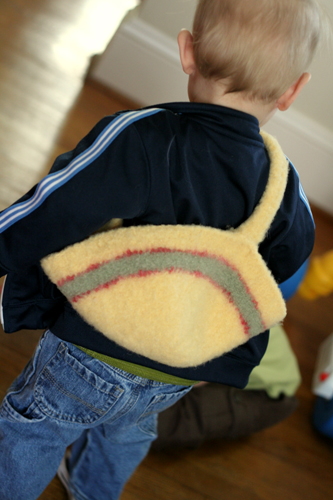
A taco holder, to keep your lap clean-
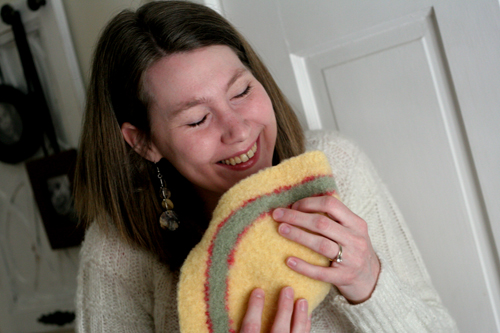
A trough for snacks-
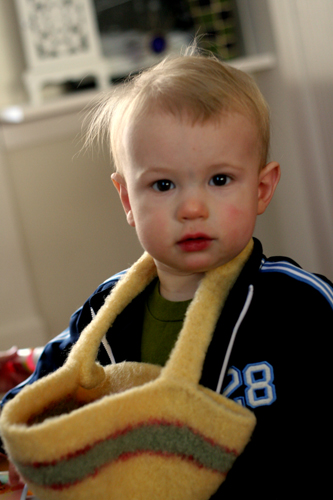
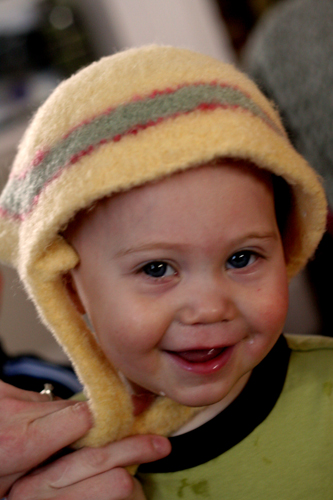
The Easter bonnet- (yes, Candace you can borrow it Sunday, alright!)
The toddler arm sling-
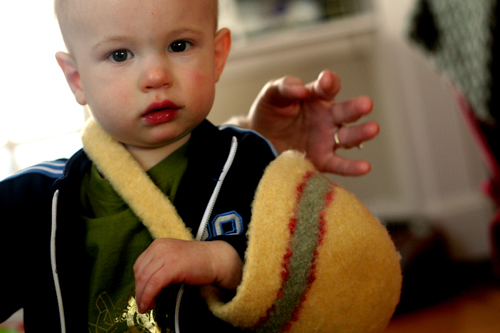
What do you think? Have I cornered a new market with any of these?
Better luck next year!
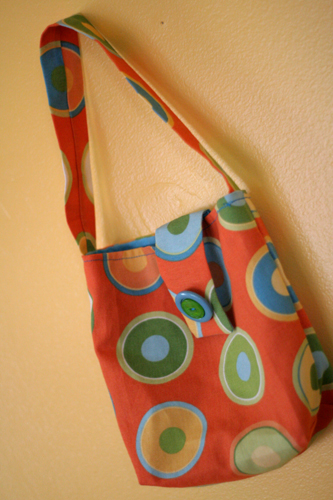
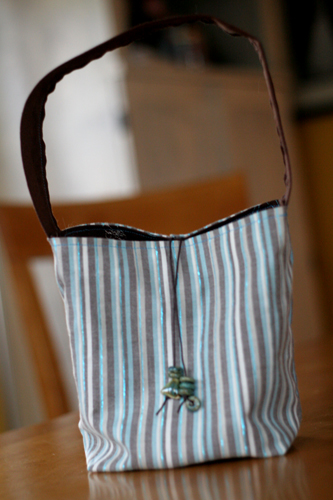
This orange bag is one of the first bags that I have attempted to sew and I have to say I’m pretty proud of myself. I still have some questions about lining and better construction, but pretty proud. I did make the lining a tad smaller in width than the outside fabric so that when I pinned it to sew, it did not line up all the way around. My husband though came up with a clever solution- I readjusted it so that there is a small pintuck in the front center of the bag that is hidden by the flap. (He often is the brains behind my projects!) I sewed two buttons together for more color and I like the way that turned out.
My next mission was to try and make some bags that were reversible. I am enjoying my sewing machine again (it comes and goes) so I whipped up this brown bag. With this second one again I thought I cut the 2 fabrics the same width and yet when I sewed them together there was still more of the outer fabric. Since I love the idea of making these I am now seeking outside of myself for further help. Do you cut both fabrics the exact same size when making it reversible? Does adding the handle between the 2 layers throw it off?
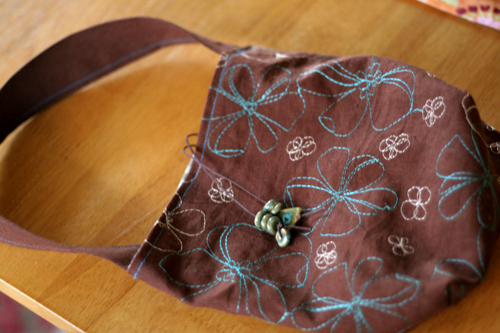
The second challenge I wanted to face was to find a way to make the bags stiffer no matter what fabric I choose. I bought some Iron-on Bond stuff to strengthen my lining and ironed it on the little piece of fabric I had left for the strap. I made the piece of iron-on too wide so when I folded the fabric together it bonded to itself and I had to leave the strap with the seam visible on the outside. Oops! Needless to say I did not want to iron-on to my main fabric. Any tips or feedback?

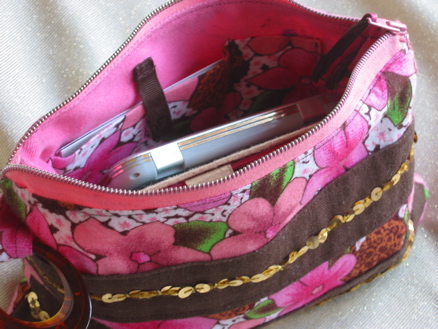
The bag has tons of pockets, I like that but it’s a little too floppy. I made it from some left over ikea curtains we used for our craft room at church and some floral fabric I found at Walmart. I also made the straps so I could remove them and just slip the bag into another bag and still have all the great pockets. Yeah that didn’t work so well. Again, too floppy. darn. Oh, the detail on the pocket is from an old shiny head band I had. You know me, gotta have my bling!

The little pouch for my things is the only thing I’m really in love with. I carry it with me everywhere. I even made a little side pocket for my “business” cards. Brian made me some Bloom cards so I could give out my number when I met a new crafting friend. I also love the bead on the side. It just gives it a little vintage somethin’. I am already designing a new bag in my mind with some Anna Maria Horner fabric that will be bigger and better! We’ll see when I’ll actually get to that…
Lesson 1: When knitting a hat, use a pattern or your hat will turn out like this.

“oh no it’s too big, I don’t think it will work. Maybe if I felt it…” she thinks to herself
Lesson 2: never felt wool knitted with acrylic yarn or you’ll get this.

Yes, the knitted pizza. It is flat as a pancake.
Lesson 3: use a freekin’ pattern, Joy!
PS. I’d like to also say, thank you all for your kind comments on our work. You make this fun blog worth while! We love you!!
]]>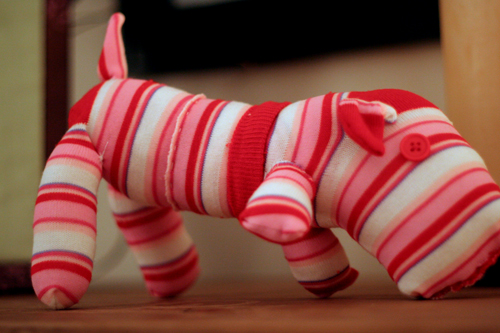
As you can see, it’s hind legs are way too long and his front legs are too short. And uneven.

And it looks like he’s been *fixed* and the doctor didn’t do a very good job sutchering him.
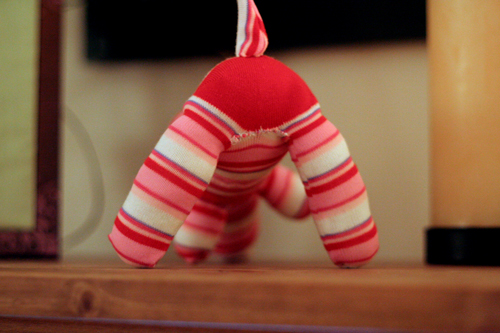
It’s not too bad, but I do feel bad for the poor pup. I did have an overwhelming sense of pride that I completed it. But that faded when my son wouldn’t even play with it. *Sigh* I guess I shall stick with my love affair with felt and leave the sock puppies to a professional.
]]>