I’m participating in our local street fair this weekend and am playing around with some display ideas. What do you think about these:
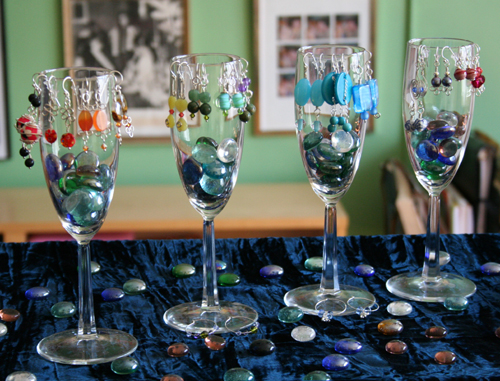
To show off the earrings, I’m using cheapo champagne glasses filled with glass chips from the dollar store. They are positioned on a bed tray covered with a velvet remnant. I tried to follow the rainbow spectrum (Roy G. Biv) in lining up the earrings. The height of the bed tray lifts the display a little closer to the customer.

For this display I painted clothes pins and their holders, slipped the rings over these newly fashioned “ring holders,” added a doily, and lined them all up on a cake stand. I’m planning on putting little stickers with the ring size on the bottom of the pins. Not quite sure what Plan B will be if it’s a really windy day. Maybe I should bring a little basket with me in case the wind decides to bowl over the pins.
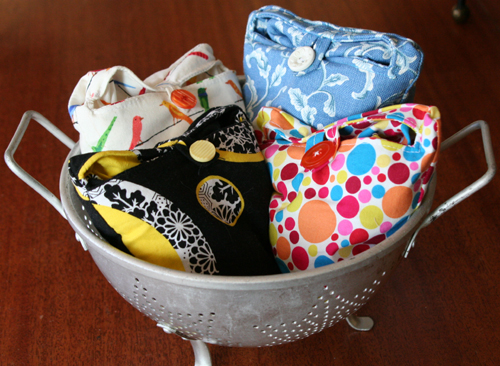
Speaking of baskets, this colander holds to-go-shopping bags. In their rolled up state, these bags reminded me of owls, which in turn made me think of nests, causing me to rustle around my house for something nest shaped to hold the bags.
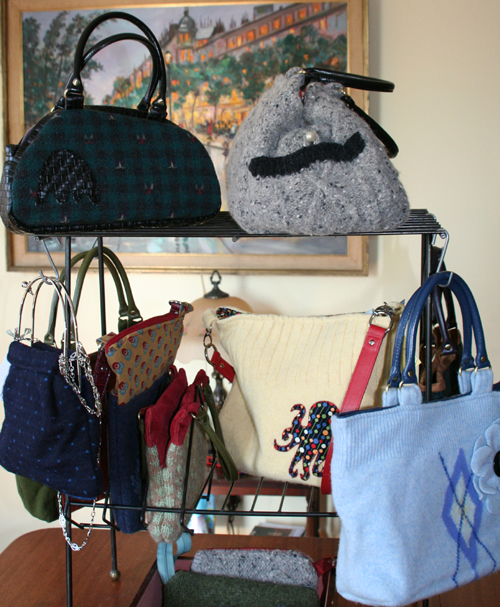
Yes, dumpster diving is a worthwhile activity. This display is a record player stand I found on the street. The larger bags can be suspended with S-hooks and the LP holder section supports smaller bags.
How do you like to display your wares?
]]>
First of all, I owe a huge apology to My Big Mouth at mucky-fingers.blogspot.com. She generously gave me the Brilliante Weblog award. I think I had too many tabs open and got my blogs mixed up. At My Big Mouth you can find all kinds of interesting little tidbits covering the crafty life in California. The author has a penchant for vintage things and currently is discovering the fine art of cake decorating.
Today is my last full day on Cape Cod and it looks like it will actually be a beach day. My husband’s family gets together every year on Cape Cod. We generally average 22 people at dinner. For these reunions I always pack a project bag with supplies for early morning crafting. My intent is to distract the kids from the seductive television set in the next room with a fun and creative alternative.
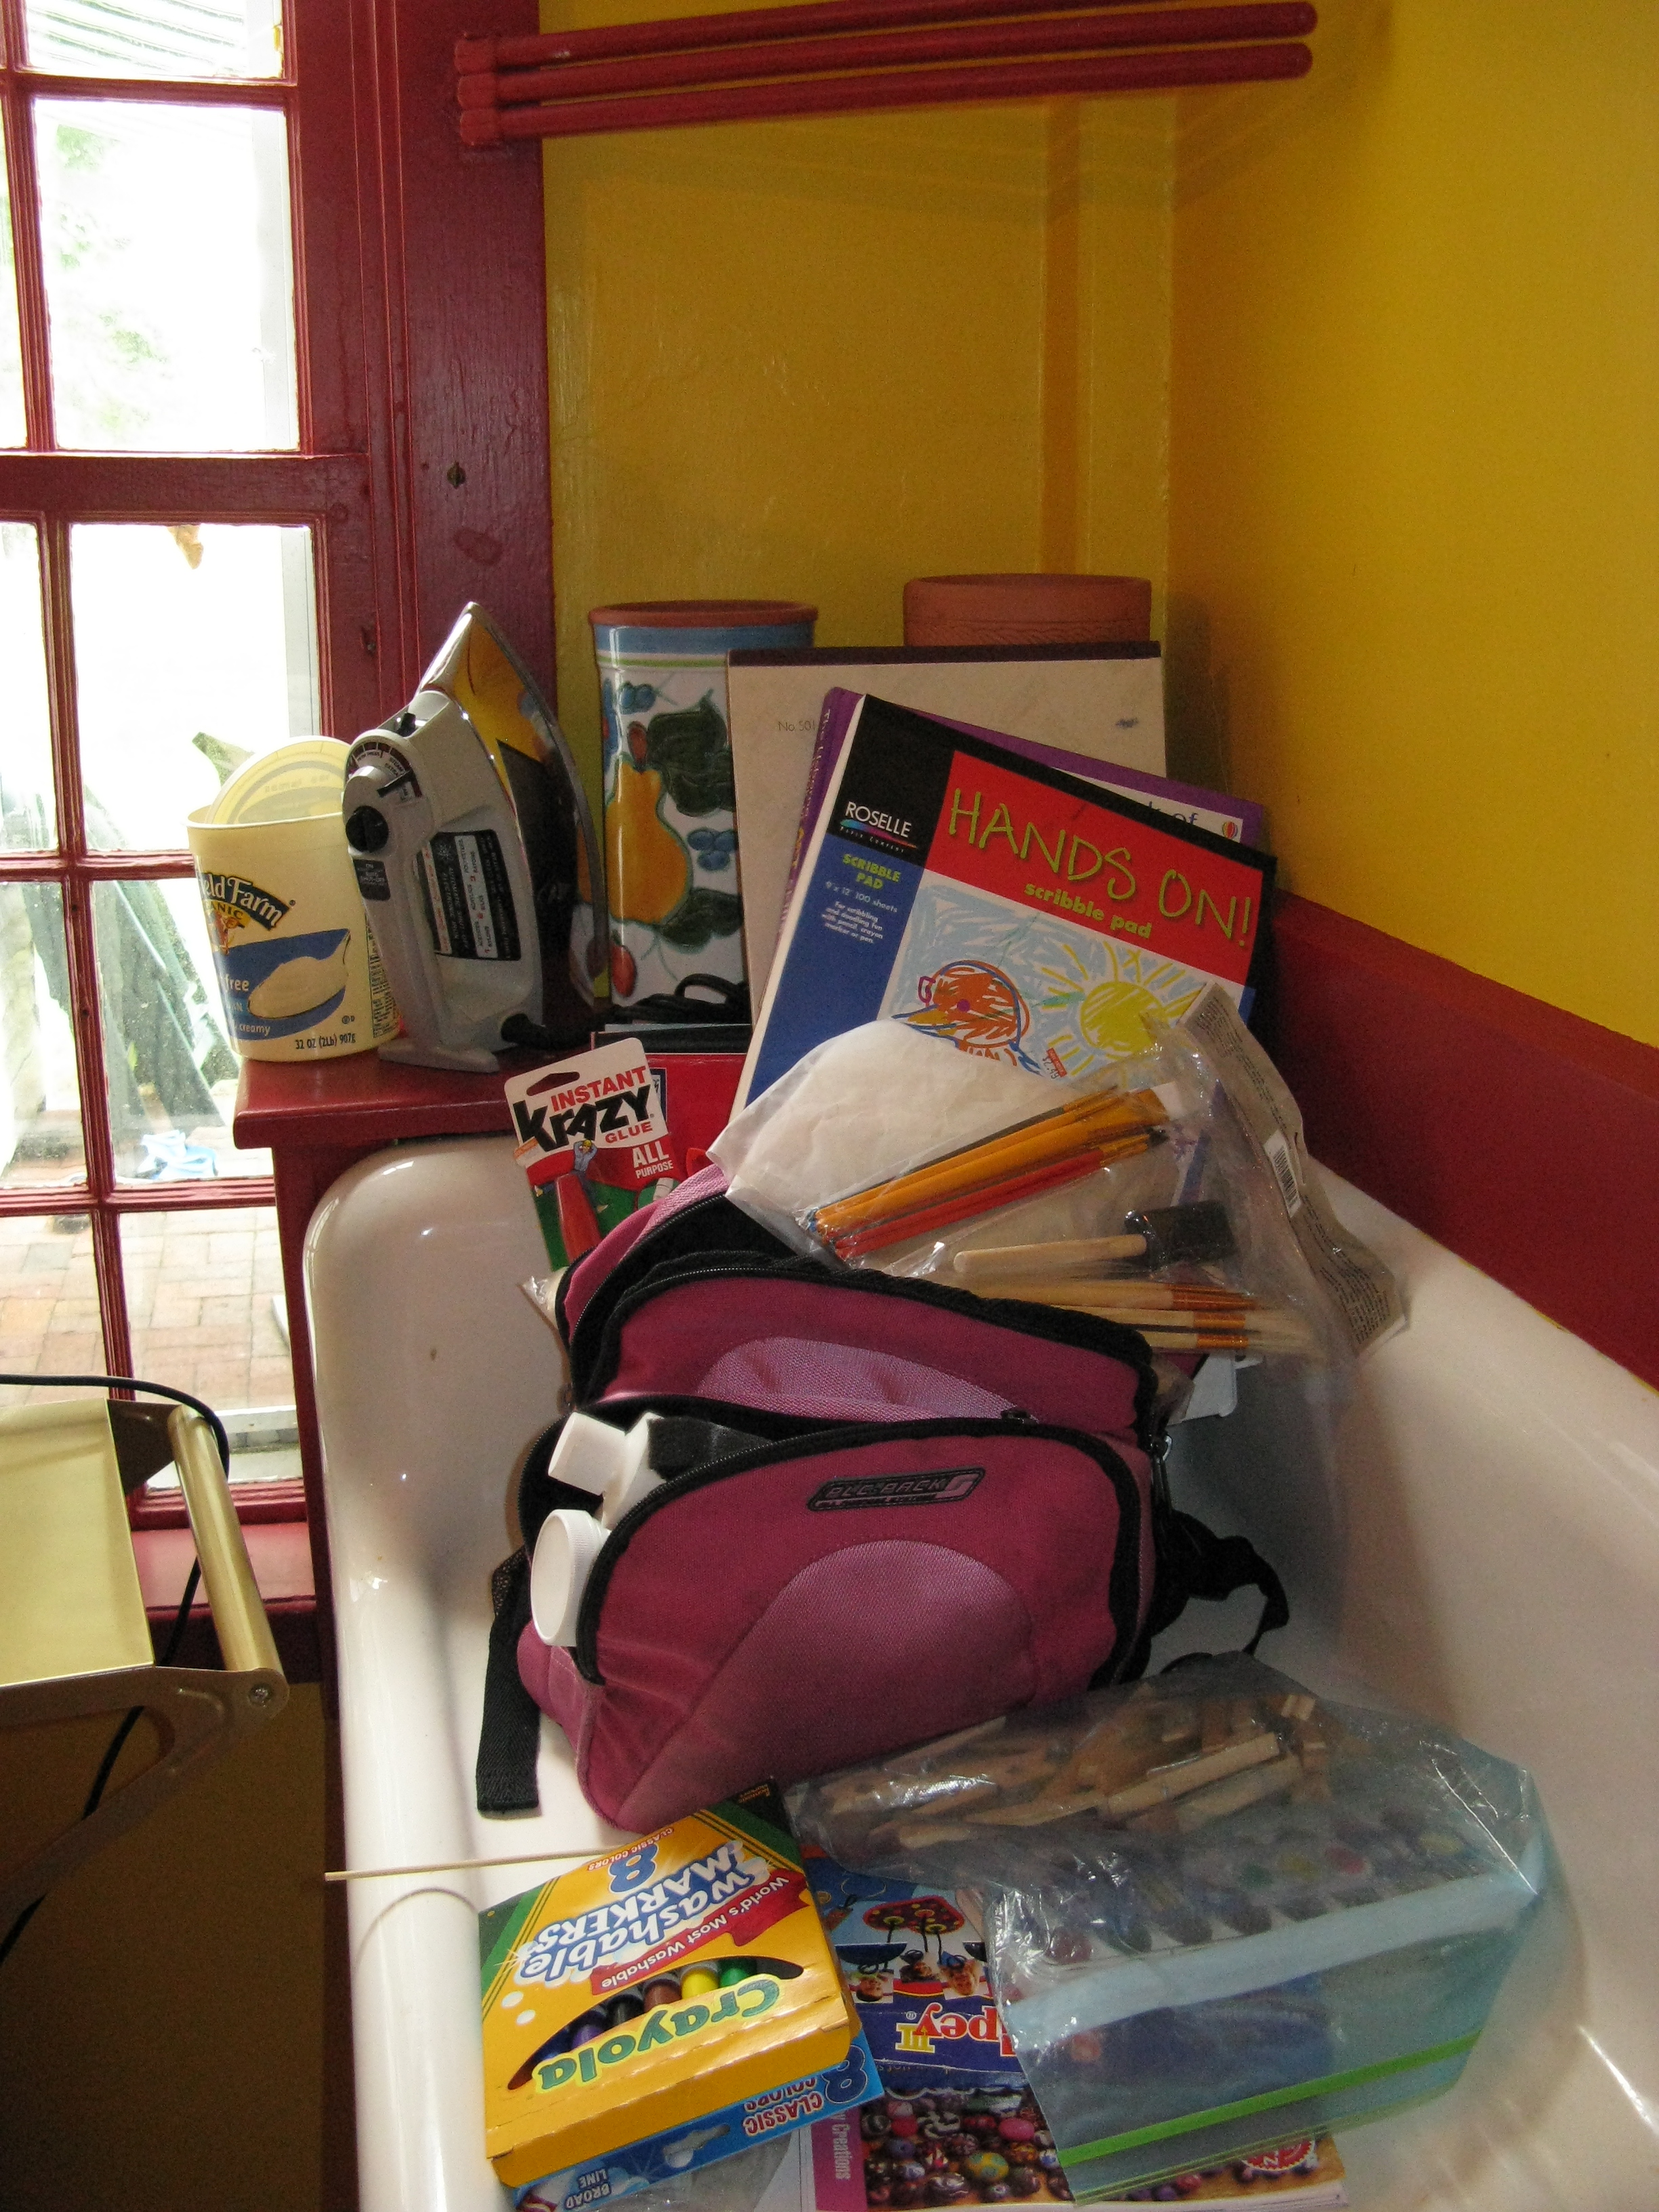
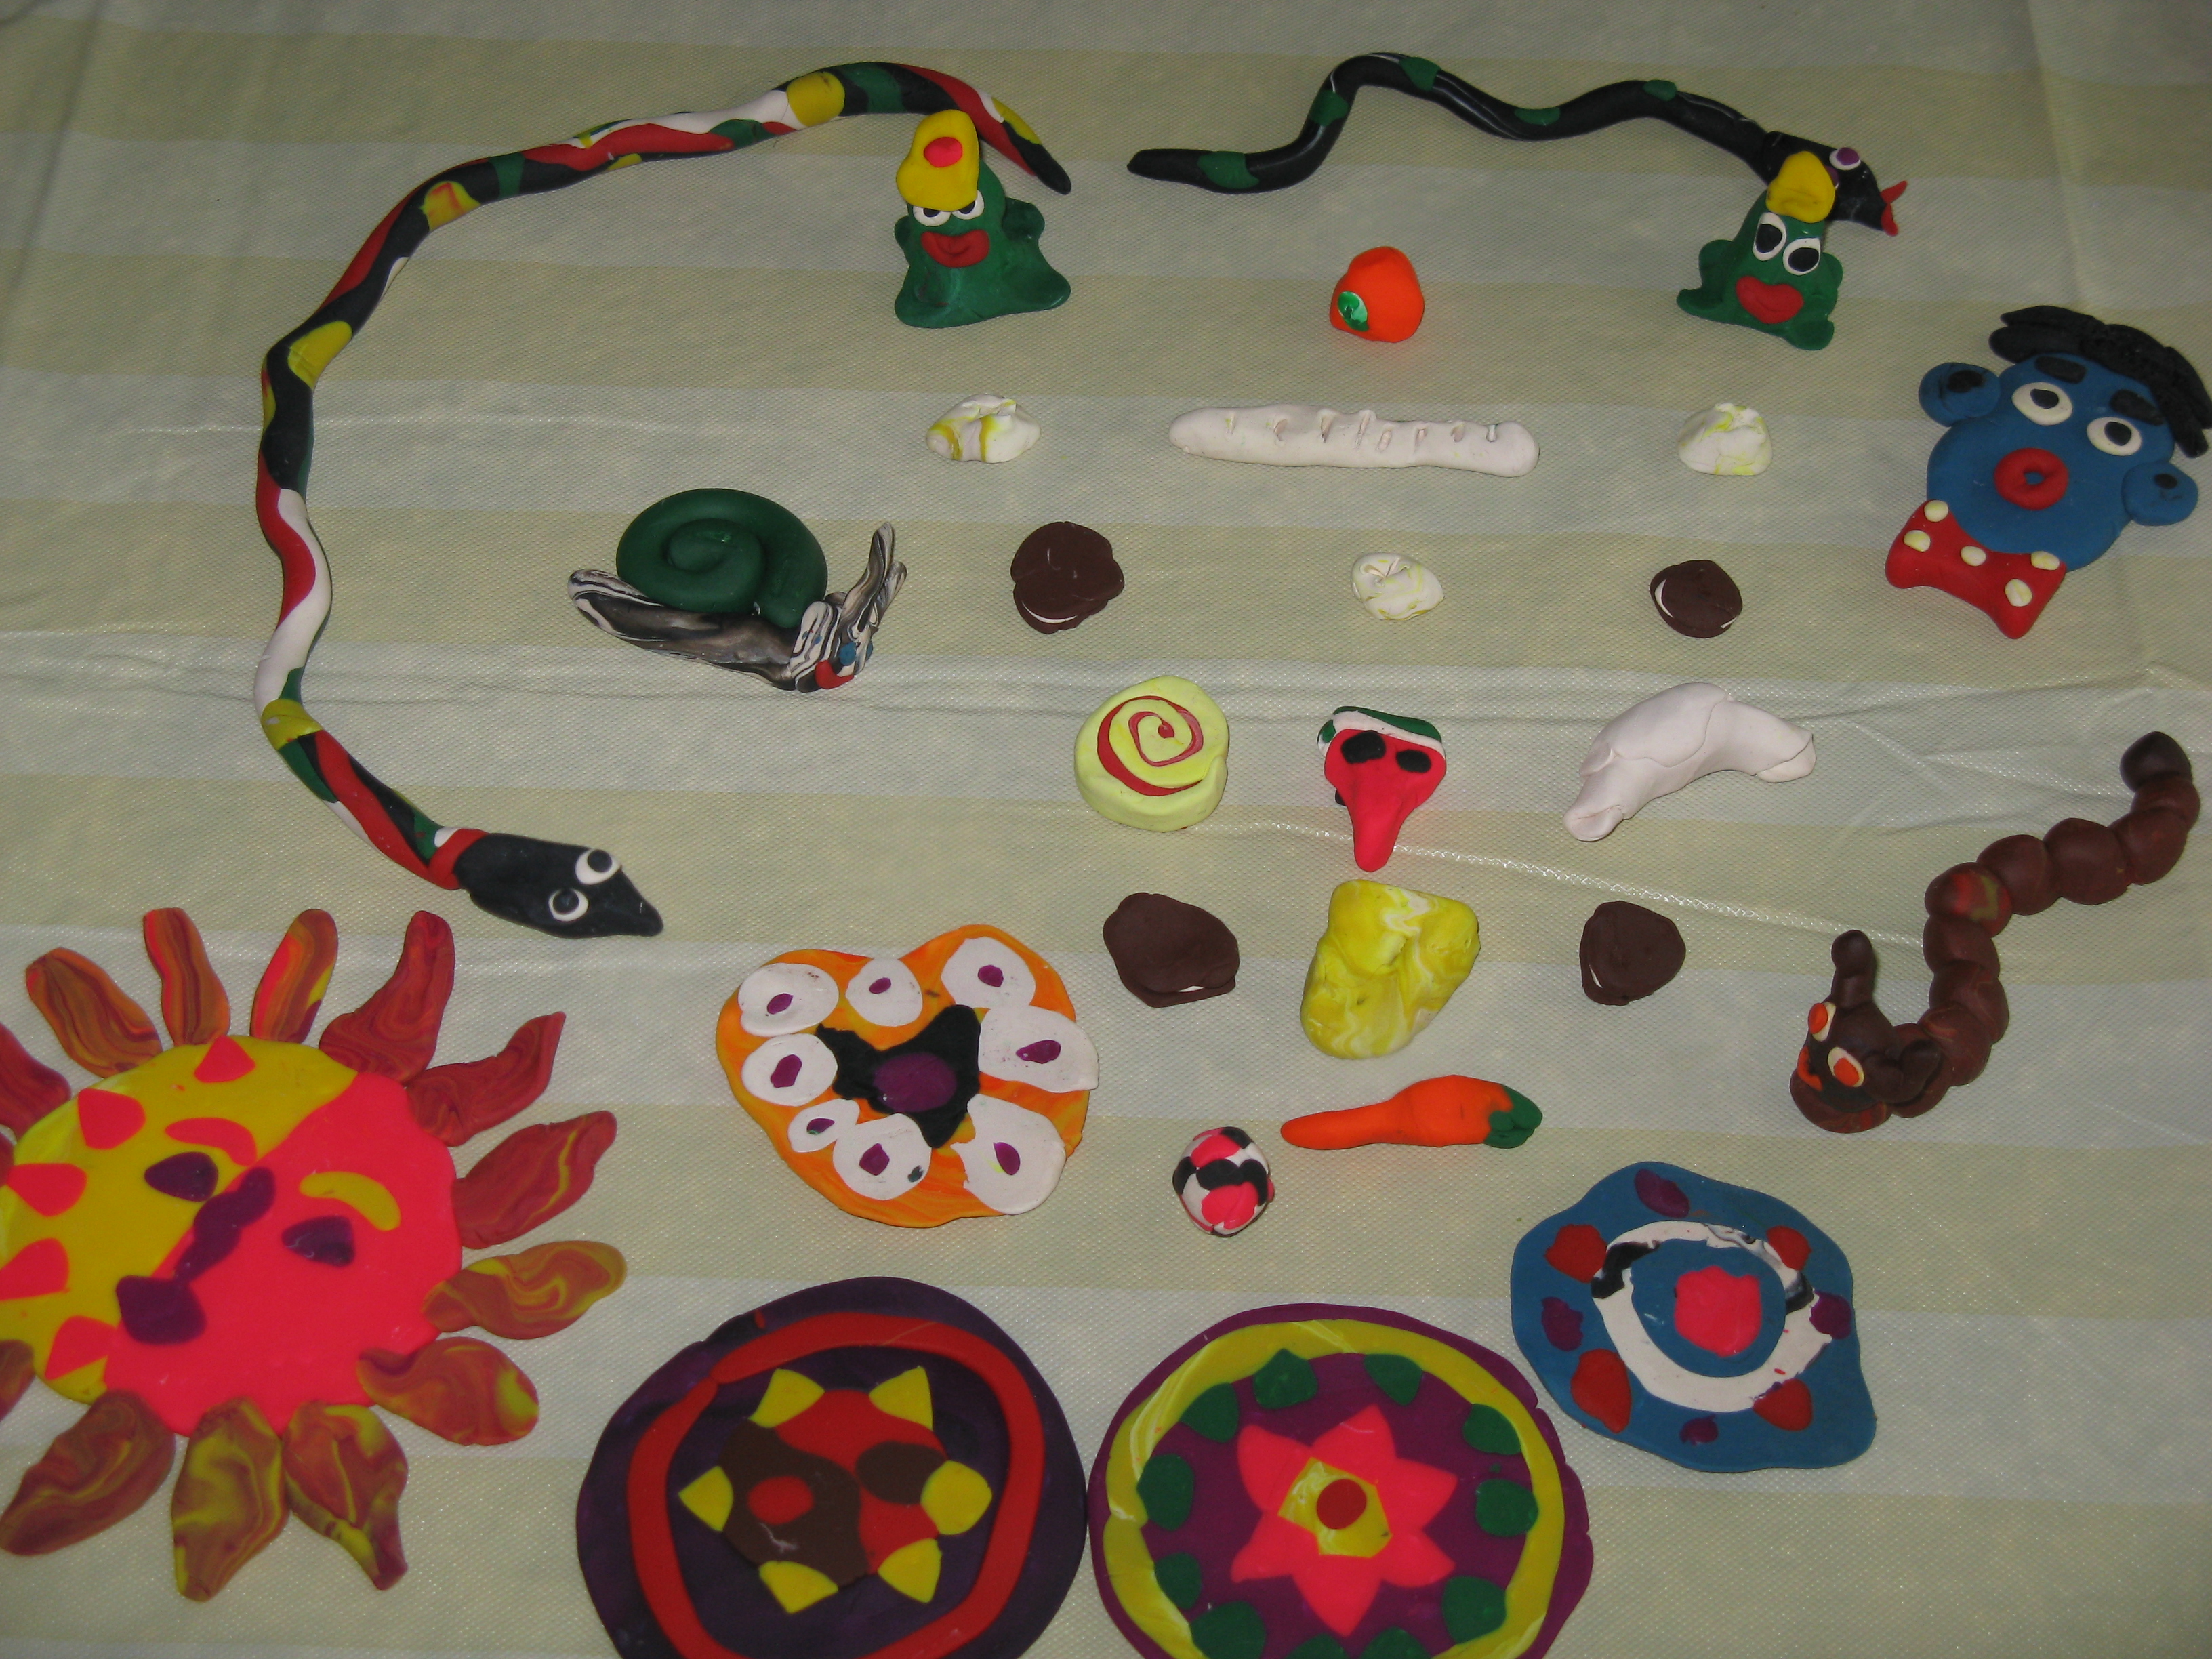
This year the bag was filled with: watercolors, markers, pencils, acrylics, oil pastels, crayons, drawing paper, construction paper, one sheet of watercolor paper, Mod Podge, Sculpey, Ed Emberley’s Drawing Book, the Usborne Book of Art Skills, clothespins, tape and other sundry things. And here are some of our works:
Invasion of the Sculpey Creatures and their accessories
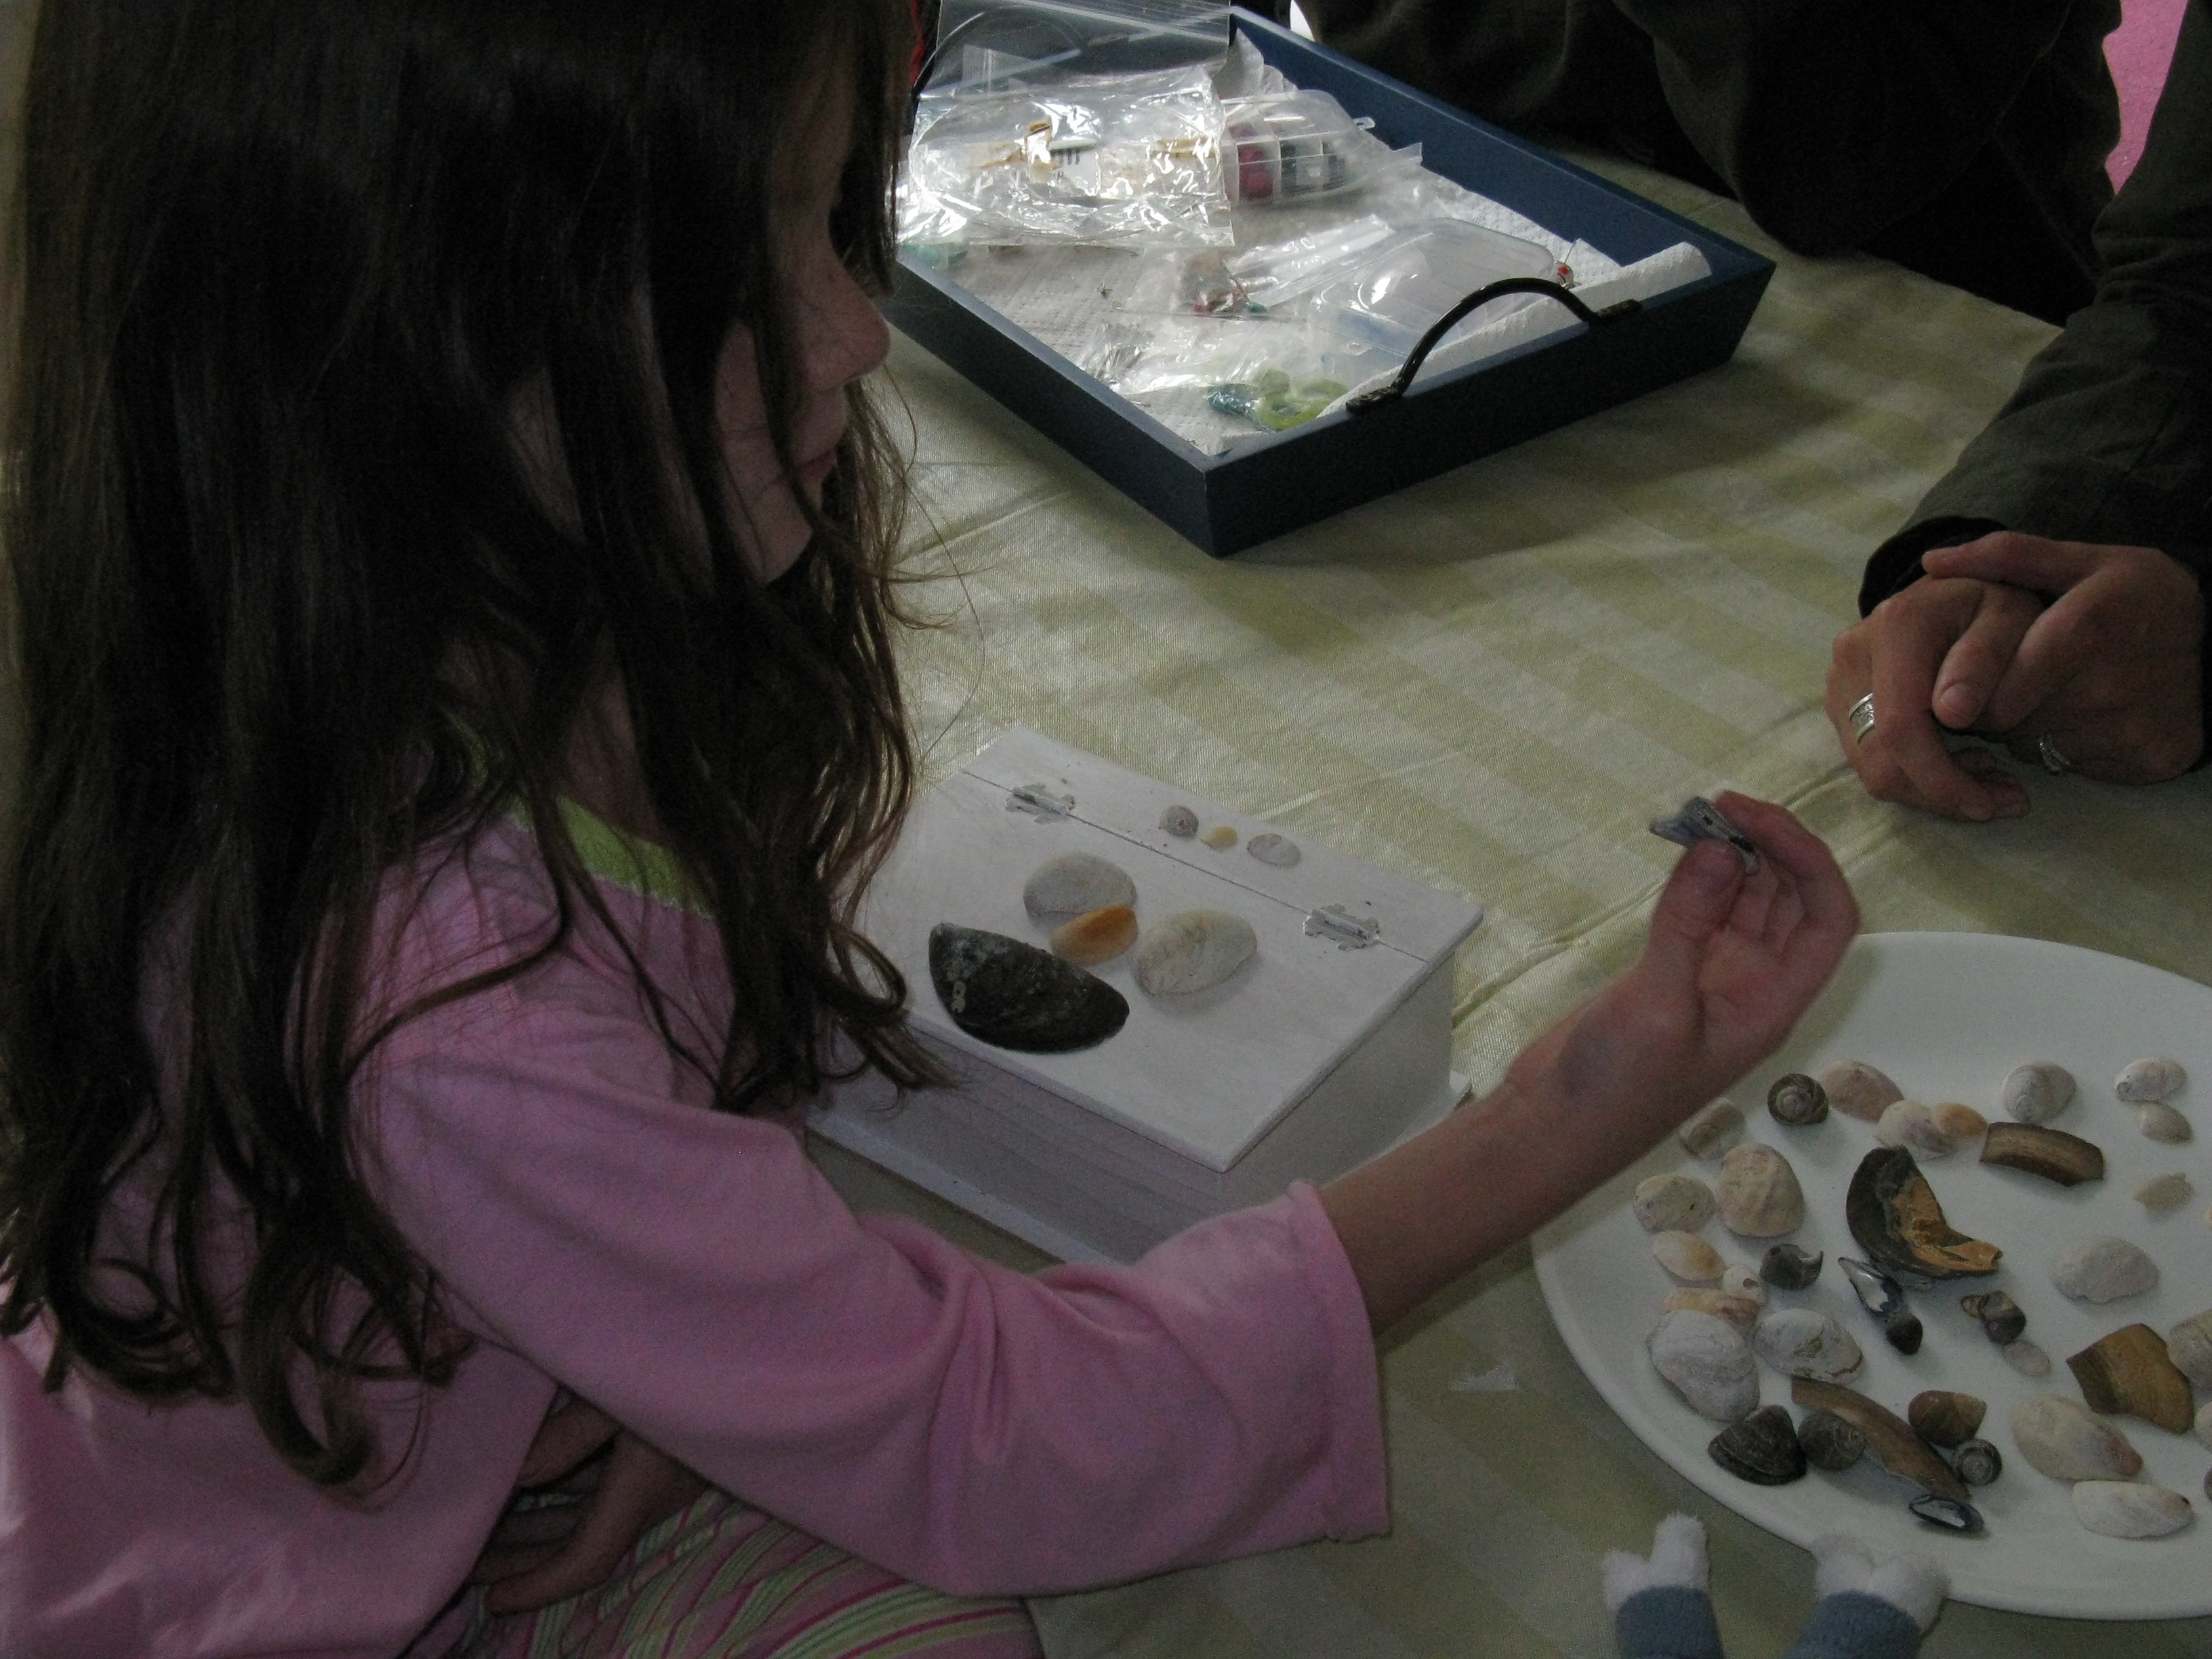
A shell box to store the creatures
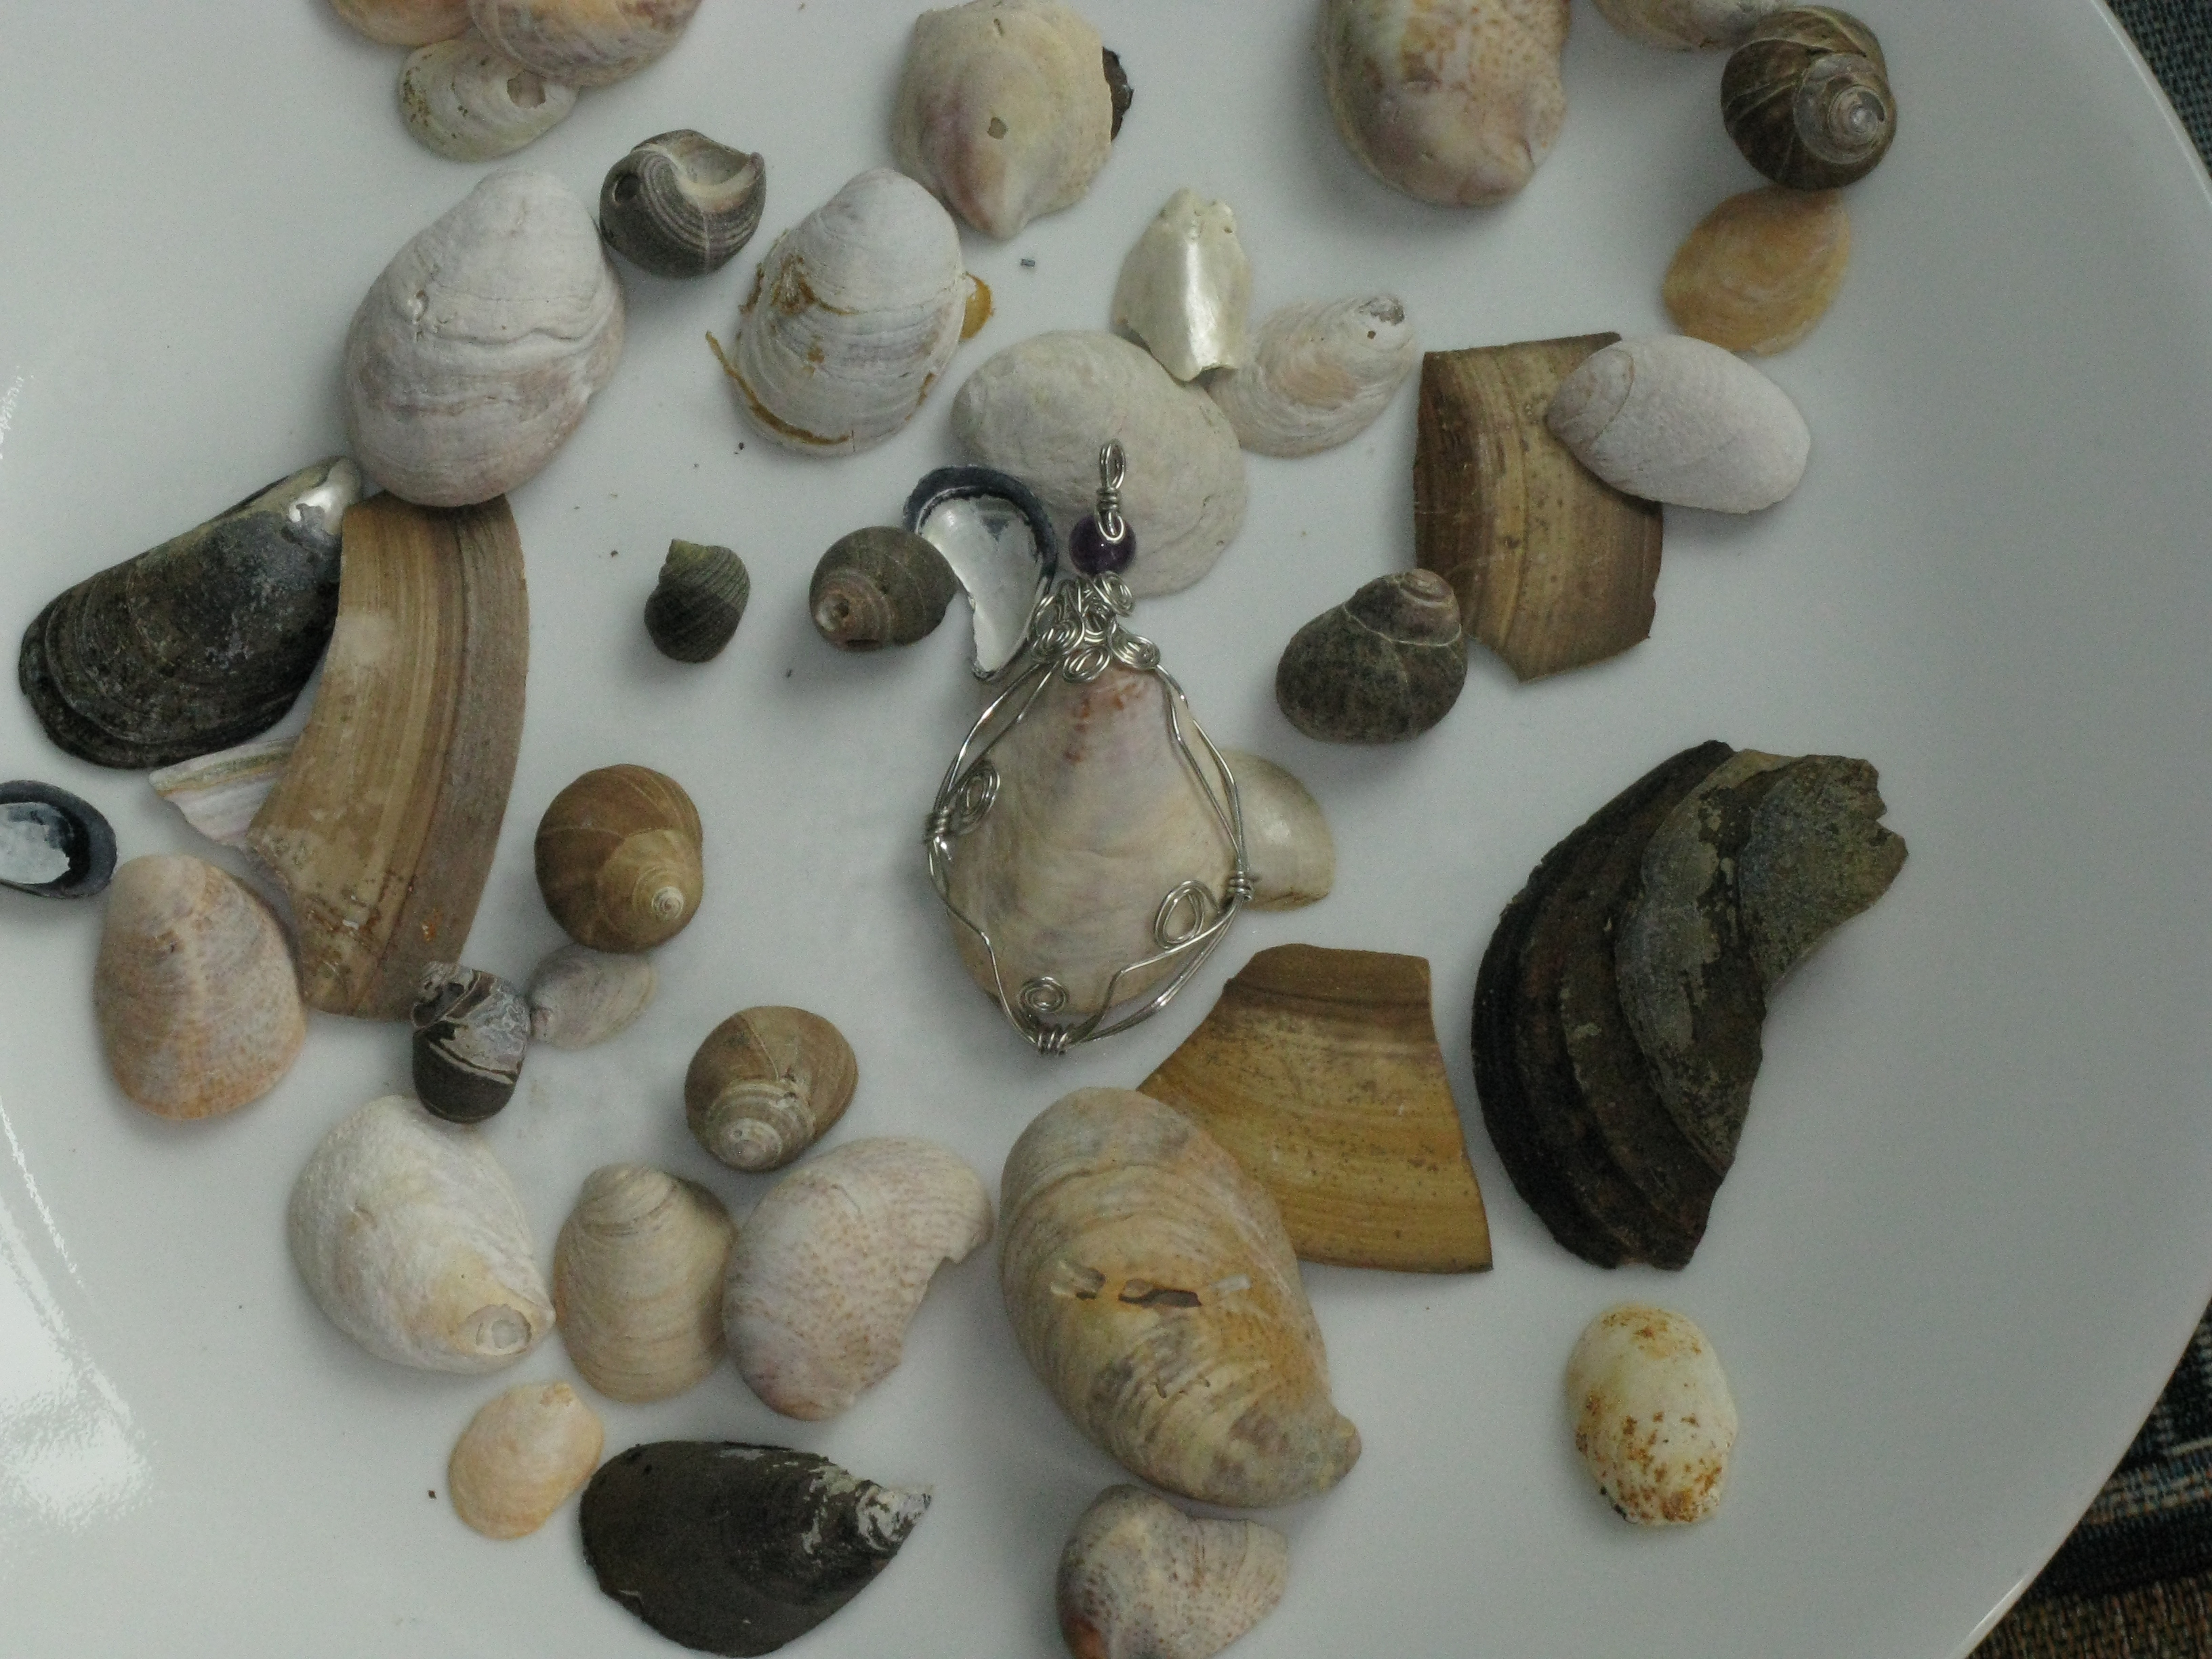
A shell pendant featuring this year’s beach find. To capture a shell, use the technique described here.
Our gallery
I’m definitely not ready to return yet. . .
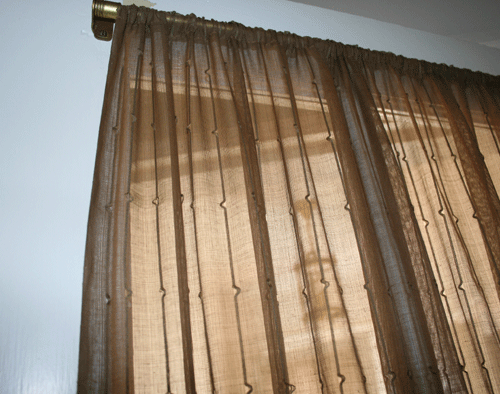
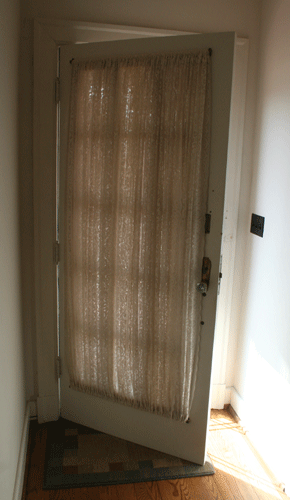
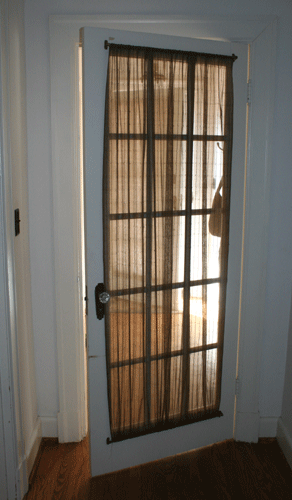
]]>This will be the first of many updates I post as I slowly update the house we just purchased from an elderly couple. The first thing you saw when you entered my front door (previously) was a thick, dusty lace curtain on the back of the pretty paned glass door. Followed by its brother door about 6 feet away at the end of the entry. But these door curtains proved to be about the easiest to remake.
I chose an earthy, brown, gauzy sheer that would give some privacy but still let in some sunlight. I hardly ever pin my fabric but turn it under twice and iron down my hem to make the casing for the top and bottom curtain rods.
Then I sewed each end and slipped it on! The trickiest part was making sure I measured the fabric and sewed my hem at just the right height because I had barely enough fabric to make the two curtains. Of course I bought the fabric because it was on sale, and estimated the yardage using my arm, but that is one of the ways God looks out for me because it is always enough (just barely!!)
These should look nice with the warm color that we are going to paint the long entry and hallway (still to be determined). Any favorite hall colors?
]]>. . . a.k.a. Stencils
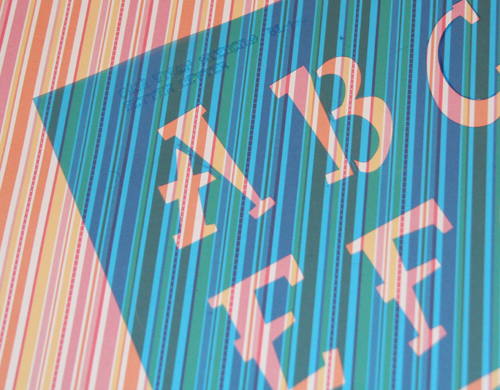
I bought a set of these stencils for a beach bag project and have gotten quite a bit of use out of them. Two years ago, we rented a beach house with two other families. In anticipation of the toys that would soon be all over the rental, I wrote each child’s name on a tote bag using the stencils and fabric markers hoping that it would make it easier to organize their stuff.
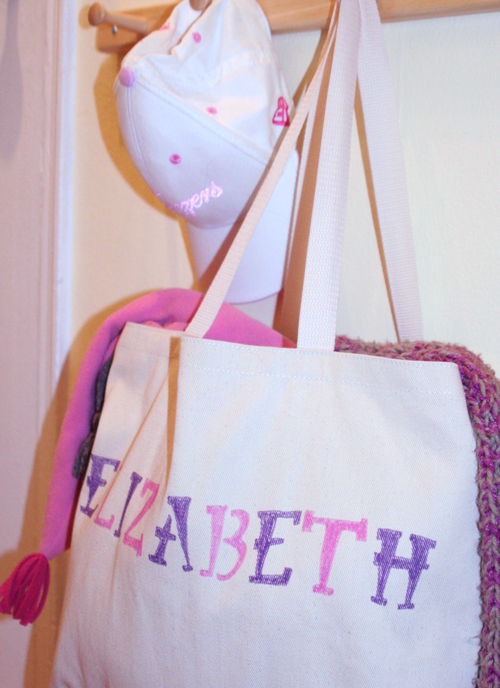
The organizational aspect of that project was a total failure, but the kids were excited about seeing their name “in print.”
Recently, I used the stencils for a treasure box a la Amy Karol for a special girl’s birthday present.
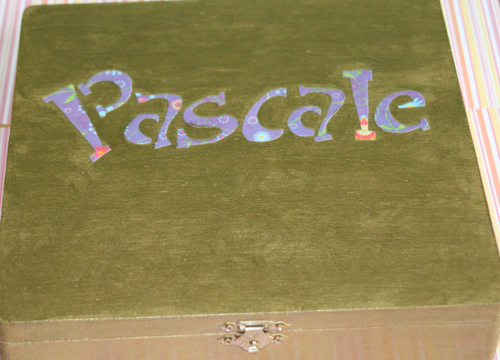
The letters are cut out of scrapbook paper, glued onto the box, and covered with several layers of varnish.
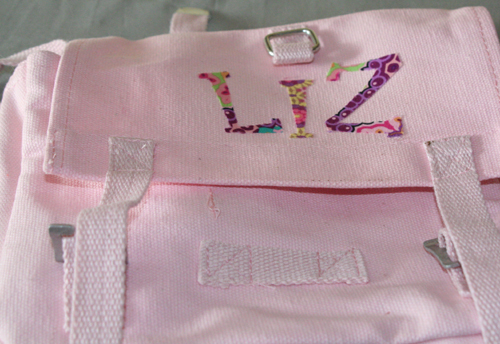
And here, finally a work-in-progress. When I visited my parents in Hamburg last summer, I saw all these army surplus canvas bags with lettering at different craft markets.
With my handy-dandy stencil set I traced a certain little girl’s name on fusible web, ironed it on some scrap fabric and fused the letters onto the bag. Now they just need some blanket stitching and other decorations and Elizabeth’s handful of Pokemons will have a fashionable and comfortable mode of transportation to Grandmother’s house.
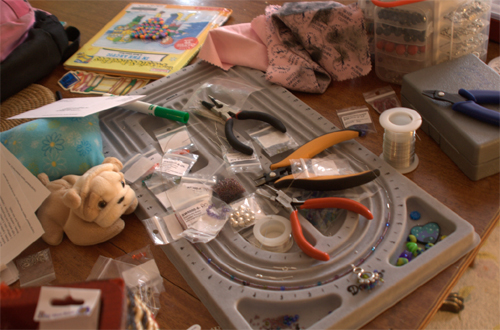
]]>Reporting directly from Santa’s workshop: It’s a mess. Do you craft on the floor? I often do. It tends to be the last available spot for me to spread out since most of my table tops are covered with last month’s homework and advertisements. Also, when you’re beading the beads won’t roll off the table. (duh ![]() )
)
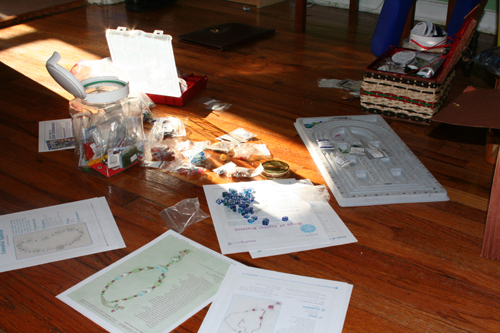
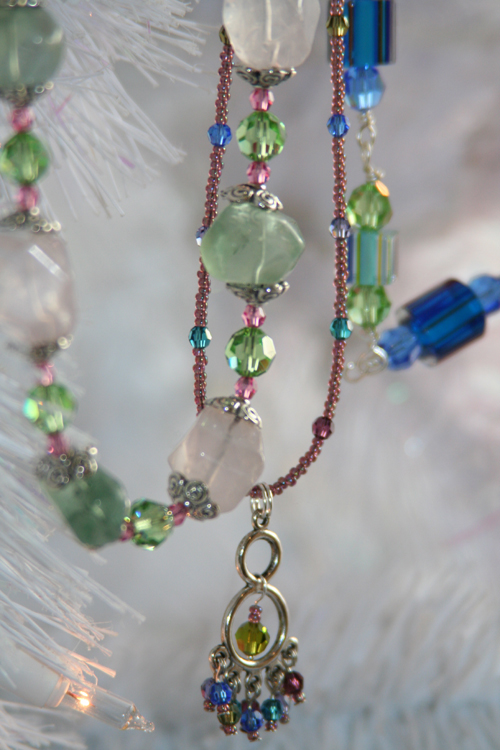
Given the current state of affairs at my household, my extreme handmade gifting pledge (I will only give handmade presents made by myself) will probably only extend to the female members of the family. The nice thing about making the kind of jewelry I’m capable of putting together is that it only takes a very finite amount of time. After one hour I feel like I was creative and actually finished something. For inspiration, check out Beading Daily. For how-to’s I like Rachel Nelson-Smith’s site. After following her tutorial on how to form a basic loop, I finally got it!
So who will get these pretties?
A slideshow of the bookmark pictures I received (and please, if I didn’t add yours, it wasn’t personal, that was a lot of emails to sift through and I may have missed one or two, I tried not to though ![]() )
)
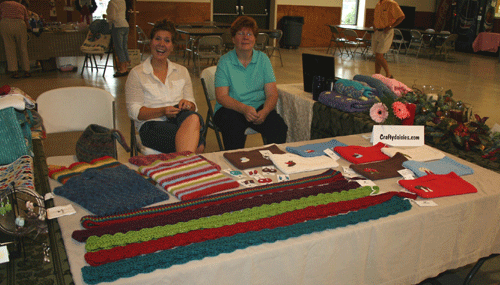
Candace and I participated in another craft show this weekend, a small, local show in connection with a church. There seem to be so many this time of year. With only a month to prepare we have spent every spare minute with a needle in hand or adding the finishing touches and wanted to show you the fruits of our labor!
Here Candace is sitting with my mom. We all brought our yarn to help the time pass by. You would think with the blisters that we came with we wouldn’t be eager to pick our needles up but 5 straight hours with no baby seemed like an opportunity too rare to pass up. It also helps too to not stare down those who are slowly perusing our stuff or not to wait for their facial affirmation.
And yes, though we had some adorable stuff it did not all get bought, so if anything catches your eye you of course can check out our shops and make it your own! Candaces‘ crocheted clutches with felt embellishment are so yummy and her large felted totes! Her polymer clay earrings are definitely worth checking out too!
And I had an assortment of new felted bags and totes that I have been working on for fall, trying to have patience to make larger bags since so many people have wanted bags that hold everything! I’ve gotten back in to making jewelry too which is fun but hard not to keep them all for myself.
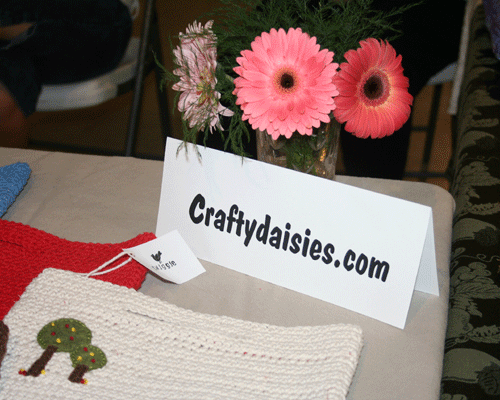
We even had the opportunity to advertise the craft show and Craftydaisies on a local tv show. Four minutes of fame that has come and gone but will definitely not be forgotten, at least for Candace and I. If you have had any great experiences or funny stories from doing shows please share! I can’t believe it but we are already entertaining the thought of doing another one!
]]>Can I just say how not having a computer has stunk? Ugh, I’m so spoiled. Our new computer is ordered and we’re just waiting for them to put it together and send it to us (and oh what a day that will be!). So I do apologize for the delay in posting the final homework pics and the winner of the embroidery goodie-bag. I just wanted to say thank you so much to those who followed along on the embroidery lesson – those who completed the homework and those who didn’t – your support and kind words were such an encouragement!
Below are more finished homework assignments that I wanted to share. Everyone did such a fantastic job, and I truly hope you continue practicing and learning the art of embroidery.
from Melissa
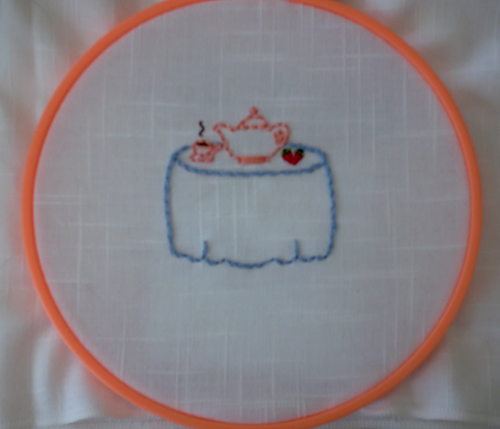
from Caley
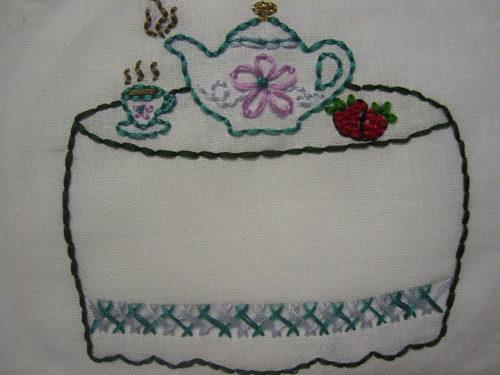
from Lauren
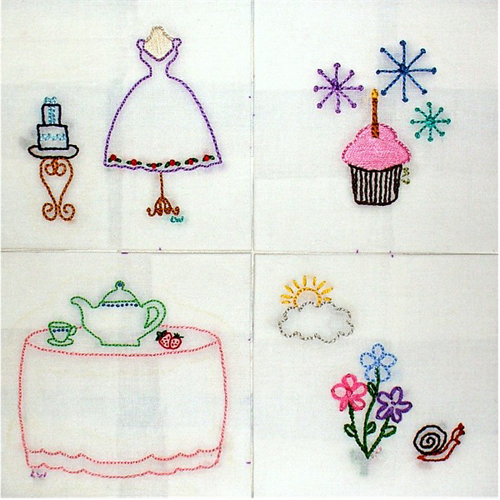
from Jessica
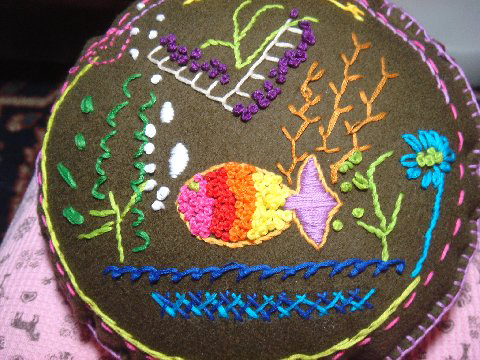
from Emily
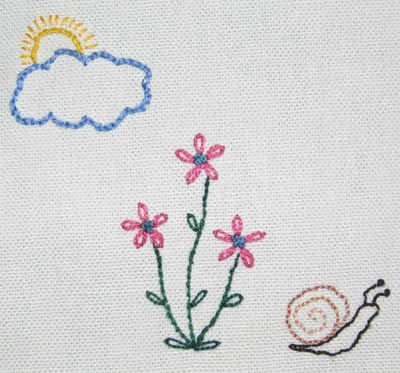
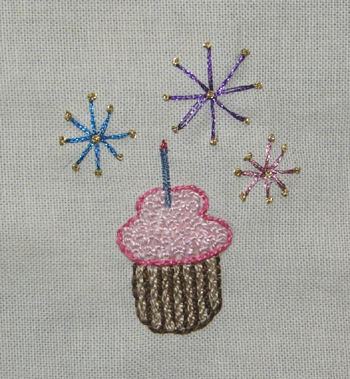
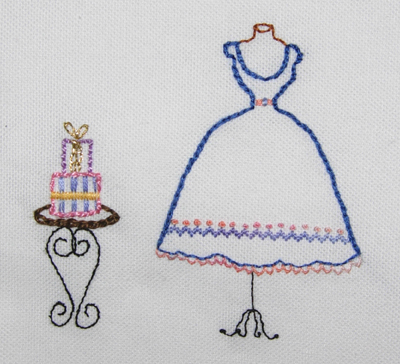
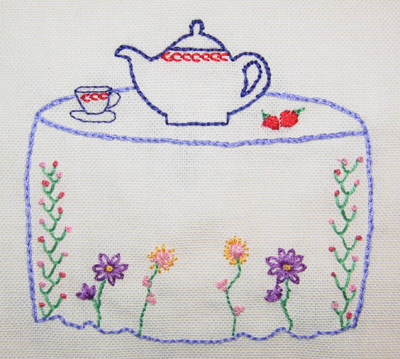
from Marte
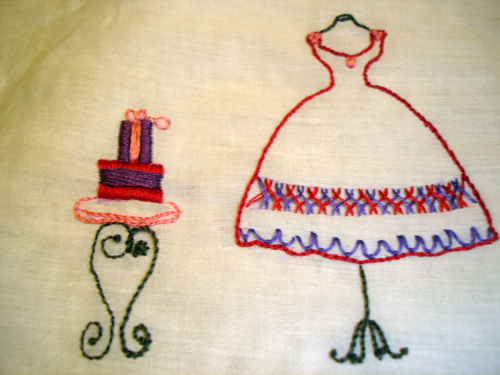
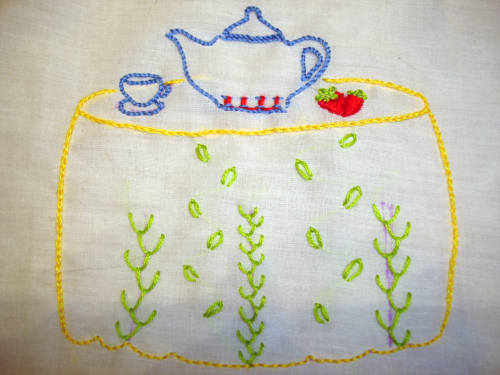
from Meg
And the lucky winner of the random drawing is Chelle – congrats, Chelle! I will be emailing you shortly to get your mailing info. Thanks again to everyone who participated in the embroidery school!
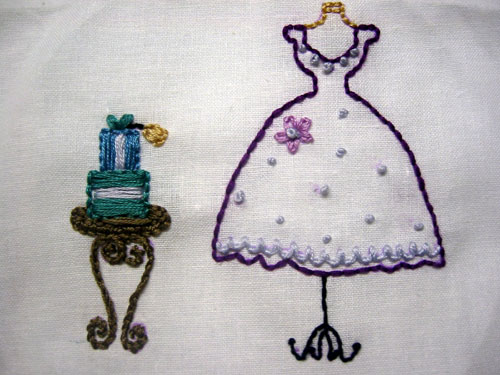
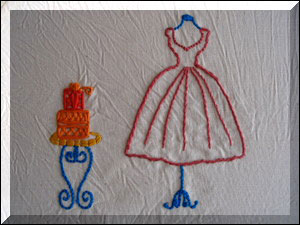
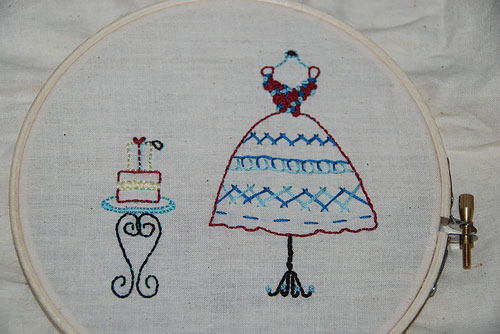
]]>I appologize for not having Lesson 5 ready this week – time has gotten away from me and I don’t see it happening. So this week we’ll continue practicing all the stitches, and next week we’ll combine the stitches for Lesson 5 & 6 for the final lesson. Event tho there are no new stitches to cover this week, there is another design template for homework for you to complete. If you’d like to show-off your completed work, email it to [email protected]. Below are more finished homework that’s been turned in – you guys are doing so great!
from Melissa
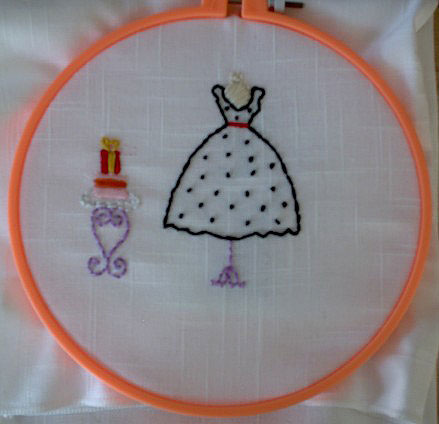
from Caley
from Cristina
from Lynn
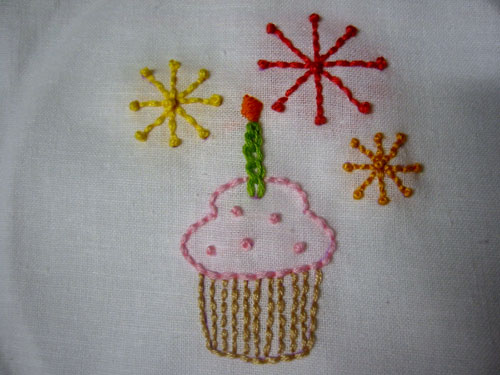
You guys are doing amazing with the embroidery lessons! I love getting the completed homework pictures – it’s so awesome to see how everyone is doing. Lesson 4 will be up tomorrow – I’m not lazy, I promise, just busy – but in the meantime here are more homework pieces that were emailed to me.
from Caley
from Katie
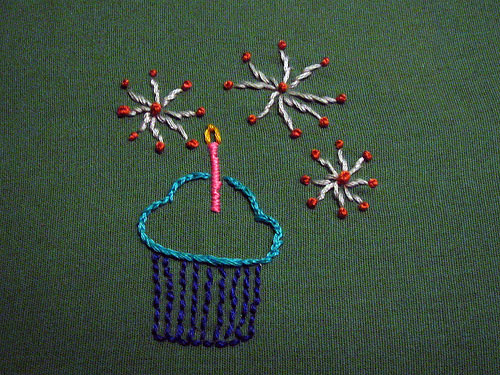
from Chelle
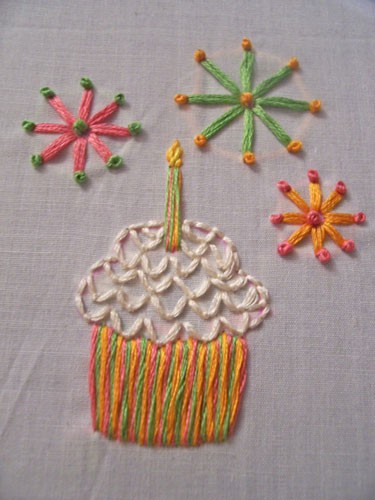
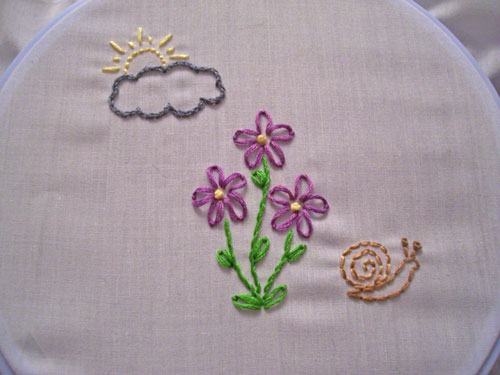
from Melissa
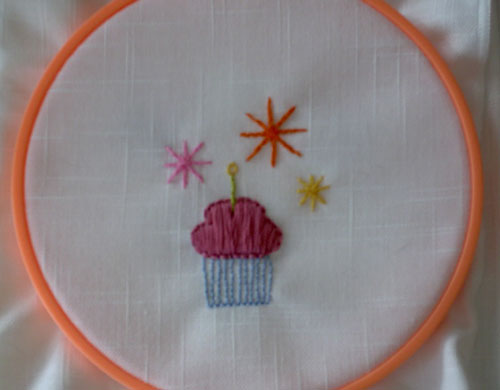
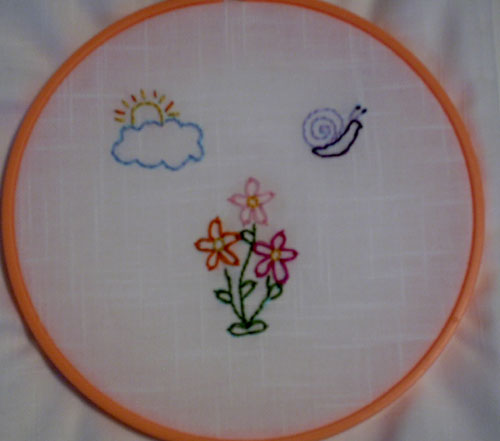
from Jennifer
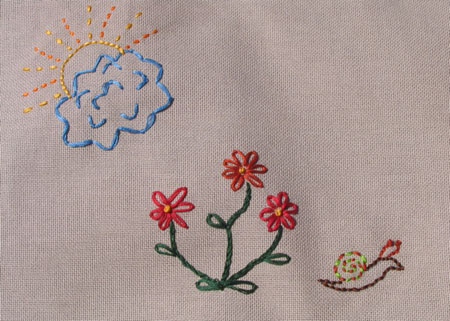
from Cristina
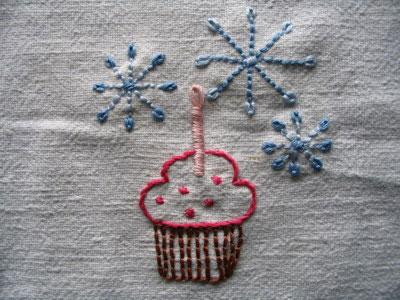
from Lauren
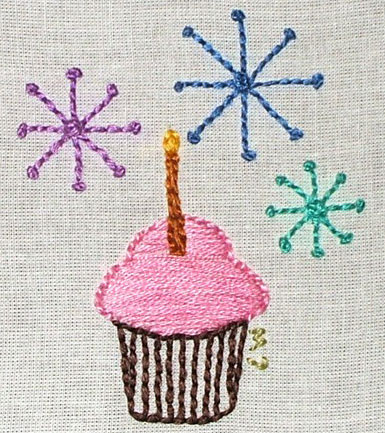
from Shawna
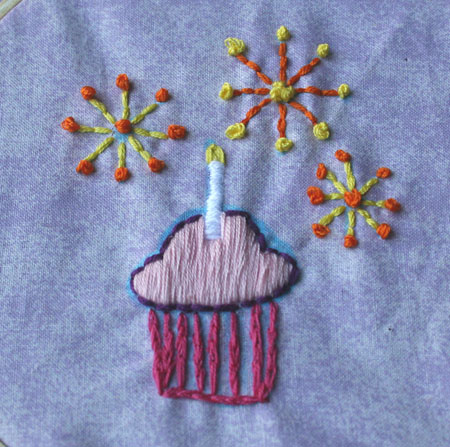
from Lynn
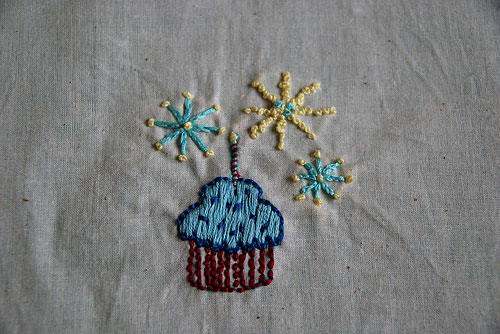
If you emailed me yours and I didn’t post it, try sending it again.
]]>