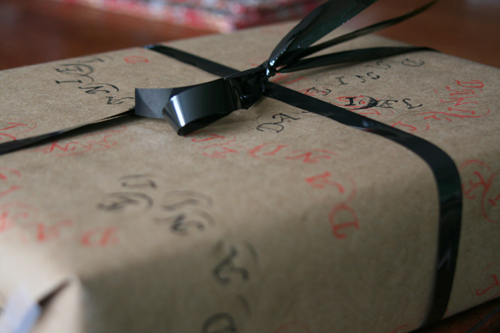
As my handiwork attests I’m a terrible stamper. I never seem to be able to avoid getting the rim of the stamp onto the paper, the ink doesn’t distribute evenly, I could go on and on. Any hints on how this is done would be greatly appreciated. However, as a concept piece and for a birthday present for a seven-year-old, I think this works: I cut out a piece of brown wrapping paper to fit the present, and then proceeded to stamp Daniel’s name all over it. For recycling purposes a brown paper bag would work equally well, but for some reason they only do plastic in NYC.
While stamping the D-A-N was still a very Zen experience, by the time I got to the I-E-L part, I was ready to pack it up. Fortunately he didn’t have a lengthy name like Balthazar. (That would have been Elizabeth’s name if my husband had had his druthers and she had been a boy.)
The bow used to be part of an exercise video tape. I got that idea from Danny Seo.
Note to self: Don’t try to remove the ribbon from the tape case five minutes before you have to leave for the party.
]]>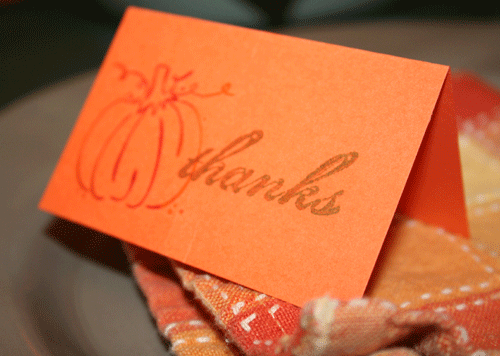
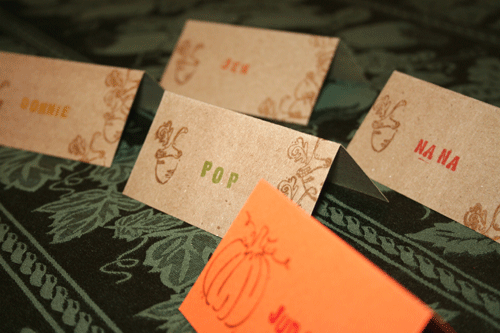
I know I am a few days past Thanksgiving, but I wanted to share an idea that I like to use for my holiday table that you could apply toward your upcoming Christmas plans- stamping placecards, messages, or labels.
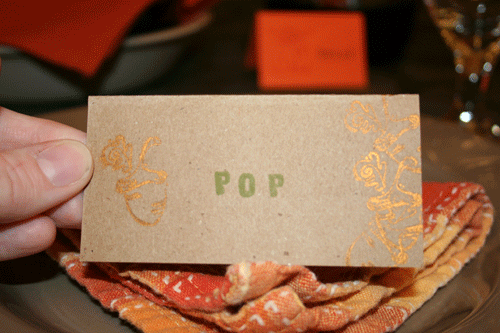
I cut cardstock about 3″ by 3″ and love to use metallic ink great for holidays like copper color, gold or silver. Very festive! With a tiny aphabet or message stamp I create labels for each member of the family around the table. Sometimes I have written a small message inside or written specifically why I am thankful for them or love them. You could even make a game of it or hide the winner of a small prize, or first to get in the buffet line! There are lots of ways to be creative here and make your meal more memorable!

I have also used these cards to disperse reminders about the table (like the “Thanks” cards), or as labels when there are many people visiting my buffet. For example to label: Regular or Decaf coffee, a baked dish or dessert, Splenda or sugar, etc. This would be a great craft to let the kids in on too and let them help you stamp or decorate with holiday stickers. These would look beautiful coordinated with the stamped napkins or paper tablecloth posted earlier this month. Get stamping!
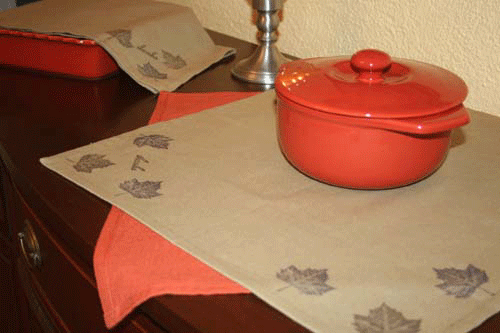
I borrowed this idea from an old Martha magazine – stamping napkins, tablecloths, or towels for the holidays. These large napkins could make lovely certerpieces or could line the table length or buffet that you serve from. A great, quick hostess gift or decoration for any holiday!
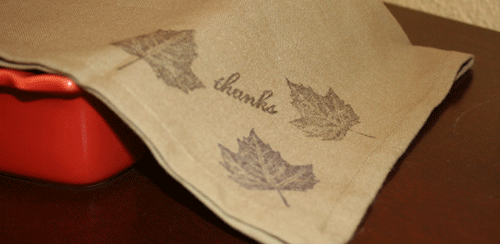
This is one of those perfect projects: Cheap, Quick, Simple, and Not Messy! Literally, a 5 minute project. As you can see some are stamped all the way around, in the corners only, or clustered around the corners. All these looks using only one stamp!
Needed:
Package of Cloth napkins
Stazon permanent ink pad
Holiday picture stamps or messages
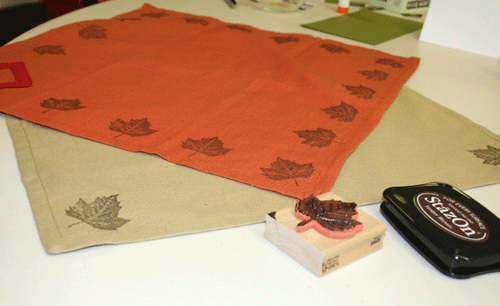
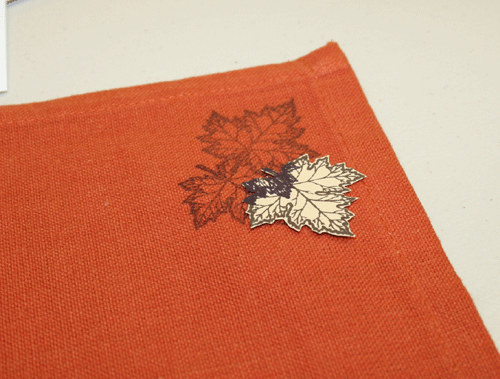
My friend also cut stamped a leaf and cut it out in order to stamp the leaves clustered in a corner without overlapping the leaves. The paper leaf blocks the ink to keep each leaf looking crisp.
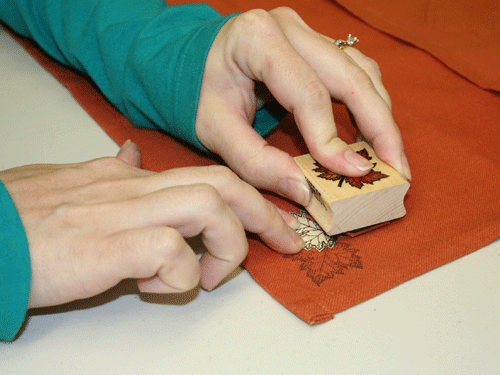
Note that I am only using Brown and Plum Stazon ink and one stamp so you can obviously be alot more creative with this idea! I am hoping to find holly leaf or star stamps to decorate for Christmas.
]]>
To make eating at the “kids table” seem like a more fun idea, I wanted to create a special spot decorated just for them. This would be great for Thanksgiving or family meals and if it’s messy when they are done, just throw it away! It would also be fun to stamp the child’s name at their place, or let them color in the stamps or draw on the paper if the meal is done and you want them to stick around a little longer with the family.
Supplies needed:
Craft paper, brown or white traditionally, but any color
Rubber stamps
Stamp ink
Tape

I went ahead and taped the runner to the bottom of the table to make it easier to stamp. Then I created a pattern around the paper with the pumpkin, leaf, acorn, and swirl of wind stamps in different colors. Obviously my boy couldn’t stay away from my display.

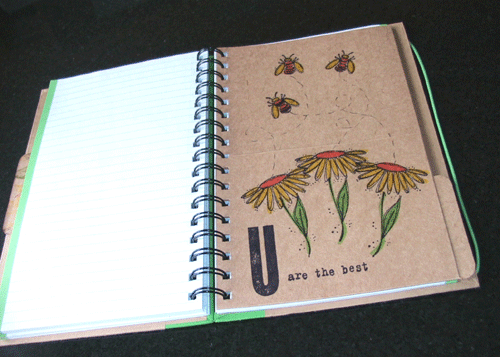
And then on the inside, more surprises! Nothing that she makes is ever boring!
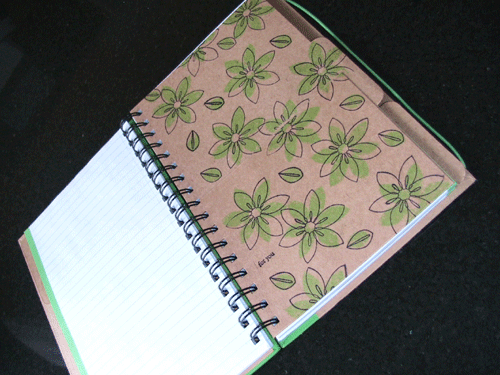
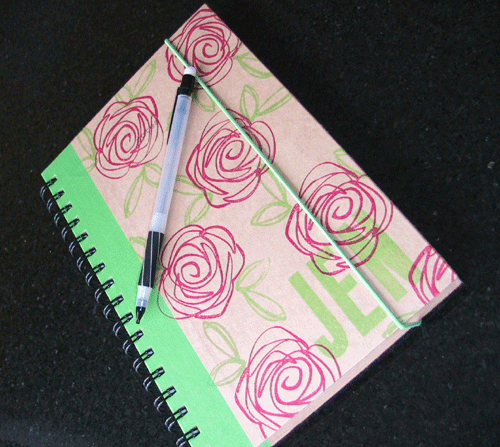
I think decorating the dividers would be great for a child’s school notebook too, for the different subjects or a theme they like.
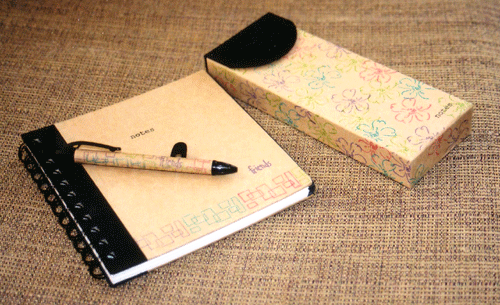
I have also stamped large and tiny pocket notebooks, pens, pencil cases, and index card boxes. Target sells a lot of these blank brown, cardboard paper products that make great gifts, so get stamping!

I thought this was a fun Valentines idea. It’s Paper CD sleeves used for cookies. You can stamp them any way you like & add tags. This gives me a chance to introduce to you one of my favorite crafty blogs, Kiddley where I found the idea. Tons of great craft ideas for kids. I can’t wait to try some of these when Lucy gets old enough. Hope you have a wonderful Valentines day with your loved ones. Happy Valentines Day!
Did you find some cool V-day ideas? do share.
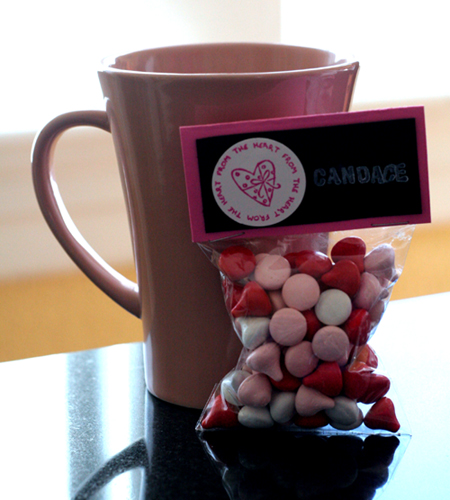
]]>These candy gift bags are fun and versatile for any occasion.
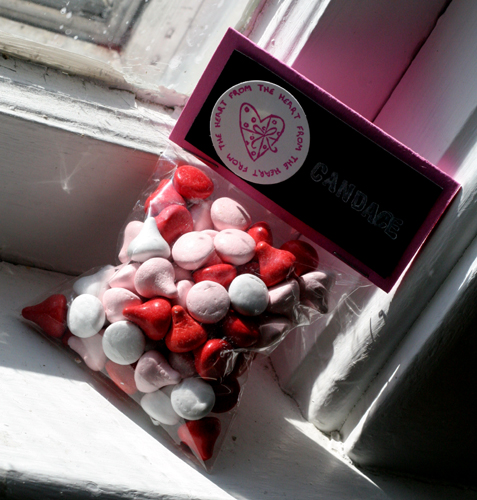
I got these little plastic baggies in different sizes from the dollar store. I fill them with candy or marshmallows (and attach a packet of cocoa), or any small gift. I cut about a 3 3/4 x 4 1/2 inch sqare and folded it in half to decorate. I like to use black paper and stamp with white craft ink or write with a white color pencil so it looks like writing on a chalkboad. This one went to our beloved Candace!
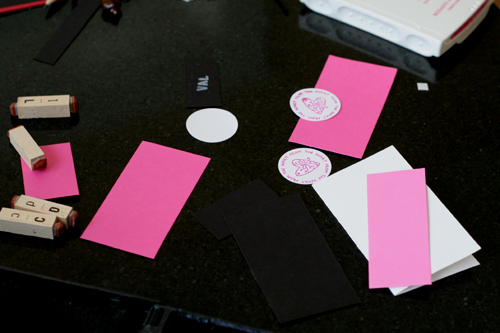
I have a 1 1/2 inch circle punch that I stamped the heart message on and stuck it to the black cardstock with a piece of 3-D double-sided tape. I have a tiny set of alphabet stamps that are great to use for stamping the name or a message on the back. When I am done I just staple the card over the ziploc part of the baggie. Perfect for friends, co-workers, or classmates!
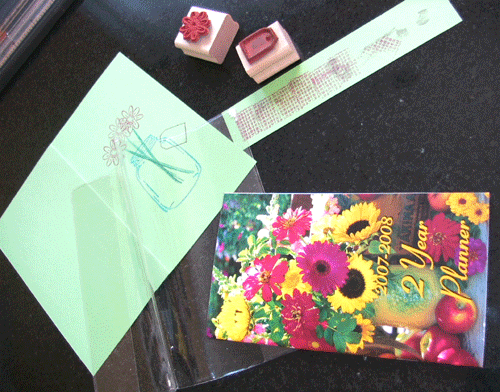
I took the calendar out of the plastic cover, traced it on bright paper, and cut it out. Fold the new cover in half and choose your stamps and ink colors. Decorate and personalize! Then slip back into the plastic cover. I didn’t even stick it to the calendar.
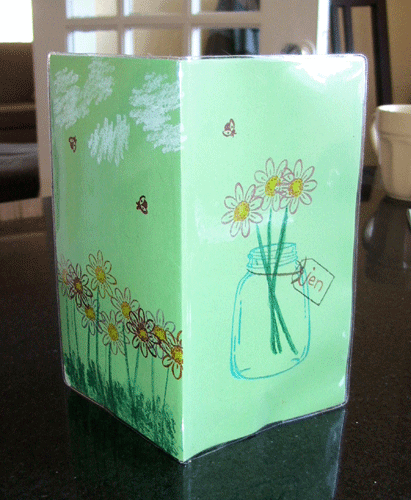
You could even stamp something different on the back to flip over whenever you feel like it. This could make a cute, small gift or Valentine and these calendars can be found for about $.50. I wrote my name on the front and you could personalize it to fit any friends’ personality. This only took about 10 minutes so I may change it every season- obviously I am ready for spring. I am much more eager to look at these daisies every day!
]]>1. Use washable ink and press the rubber stamp firmly to make sure it shows up dark on the fabric. It needs to be dark because through the process, and because your hoop and hands will rub it, your pattern may disappear before you can finish embroidering it. (hence why my cowboy’s gloves are a little unclear) Also, I wouldn’t choose a stamp that was really tiny or detailed. The good side of using washable ink is that it will fade by the time you are done or you can wipe it off with a damp cloth. I like using this method because I can also alter the pattern, like I chose not the stitch the cowboys’ mustache.

2. Cut the fabric in the shape/size that you want if making a pillowcase, center the design and stamp. Then embroider the pattern Before sewing the pillowcase together.
3. I left the ends of my pillow case open so it could be removed and washed. The cowboy print side is flannel and the brown side that I embroidered on was a light-weight, suede-like material. This is the first time that I used fringe trim but it will not be the last! I thought it was so easy and cute and I have been looking around the house for what else I can sew it on to with the extra I had leftover.


4. The actual pillow I made using cheap white fabric and good old poly-fil, since I could not find the shape I wanted at the store. In total the whole project cost me less than $4.
Using rubber stamps for your embroidery pattern is also great because you can make things to match. For his party, for example, I made the pillow, cowboy birthday thank you cards, and gift bags for the other children.
This method has opened up tons of options for me since I often want to embroider but don’t trust myself to draw the pattern and don’t often like what there is for iron-ons (and I have hundreds of stamps).
]]>