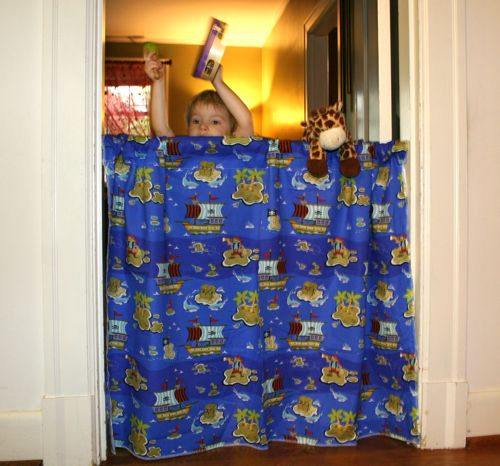
With a $4 tension rod and 1 yard of fabric we have already had hours of fun around our house playing with puppets and stuffed animals, having musical concerts, and using as a special door into my son’s room with a “doorbell” you have to ring.
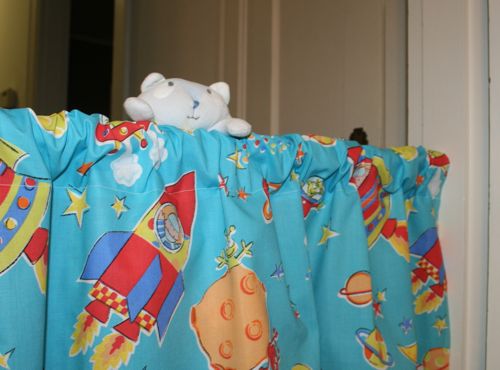
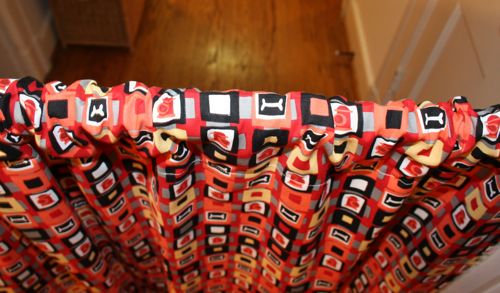
Two of the sides of fabric didn’t even need hemming because they were the finished edge off the bolt and the other 2 ends I serged and turned over and hemmed across to make a casing for the rod. I have specialized curtains too by “monogramming” with a large felt letter sewn on and sequin ribbon stripe near the top, to make it more girly. There is so much you could do to personalize this to your child’s taste, like the different fabrics shown that I have used. And with it less that 3 feet tall it is perfect for a toddler to stand behind or an adult to sit behind.
I love a 10 minute project that can really spark his imagination and turn our ordinary hallway into a fun place!
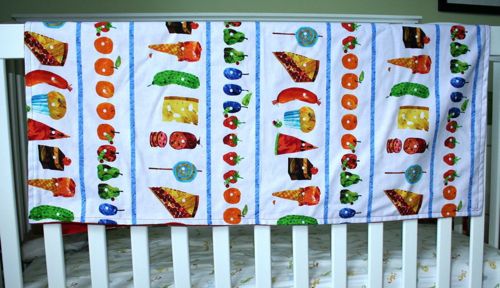
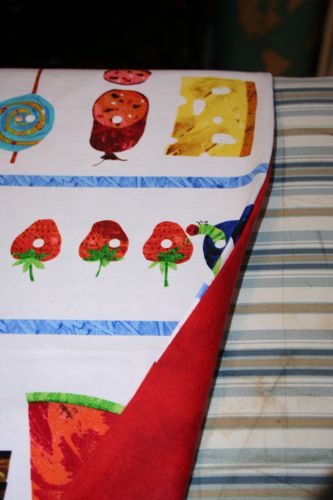
]]>Now that I have done this once, I think I can seriously do it in half an hour (and you can too!) For the front I used 1 yard of nice cotton fabric- I love this series of prints from “The Hungry Caterpillar” books. The backing is 1 yard of lightweight cozy quilting fleece, a marbled red.
1) Line up fabrics wrong sides together and sew around 3 sides. I used a serger on all 3 sides but you could use a regular sewing machine too.
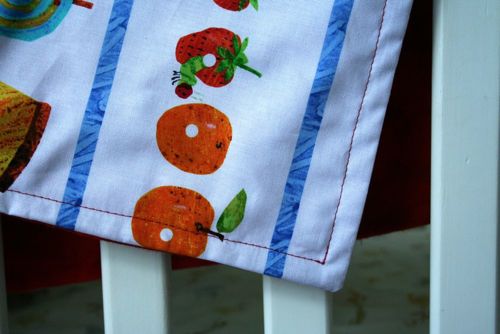
2) Turn fabric so it is right-side out and press neatly around all 3 sewn sides. Fold 4th side under and sew across the edge, starting and stopping just short of each corner.
3) Lastly, starting with the 4th edge just sewn, sew on top of the fabric around right-side edge, turning just short of each corner. This will hold the 2 pieces together. I could have also sewn across the blue stripes for added accent since this fabric is patterned this way (but before sewing around right-side edge). You could also sew a pattern on top, or around the characters on the fabric.
Very quick, easy and inexpensive! Great for summer traveling, picnics, for a crib or pack n’ play!
]]>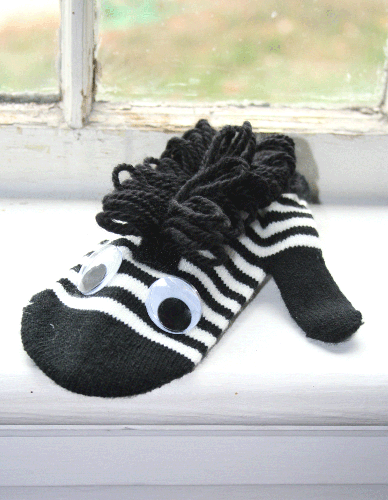
These black and white striped mittens caught my eye as I walked through my favorite store. What an easy, instant way to make a zebra!
So I grabbed a variety pack of googley eyes, felt, and yarn and introduce Zeal the Zebra!
The part of Zeal that I was most proud of was his mane.
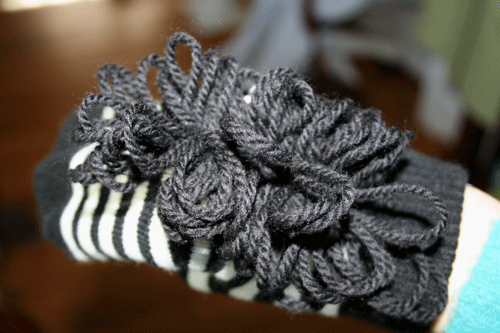
To make the mane: I held out my index and middle finger and using black wool yarn, held the end of the yarn with my thumb and ran the yarn around my two fingers in a figure eight. Then I carefully slid the looped yarn off my fingers and onto a piece of velcro about 5″ long (the soft side). Spread the mane out on the velcro as you desire and sew down the middle holding the yarn in place. Then attach the mane strip to the mitten with fabric glue. I used fabric glue also to stick on the eyes and a rounded pink strip underneath for a tongue. A quick 10 minute addition to your kid’s puppet show!
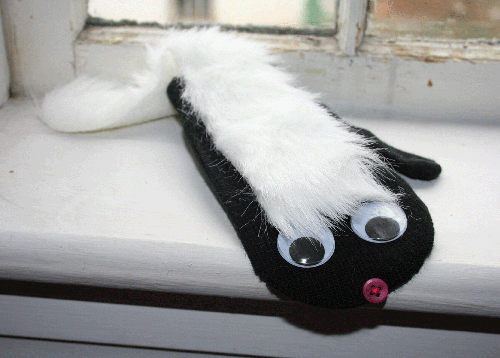
If Zeal is for you I have one left in my etsy shop and his sweet friend Skip the Skunk!
]]>Here are just a few on my favorite model:
First, using overalls, bandana, kids’ cowboy hat, and a party favor badge- the Cowboy!

Repeating with the overalls and bandana, a train bucket and whistle, and striped hat and jacket (that I got second hand for $1!) – the Train engineer!
Camo pants, vest, fisherman hat, toy fishing pole that came with a puzzle, a small camo backpack of mine, and I cut fish out of felt and strung through twine – the Lucky Sportsman!
Why not borrow from another holiday? Green sweatpants, a red shirt inside out with felt cut out collar (also good on green for Kermit), a red gift bag or stocking for candy, green shoes, and a dollar store elf hat (which I would pin smaller) – the Cutest Little Elf!
Or try getting use out of that suit bought just for a wedding or Easter – carry a Bible and go as a Preacher, put on a campaign button and be a Politician, a bow tie, beard, and book as a Professor, a little suitcase as a salesman!
I saw a few other inspiring ideas on the Today show last week like a:
Train Conductor costume - a dark 3-piece suit with a pocket watch chain and piece of gold braiding glued on a hat with toy train in hand.
Cheerleader or Football player - with mop heads for pom pons and colorful electrical tape for uniform stripes and numbers.
Remember it just needs to be fun, cute, and easy for the child to wear. I like to dress my child up as something he can be when he grows up since he wants to copy his dad so much anyway. I like cute and simple better than scary! So look through the kid’s dresser and pair things together you wouldn’t normally. It will be fun to dig together and get their imagination going too!
Any other ideas you want to share?
]]>
My son just turned 18 months, and is really into coloring. I absolutely love this because now we can be creative together. However, he is also a toddler (and a boy) which means most of the time breaking the crayons is often more fun than coloring with them. A friend of mine told me awhile back about melting down crayons to make chunkier ones that are easier for little hands to hold (and tougher for them to break). This is also a great way to use up broken crayons that you have laying around.

What you’ll need:
- Crayons (like I said, you could use ones you already have or buy some. I purchased 5 boxes of 24-pack crayons for 20 cents each – back to school bargains!)
- mini muffin pan (one that you don’t mind getting a little crayon on)
- exacto knife (optional)
You’ll want to preheat your oven to 265 degrees F. Peel off all the paper from the crayons (for the new ones, I found it much quicker to remove the paper in one smooth motion if I carefully ran the exacto knife down the center of the paper and peeled the paper back), and break them into 1/2″ to 1″ pieces. Arrange two to three like colors in each slot, then bake for 6-8 minutes (don’t over bake – you want them just melted so you can’t distinguish the crayon shape anymore). Let them congeal a little on the counter, then place them in the freezer until they are firm (approx. 30 minutes). They should then pop right out.
This is great for little hands that aren’t steady enough to hold thin crayons. They can wrap their whole hands around them and go to town without breaking them.
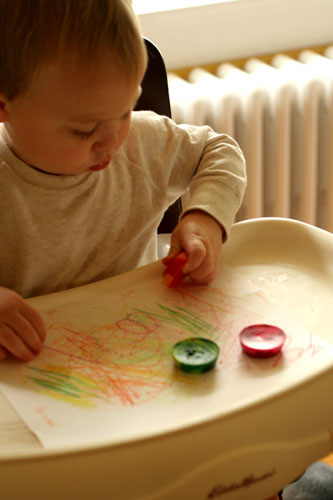

They also make great back to school and birthday gifts for other little artists in your life.

