
In addition to being a craft-nazi, I also love to bake. So when you love to be in the kitchen and have limited funds, making food gifts is the way to go. With Valentine’s Day just a few days away, you can make some easy and delicious cookies, and package them in boxes and bags perfect for the holiday.
The box is made from posterboard and then covered in scrapbooking paper. The template I used I found here and just made it for how big I needed it. Then I glued scrapbooking paper to the outside once the box was assembled.

The cookies pictured here are sugar cookies and they are the easiest and yummiest cut-outs I’ve ever tried. The icing recipe that follows dries hard and shiny, making it a perfect recipe to stack your cookies. If you’re really not a fan of cooking or labor-intensive items, this cake cookie recipe is super easy, and takes no time and effort at all. Really really not a fan of cooking? Then head to your local bakery and snatch up some goodies and put them in homemade packaging. Your recipients will still thank you.

Cut-Out Sugar Cookies
1 cup butter, softened
3 3/4 cups all-purpose flour
1 cup white sugar
1/4 cup heavy whipping cream
2 eggs
2 tsp baking powder
1 tsp vanilla extract
In a large bowl, cream together the butter and sugar. Add the eggs one at a time, then the vanilla and mix until smooth. Sift together the flour and baking powder and stir into the creamed mixture alternating with the heavy cream. Cover the dough and chill for 2 to 3 hours.
Preheat oven to 350 degrees F (175 degrees C). Grease cookie sheets.
On a lightly floured surface, roll out the dough to 1/4 inch thickness. Cut into desired shapes with cookie cutters and place them 1 inch apart on the baking sheets. Bake for 12 to 14 minutes, until bottoms and edges of cookies are light brown. Remove from baking sheet and cool on wire racks. Makes approx. 4 dozen cookies.
Sugar Cookie Icing
1 cup confectioners’ sugar
2 tsp milk
2 tsp light corn syrup
1/4 tsp vanilla or almond extract
food coloring
Combine the sugar and milk until smooth, then add the corn syrup and extract until the icing becomes stiff. Add more sugar to thicken or more milk to thin. Divide into seperate bowls and tint with food coloring. Let dry atleast an hour before stacking.
]]>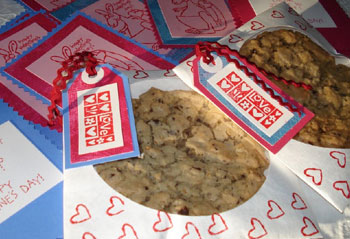
I thought this was a fun Valentines idea. It’s Paper CD sleeves used for cookies. You can stamp them any way you like & add tags. This gives me a chance to introduce to you one of my favorite crafty blogs, Kiddley where I found the idea. Tons of great craft ideas for kids. I can’t wait to try some of these when Lucy gets old enough. Hope you have a wonderful Valentines day with your loved ones. Happy Valentines Day!
Did you find some cool V-day ideas? do share.
]]>These candy gift bags are fun and versatile for any occasion.
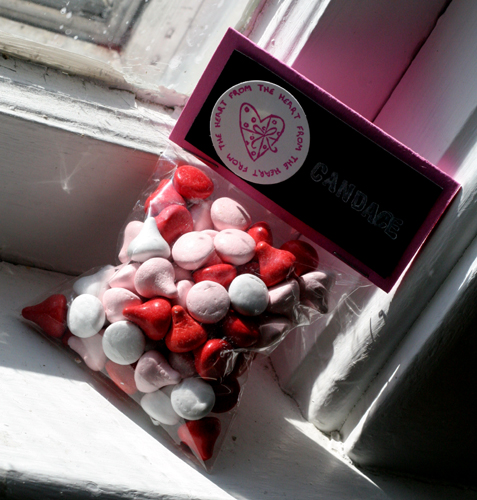
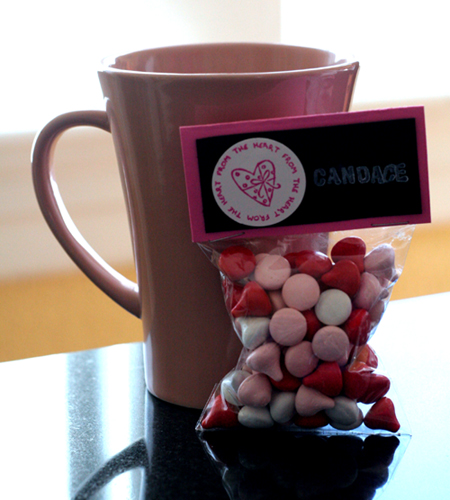
I got these little plastic baggies in different sizes from the dollar store. I fill them with candy or marshmallows (and attach a packet of cocoa), or any small gift. I cut about a 3 3/4 x 4 1/2 inch sqare and folded it in half to decorate. I like to use black paper and stamp with white craft ink or write with a white color pencil so it looks like writing on a chalkboad. This one went to our beloved Candace!
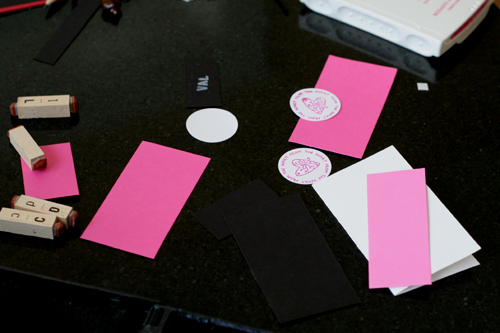
I have a 1 1/2 inch circle punch that I stamped the heart message on and stuck it to the black cardstock with a piece of 3-D double-sided tape. I have a tiny set of alphabet stamps that are great to use for stamping the name or a message on the back. When I am done I just staple the card over the ziploc part of the baggie. Perfect for friends, co-workers, or classmates!
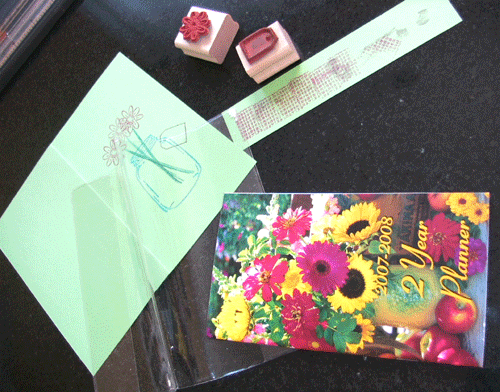
I took the calendar out of the plastic cover, traced it on bright paper, and cut it out. Fold the new cover in half and choose your stamps and ink colors. Decorate and personalize! Then slip back into the plastic cover. I didn’t even stick it to the calendar.
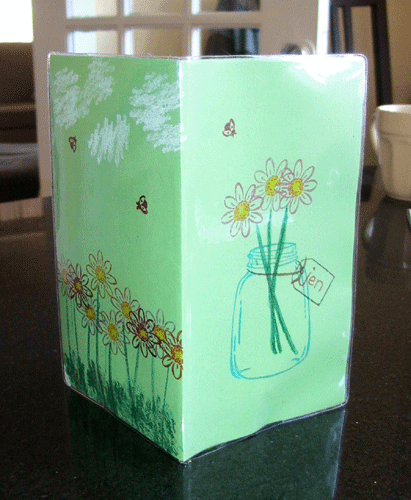
You could even stamp something different on the back to flip over whenever you feel like it. This could make a cute, small gift or Valentine and these calendars can be found for about $.50. I wrote my name on the front and you could personalize it to fit any friends’ personality. This only took about 10 minutes so I may change it every season- obviously I am ready for spring. I am much more eager to look at these daisies every day!
]]>