Remember Little House in the Big Woods by Laura Ingalls Wilder? While I was making this afghan I was reminded of all the craft projects described in that book. I thought that this would be the sort of thing that Laura’s mother would put together for her girls as a Christmas present (except it wouldn’t be cashmere, and the sweaters wouldn’t have originated in China, and [fill in the blank]).
So, these are the steps I followed to put the blanket together:
Materials
- 3 sweaters — The final product measured 42″ x 52 1/2″. You could felt the sweaters, but I wanted to maintain the light, airy feel of the original knit.
- Bias tape or scrap fabric to make your own tape
- 8 1/2″ x 8 1/2″ template to cut out the squares. (Guess why it’s that size
 )
)
- Lots of thread (zigzagging takes way more thread than I had anticipated)
Step One
Cut out 30 squares. I wanted to show off some of the details of the sweaters. Consequently, I included side seams, shoulder seams, ribbing, and pockets in the squares.

Also, don’t forget that the “wrong” side may end up being the “right side.
Step Two
Lay out your design.
Step Three
Sew. Using a zigzag stitch at the widest setting, sew together strips of 6 squares each abutting the edges. You could also overlap the edges, whatever technique you prefer.

Next, put the 5 strips together by first joining the “intersections” of the squares and then sewing down the length of the strip. You now have a 5 x 6 square blanket.
Step Four
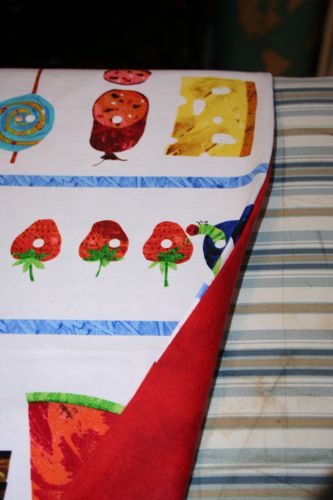
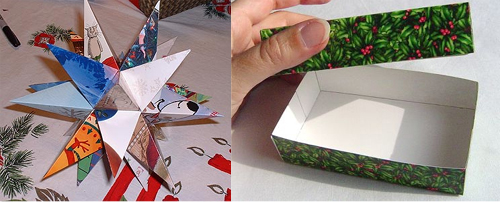
Finish the edges. Originally, I intended to blanket stitch around the whole thing. Then I watched Amy Karol’s Bias Tape tutorial, read about this nifty tool on Alicia Paulson’s blog Posie gets Cozy and decided to make my own tape.

This is a 1/2″ tape maker. They come in different sizes, but this is the only one they had at my corner store. You cut up your fabric to the requisite width, feed it through the tape maker and it comes out perfectly folded on the other side. You then fold the tape in half and iron it flat.
Next, you open up your store bought or home made tape (see Amy’s tutorial for the finer points of sewing on store bought tape) and align the edge of the tape to the edge of the blanket. Sew along the line created by the fold closest to the edge.

For instructions on how to create mitered corners, follow Alicia’s tutorial.
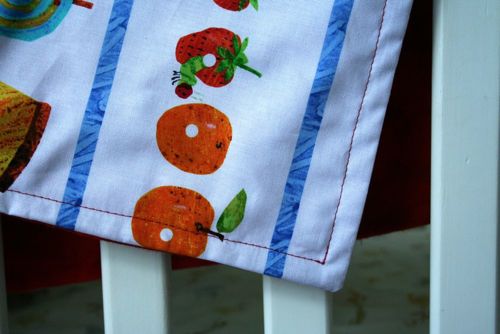
Once you’ve attached the binding to the edge, flip the binding over to the other side and top stitch alongside the folded edge.

That’s it.
You can add an appliqué or two if you wish or just leave it as it is.

I’ve set up a Flickr group where you can share your creations at www.flickr.com/groups/sweaterblankets/.