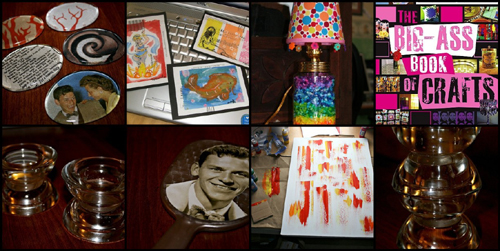
Book Club Meeting: Lotta Prints & Giveaway
Wednesday, October 22nd, 2008
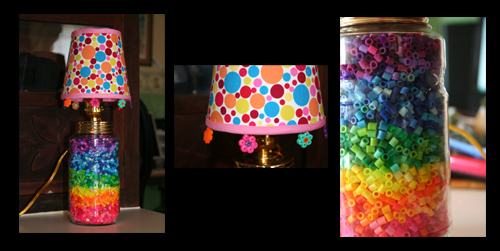
Stencil created using card stock and circle hole punch by pldover12
When I first got this book, I thought “Hmm, $19.95 (actually $11.61 from Amazon) not much to it for just seven techniques. ” I am now completely hooked on potato and leaf printing and have come to truly appreciate this little gem. This is the kind of crafting book I will pick up seeking inspiration and not necessarily instruction. It covers:
- Rubber Stamping
- Iron-on Printing
- Leaf Printing
- Stenciling
- Potato Printing
- Lino Block Printing, and
- Screen Printing
In addition it is filled with gorgeous pictures of completed projects and inspiration tablets that give you a little insight in Lotta’s design process.
Layout
The layout is calm and dominated by pictures. Instructional text is unobtrusively arranged in narrow columns accompanying the pictures.
Instructions and Projects
The instructions are very precise and clear. Seasonally appropriate, my daughter and I first delved into leaf printing. Together, we printed up a whole bunch of greeting cards, and Elizabeth made small prints for a special notebook.
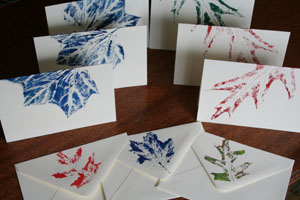
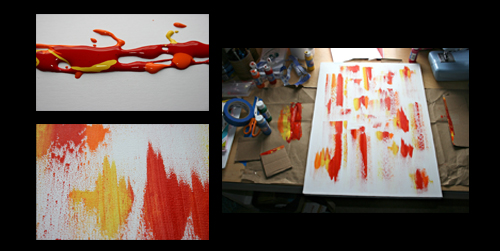
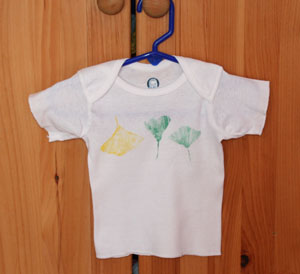
The following day I tried leaf printing with fabric paint, again with terrific results.
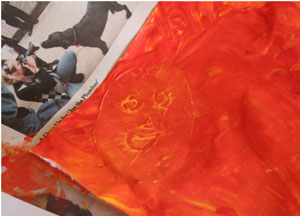
Next we started carving up potatoes with our newly acquired linoleum cutters. While I was working with putting together simple shapes. Elizabeth decided to channel Marla Olmstead. Her print did end up with a spooky potato impression.
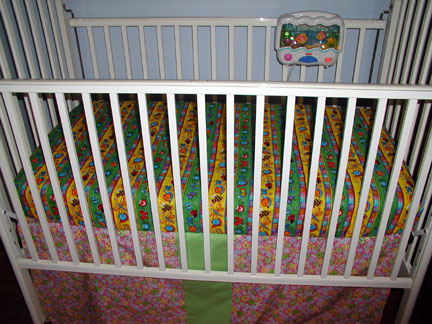
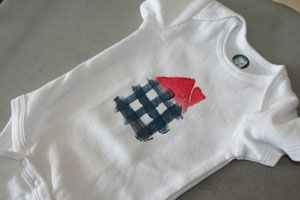
Potatoes don’t last more than a day. Really. Today I carved up a new batch and printed some onesies
and dish towels.
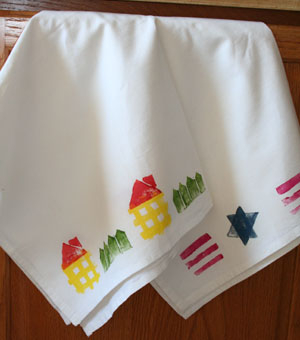
I think what I like best about this “medium” is how forgiving it is (I know you are not supposed to play with food), and how it encourages you to work with very simple shapes.
Now, I’m very tempted to move on to linoleum printing–heck, I’ve got the cutters–but I think this will have to be tabled until next year. Too many projects, not enough time.
If you’d like to share your Lotta projects with your review, add them to the Crafty Daisies Book Club Flickr pool.
Change of Venue for the Next Book Club
Speaking of projects, I currently have a little giveaway of the printed tea towels on craftevolution.com where the next book club will meet. On Wednesday, December 3rd we will discuss
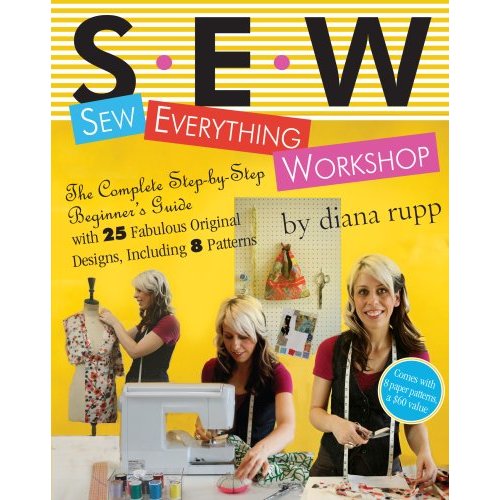
Sew Everything Workshop by Diana Rupp, ISBN-10: 0761139737, ISBN-13: 978-0761139737 and meet at craftevolution.com.