Dye Your Wool At Home
Thursday, December 21st, 2006Who knew you could use Kool-Aid® for more than a sweet drink? Dying yarn with Kool-Aid® can be a economical way to get your wool to be bright and vibrant without a lot of mess. The process is simple and can be completed in a couple of hours.
This method only works with animal fibres, such as wool, mohair, and alpaca. You’ll want to use a 100% product, rather than one blended with artificial fibres.
You’ll need a glass jar, a skein of wool in a light color (I chose a beige merino wool), a package of Kool-Aid® in the flavour / color of your choice, a spoon for stirring and a pot. Be sure that you only use the unsweetened drink crystals, or the color wont adhere as well.

Begin by adding warm water to the glass jar, and add the drink crystals. The amount of water is irrelevant, you simply want to make sure that your wool is completely submerged. If you want a vibrant color, use the entire package of crystals. If you desire a lighter color, add less Kool-Aid®. Submerge your wool in the mixture (I use half a skein per drink mix package to get the brightest colors), using a spoon to release any air bubbles and to ensure that the wool is completely submerged.
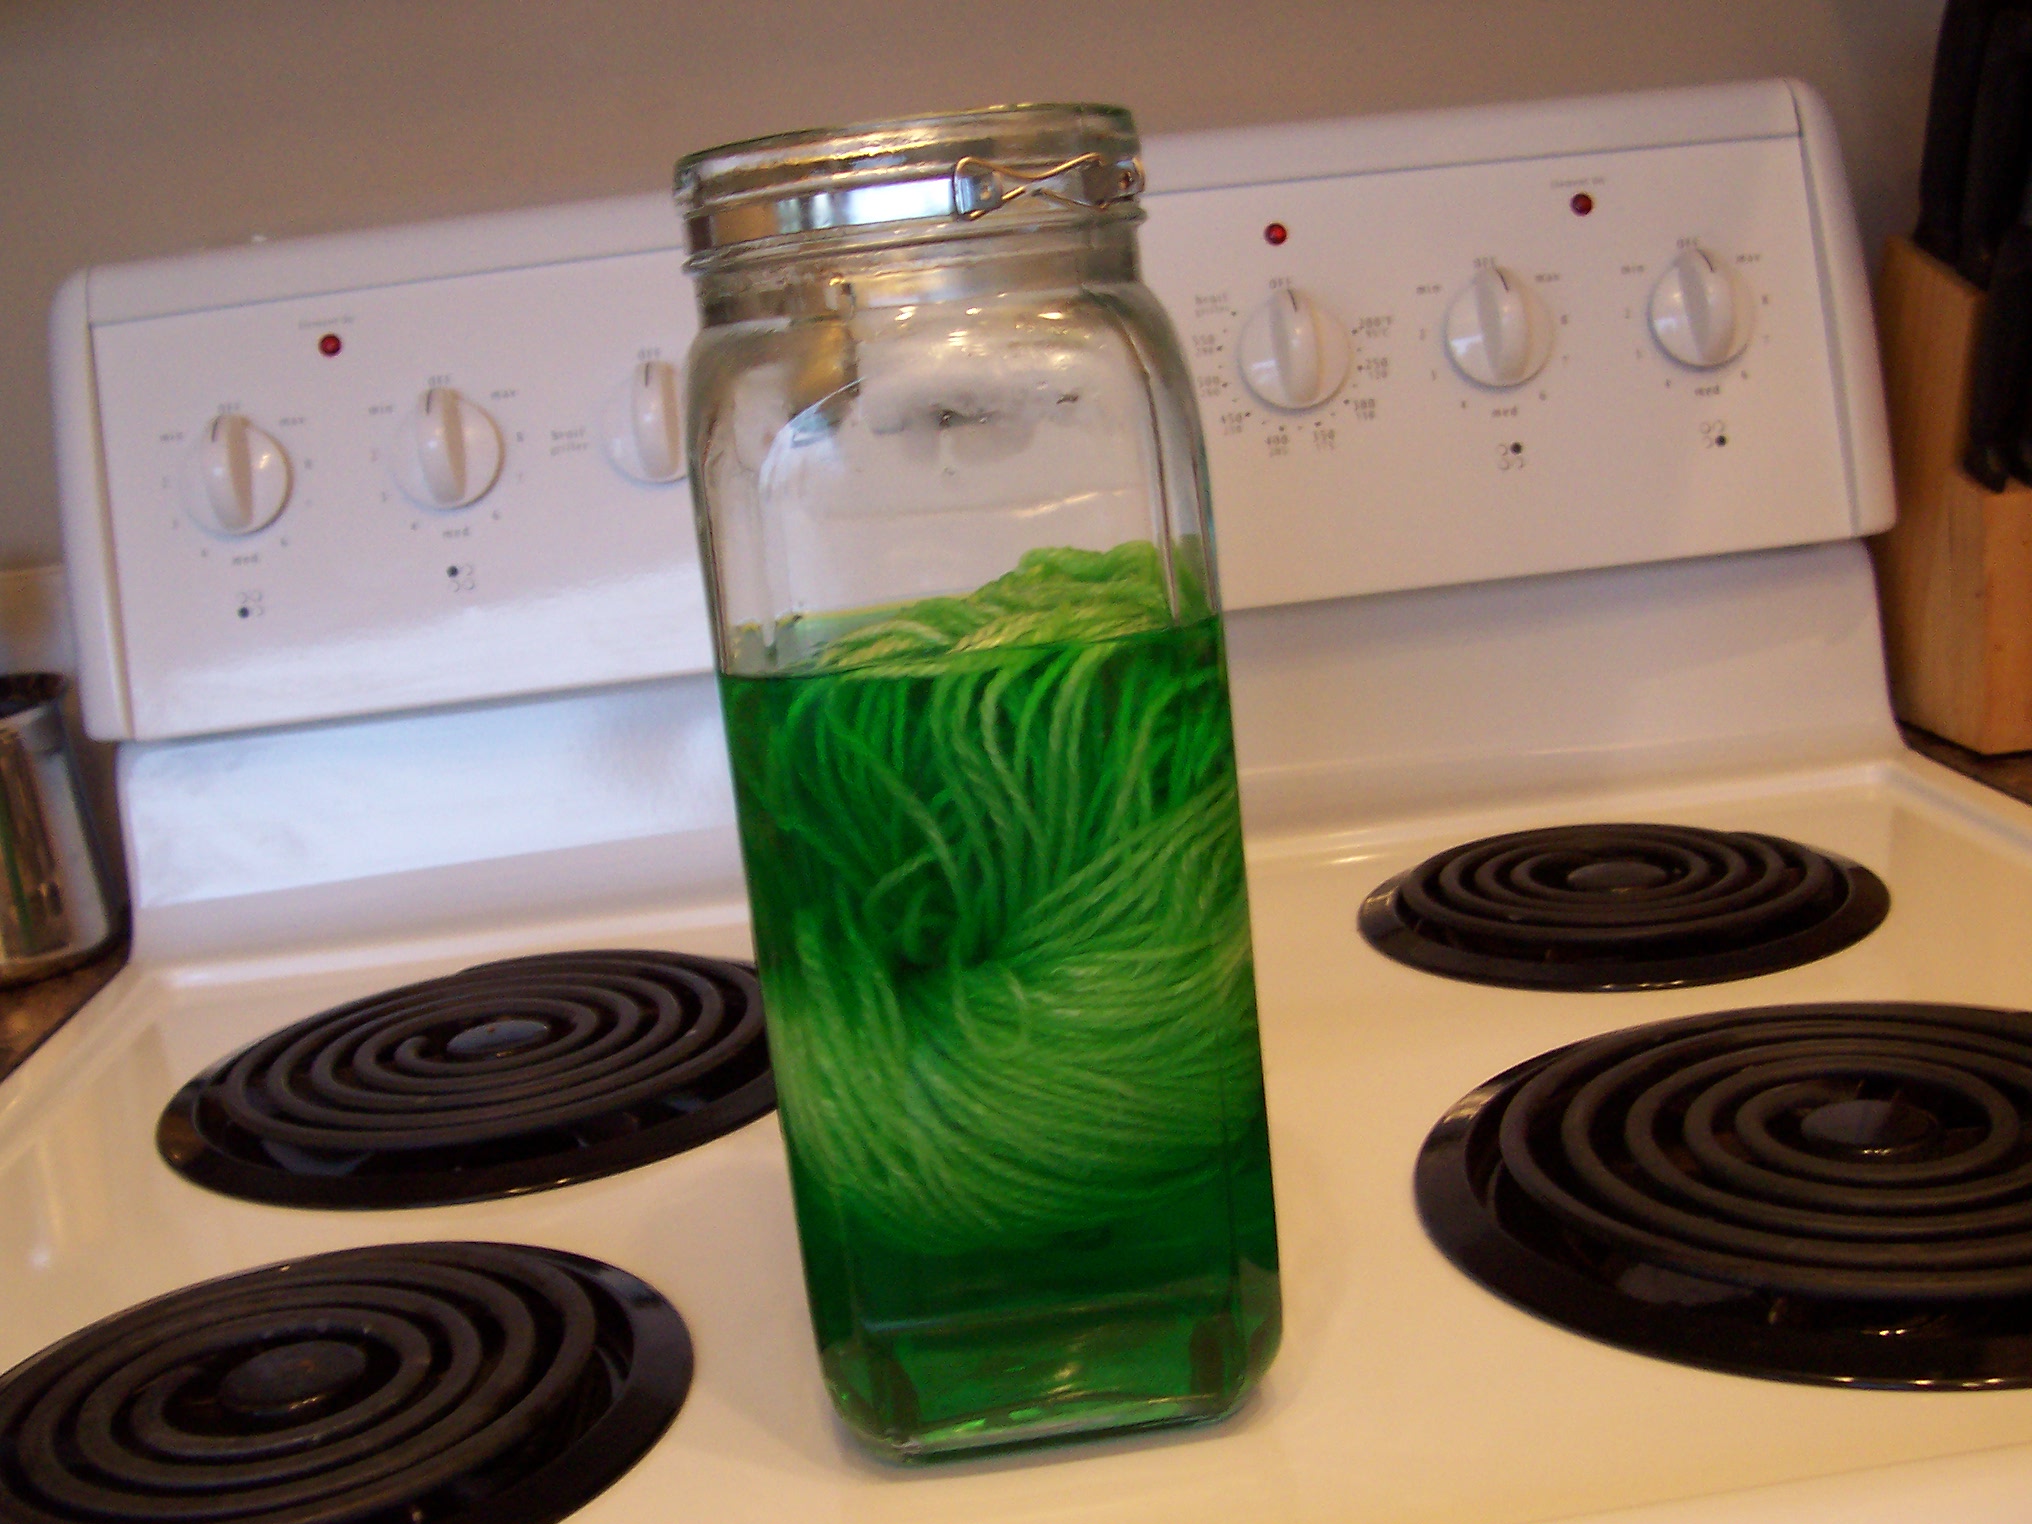
Place the glass jar into a pot filled halfway with water and set on the stove burner at medium temperature.

Leave on the heat until the water becomes clear or cloudy (some colors) and the wool has absorbed the dye.
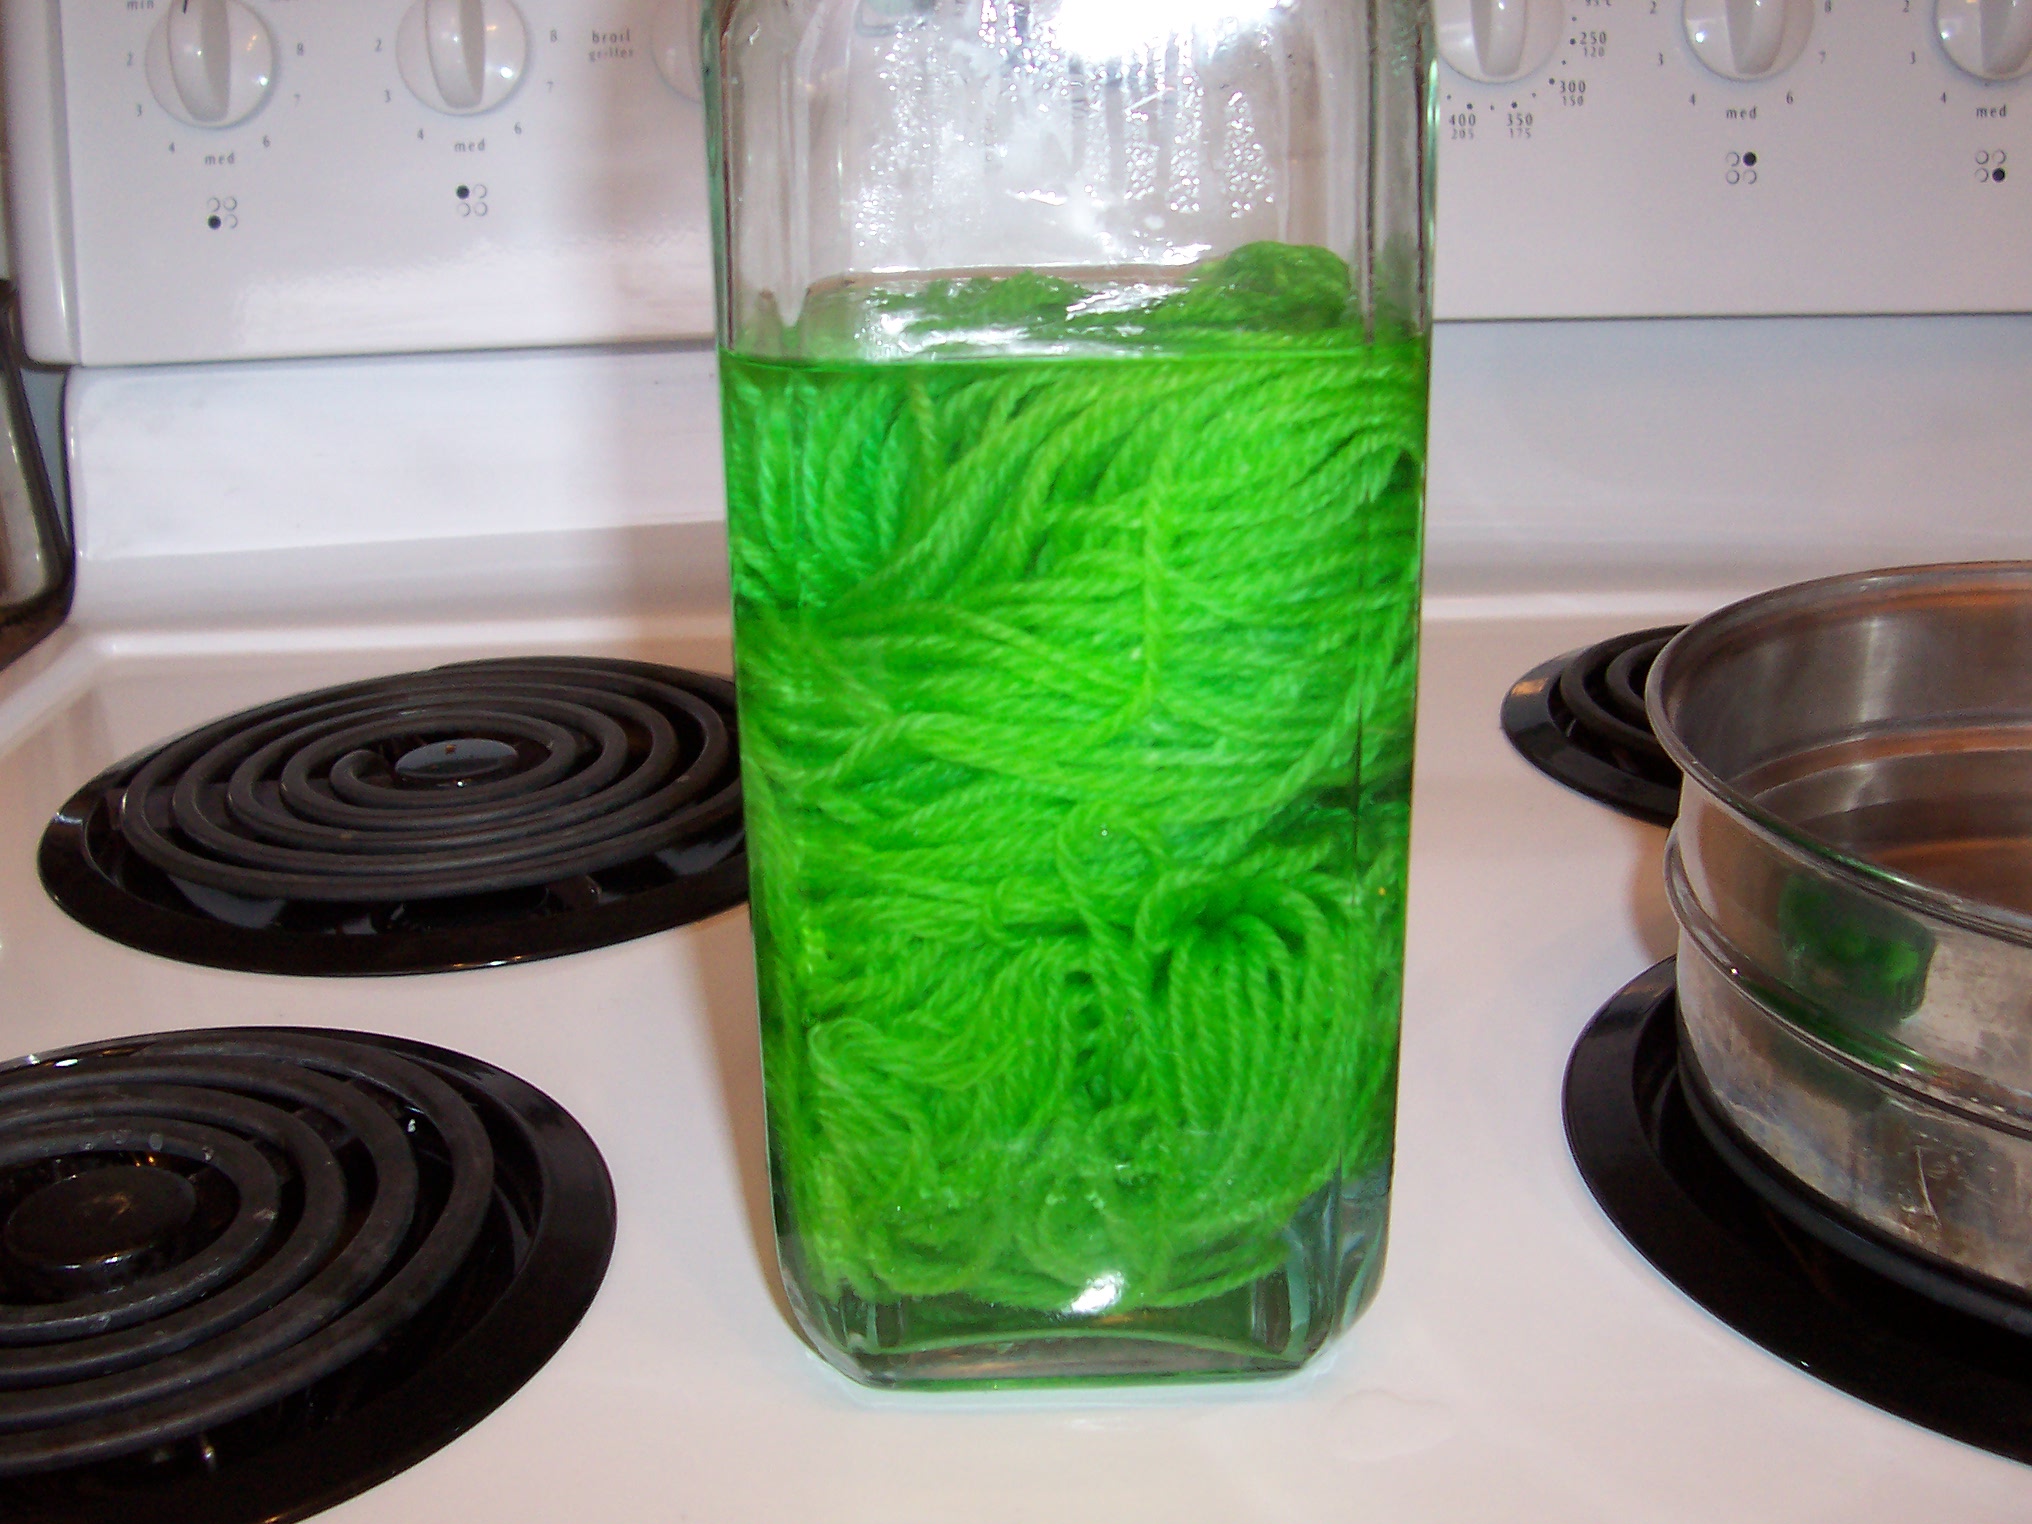
Remove from heat and let the jar and water cool to room temperature. Rinse with the same temperature water. Extreme temperature differences between the rinsing water and yarn may cause the yarn to felt, so take caution!
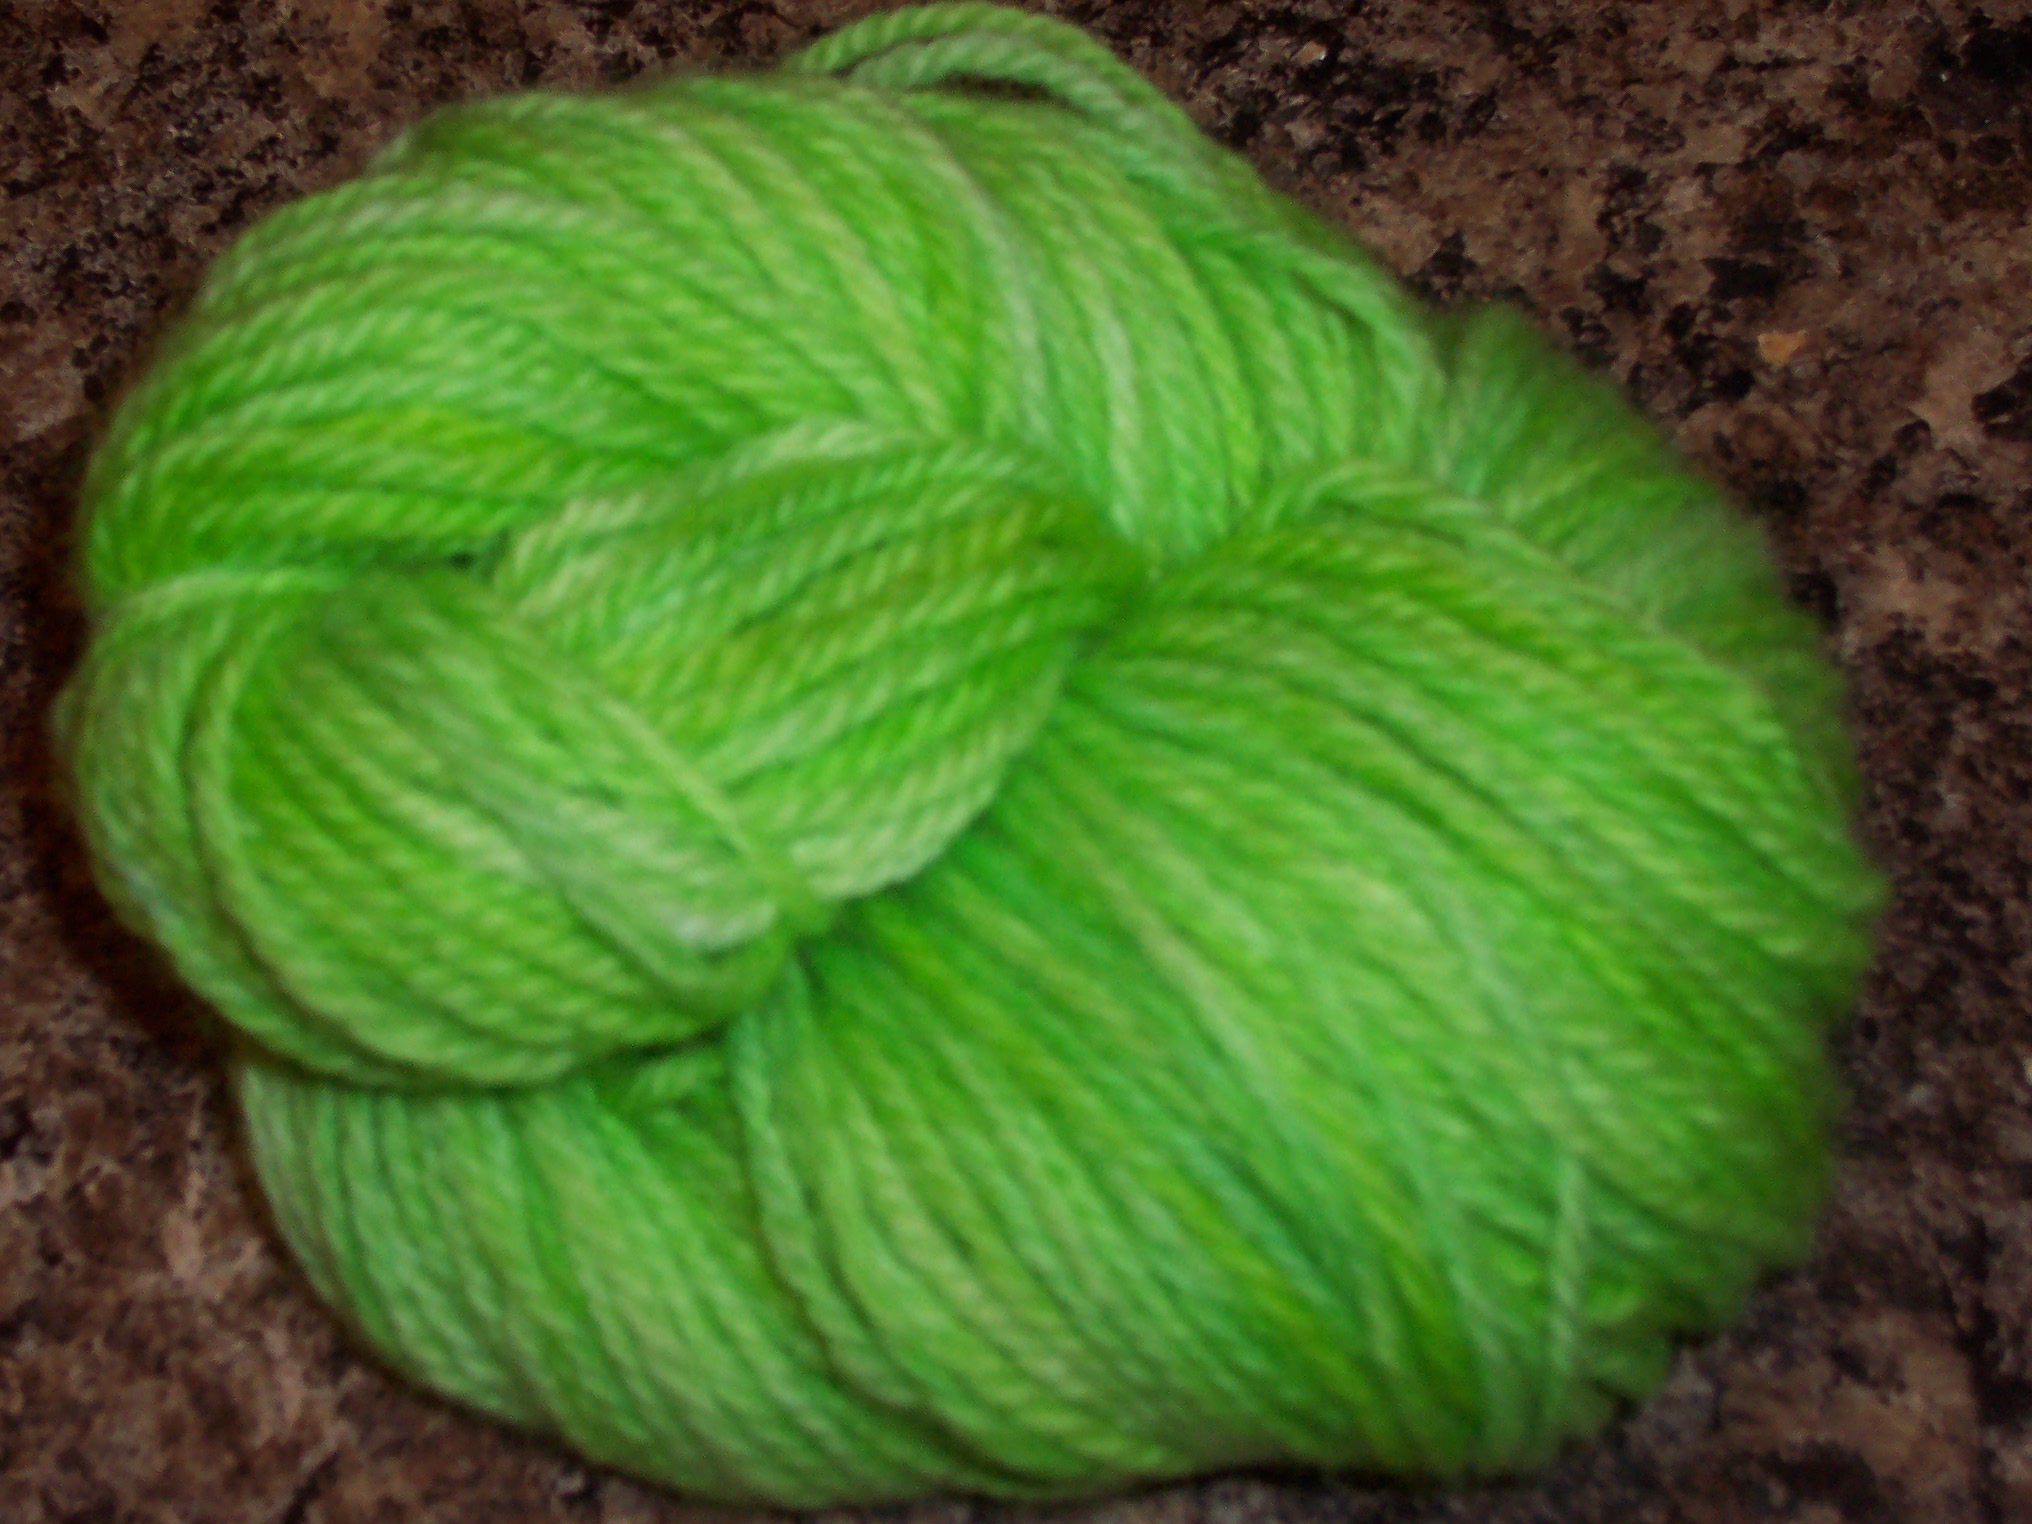
The result is a brightly dyed wool yarn that can be used for any project, even felting. The color wont run in the wash, which is a bonus.
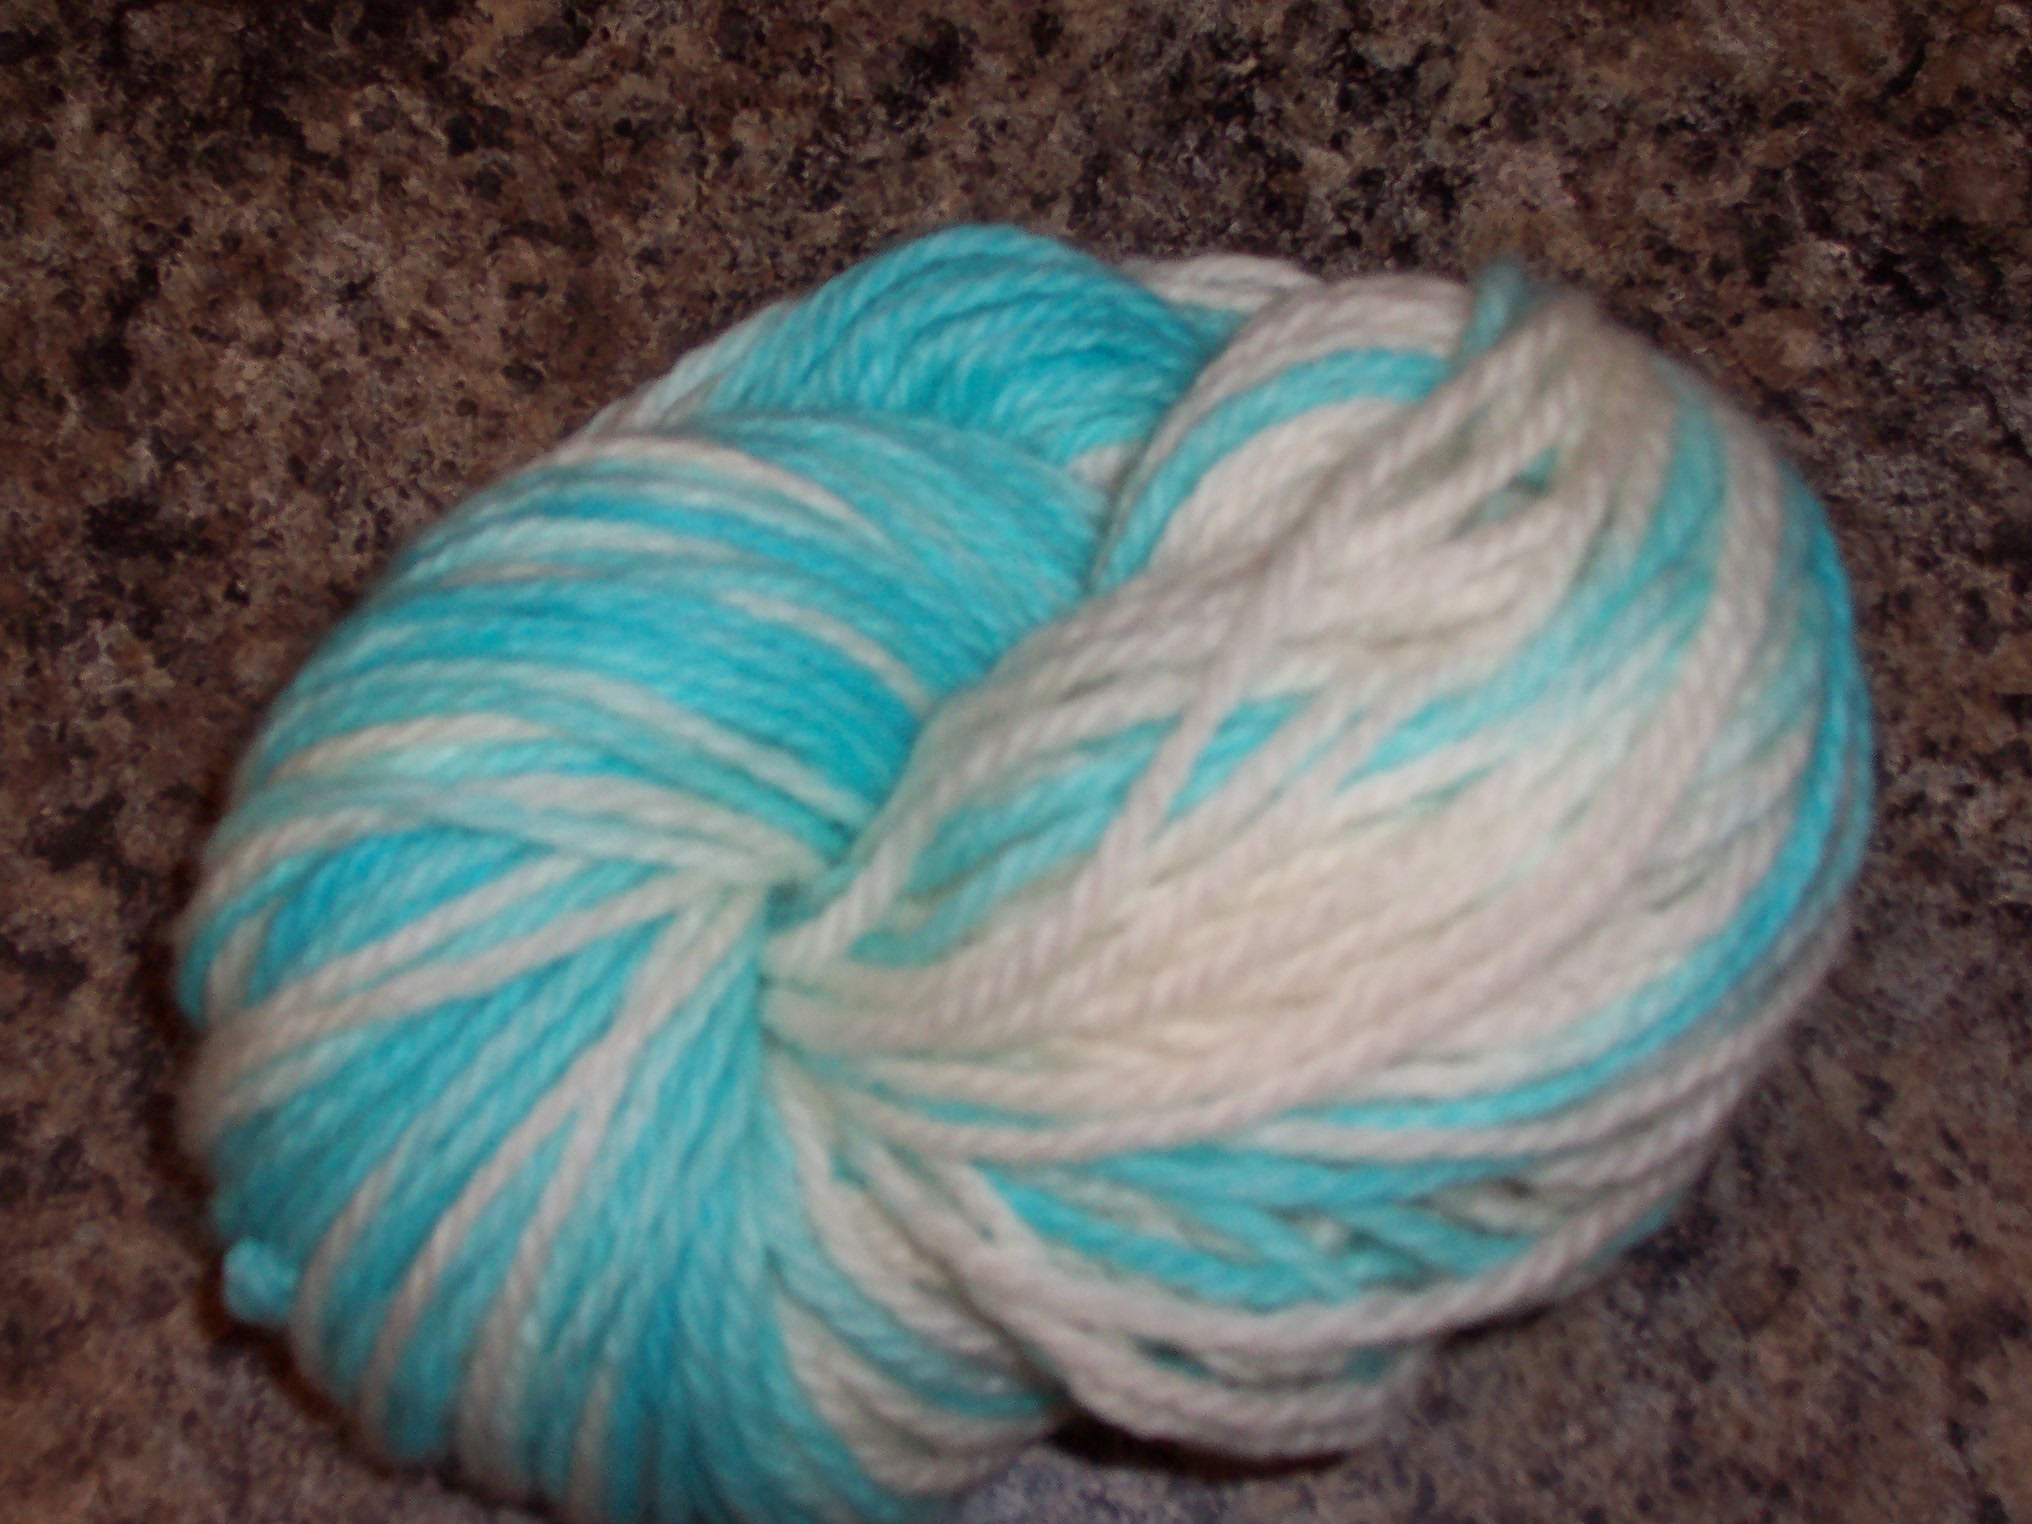
Another option is to submerge only half the wool to be dyed, resulting in a striped yarn.
Happy dyeing!!

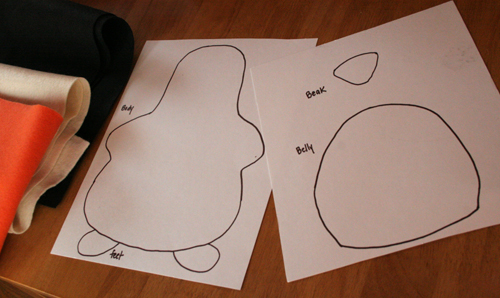
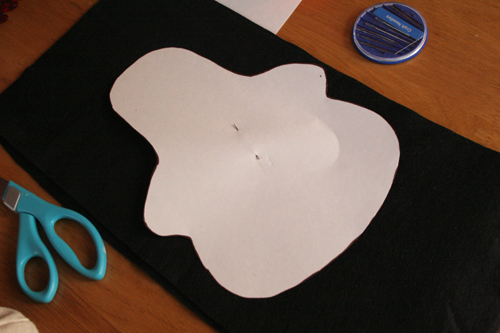
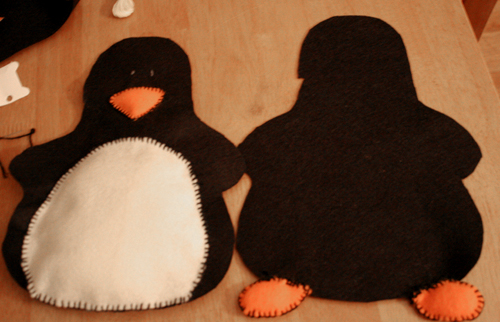
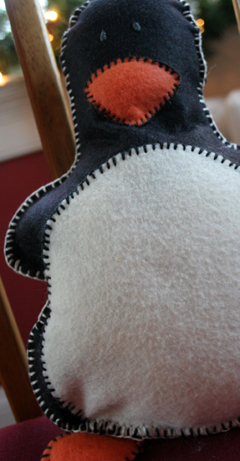
 This will be my son’s first Christmas, and I wanted to make him something special. I’m not really into stuffed animals, so I haven’t bought any for him. But since he’s taken an interest in the ones he already has, I decided to make him one using a fabric that’s inexpensive, washable, and easy to work with: felt.