Drawing objects that point toward you can be tricky. That hand reaching out or that car coming down the road never looks quite right on paper. My guide will solve your foreshortening problems once and for all.
I’ve spent years teaching art students how to master this technique. The secret isn’t talent—it’s understanding what your eyes actually see versus what your brain thinks it sees.
In this article, you’ll find:
- What foreshortening really means
- Clear examples from human figures to everyday objects
- A step-by-step practice method anyone can follow
Unlike complex art tutorials, I’ll use plain language and real examples you can try today. If you’re a beginner or looking to improve, these techniques have helped hundreds of my students draw with confidence.
Trust me—foreshortening can be fun once you know the tricks.
What Is Foreshortening?
Foreshortening is when objects appear shorter or compressed when they extend toward or away from the viewer.
Think about looking down at your arm when you point straight ahead. Your hand looks normal, but your arm looks shorter than it actually is. That visual trick is foreshortening.
It’s not about making things smaller. It’s about showing depth on a flat surface.
Foreshortening happens all the time in real life. We don’t notice it because our brains automatically adjust what we see.
Foreshortening Examples in Art
Foreshortening is a technique used in drawing and painting to create the illusion of depth by distorting objects or body parts that appear closer to the viewer.
This technique is commonly seen in figure drawing, perspective artwork, and dynamic compositions.
Human Figures
The human body is full of foreshortening challenges.
Here’s what to look for:
- Arms and legs appear shorter when pointing toward or away from you
- Faces change dramatically when viewed from below or above
- Torsos compress when viewed head-on
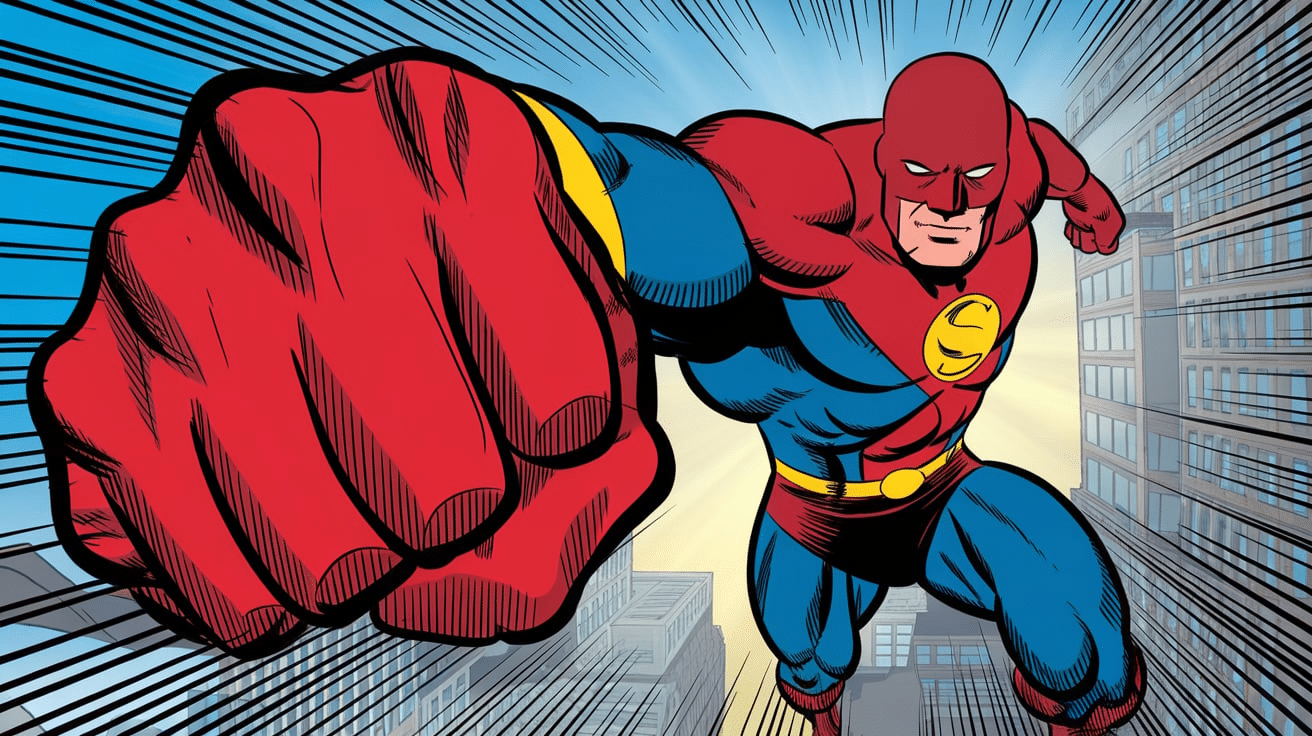
Remember the last superhero comic you read? Those dramatic poses with heroes punching toward the “camera”? That’s foreshortening in action!
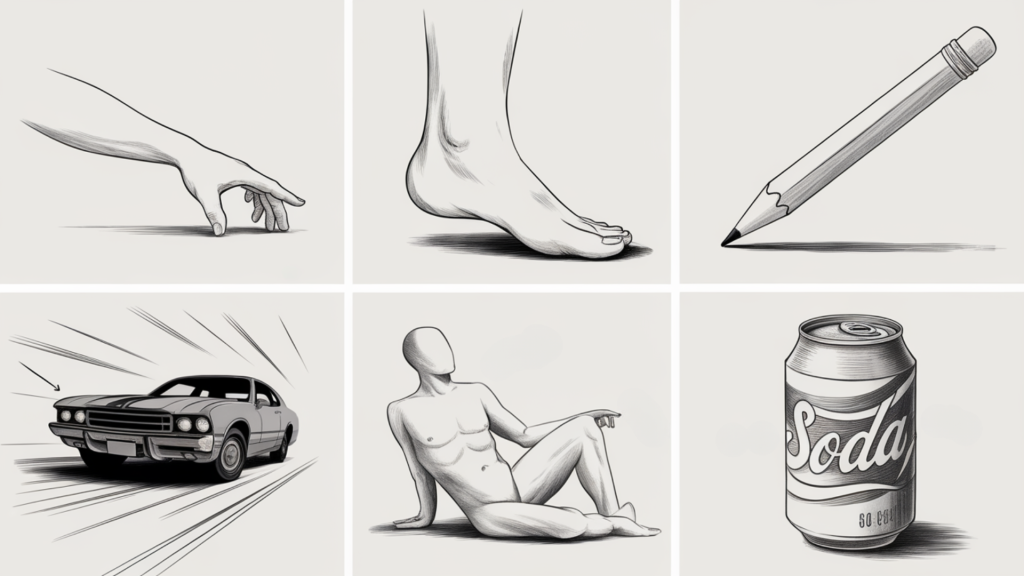
Look closely at hands reaching toward you. The fingers closest to you appear larger, while the palm and wrist shrink dramatically. This effect creates powerful emotional connections in portraits.
When drawing reclining figures, the feet might appear larger than the head if they’re closer to the viewer. Artists like Mantegna used this effect in “The Lamentation over the Dead Christ” to create startling realism.
Objects in Perspective
Everyday objects change shape before our eyes:
- A car viewed head-on appears more compressed than from the side
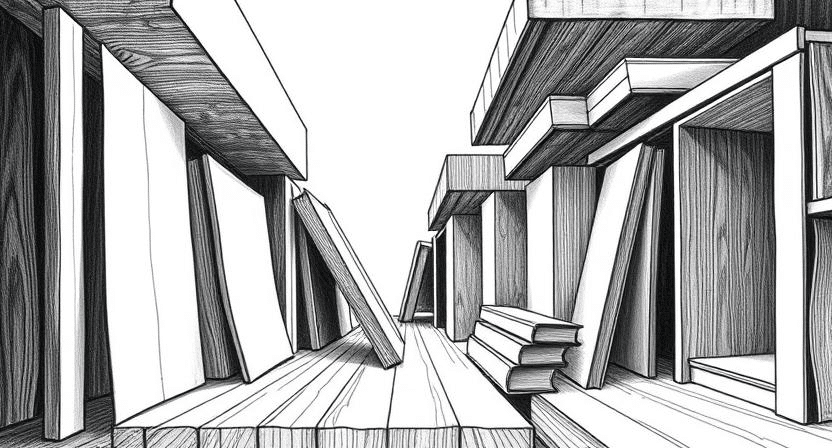
- Books and rectangles become trapezoids when angled
- Cylinders like cups or cans become ovals from certain angles
Next time you’re at your desk, look at your coffee mug from different angles. See how the circular opening becomes an oval as you move around it.
Architecture provides excellent examples of foreshortening. Notice how tall buildings seem to narrow toward the top when viewed from below. Columns appear wider at eye level and taper toward their bases and capitals.
The wheels of a bicycle demonstrate perfect foreshortening. From the side, they’re perfect circles. As the bike turns, those circles compress into ellipses of varying widths depending on the angle.
Animals

Animals in motion show foreshortening beautifully:
- Horses galloping with legs extended forward or backward
- Birds with wings spread toward the viewer
- Dogs running with their bodies twisted in space
These dynamic poses give art life and movement. Wildlife artists master foreshortening to capture dramatic scenes.
For example, a lion leaping toward the viewer requires an understanding of how the muscular shoulders compress while the extended claws appear larger.
Bird’s eye views of animals showcase extreme foreshortening. The animal’s back becomes the dominant visual element, with the head sometimes barely visible beyond the shoulders.
Famous Artworks

Great artists have mastered foreshortening:
- Michelangelo’s figures on the Sistine Chapel ceiling
- Da Vinci’s studies of hands and limbs
- Modern comic artists like Alex Ross
Look them up when you have time!
Andrea Mantegna’s “Dead Christ” shows one of history’s most dramatic examples of foreshortening. Christ’s body is viewed from the feet, creating a powerfully emotional perspective.
Caravaggio used foreshortening to bring viewers directly into dramatic biblical scenes. In “The Calling of St. Matthew,” arms extend across the canvas, drawing your eye precisely where the artist intended.
Modern street art often employs extreme foreshortening. Artists like Kurt Wenner create sidewalk illusions that appear to open into three-dimensional worlds when viewed from the correct angle.
Step-by-Step Guide to Practicing Foreshortening
Ready to try it yourself?
Let’s break it down:
- Start with simple objects: Grab a pencil and hold it at different angles. Draw what you see, not what you know.
- Use a viewfinder: Make a square with your fingers or cut a square in cardboard. This helps isolate what you’re seeing.
- Practice with cylinders and boxes: These basic shapes are in everything we draw.
- Move to hands and feet: Your own body makes a great model!
- Take photos as reference: Sometimes, things move too quickly to observe.
The key? Draw what you actually see, not what you think you should see.
Tips to Improve Your Foreshortening Skills
- Squint at your subject: This helps you see basic shapes instead of details.
- Use a mirror: Check your work from different angles.
- Start with light lines: You’ll make mistakes, and that’s okay!
- Compare proportions: How wide is that arm compared to its length?
- Find anchor points: Where does that finger line up with the wrist?
Drawing is really just seeing clearly. The more you practice observing, the better your foreshortening will become.
Conclusion
Foreshortening transforms flat drawings into dynamic, three-dimensional art. With regular practice, you’ll train your eyes to see what’s actually there instead of what your brain assumes.
Start small with everyday objects before tackling complex forms. Remember that even master artists struggled with this skill at first.
The difference between good and great art often comes down to understanding foreshortening. It adds drama, movement, and realism to your work.
Don’t get discouraged by early attempts. Each drawing improves your visual perception. Keep a sketchbook handy and practice for just 10 minutes daily.
Your breakthrough moment is coming. What will you create with your new foreshortening skills?
Frequently Asked Questions
What’s the Biggest Mistake Beginners Make with Foreshortening?
Drawing what they think is there rather than what they actually see. Try using a viewfinder or taking a photo to compare your perception with reality.
Can Digital Artists Use Shortcuts for Foreshortening?
Digital tools can help with guidelines and perspective grids, but understanding the core principles is still essential. The fundamentals apply regardless of the medium.
How Do I Foreshorten Circular Objects Correctly?
Circles become ellipses when foreshortened. Practice drawing coins from different angles, paying close attention to how the ellipse width changes with the viewing angle.
Is There a Mathematical Approach to Foreshortening?
While some artists use measuring techniques and ratios, developing your observational skills is more valuable than memorizing formulas. Train your eye first.
What Lighting Helps Best when Practicing Foreshortening?
Single-source, directional lighting creates clear shadows that define form. This makes it easier to see where planes change direction and understand the object’s volume.