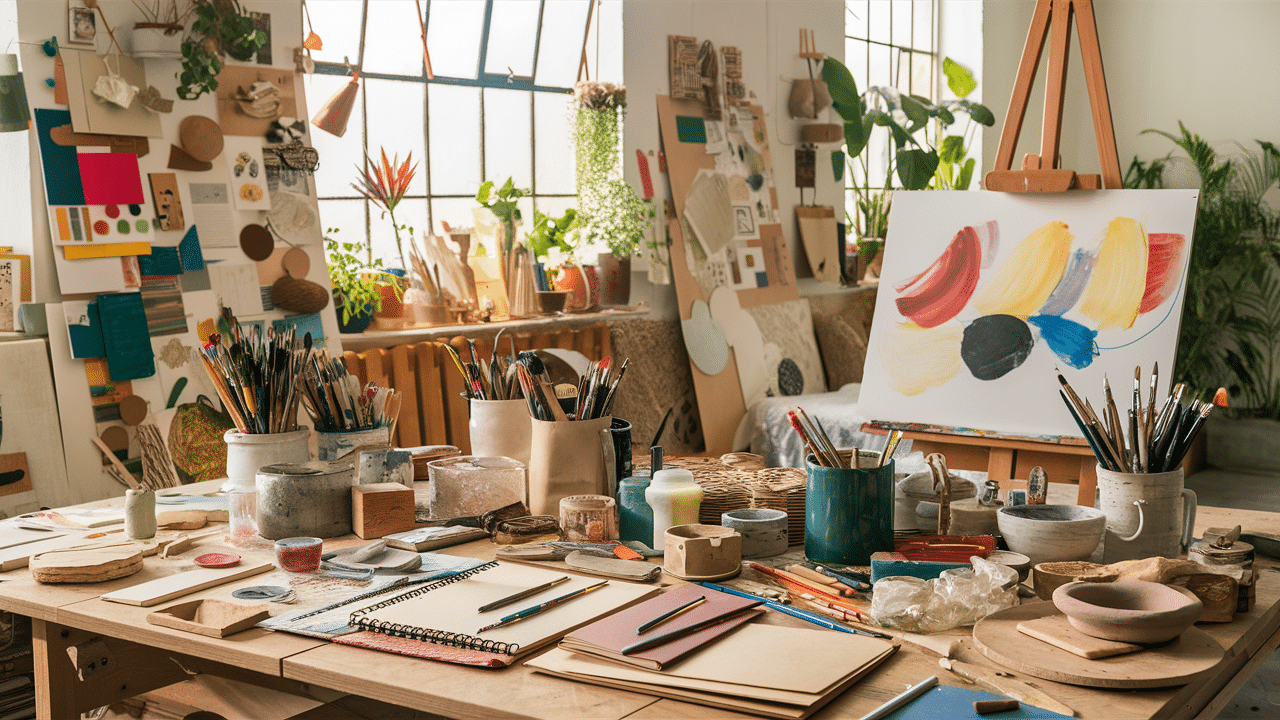
The grid drawing method is a simple way to improve accuracy when sketching. Artists use it to break an image into smaller sections, making it easier to focus on details.
This technique helps with proportions, making sure everything in your drawing lines up correctly. It’s great for beginners and experienced artists alike.
By using a grid, you can scale images up or down without losing the original shape. This is especially helpful when copying a picture onto a larger canvas or working on a detailed design.
In this guide, I’ll walk you through the grid drawing method step by step.
If you want to improve your skills or just try something new, this technique is a great way to sharpen your drawing abilities.
What is Grid Drawing?
Grid drawing is a method that helps artists draw more accurately by breaking an image into smaller sections.
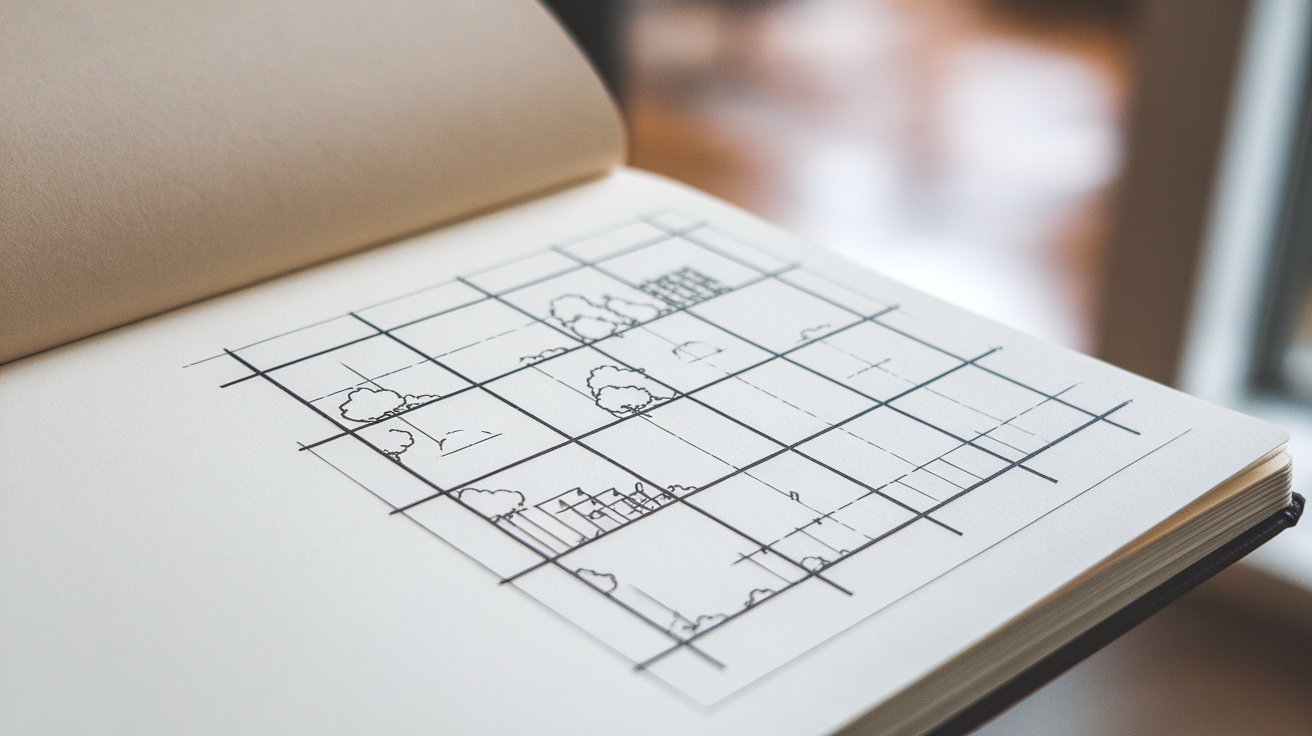
A grid is drawn over the reference image, and another grid is placed on the drawing paper. Artists can copy shapes and details more easily by focusing on one square at a time.
This technique is great for beginners because it makes complex images easier to manage.
Even experienced artists use it when they need to enlarge or shrink an image while keeping the proportions correct.
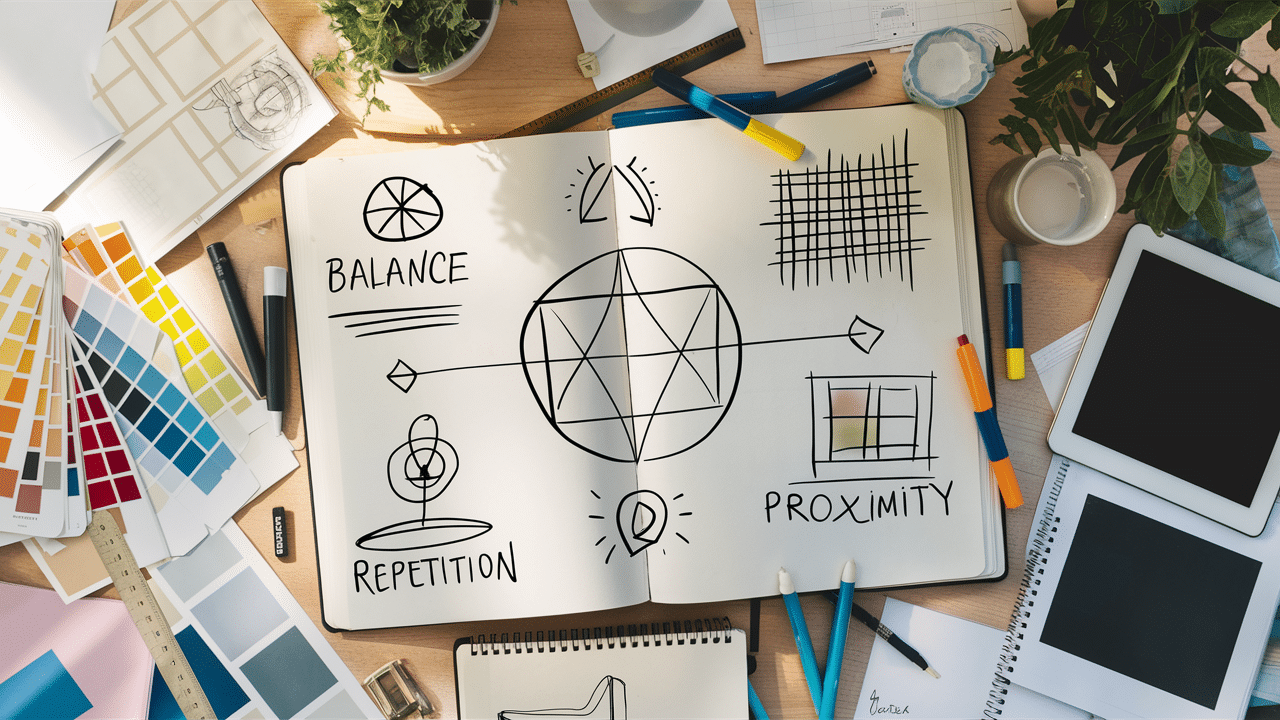
Benefits of Grid Drawing
Grid drawing offers a lot of advantages, especially for artists who want to improve their accuracy and confidence. Here are some key benefits of using the grid method:
1. Improves Accuracy
The grid method helps you transfer what you see in the reference image onto your drawing paper with much more accuracy.
By focusing on one small section at a time, you can make sure that every line and shape is in the right place. This is especially useful for drawing complex subjects, as it reduces the chance of mistakes.
2. Simplifies Complex Images
Some images, like portraits or detailed landscapes, can be hard to draw because of all the small details. The grid method breaks these complex images into simpler parts, making them easier to manage.
Instead of being overwhelmed by the whole picture, you can focus on one small section, which makes it easier to recreate even the most complicated subjects.
3. Helps with Scaling
Grid drawing is also great for scaling images up or down. If you want to enlarge or shrink a picture while keeping its proportions correct, the grid method makes that possible.
Using a larger or smaller grid on your paper lets you maintain the original image’s size and shape while adjusting it to fit your canvas.
4. Great for Beginners
Grid drawing is a fantastic tool for beginners. If you’re just learning how to draw, it can be hard to understand proportions and how to capture shapes accurately.
The grid method makes this much easier. It teaches you to observe and translate what you see, which helps build your basic drawing skills.
5. Improves Observation Skills
Using a grid forces you to look at your reference image carefully. By focusing on one section at a time, you’ll start to notice details you might have missed otherwise.
This helps improve your overall observation skills, which will make you a better artist in the long run.
With these benefits, grid drawing is a great method to improve your technical drawing skills and artistic confidence. The grid method is a valuable tool for any artist.
Materials and Tools Needed
To get started with grid drawing, you don’t need a lot of supplies. Here’s what you’ll need:
- Paper – Any drawing paper will work.
- Pencil – A regular drawing pencil for sketching.
- Ruler – To draw the grid lines evenly.
- Eraser – For fixing mistakes and cleaning up your drawing.
- Reference Image – A picture or photo you want to copy.
- Tracing Paper – For overlaying the grid on your image.
- Grid Templates – Ready-made grids for convenience.
Step-by-Step Guide to the Grid Drawing Method
The grid drawing method might seem complicated at first, but it’s a simple process. Here’s a step-by-step guide to help you.
Step 1: Prepare Your Reference Image
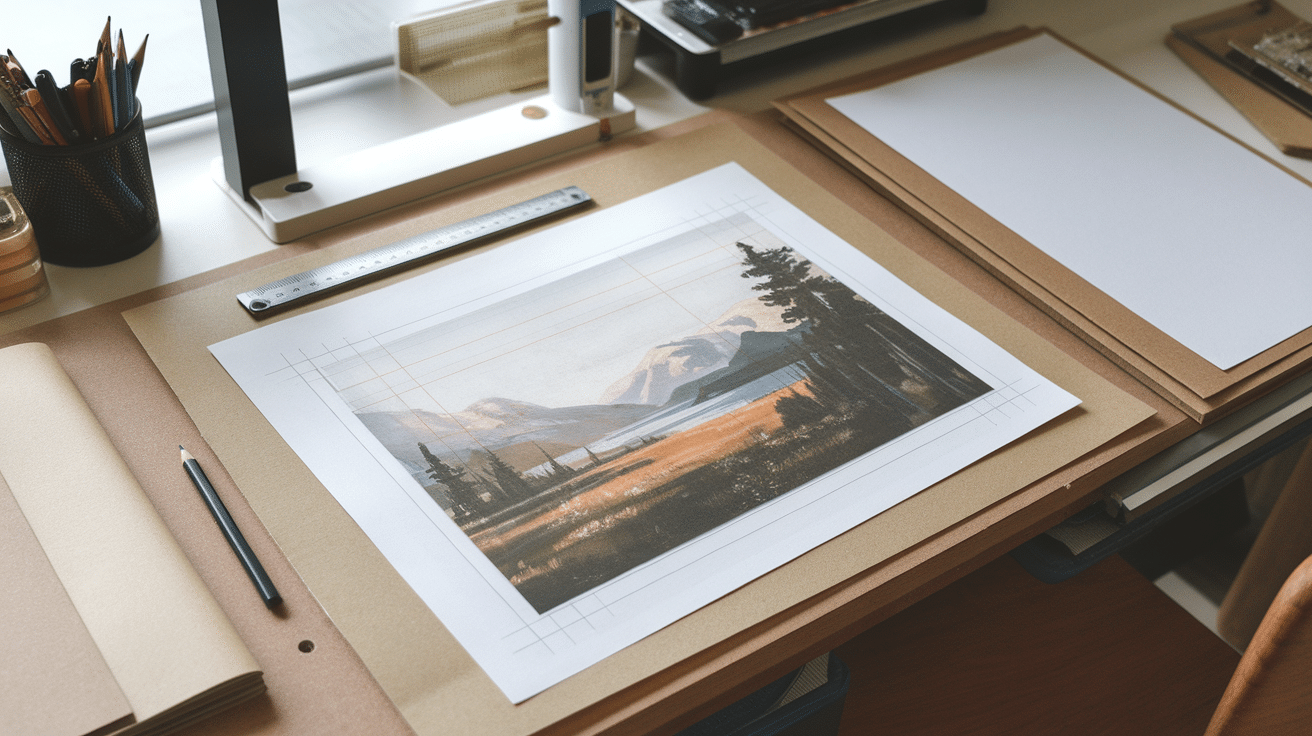
First, choose the image you want to draw. It can be anything—a photo, a picture from a magazine, or even a printed image from the internet.
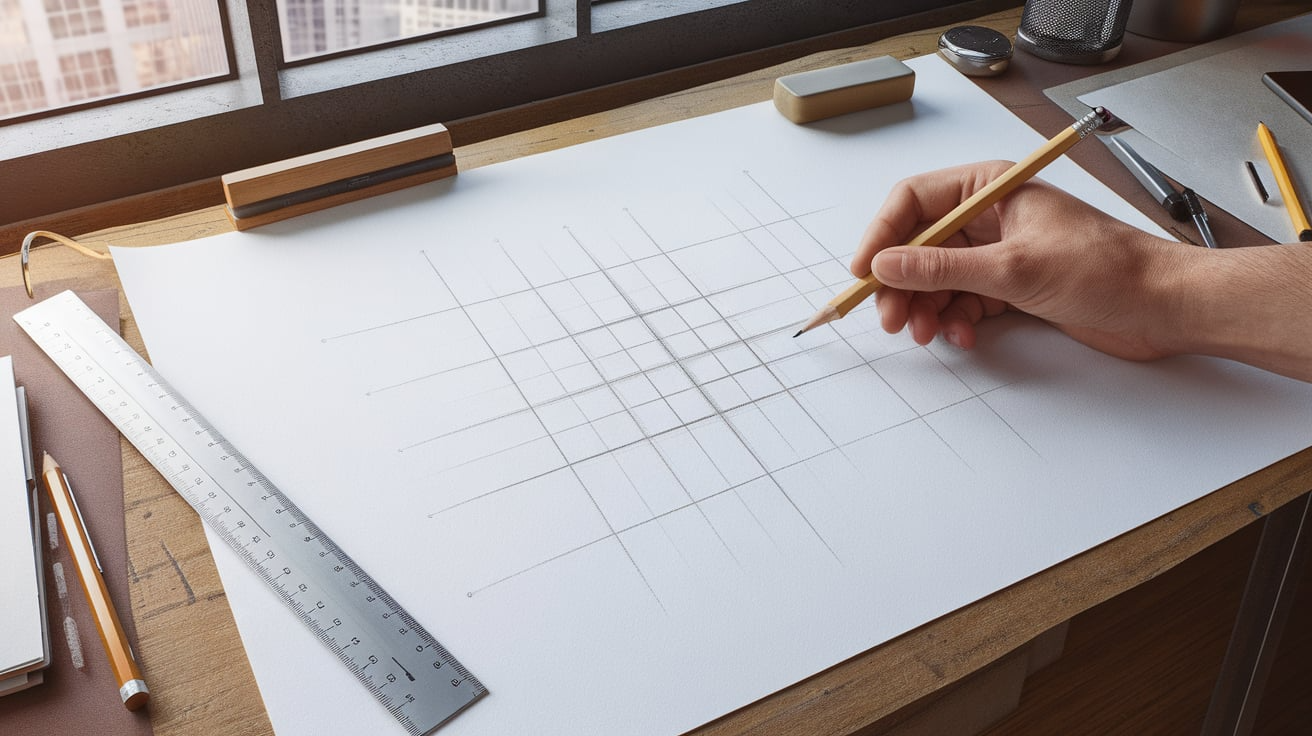
Make sure it’s clear and detailed, so you have a good base to work from. Next, draw a grid over the image. Use your ruler to divide it into squares.
The size of the squares depends on how detailed you want your drawing to be. The grid should cover the entire image, making it easier to work with.
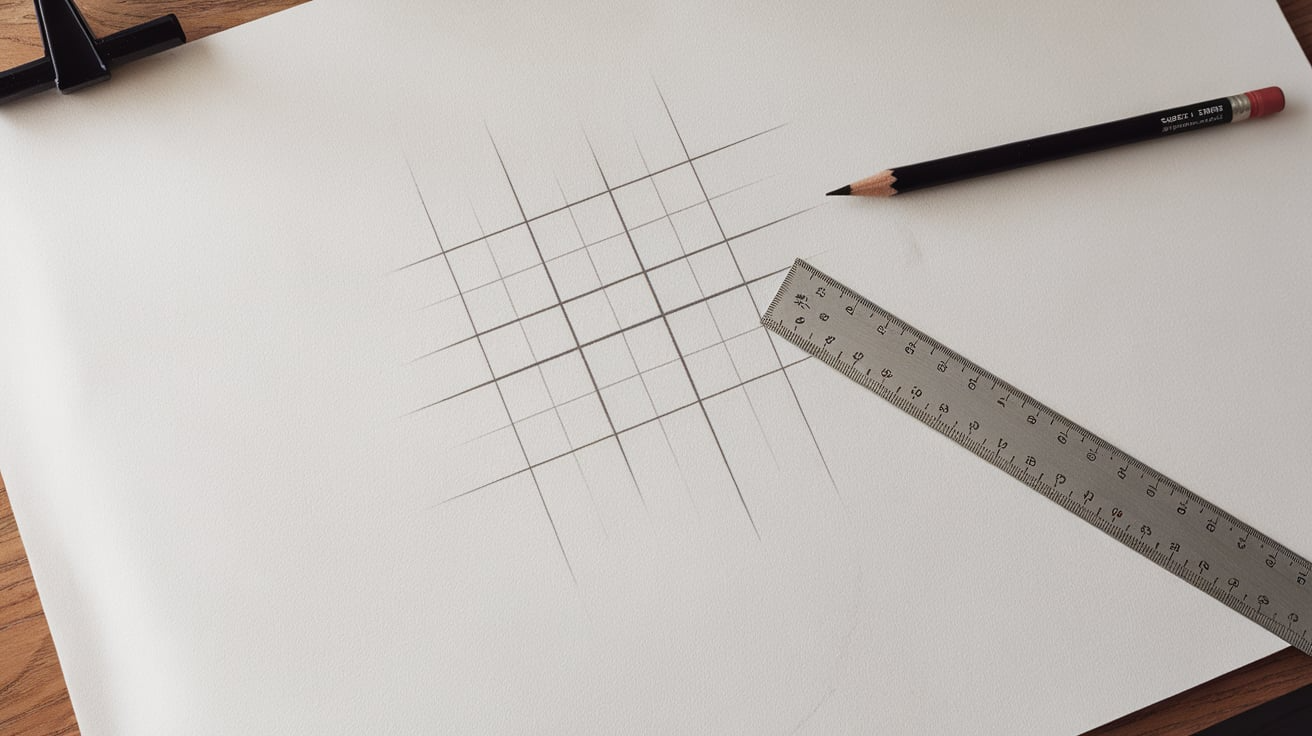
Step 2: Draw a Grid on Your Drawing Paper
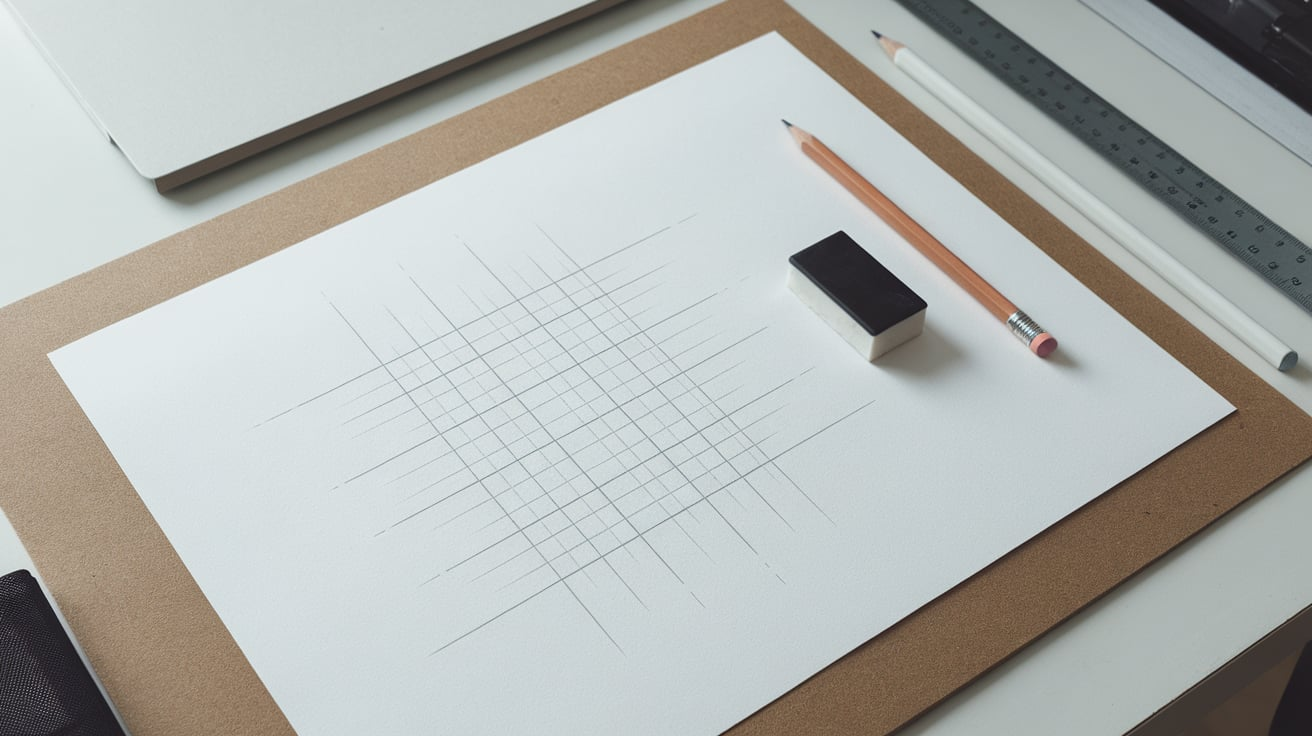
Now, take your drawing paper and draw a grid on it that matches the size of the squares on your reference image.
Make sure the grid is the same number of squares and the same size to keep everything accurate.
Use a ruler to keep the lines straight, and be careful to make the grid even. This step helps you accurately transfer what you see on the reference to your paper.
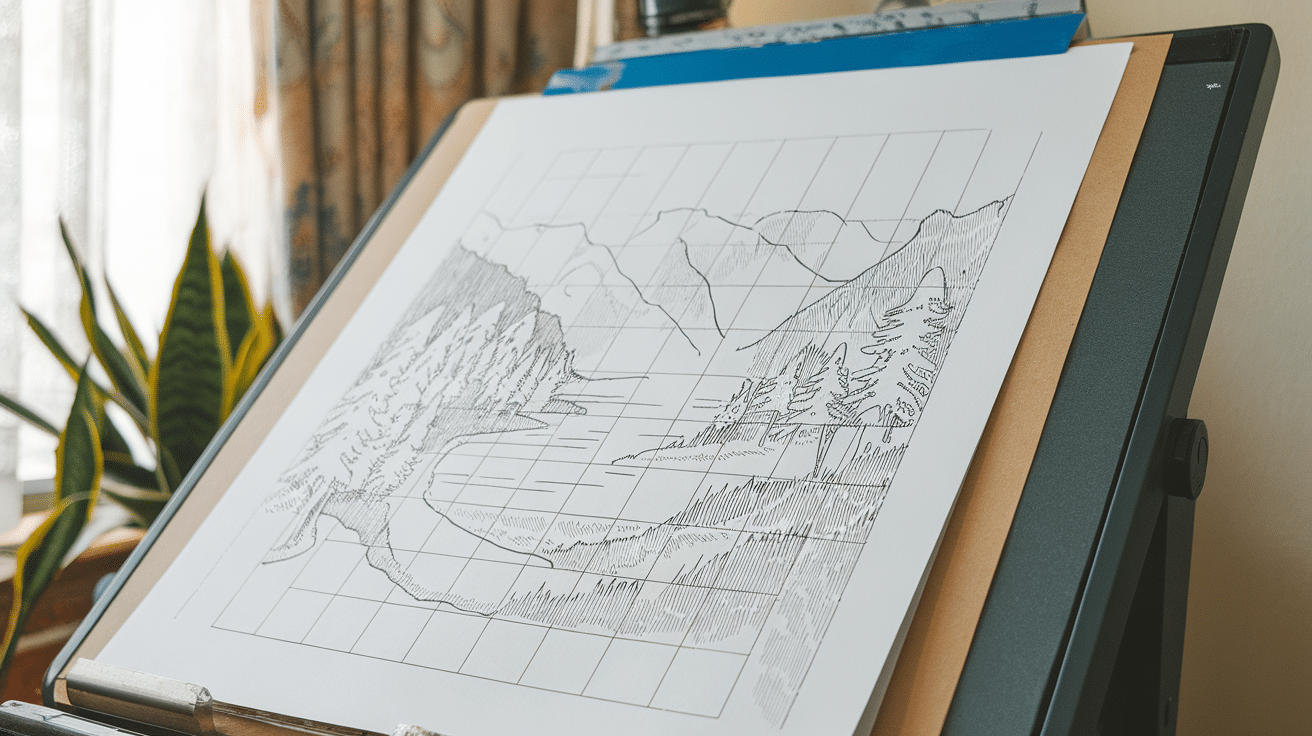
Step 3: Start Drawing Square by Square
Focus on one square at a time. Look at the first square on your reference image and copy what you see into the matching square on your drawing paper.
Start by drawing the main lines and shapes within that square. Don’t worry about the entire picture—just focus on the details within that one square.
This helps you avoid feeling overwhelmed and keeps things in proportion.
Step 4: Move to the Next Square
Once you’ve finished the first square, move on to the next one. Continue this process for the entire grid, making sure to keep your focus on one square at a time.
This method makes it easier to break down complex images into manageable pieces. Don’t rush—take your time and be as accurate as possible.
Step 5: Add Details
After you’ve completed all the squares, go back and add any small details. Look at the reference image again and carefully add things like shadows, texture, and fine lines.
This is the time to make your drawing look more lifelike and detailed. Use a lighter hand for softer details and a heavier hand for darker lines.
Step 6: Clean Up the Grid Lines
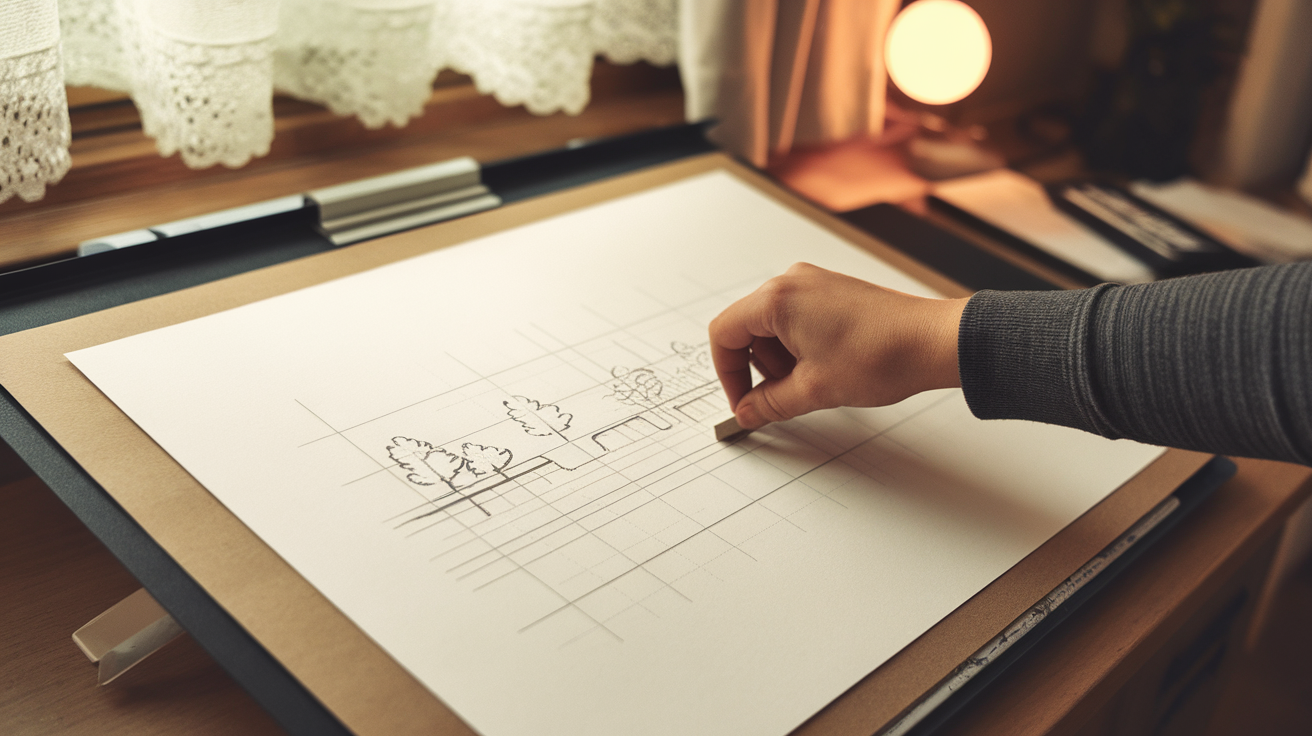
Once you’re done with the drawing, gently erase the grid lines. Make sure not to erase parts of your drawing that you want to keep.
You can use an eraser that’s soft or a kneaded eraser to lightly remove the grid marks without damaging your drawing.
Step 7: Final Touches
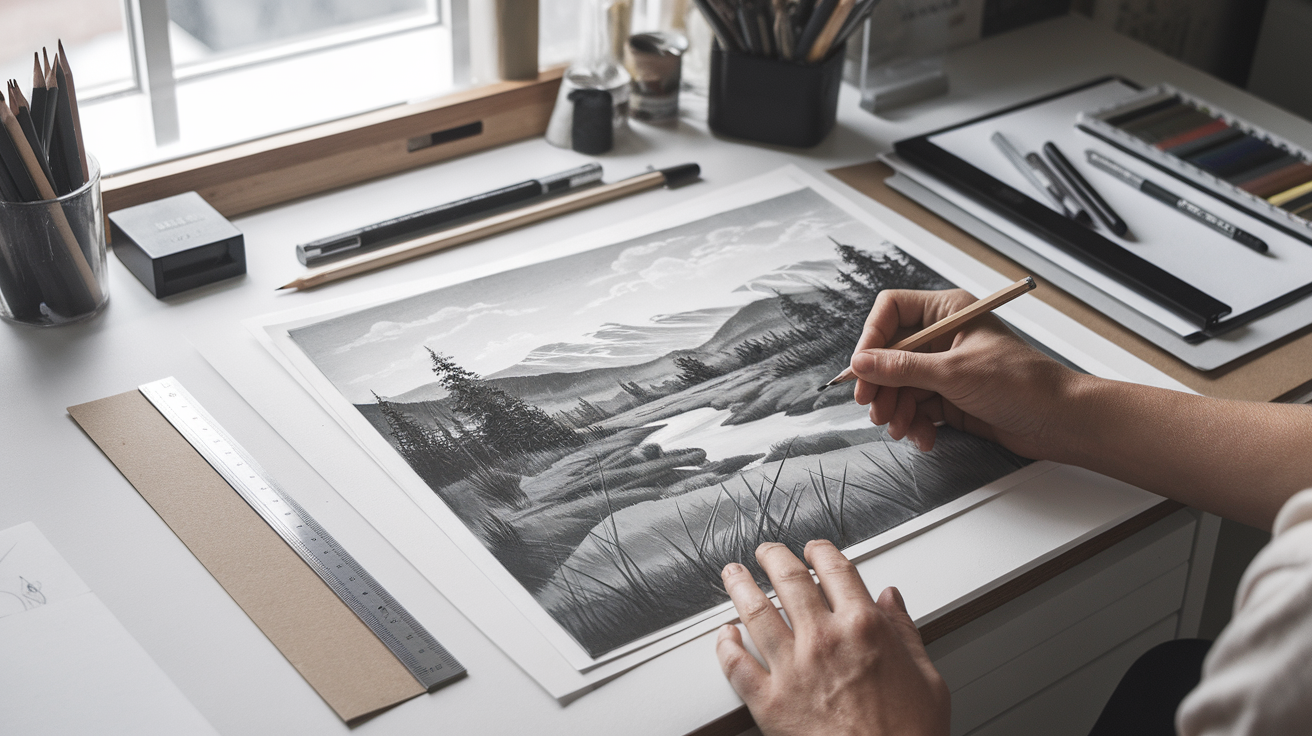
Add any final details, shading, or color to complete your drawing. This is the time to go over any areas that need more definition, texture, or depth.
Make sure to clean up any leftover marks or lines, and give your drawing a polished look.
And that’s it! You’ve successfully used the grid method to create a detailed and accurate drawing. The more you practice, the easier it will get.
Soon, you’ll be able to use this method for any type of drawing, whether it’s a simple sketch or a more complex work of art.
Helpful Tips for Grid Drawing
Here are some simple tips to help you get the most out of the grid drawing method:
1. Take Your Time: Don’t rush through the process. Focus on one square at a time, and be patient. It’s easy to get frustrated, but the more careful you are, the better your drawing will turn out.
2. Use Light Pencil Marks: When you first draw your grid, use a light hand with your pencil. This will make it easier to erase the grid lines later without damaging your drawing.
3. Start with Basic Shapes: Look for basic shapes in your reference image—like squares, circles, or triangles—and draw those first. This helps you break the image down into manageable parts before adding details.
4. Keep the Grid Size Consistent: Make sure the squares on your grid are even and consistent. If the grid sizes don’t match between your reference image and your drawing, the proportions may be off.
5. Don’t Worry About Perfection: It’s okay if your drawing isn’t perfect. Grid drawing is about learning proportions and improving your skills. Keep practicing, and over time, you’ll get better.
6. Use Erasers Carefully: Be gentle when erasing the grid lines. A soft eraser or kneaded eraser can help remove the lines without leaving marks or smudges on your paper.
7. Practice with Different Subjects: Try using the grid method for different types of drawings, from simple objects to complex portraits. The more you practice, the easier it will become to use the grid for any project.
By following these tips, you’ll get more comfortable with grid drawing and improve your skills. Have fun and enjoy the process!
Conclusion
The grid drawing method is a helpful and simple way to improve your drawing skills.
Whether you’re a beginner or an experienced artist, using a grid can help you draw more accurately and confidently.
It breaks down complex images into smaller, manageable parts, making focusing on the details and proportions easier.
The best part about grid drawing is that it helps you build your skills step by step, without the pressure of trying to get everything perfect right away.
You’ll gain more control over your drawings and develop better observation skills as you practice.
So, if you want to improve your drawing abilities or just want to try a new technique, give grid drawing a go!
With patience and practice, you’ll create detailed and accurate artwork in no time.
Frequently Asked Questions
Do I Need a Special Grid Tool?
No, you don’t need anything special. A ruler and pencil are all you need to create a grid. You can also use grid templates if you want a quicker solution.
Can Grid Drawing Be Used for Any Type of Image?
Yes, grid drawing can be used for any type of image, whether it’s a portrait, landscape, or still life. It’s helpful for both simple and complex images.
How Big Should My Grid Squares Be?
The size of your grid squares depends on the level of detail you want. Smaller squares work best for detailed images, while larger squares are better for simpler drawings.
How Do I Draw the Grid on My Drawing Paper?
Measure and draw a grid on your drawing paper that matches the size of the squares on your reference image. Use a ruler to keep the lines straight.
Should I Erase the Grid Lines when I’m Done?
Yes, once you’re finished with the drawing, gently erase the grid lines. Be careful not to smudge the drawing. Use a soft eraser to avoid damaging your work.