Digital art is an exciting way to create using a computer or tablet.
It opens up endless possibilities for drawing, painting, and design. If you’re new to teaching digital art, don’t worry—I’m here to help.
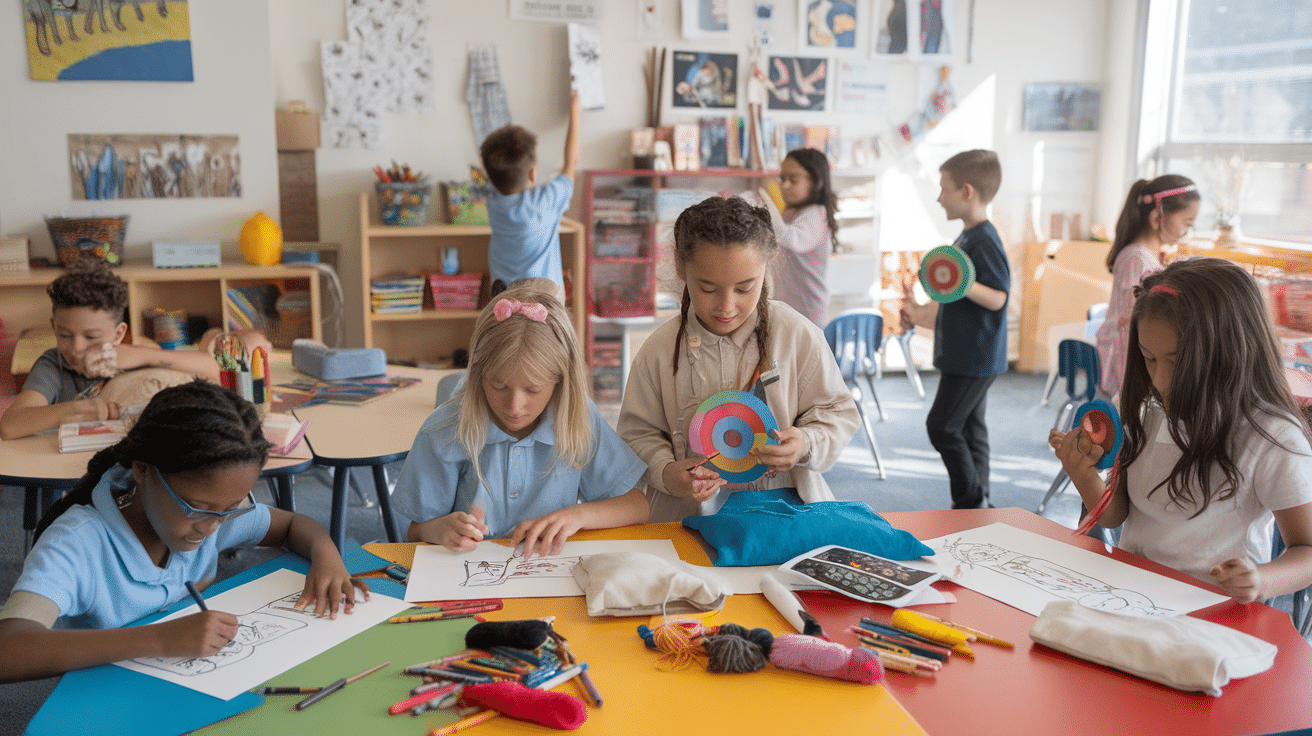
I’ve put together simple lesson plans to make it easy for beginners to get started. With digital tools, students can explore colors, shapes, and textures in ways that aren’t possible with traditional materials.
The best part? No mess to clean up! These lessons focus on building basic skills while keeping things fun and engaging.
You don’t need expensive software or advanced knowledge. Free apps and simple programs work great for teaching the basics. I’ll walk you through step-by-step plans that make learning easy.
By the end, you’ll have everything you need to guide students in creating their own digital masterpieces. Let’s make digital art simple and fun!
What is Digital Art?
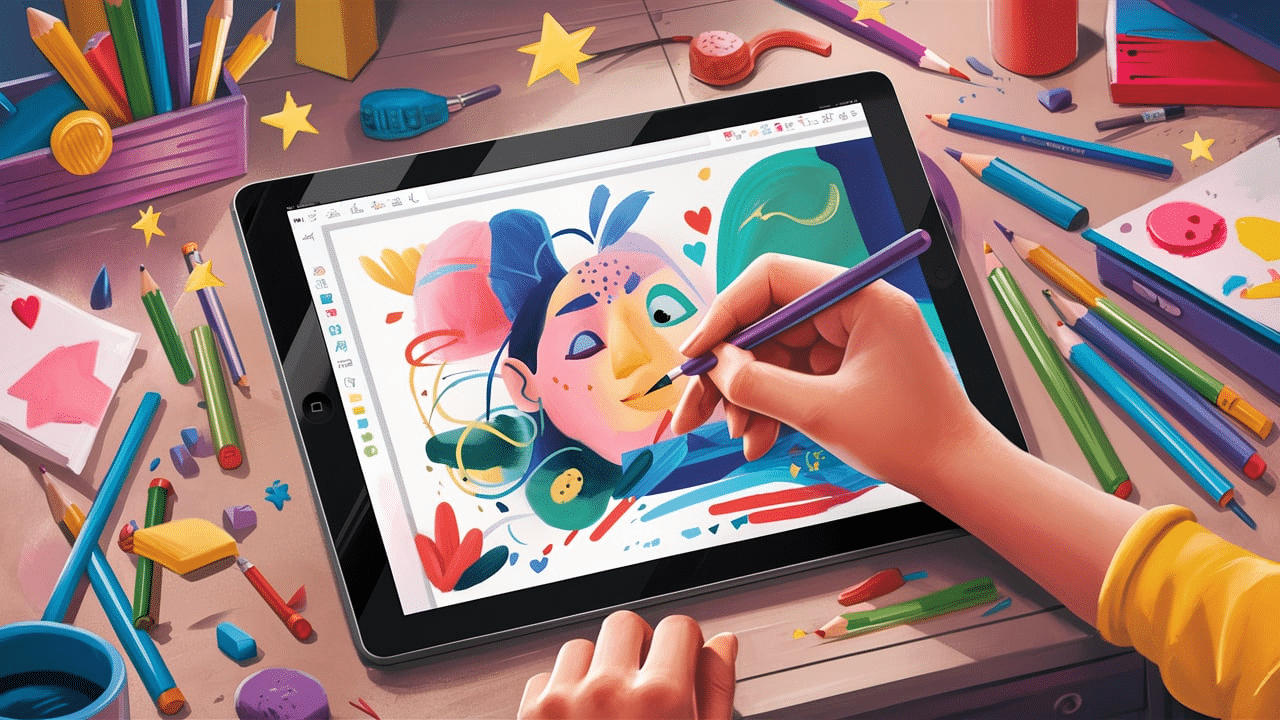
Digital art is any artwork created using technology. Instead of using a pencil and paper, artists use digital tools like styluses, tablets, and design software.
It opens up many possibilities for creativity and allows students to undo mistakes, experiment with different colors, and use special effects that are difficult to achieve with traditional materials.
Types of Digital Art
- Digital Drawing and Painting – This involves using digital brushes and tools to create sketches, paintings, and illustrations. Many artists use styluses for better control.
- Graphic Design – This focuses on designing posters, logos, social media graphics, and advertisements using digital tools.
- Pixel Art – A style of art where images are created using tiny squares (pixels), similar to old video games.
- Animation – The process of creating moving images using multiple frames. This can be done with simple digital tools or advanced software.
- Photo Editing and Manipulation – Editing or enhancing pictures with digital software to change colors, remove objects, or add effects.
Getting Started with Digital Art
Before students can begin creating digital art, they need to understand the tools they will be using.
Basic Tools and Software
Here are some beginner-friendly digital art tools:
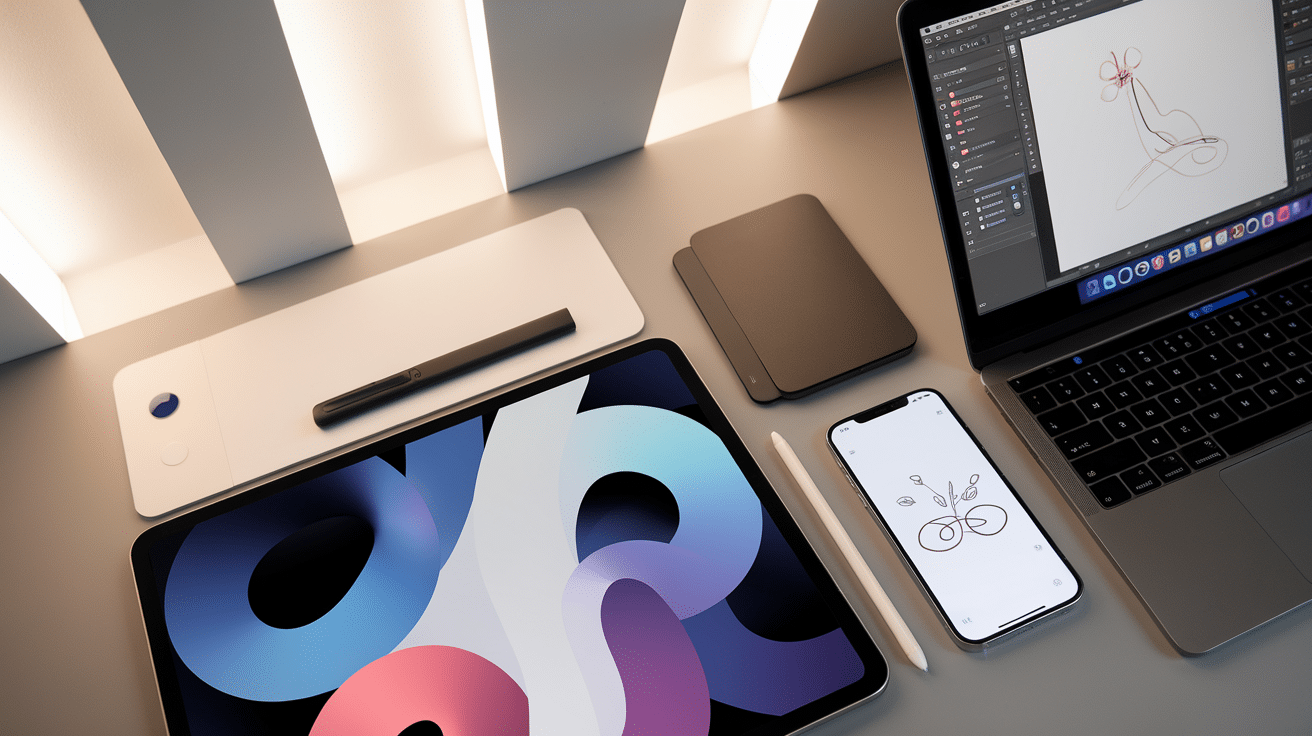
Devices
- Computers: Laptops or desktops can be used with graphic design software like Photoshop, Krita, or GIMP.
- Tablets: iPads, Android tablets, or graphics tablets like Wacom are excellent for drawing with a stylus.
- Smartphones: While not as comfortable as a tablet, many drawing apps work on mobile devices.
Software and Apps
- Free Options:
- Autodesk Sketchbook (great for beginners)
- Krita (good for painting and animation)
- Medibang Paint (lightweight and easy to use)
- GIMP (similar to Photoshop, but free)
- Paid Options:
- Adobe Photoshop (industry standard for design and art)
- Procreate (popular on iPads)
- Clip Studio Paint (great for illustration and comics)
Setting Up a Digital Workspace
Having a comfortable digital workspace helps students focus and work efficiently.
- Find a quiet place with good lighting. This helps reduce eye strain and makes drawing easier.
- Adjust screen brightness and contrast. This prevents eye fatigue.
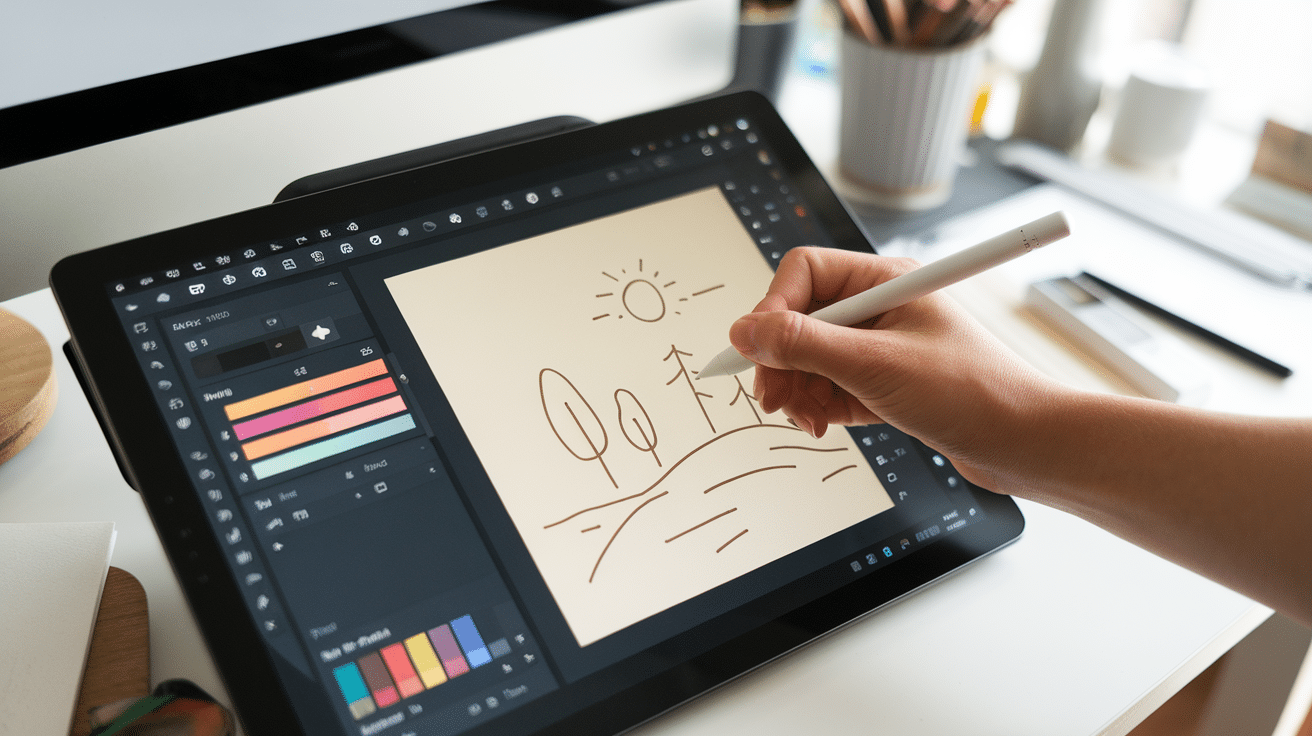
- Use a stylus for better precision. A stylus helps students draw more naturally compared to using a mouse or finger.
- Encourage regular breaks. Staring at a screen for too long can be tiring.
Beginner-Friendly Digital Art Lesson Plans
These lessons will help students learn digital art step by step, from basic tools to more advanced projects.
Lesson 1: Getting to Know Digital Tools
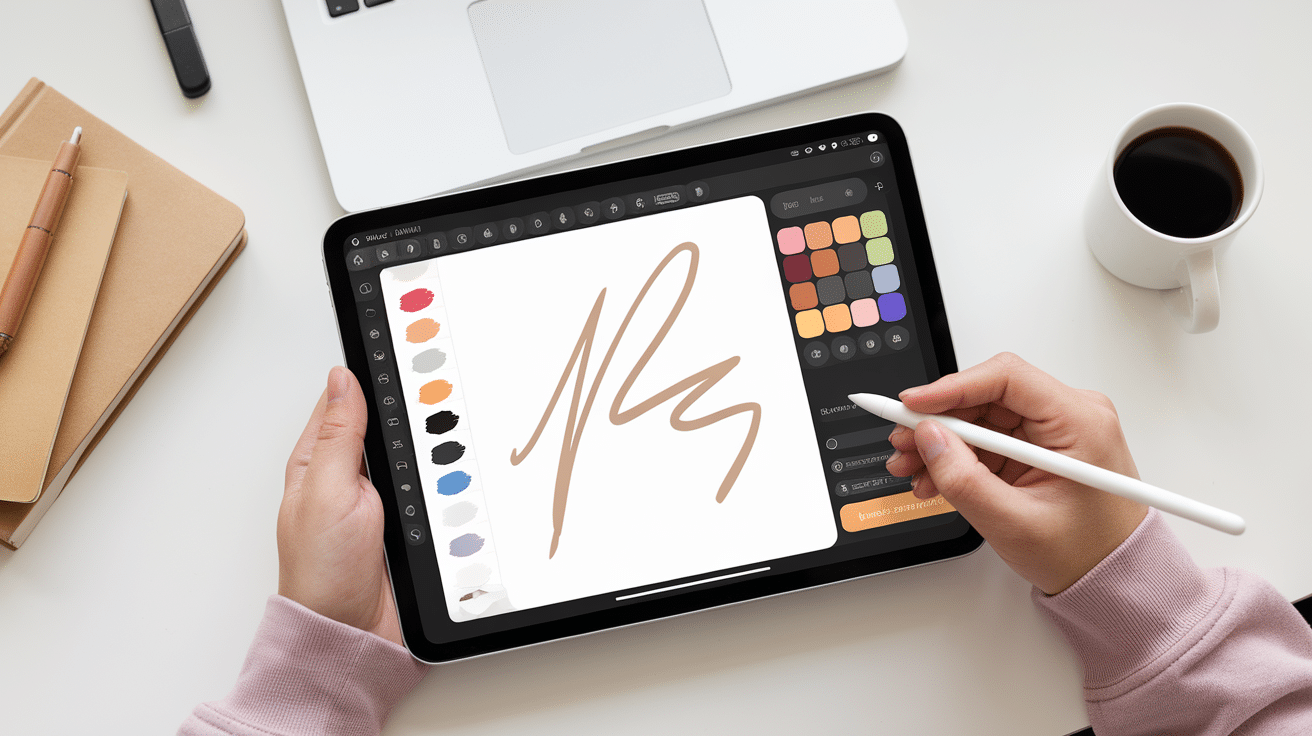
Objective: Introduce students to the basic tools used in digital art.
Steps:
- Open a digital art program such as Autodesk Sketchbook or Krita.
- Explore the toolbar and find the brush, color picker, and eraser tools.
- Experiment with different brushes and see how they affect the drawing.
- Try the undo and redo buttons to understand how easy it is to fix mistakes.
- Learn about layers—create a new layer, draw on it, and erase it without affecting the background.
Activity: Ask students to create a basic doodle using different brushes and colors.
Lesson 2: Drawing Basic Shapes and Objects
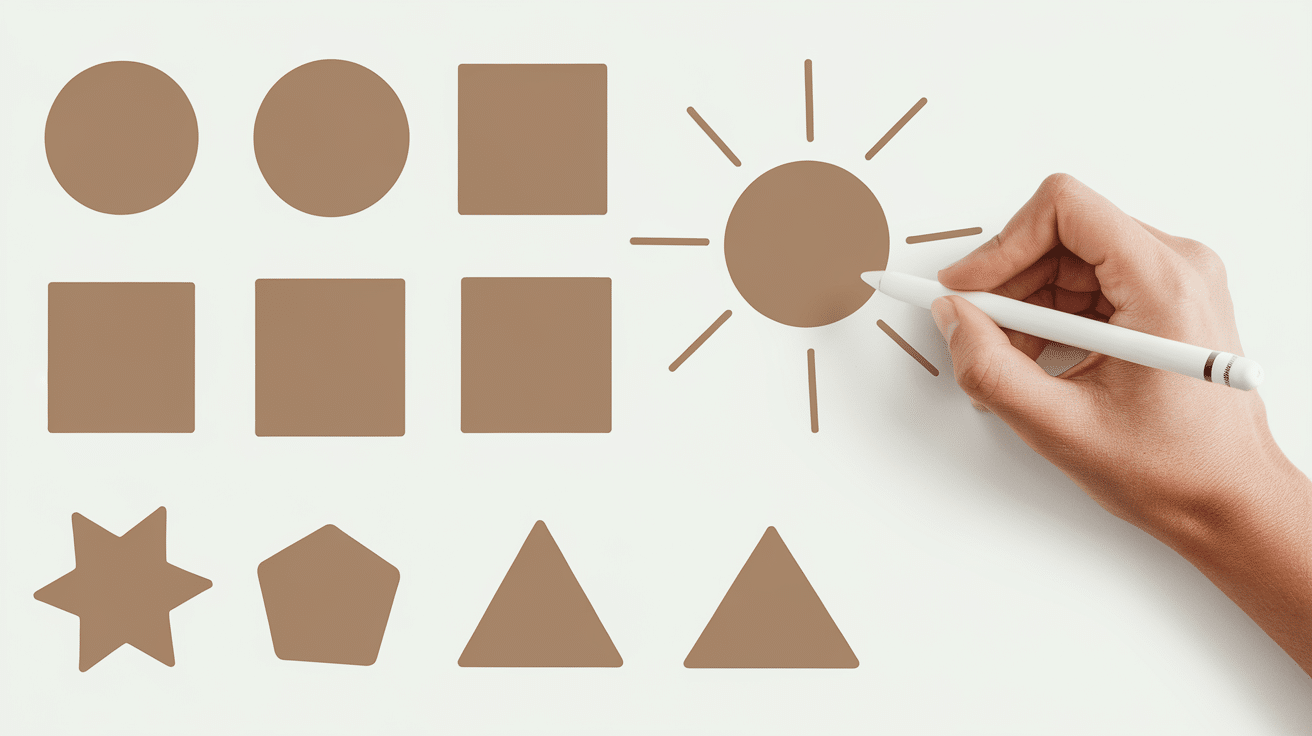
Objective: Teach students to create basic shapes and turn them into objects.
Steps:
- Start with a blank canvas and choose a simple brush.
- Use the brush tool to draw basic shapes like circles, squares, and triangles.
- Turn shapes into objects—draw a circle and add details to make it a sun.
- Practice resizing, rotating, and moving objects using digital tools.
- Fill the shapes with different colors using the paint bucket tool.
Activity: Have students draw a simple house using only basic shapes.
Lesson 3: Using Layers to Build a Drawing

Objective: Help students understand how layers work and why they are useful.
Steps:
- Open a new canvas and create three layers.
- On the first layer, draw a background (sky and ground).
- On the second layer, draw a tree, house, or other main object.
- On the third layer, add details like windows, leaves, or clouds.
- Experiment with turning layers on and off to see how they work.
Activity: Have students create a layered drawing of an outdoor scene.
Lesson 4: Coloring and Shading Basics
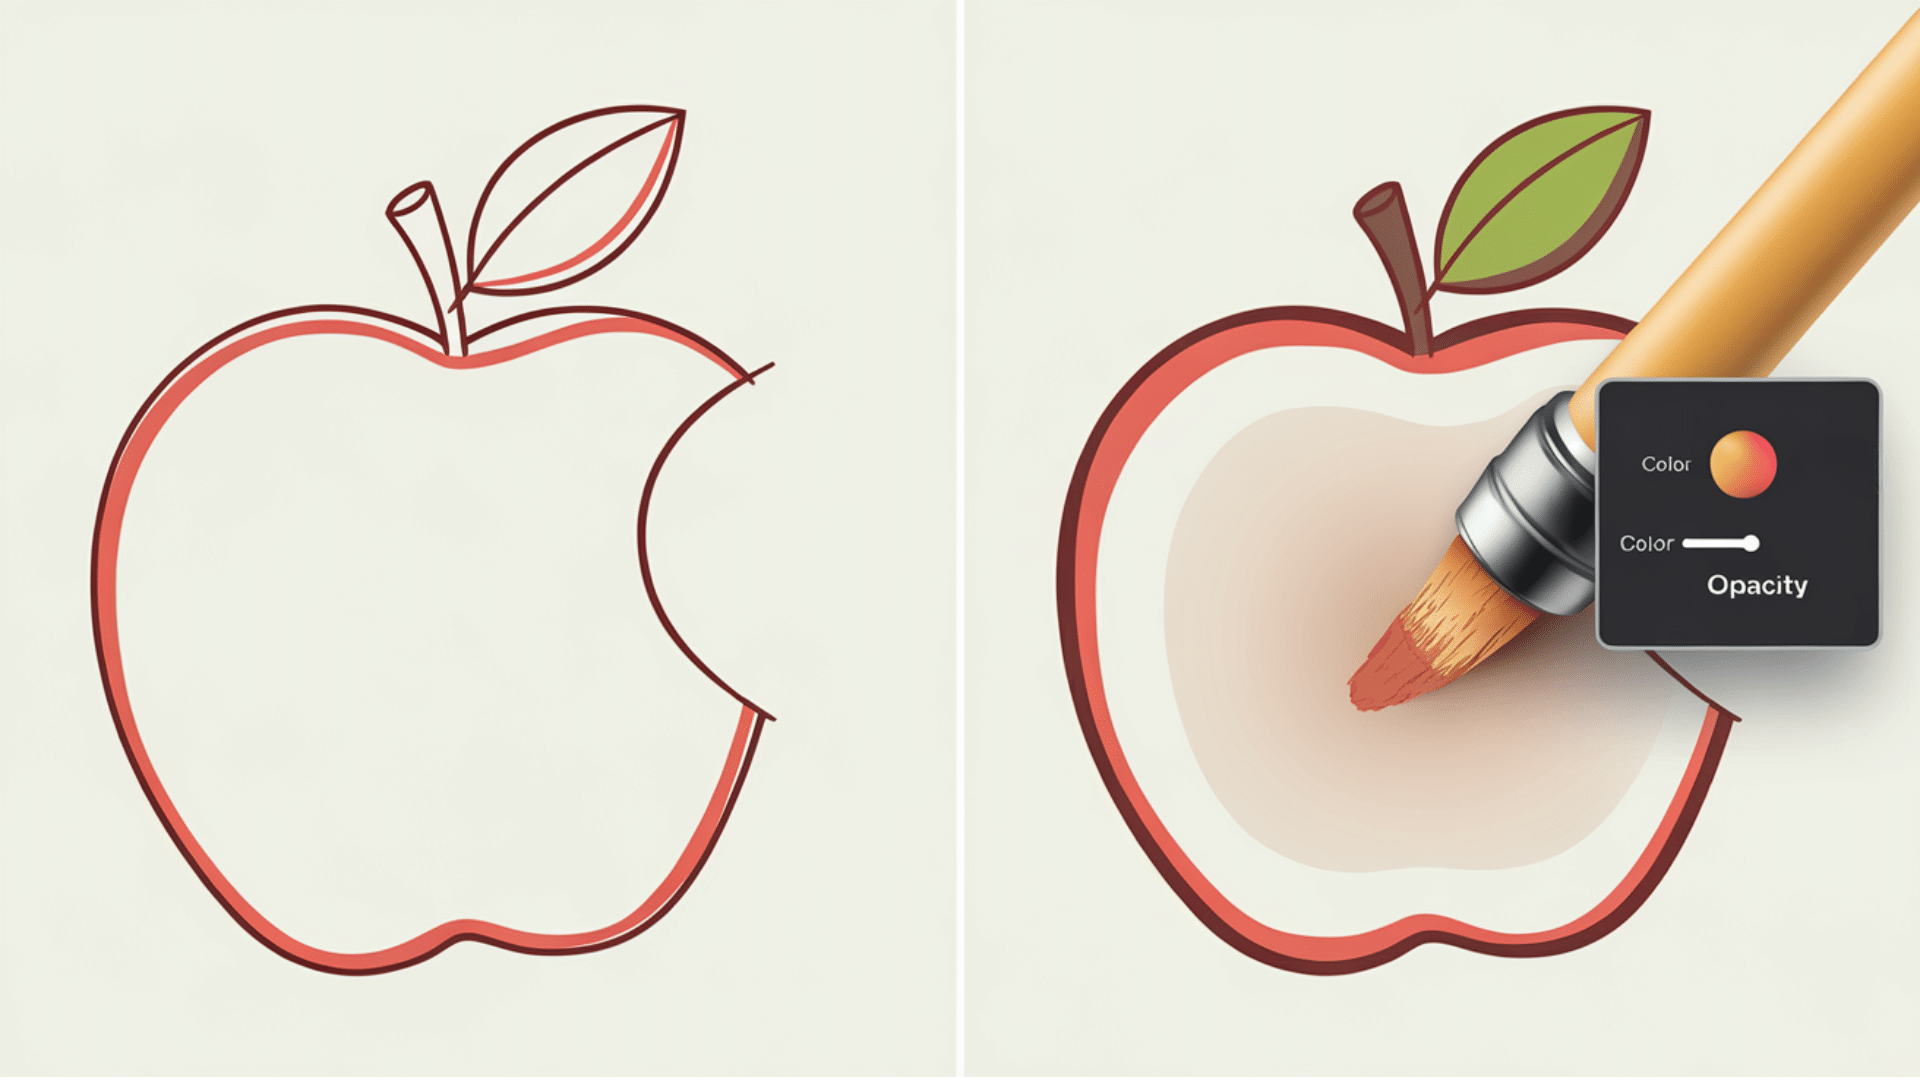
Objective: Teach students how to add depth using color and shading.
Steps:
- Choose a simple object to draw (an apple, ball, or face).
- Use the color picker to select a base color.
- Add a new layer above the drawing for shading.
- Use a soft brush to add shadows where light does not hit the object.
- Blend the shading to make the object look more realistic.
Activity: Have students draw and color a fruit, focusing on light and shadow.
Lesson 5: Creating a Simple Digital Painting
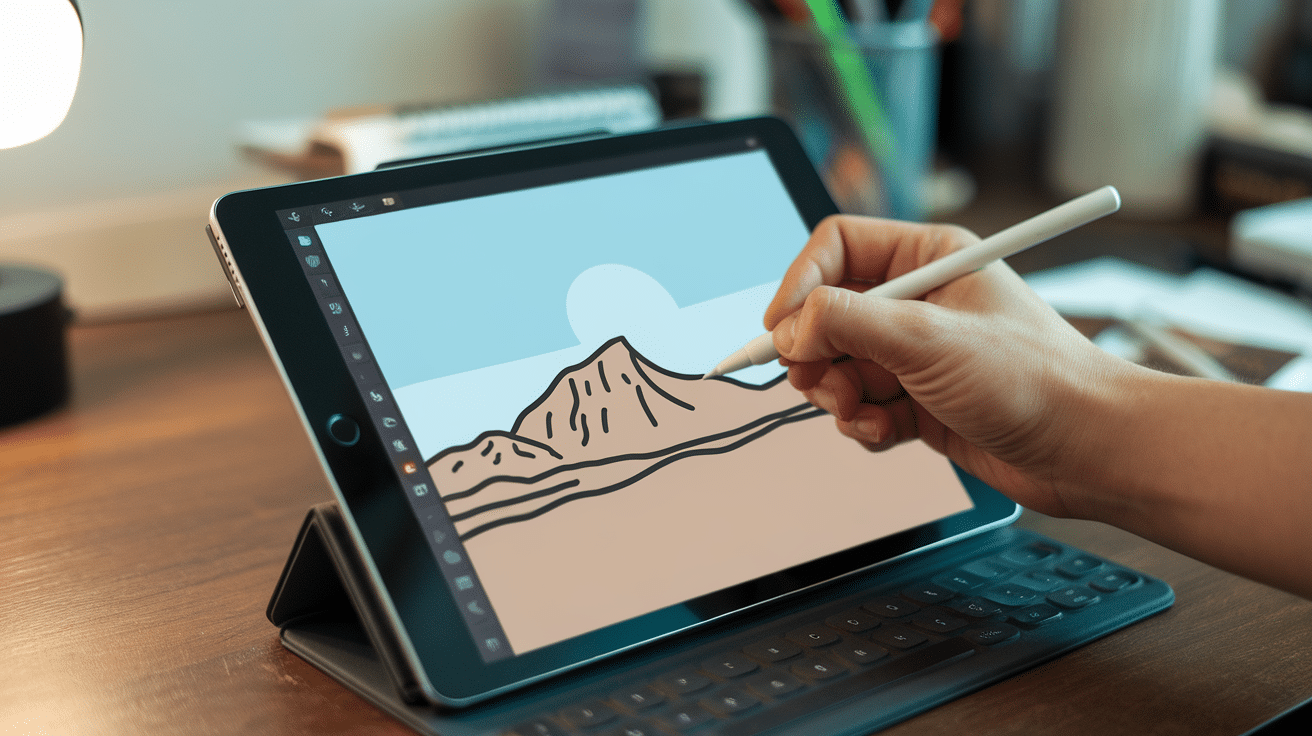
Objective: Guide students through the process of making a basic landscape painting.
Steps:
- Start with a blank canvas and create a sky on the first layer.
- On the second layer, paint mountains, trees, or a lake.
- On the third layer, add small details like grass or clouds.
- Blend colors using a soft brush to create smooth transitions.
- Adjust opacity to create a more natural look.
Activity: Have students create a simple sunset landscape using three colors.
Lesson 6: Adding Texture and Details
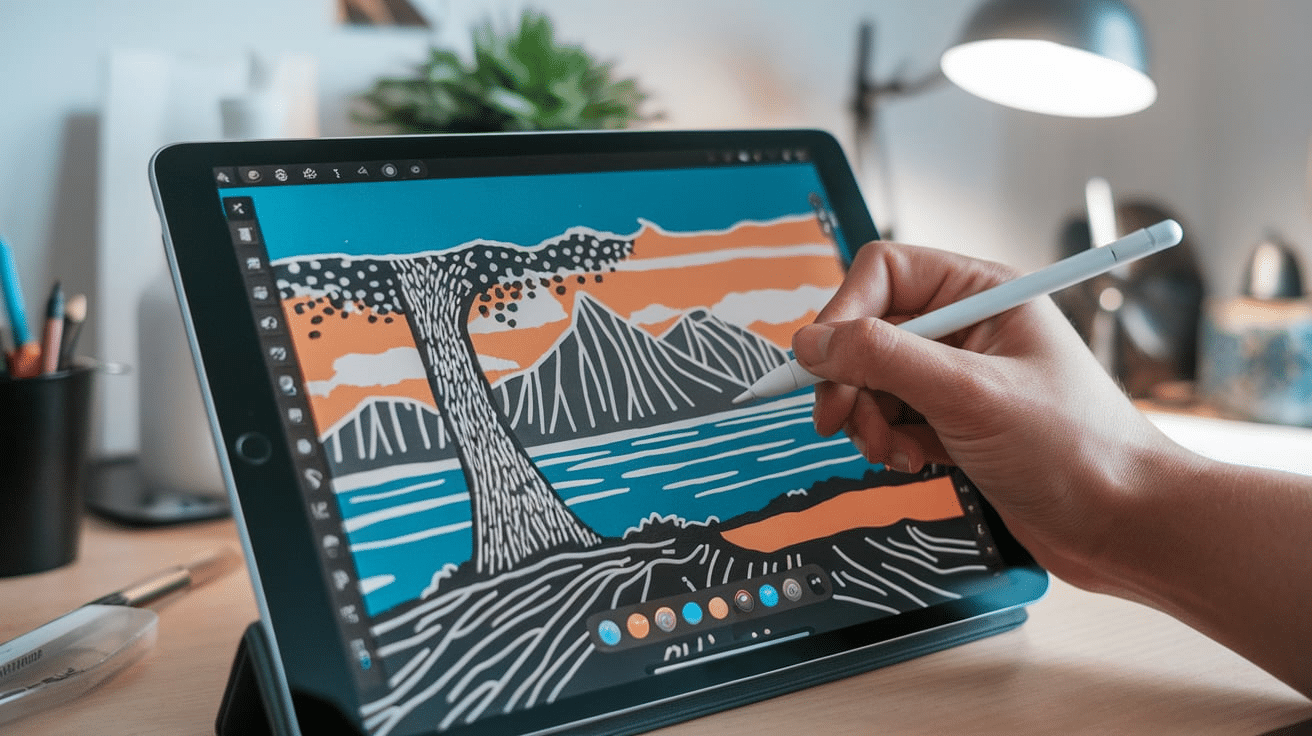
Objective: Teach students how to use brushes and textures for detail.
Steps:
- Choose a subject (tree, rock, fur, or water).
- Try different textured brushes, like leaf, fur, or water ripple brushes.
- Layer textures to make the drawing more detailed.
- Experiment with opacity and blending modes.
Activity: Have students draw a tree and add texture to the bark and leaves.
Lesson 7: Character Drawing
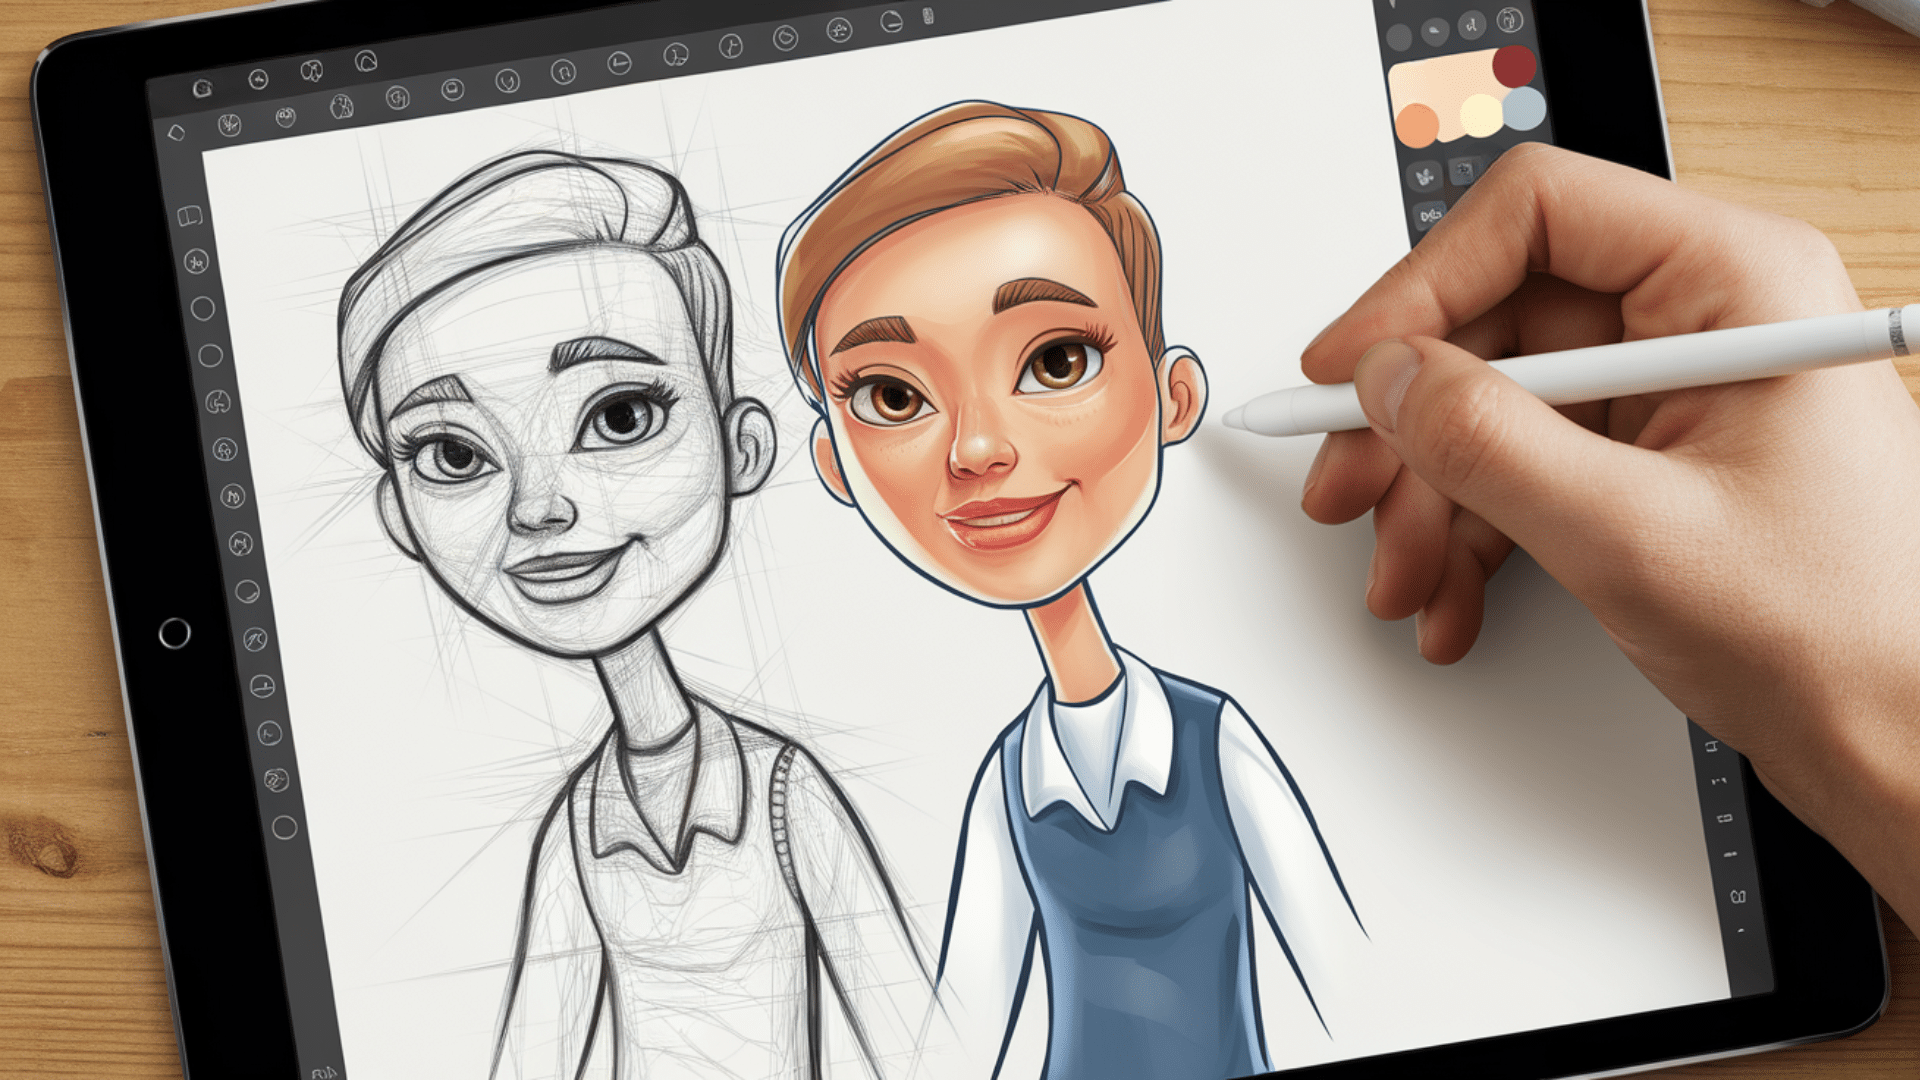
Objective: Teach students how to create a simple cartoon or character.
Steps:
- Start with a rough sketch using a light-colored brush.
- Draw clean outlines on a new layer.
- Add a base color layer under the outline.
- Add shading and highlights for depth.
- Use the eraser tool to clean up any rough edges.
Activity: Ask students to create their own character and name it.
Tips for Teaching Digital Art
- Start simple: Teach basic tools before moving to advanced techniques.
- Use layers wisely: Explain how they help keep art organized.
- Encourage practice: The more students draw, the better they’ll get.
- Be patient: Mistakes are part of learning.
- Make it fun: Let students choose their own projects and styles.
Conclusion
Digital art is an exciting way to be creative. It allows students to explore colors, textures, and techniques without worrying about making mistakes.
With digital tools, they can experiment, undo errors, and try new ideas easily. Learning step by step makes the process less overwhelming and more fun.
Starting with basic tools and simple exercises helps students build confidence. Teaching them about layers, brushes, and color blending gives them a strong foundation.
As they progress, they can explore more advanced skills like shading, texture, and even animation.
Patience is important. Some students will pick it up quickly, while others may need more time. Encouraging practice and creativity helps them grow as artists.
Celebrate their progress, no matter how small.
By using engaging lesson plans and fun projects, you can make digital art an enjoyable experience for beginners.
The goal is to inspire creativity and help students develop skills they can use for a lifetime. Keep it simple, keep it fun, and watch them improve with every drawing!
Frequently Asked Questions
What is the best software for beginners learning digital art?
Free options like Autodesk Sketchbook, Krita, and Medibang Paint are great for beginners. Procreate (paid) is popular for iPads.
Do students need a drawing tablet to start digital art?
No, but it helps. Students can start with a computer and a mouse or even use a touchscreen device like an iPad or smartphone. A drawing tablet with a stylus makes it easier to create detailed artwork.
How can I help students improve their digital drawing skills?
Encourage daily practice with simple exercises like tracing, sketching objects, and shading. Give feedback and show progress over time.
What is the best way to save and share digital artwork?
Save in PNG for high quality, JPEG for easy sharing, and PSD/KRA to keep layers editable. Use Google Drive or classroom platforms to share.