

Blocking acrylic yarn is an essential step in many crochet and knitting projects. It helps the yarn hold its shape, smooths out uneven stitches, and gives the work a polished, professional finish.
This process may sound intimidating at first, but it’s actually quite simple, and with a little time and patience, you can make your acrylic yarn projects look amazing.
In this guide, I’ll show you the easy steps to block acrylic yarn and get great results. All you need are a few basic tools and a little patience.
No special skills are required, just the right approach. By the end, you’ll have yarn that looks smoother, more defined, and professional.
What is Blocking?
Blocking is a technique used in knitting and crochet to shape and set the stitches of your project. It involves using moisture (usually water) and heat to make your yarn more flexible, which helps it stretch into its final shape.
While blocking is commonly used with wool yarns, it’s just as helpful with acrylic yarn, even though it doesn’t behave in the same way as natural fibers.
Acrylic yarn is made of synthetic fibers, which means it doesn’t have the natural elasticity of wool.
That’s where blocking comes in—it helps acrylic yarn keep its shape and smooth out imperfections in your stitches.
Why Block Acrylic Yarn?
Blocking acrylic yarn offers a lot of benefits. Some of the top reasons you should consider blocking your next project are:
Shape Your Project
Blocking helps your project maintain its shape. Whether it’s a sweater, scarf, or blanket, blocking helps it fit the way you want it to.
It sets the stitches in place, ensuring that your work holds its form and doesn’t stretch out or become misshapen.
Even Out the Stitches
If your project has uneven stitches, blocking can help smooth things out. It can make those tight or loose spots in your work disappear, leaving you with a cleaner, more even piece.
Reduce Curling Edges
One common issue with acrylic yarn is that the edges of your project may curl. Blocking can help reduce or eliminate this problem, especially with items like shawls and scarves.
By pinning out the edges, you can keep them from curling and give your piece a more polished look.
Improve the Appearance
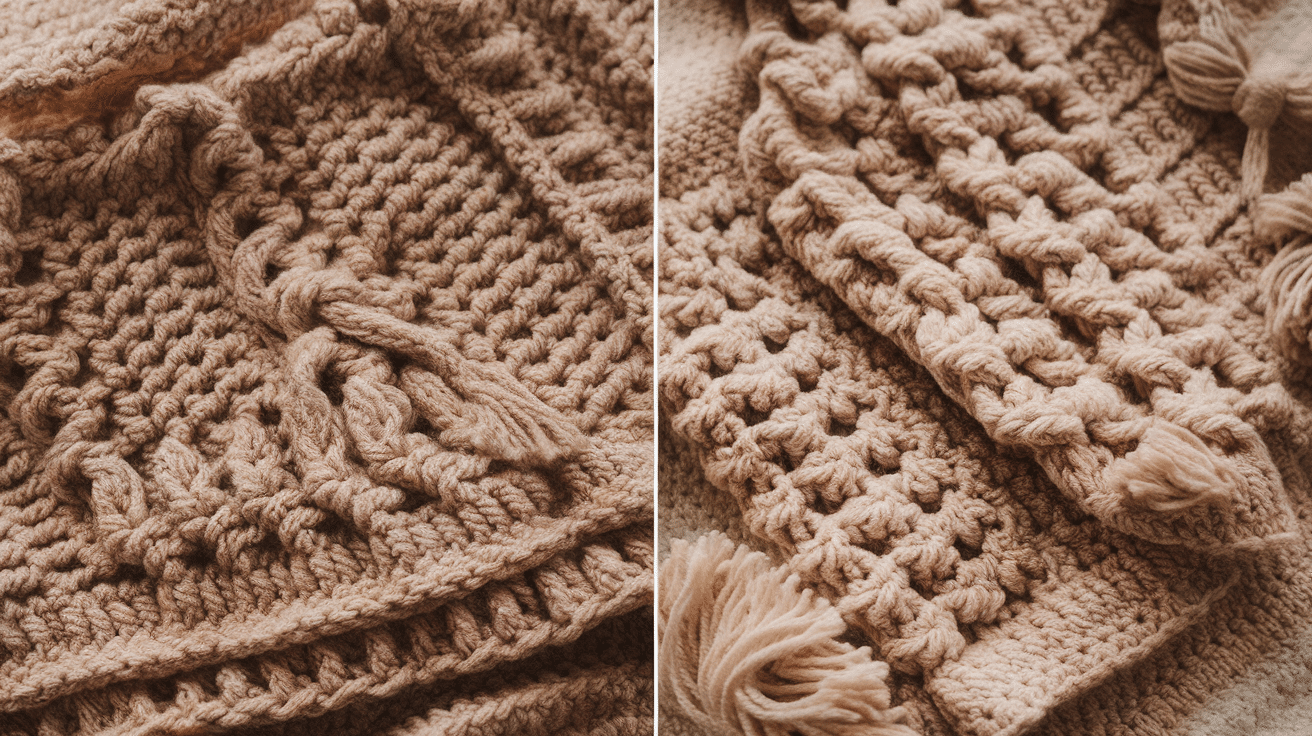
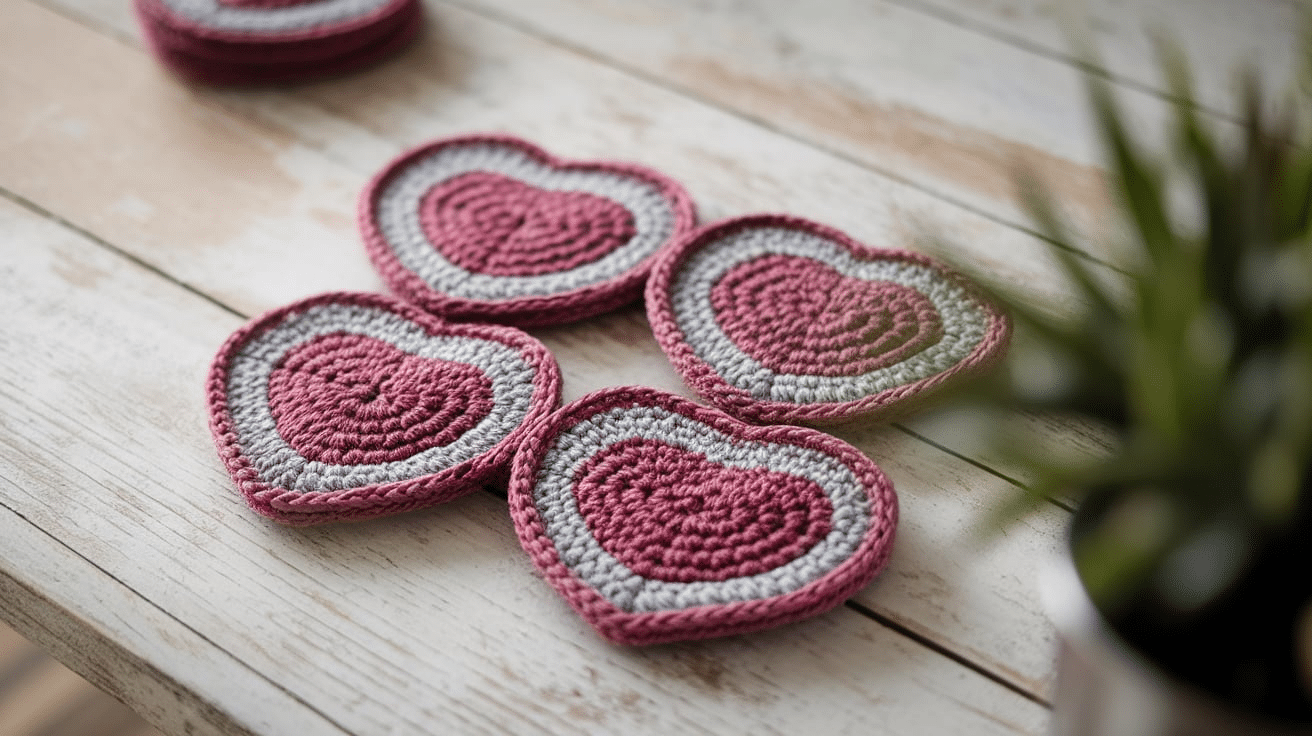
Blocking acrylic yarn helps the stitches look more defined, which can greatly improve the overall appearance of your project.
The final result will look smoother and more professional, giving your project a crisp, clean finish.
Set the Final Size
If you’re making something that needs to fit a specific size, like a sweater or a hat, blocking can help you achieve that perfect fit.
Acrylic yarn may shrink or stretch slightly after washing, but blocking helps you control the final size of your project.
When Should You Block Acrylic Yarn?
Blocking is usually done after your project is finished. This means that once you’ve completed your crochet or knitting piece, you can then block it to set the shape and size.
There are a few key times when blocking is especially helpful:
- After knitting or crocheting your piece: Once your project is completed, it’s time to block it. This is the most common time to block.
- After washing your finished piece: Some people prefer to block their projects after they’ve been washed. This helps the yarn settle into its final shape and size.
- Before gifting or displaying your project: If you’re giving your project as a gift or displaying it somewhere, blocking helps it look its best.
How to Block Acrylic Yarn
There are several methods for blocking, and the one you choose will depend on your project and how much time you have.
I’ll cover the most common methods, step-by-step, so you can decide which one works best for you.
1. The Wet Blocking Method

The wet blocking method is the most popular and effective way to block acrylic yarn. It’s simple, and you can do it with just a few tools.
What You’ll Need:
- A clean sink or bowl
- Water (warm or cool)
- Mild detergent (optional)
- A towel
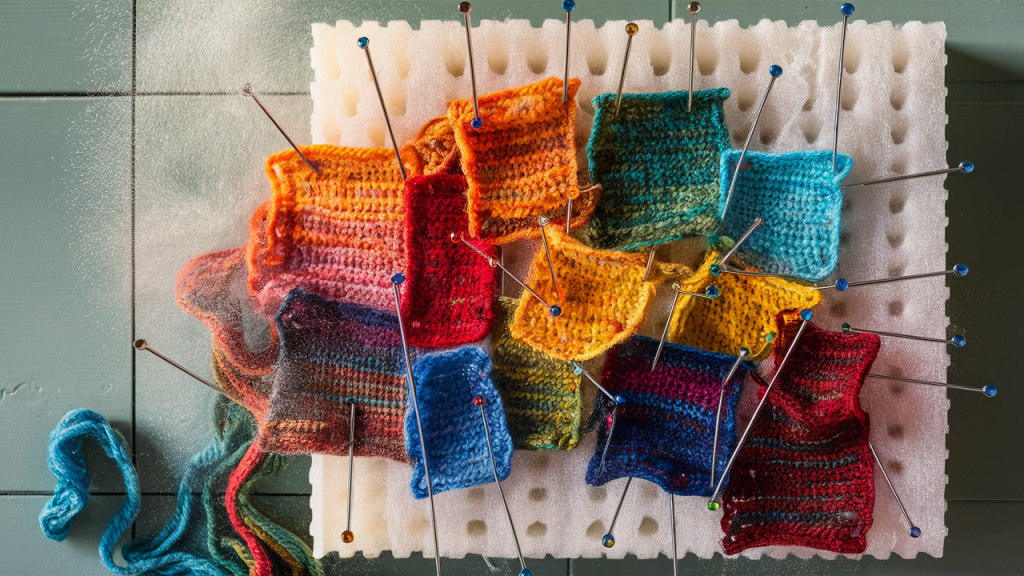
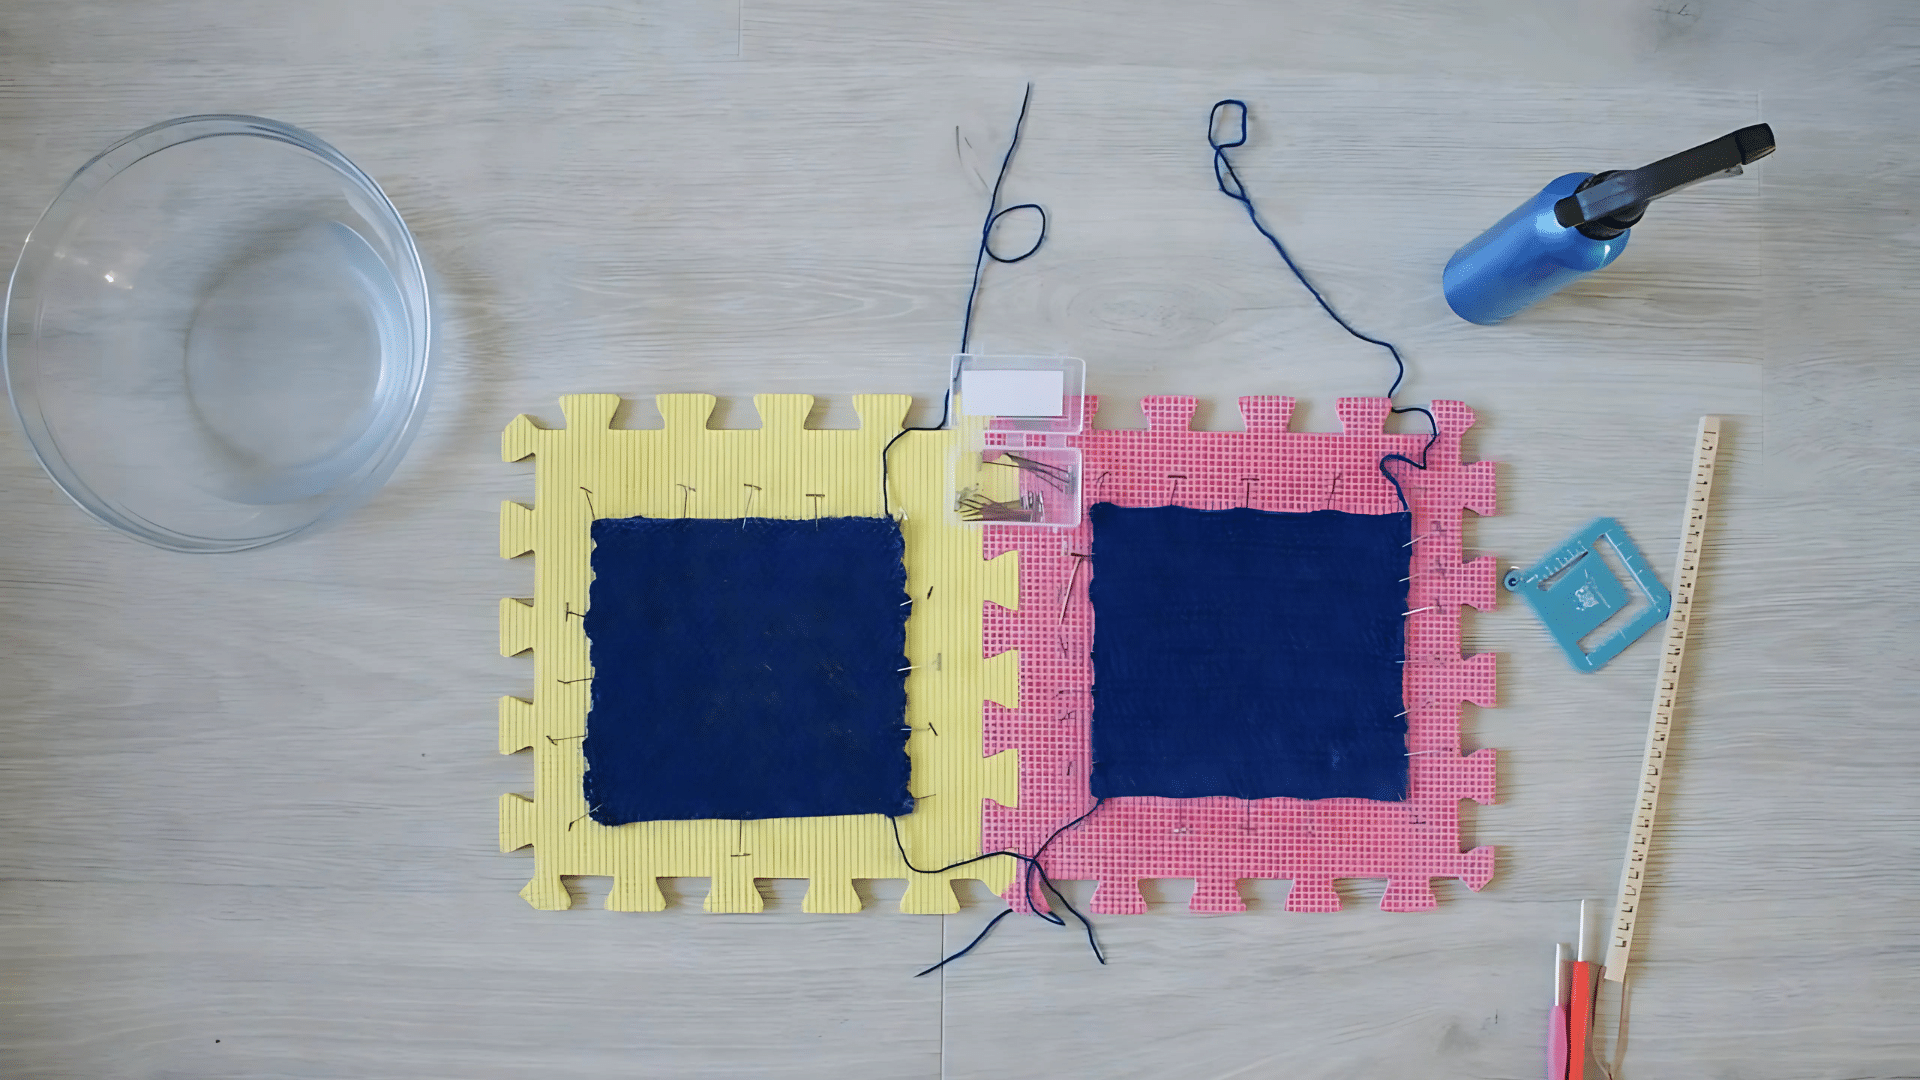
- Pins or blocking mats
Steps:
-
Prepare Your Workspace: Start by laying down a towel or using a blocking mat to protect your surface. Make sure you have enough space to lay your project flat.
-
Soak Your Project: Fill your sink or bowl with lukewarm water. You can add a small amount of mild detergent if you like, but it’s not necessary for most projects. Submerge your finished piece in the water and let it soak for about 15 minutes. Gently press the yarn to make sure it’s fully soaked.
-
Remove Excess Water: After soaking, gently press the water out of your project. Do not wring or twist the yarn, as this can cause it to stretch or lose its shape. Instead, gently press the water out and then roll the piece up in a towel to remove excess moisture.
-
Shape Your Project: Lay the damp project flat on your blocking mat or towel. Gently pull and shape it into the desired dimensions. Make sure to smooth out any wrinkles or uneven areas. If your project has edges that tend to curl, gently stretch them out.
-
Pin the Edges: Use blocking pins to secure the edges of your project in place. Pinning helps the yarn maintain its shape as it dries. Be sure to place the pins evenly and avoid pulling too tightly on the fabric.
-
Allow to Dry: Let your project dry completely. This may take a few hours or a day, depending on the size and thickness of your piece. Avoid moving it while it’s drying to prevent it from losing its shape.
-
Final Touches: Once dry, carefully remove the pins. Your acrylic yarn project should now be shaped and ready to use or display!
2. The Spray Blocking Method
If you’re short on time, the spray-blocking method is a quicker option. This method uses a spray bottle to wet the yarn and shape it.
What You’ll Need:
- A spray bottle
- Water
- A towel
- Pins or blocking mats
Steps:
-
Prepare Your Workspace: Lay down a towel or use a blocking mat to protect your surface.
-
Spray Your Project: Fill your spray bottle with water and lightly spray your project. Focus on the areas that need to be shaped or smoothed out. You don’t need to soak the project; just dampen it.
-
Shape and Pin: Gently pull and shape your project into place. Pin the edges to hold it in the desired shape. Be careful not to stretch it too much.
-
Let It Dry: Allow the piece to air dry. The water will help set the yarn in place as it dries.
The spray method is great for smaller projects or when you’re in a hurry, but it doesn’t work as well for projects that need to be heavily stretched.
3. The Steam Blocking Method

Steam blocking is another option that works well for acrylic yarn. This method uses steam to relax the fibers and shape your project. It’s a good choice for projects that need a bit of extra definition.
What You’ll Need:
- A steamer or iron with a steam setting
- A clean towel
- Pins or blocking mats
Steps:
-
Prepare Your Workspace: Lay down a towel or blocking mat. Set up your steamer or iron with steam functionality.
-
Steam the Project: Hold the steamer or iron about 6 inches away from your project. Gently steam the fabric, moving the steamer or iron slowly over the surface. Avoid touching the hot steam directly to the yarn.
-
Shape and Pin: Once the fabric is slightly damp from the steam, use your hands to shape it. Pin the edges to hold the shape.
-
Allow to Cool: Let the project cool and dry. The steam helps relax the yarn and set the shape.
Steam blocking works well for small adjustments, but it’s not as effective for large projects.
Tips for Successful Blocking
Blocking acrylic yarn doesn’t have to be difficult. A few tips to help you get the best results:
- Be Patient: Acrylic yarn can take time to dry, especially if you’re blocking a large project. Please don’t rush the drying process, as this can cause the yarn to lose its shape.
- Use Blocking Mats: If you’re working on a large project, invest in blocking mats. These mats are designed to help you pin your project into place and maintain its shape as it dries.
- Avoid Over-Stretching: Don’t pull your project too hard when shaping it. Acrylic yarn doesn’t stretch as easily as wool, and over-stretching can cause it to lose its shape.
- Test Before Blocking: If you’re unsure about the best method for your project, test the blocking technique on a small swatch of yarn first to see how it behaves.
Conclusion
Blocking acrylic yarn is a simple yet effective way to improve the look and feel of your projects.
By following the steps outlined in this guide, you can help your pieces hold their shape, smooth out uneven stitches, and create a more polished finish.
The three main methods—wet blocking, spray blocking, and steam blocking—give you options depending on the time and tools you have available.
It’s important to be patient during the process, as acrylic yarn takes time to dry and set into place. Remember, blocking doesn’t require special skills, just a little care and the right technique.
With practice, you’ll become more comfortable with each method and get better results each time. By the end, your acrylic yarn projects will look cleaner, more professional, and ready to show off.
Frequently Asked Questions
Can I block acrylic yarn with a hairdryer?
Yes, you can use a hairdryer on a cool or low-heat setting to help dry acrylic yarn faster. Be sure to hold it at a distance to avoid overheating the yarn.
Can I block acrylic yarn projects more than once?
Yes, you can block acrylic yarn projects multiple times if needed. Just be cautious not to overdo it, as excessive blocking can cause the yarn to lose its shape or texture.
How long does it take for acrylic yarn to dry after blocking?
The drying time for acrylic yarn can vary depending on the size of the project and the method used. On average, it takes 4 to 12 hours for small projects and up to a day for larger ones to dry completely.
Can I block acrylic yarn without pins?
Yes, you can block acrylic yarn without pins. You can use a towel to help shape your project or just gently stretch it out on a flat surface until it dries.


