

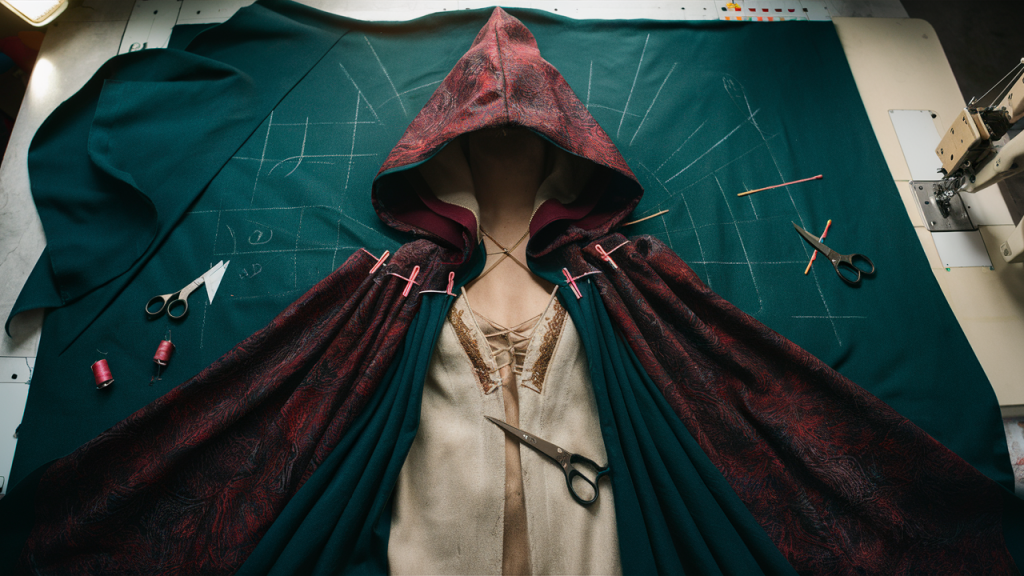
Have you ever dreamed of swishing around in a beautiful hooded cape? I’ll show you how to make one yourself – without spending a fortune or needing advanced sewing skills.
In this step-by-step guide, you’ll learn:
- Which materials work best
- How to choose the right pattern
- Simple cutting and sewing techniques
- Tips for adding your personal style
Over the years, I’ve made five different capes, starting as a complete beginner. The techniques I share have been tested and refined through trial and error.
Many people think making a cape requires professional skills. Not true! With basic sewing knowledge and a few hours, you’ll create something practical and magical.
Ready to turn heads with your handmade creation? Let’s get started!
Materials and Tools Needed
Before cutting any fabric, gather these essential items:
- 2-3 yards of fabric (measure from shoulder to desired length)
- Matching thread
- Sharp fabric scissors or rotary cutter
- Measuring tape
- Straight pins
- Sewing machine (or needle for hand sewing)
- Iron and ironing board
- Pattern paper and pencil
- Closure option (clasp, buttons, or ties)
- Fabric marking tools (chalk, washable marker, or tailor’s pencil)
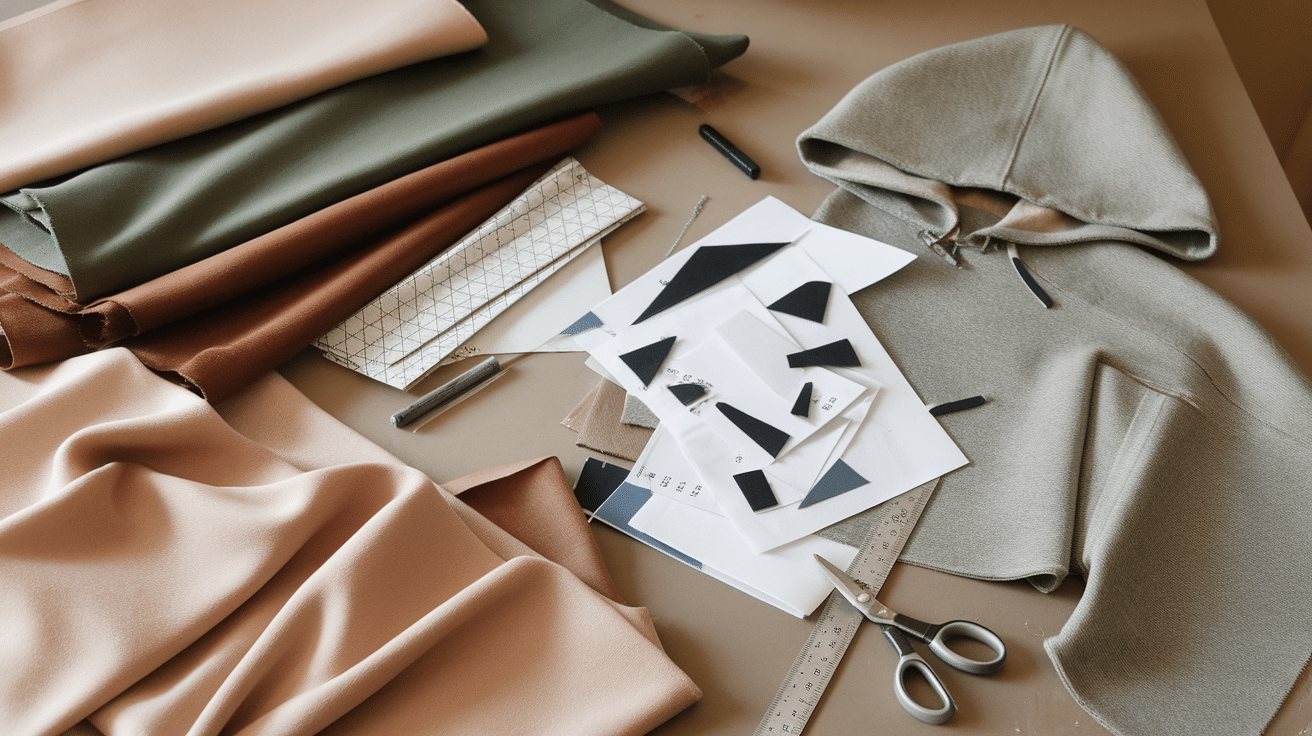
Fabric Selection Tips: Quality matters! Choose a fabric that drapes well. Wool feels luxurious in winter, while cotton works great in fall and spring.
Consider these fabric options:
- Melton or boiled wool for structured capes
- Velvet for an elegant evening look
- Medium-weight linen for summer
- Fleece for a casual, warm option
- Waterproof fabrics for rain protection
Preparation Advice: Don’t skip the ironing step. Pressed seams make your cape look professional. Pre-wash and dry your fabric before starting to prevent shrinkage after completing your project.
Make sure to test your machine settings on fabric scraps before beginning the actual project, especially if working with unusual fabrics like velvet or waterproof materials.
Choosing the Right Hooded Cape Pattern
Finding the perfect pattern doesn’t need to be complicated.
You have three main options:
- Buy a commercial pattern ($5-15)
- Download a free pattern from sewing websites
- Create your basic pattern
For beginners: Start with option 1 or 2. Pre-made patterns include detailed instructions.
If you’re feeling brave, draw your own.
The simplest cape is a half-circle:
- Measure from your shoulder to the desired length
- Add 2 inches for hem allowance
- Use this as your radius and draw a half-circle
- Cut a neck hole about 5-6 inches in diameter
For the hood, use a rectangle about 24″ × 15″ folded in half.
The Step-By-Step Sewing Process
Now for the fun part! With your materials ready and pattern chosen, it’s time to transform that flat fabric into a wearable cape.
Don’t rush these steps. Each builds on the last, creating your magical garment piece by piece. Let’s break it down into manageable chunks.
Cutting the Fabric
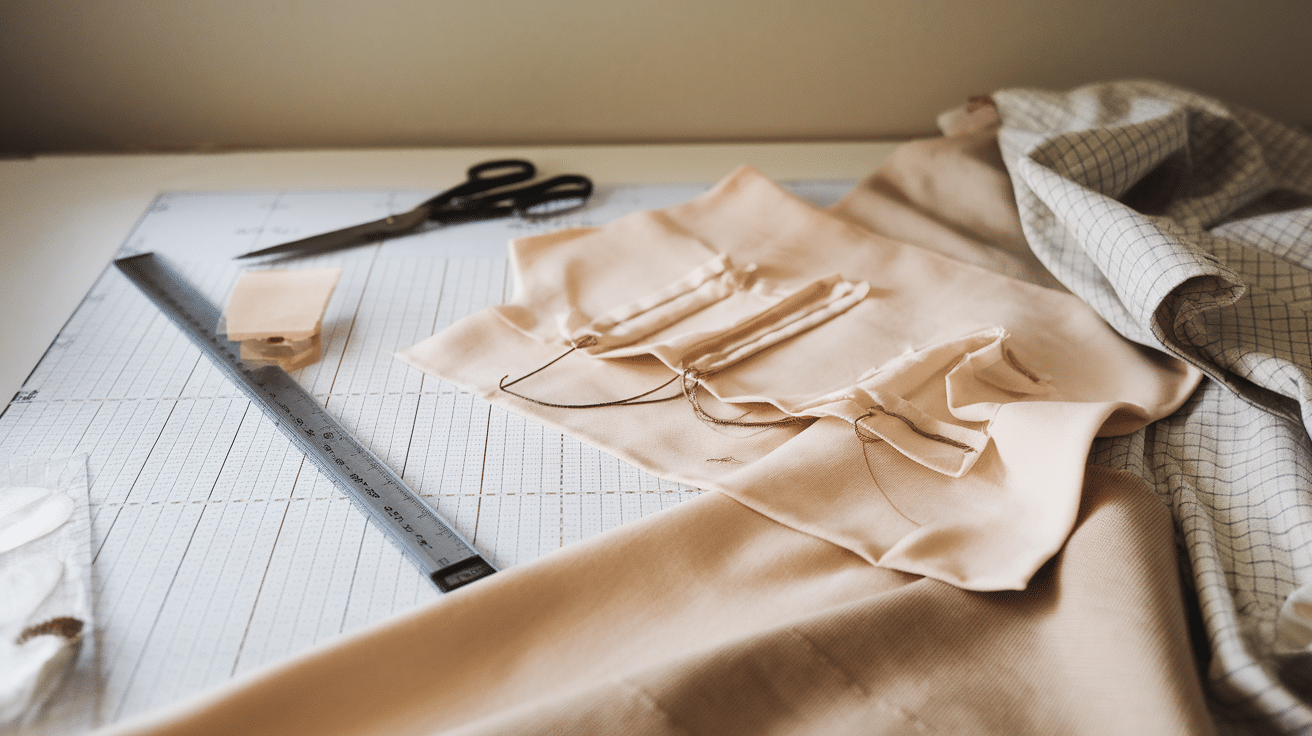
This step sets you up for success. Take your time here!
- Wash and iron your fabric first
- Lay it flat on a large surface
- Place pattern pieces following the grain line
- Pin securely every few inches
- Cut with sharp scissors using long, smooth strokes
Rookie mistake: Rushing through cutting. Jagged edges make sewing harder.
If you’re new to sewing, leave a generous seam allowance (1 inch). You can always trim excess later.
Consider cutting in a quiet space without distractions. Good lighting makes a huge difference, too. I like playing music and making this part enjoyable since it requires focus.
Sewing the Cape Body
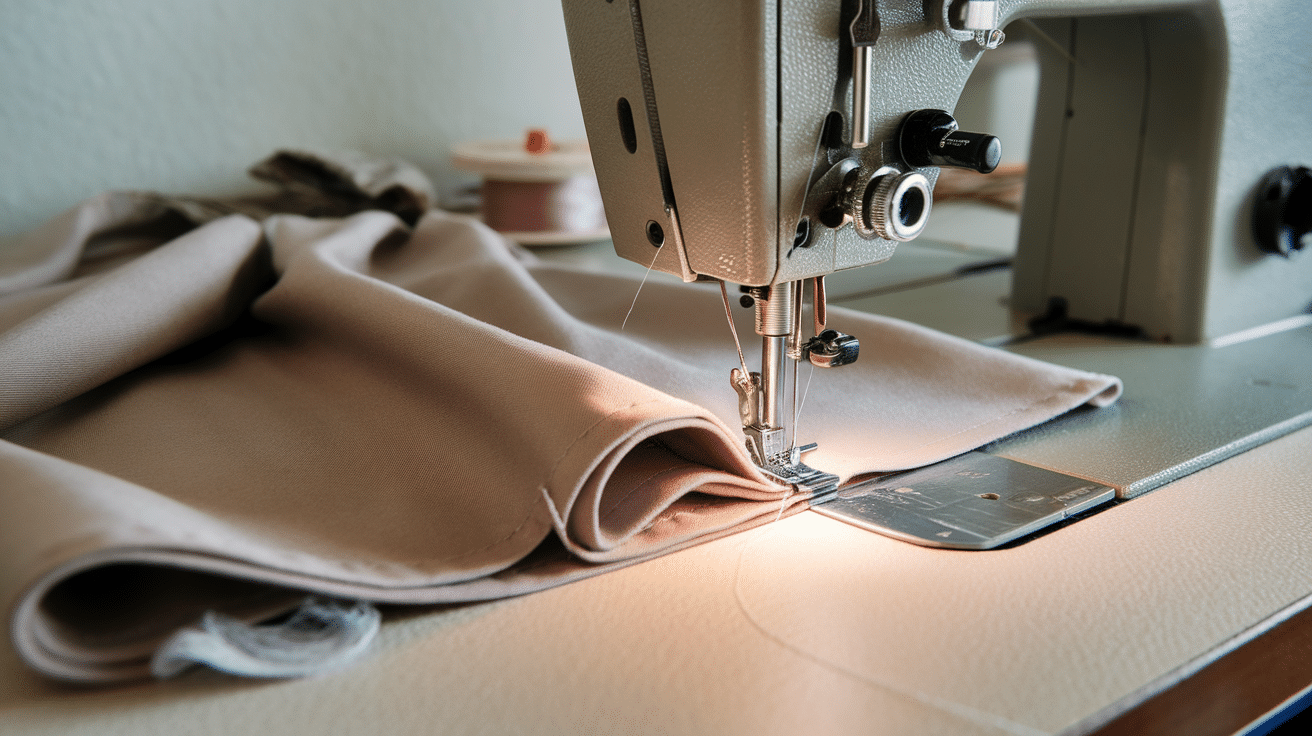
Now, we bring your cape to life!
Follow these steps:
- If your cape has shoulder seams, sew these first
- Create the hem by folding up 1 inch, pressing, then folding again
- Stitch around the entire bottom edge
- Repeat for the front opening edges
Tip: Use a longer stitch length (3-3.5mm) for heavier fabrics.
Need a break? This is a good stopping point. Celebrate your progress!
Test your stitches on a scrap piece of fabric first. This will help you adjust tension and stitch length. Remember to backstitch at the beginning and end of each seam to secure them properly.
Attaching the Hood
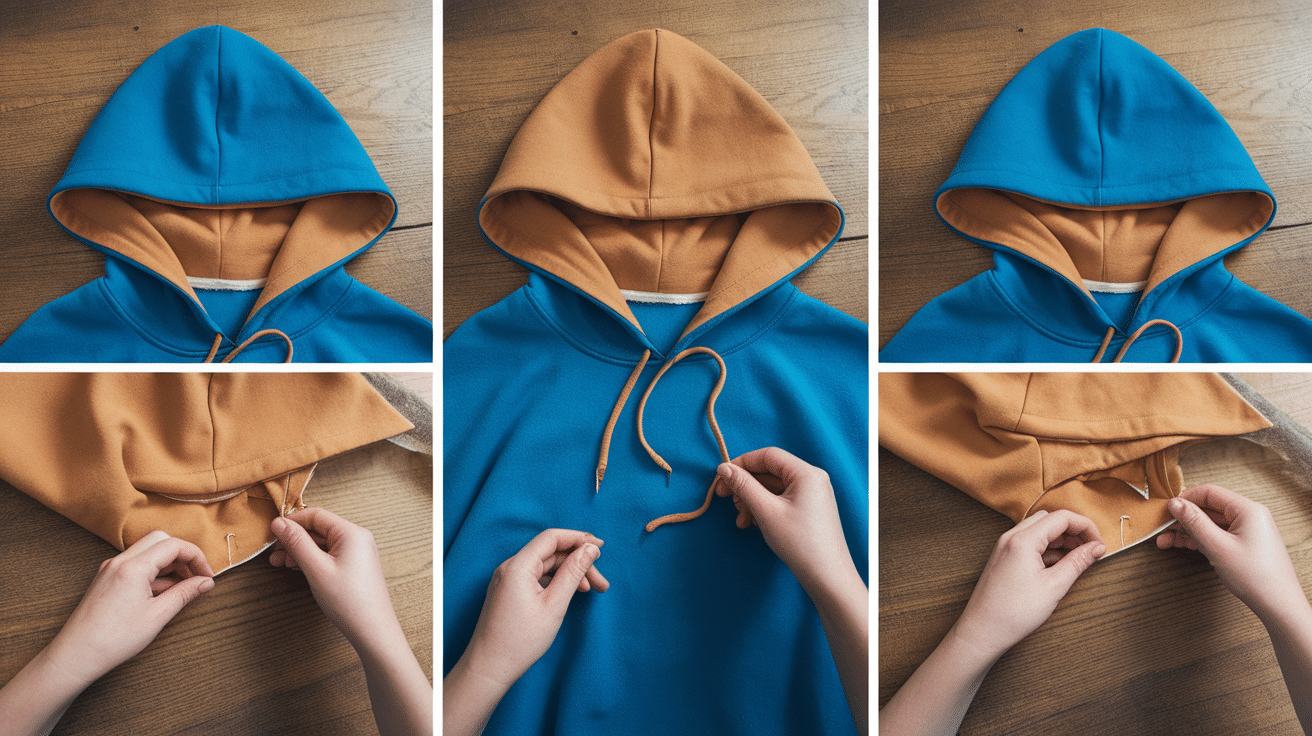
Many beginners worry about this step, but it’s simpler than it looks.
- Sew the hood seam (the curved top part)
- Turn right side out and press
- Pin to the cape’s neckline, matching centers
- Sew slowly around the entire neckline
- Reinforce with a second row of stitching for strength
The magic moment happens when you turn everything right side out and see your cape taking shape!
Consider binding the inside hood seam with bias tape for a cleaner finish. When attaching the hood, pin more than you think you need. This prevents fabric shifting as you sew.
If your hood seems too shallow, don’t panic—most commercial hoods are designed to frame the face rather than completely cover it.
Adding the Finishing Touches
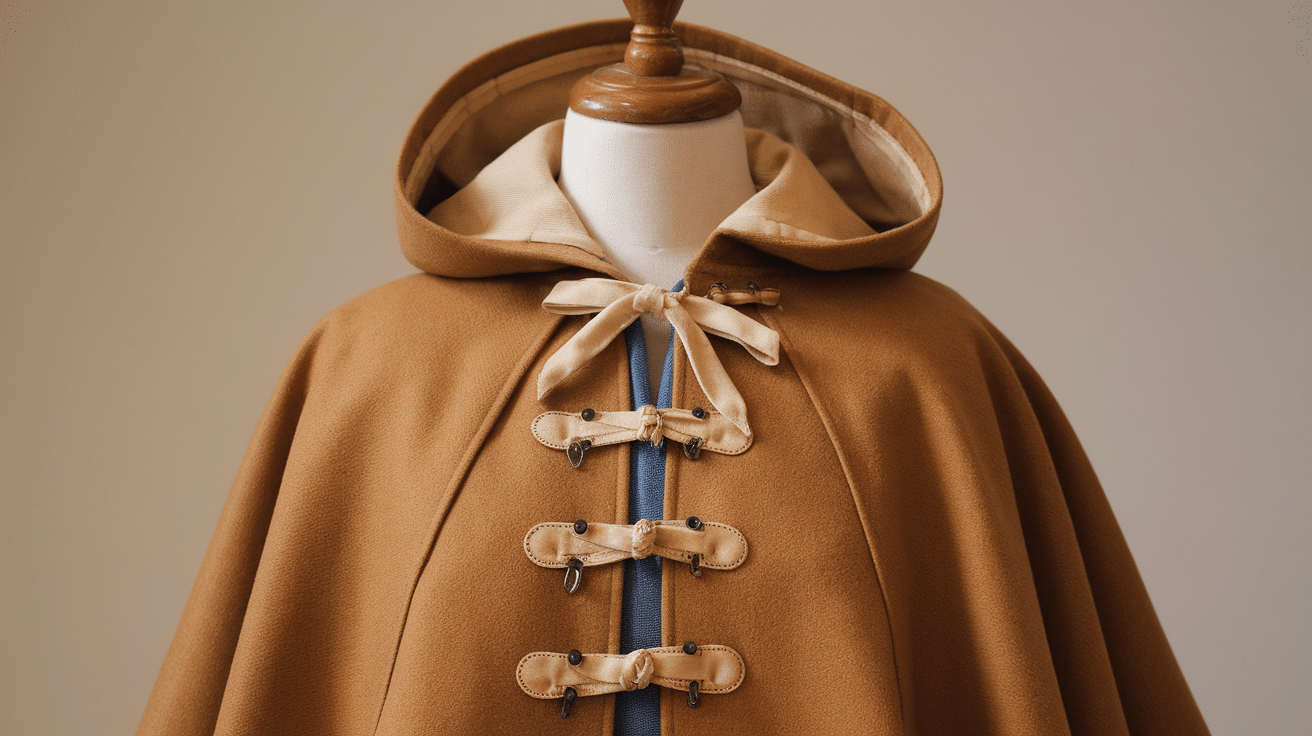
Let’s make your cape special! Choose from these options:
For closures:
- Decorative buttons and loops
- Ribbon ties at the neck
- Metal clasps or hooks
- Leather cord threaded through eyelets
To add warmth and style:
- Lining (makes the cape hang better, too)
- Pockets (hidden or patch style)
- Trim along edges
- Embroidery or appliqué
My personal favorite: Adding a subtle lining in a contrasting color. It looks amazing when the cape moves.
Consider the weight of your additions. Heavy closures can pull and distort the neckline over time. Always test placement before permanent attachment.
I learned this hard after sewing a beautiful brooch closure in the wrong spot!
Styling and Wearing Your Hooded Cape
Your cape is finished! Now let’s look at how you can style and wear your hooded cape.
For everyday wear:
- Pair with jeans and boots
- Layer over a simple sweater
- Add a leather belt to shape
For special occasions:
- Wear over a dress or suit
- Choose a dramatic hood-up look
- Add statement jewelry
Reality check: Capes look dramatic but stay practical. Make sure you can easily move your arms and carry your normal bags.
Conclusion
Congratulations on creating your very own hooded cape! This versatile garment bridges the gap between practical and magical. Your hands have transformed flat fabric into something with movement and character.
What you’ve gained goes beyond the cape itself. You’ve learned skills that transfer to other projects. You’ve discovered the joy of wearing something uniquely yours.
Remember: handmade doesn’t mean perfect. Those tiny quirks make your cape special.
Next time you’re asked about your cape, stand tall and proudly say, “I made it myself.” Then, watch as admiration replaces curiosity.
What will you create next?
Frequently Asked Questions
Can I Make a Waterproof Hooded Cape for Rainy Days?
Yes! Use water-resistant fabric like waxed cotton and seal your seams with waterproof tape.
How Do I Prevent the Hood from Falling Back when It’s Windy?
Add a small weight (like a decorative button) to the hood’s peak.
My Cape Keeps Slipping Off My Shoulders. How Can I Fix This?
Add a hidden snap at each shoulder or a chain link between the front edges.
Is It Possible to Make a Reversible Cape?
Absolutely! Use two complementary fabrics and special “bag lining” techniques with concealed seams.
Can I Transform an Old Blanket Into a Hooded Cape?
Yes! Wool blankets make excellent winter capes. Just reinforce the edges before cutting.


