

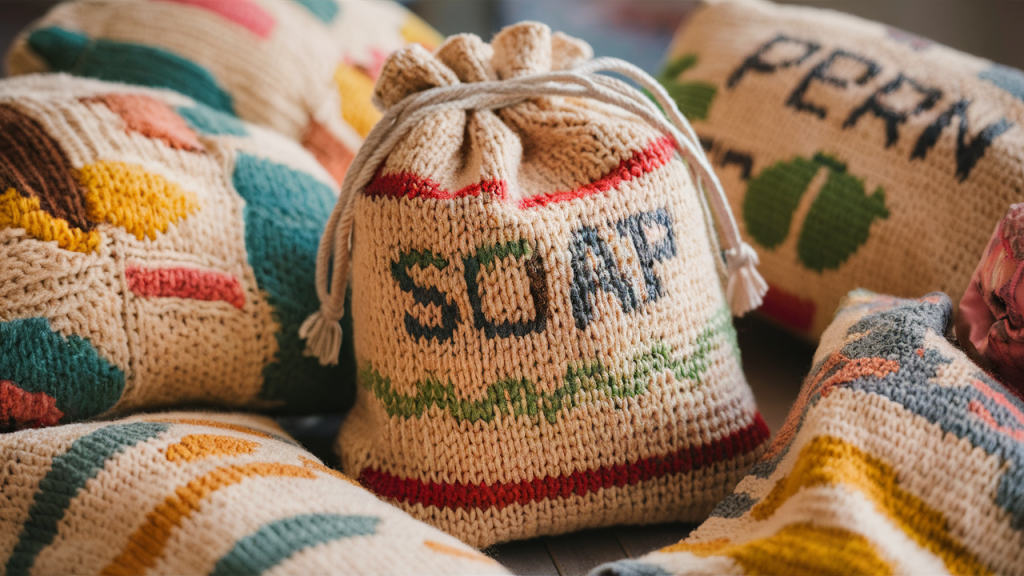
Making a knitted soap sack is a fun and simple project that anyone can enjoy. It’s a practical and eco-friendly way to store soap, and it’s a perfect beginner knitting project.
In this guide, I’ll walk you through creating your own soap sack with a free and easy pattern. This project helps keep your soap dry and makes it last longer; it adds a little extra exfoliation when used.
Knitting a soap sack is also a great way to use up leftover yarn, and it makes a thoughtful gift for family and friends.
The best part is that you don’t need much experience to get started. With just a few basic knitting techniques, you’ll be able to create your own soap sack in no time.
Why Knit a Soap Sack?
Knitted soap sacks are not just a great way to store soap; they also help keep your soap dry, last longer, and offer a gentle exfoliating effect. Few reasons to consider knitting your own soap sack:
- Eco-Friendly: By making your own soap sack, you reduce the need for plastic alternatives, making it an environmentally friendly choice.
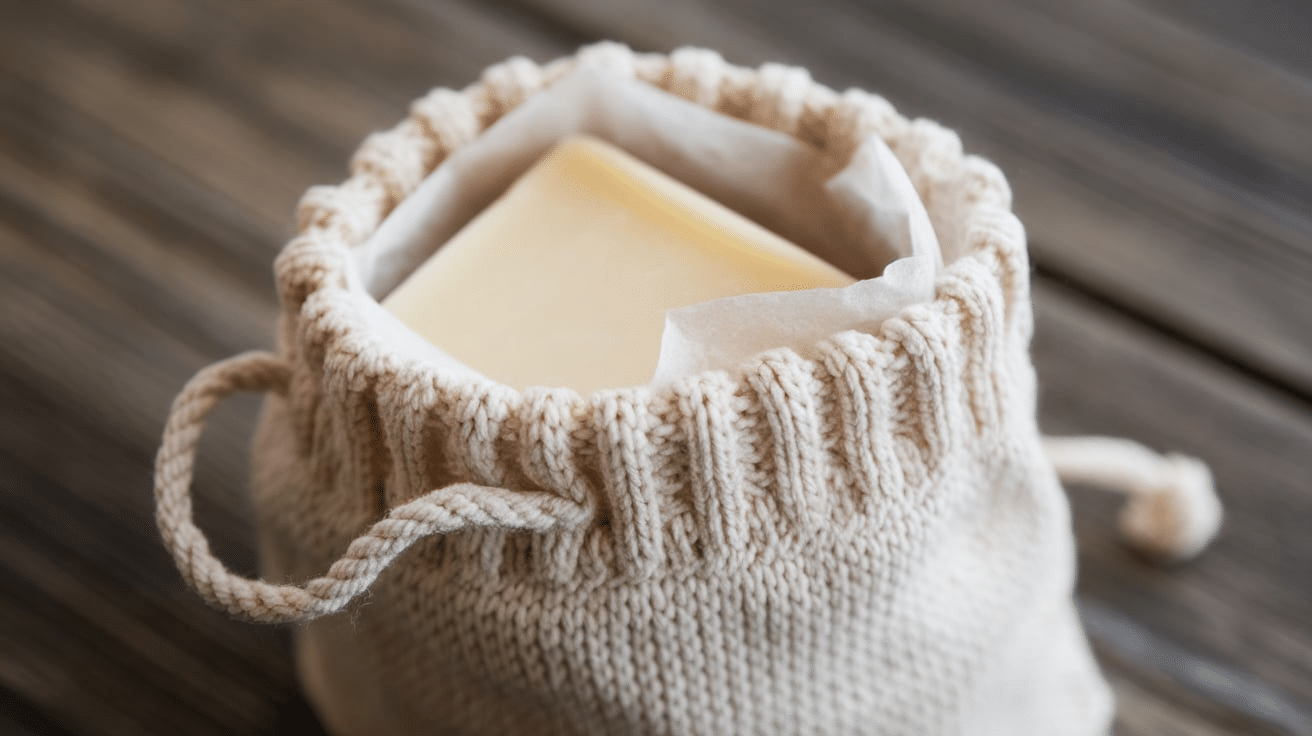
- Practical: The sack allows soap to dry quickly, preventing it from becoming soggy and wasting away faster. The yarn absorbs excess moisture and helps keep your soap in top condition.
- Exfoliating: Some soap sacks have an open weave, which makes them perfect for exfoliating the skin during use. It’s a simple way to add a little extra pampering to your routine.
- Gift Idea: Hand-knitted soap sacks make great gifts. You can customize the color, size, and design, making them perfect for holidays, birthdays, or just a thoughtful gesture.
Materials Needed
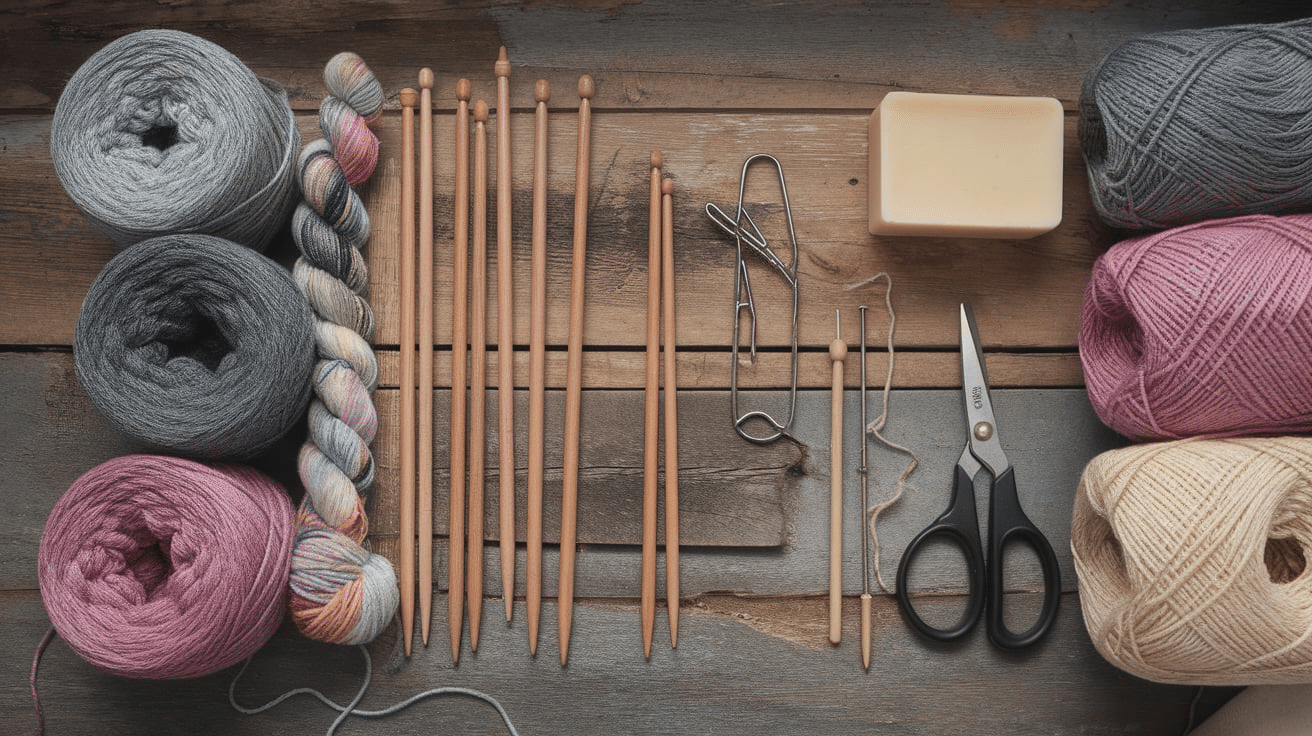
Before you start knitting, gather all the necessary materials:
- Yarn: Choose a medium-weight cotton yarn, as it’s durable and soft on the skin. Cotton yarn works best for soap sacks since it’s absorbent and holds up well when wet.
- Knitting Needles: You’ll need a pair of knitting needles. The size will depend on the yarn you choose, but generally, a 5mm or 6mm needle works well for medium-weight yarn.
- Scissors: For cutting the yarn once your project is finished.
- Yarn Needle: A yarn needle is helpful for weaving in the ends once you’ve completed your soap sack.
- Soap: You can test the size of your sack with an actual soap bar, but you’ll have enough space to adjust as you go.
Once you have your materials ready, you’re all set to begin knitting!
Step-by-Step Knitting Instructions
Step 1: Cast On Stitches
You’ll need to cast on stitches to begin your knitted soap sack. The number of stitches will depend on the soap size you’re making the sack for. For a standard bar of soap, cast on around 30 stitches using a simple long-tail cast-on method.
How to Cast On:
- Make a slip knot and place it on your left needle.
- Hold both needles in your hands: the left needle will have the stitches, and the right needle will be used for knitting.
- Wrap the yarn around your thumb and index finger and use the right needle to pick up the yarn, pulling it through the loop to create a new stitch.
- Repeat this process until you have cast on the desired number of stitches.
Step 2: Knit the Body of the Sack
Now that your stitches are cast on, it’s time to knit the main body of your soap sack. For this pattern, we’ll be using the garter stitch, which is simple and effective for beginners.
How to Knit the Garter Stitch:
- Knit every stitch on every row until the piece measures about 5 inches (or the length of your soap). The garter stitch creates a nice, textured fabric that’s both sturdy and flexible.
- Keep an even tension as you knit. If your stitches are too tight or too loose, your soap sack might not turn out as planned.
Step 3: Shape the Sack
Once you’ve reached the desired length for your soap sack, it’s time to shape it. This is a simple step that only involves decreasing a few stitches.
How to Shape the Sack:
- At the beginning of the next row, knit two stitches together (k2tog).
- Continue knitting until the end of the row.
- On the next row, repeat the same decrease at the start.
- Repeat these decreases until you’re left with around 10-12 stitches.
This decreases the width of the sack, creating a tapered shape that fits snugly around the soap.
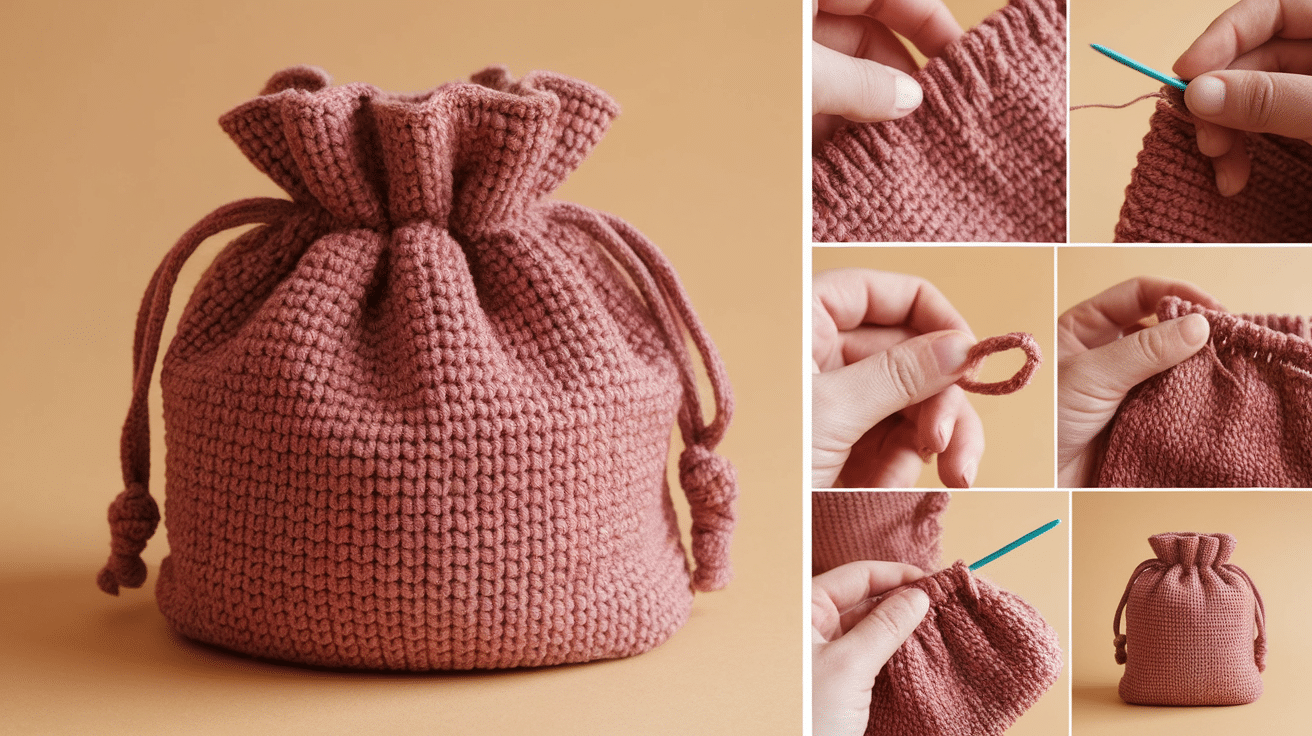
Step 4: Create the Drawstring or Closure
To finish your soap sack, you’ll need to add a drawstring to keep the soap secure. There are different ways to make a drawstring, but the simplest method is to use the same yarn you’ve been working with.
How to Create the Drawstring:
- Cut a piece of yarn about 18 inches long.
- Using a yarn needle, thread the yarn through the top row of stitches.
- Tie a knot at the ends to secure it and create a loop to tighten the sack around your soap.
Step 5: Finish the Sack
Now that the sack is shaped and the drawstring is in place, it’s time to finish. Bind off your stitches and weave in the yarn ends using a yarn needle. This ensures that your soap sack is secure and ready for use.
For a more detailed guide, follow this YouTube Tutorial by @knittingtipsbyjudy
Customization Options
One of the best things about knitting is the ability to personalize your projects. Some ways to make your soap sack truly your own:
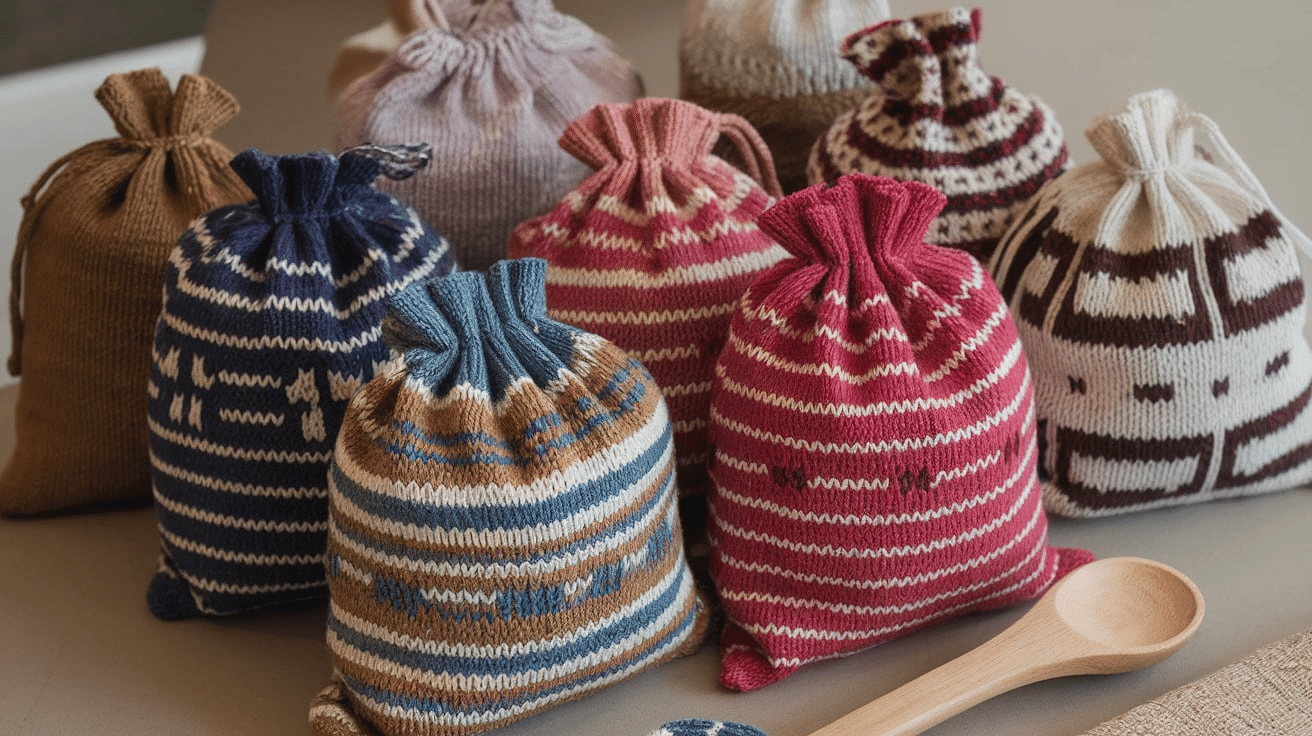
- Color Choices: You can choose any color yarn you like. Pick bright colors for a fun, playful look or neutral tones for a more classic appearance.
- Decorative Stitches: Once you’re comfortable with basic stitches, try adding small decorative stitches like a simple flower or heart. This can make your soap sack look even more special.
- Size Adjustments: To make a larger soap sack for bigger soap bars, add a few extra stitches when you cast on.
Benefits of Handmade Soap Sacks
Making a handmade soap sack has many benefits:
- Eco-Friendly: Knitting your soap sack is a great way to reduce plastic waste. Unlike plastic soap holders, a knitted soap sack is reusable and biodegradable.
- Cost-Effective: Yarn is relatively inexpensive, and making your soap sack is a cost-effective alternative to buying one. Plus, you can reuse leftover yarn for other projects.
- Personalized Gift: A handmade soap sack makes an excellent gift. You can customize the color, size, and design, making it perfect for anyone on your gift list.
How to Care for Your Knitted Soap Sack
Caring for your knitted soap sack is easy. Ways to keep it in good condition:
- Wash Regularly: Since soap sacks get wet often, they should be washed regularly. You can hand-wash or machine-wash them in cold water with a mild detergent.
- Dry Properly: After washing, lay the soap sack flat to dry. Avoid hanging it up, as this can distort its shape.
- Avoid Fabric Softener: Fabric softener can reduce the absorbency of the yarn, so it’s best to avoid using it when washing your soap sack.
By following these simple care instructions, your knitted soap sack will last for a long time.
How to Make Your Soap Sack Extra Special
To make your soap sack stand out, these are a few tips:
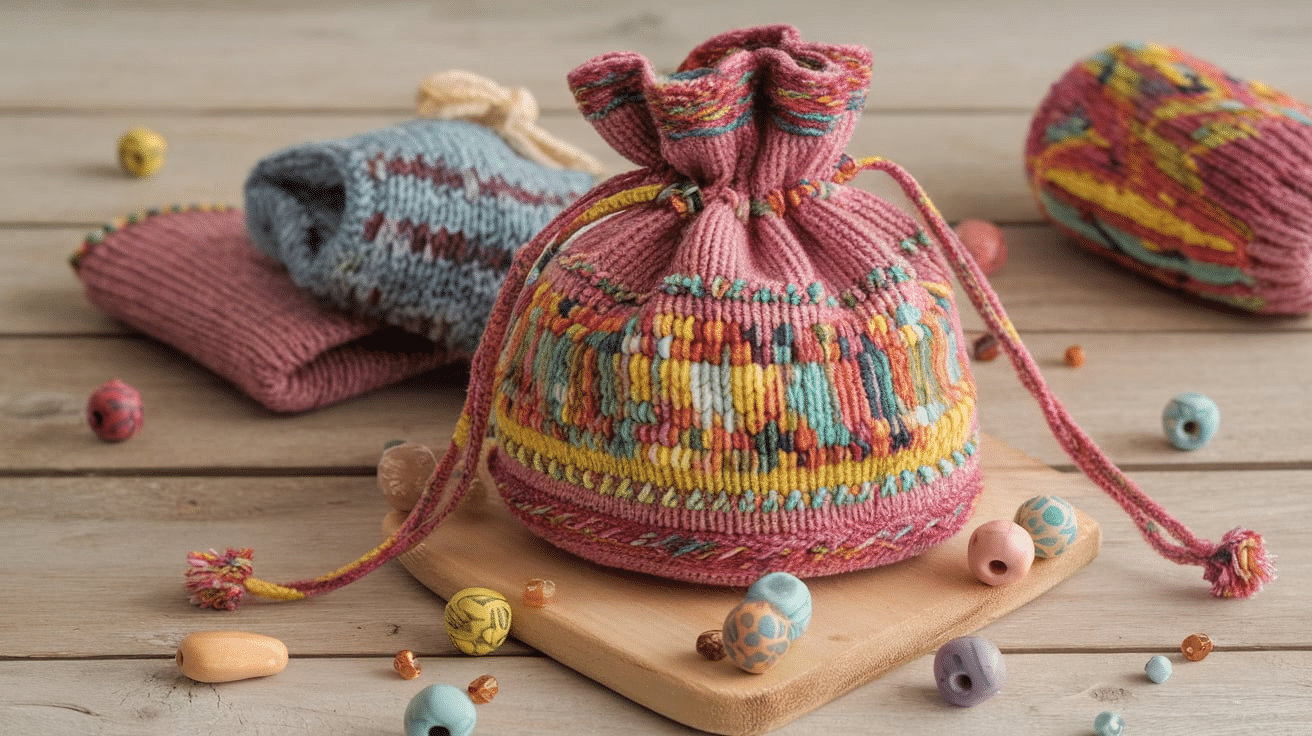
- Add Beads or Embellishments: For a unique look, consider adding beads, buttons, or embroidery to your soap sack.
- Use Multiple Colors: Stripes or color-blocking can make your soap sack more eye-catching. Switch yarn colors at the end of each row to create fun patterns.
- Add a Personal Touch: Write a small note or tag the soap sack with your initials for a personal touch. This makes the sack feel even more special when you give it as a gift.
Common Mistakes to Avoid When Knitting a Soap Sack
Knitting a soap sack is relatively easy, but beginners often make a few common mistakes. How to avoid them:
- Uneven Tension: If your stitches are too tight or too loose, the soap sack won’t look or work as well. Practice keeping an even tension throughout your project.
- Not Counting Stitches: Always count your stitches after every few rows to ensure you’re not losing any. If you lose stitches, your soap sack will be too small or misshaped.
- Skipping the Decreases: Don’t forget to decrease your stitches at the end of the soap sack to create a snug fit for your soap. Skipping this step can make the sack too wide.
- Using the Wrong Yarn: Make sure to choose a durable and absorbent yarn. Cotton yarn works best, so avoid using yarns that aren’t suitable for water exposure.
Conclusion
Knitting a soap sack is a simple and rewarding project. Not only is it practical, but it’s also eco-friendly and perfect for beginners.
With just a few basic knitting techniques, you can create your own soap sack that will help your soap last longer and stay dry. You can also personalize the sack with your favorite colors and designs, making it a thoughtful gift for friends or family.
Remember, you can adjust the size or add special touches to make the project your own. This is a great way to use leftover yarn and create something useful at the same time.
So, take your knitting needles and yarn, follow the steps in this guide, and soon, you’ll have a beautiful and functional soap sack ready to use or give as a gift.
Frequently Asked Questions
How do I make the soap sack more exfoliating?
To add more exfoliating power, use a yarn with a slightly rougher texture or knit the sack with a looser stitch pattern. This allows the yarn to create more texture and scrub gently.
Can I machine-wash the soap sack?
Yes, you can machine-wash your soap sack. It’s best to wash it in cold water and let it air dry to keep it in good shape for longer use.
How do I store the soap sack when not in use?
When you’re not using the soap sack, store it in a dry, cool place. You can also hang it up to dry after each use to keep it fresh and ready for the next time you need it.


