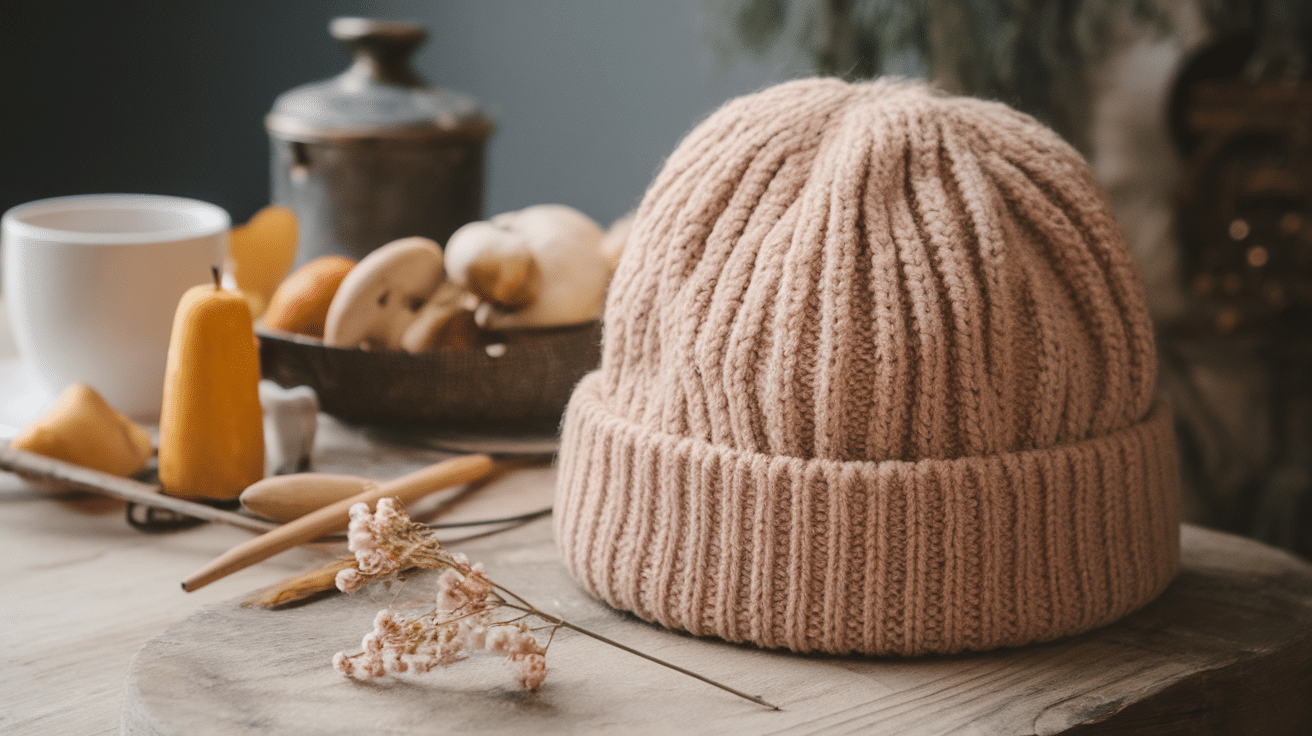
When knitting a hat, one of the most important things to figure out is how many stitches to cast on. The number of stitches depends on several factors, like the size of the head, the type of yarn you’re using, and the pattern you choose.
Getting the right stitch count is key to making sure your hat fits comfortably and looks great. In this blog, I’ll walk you through how to calculate the perfect number of stitches for your hat step by step.
Ever stared at your yarn wondering how many stitches to start with for a hat? You’re not alone. This frustrating question stops many knitting projects before they even begin.
In this article, I’ll walk you through:
- A simple formula that works for any head size
- How to adjust for different stitch patterns
- Common mistakes to avoid
- Quick reference charts for popular yarn weights
Stop the frustration. Let’s get you knitting the perfect hat today.
What Affects the Number of Stitches for A Hat?
When knitting a hat, deciding how many stitches to cast on can seem tricky, but it all depends on a few important factors. Here’s what you need to consider:
1. Head Circumference: The size of the person’s head is the most important factor. You need to measure around the widest part of the head, just above the ears. This will tell you how many stitches you need to cast on.
2. Yarn Weight: The thickness of the yarn plays a big role in how many stitches you cast on. Thicker yarns need fewer stitches, while thinner yarns (like fingering or sport weight) need more stitches to get the right size.
3. Needle Size: The size of the needles you use can change how tightly or loosely your stitches are. Larger needles create bigger stitches, which means you might need fewer stitches. Smaller needles create tighter stitches.
4. Gauge: Gauge refers to how many stitches fit in an inch. You’ll need to knit a small swatch to figure out your gauge before you start the hat. If your gauge is off, you may need to adjust the number of stitches you cast on.
5. Stitch Pattern: The pattern you use also affects how many stitches you cast on. Some stitch patterns, like ribbing, are stretchy and may require fewer stitches, while others, like cables, may require a few extra.
6. Hat Style: The style of the hat (like a snug beanie or a loose slouchy hat) will also change the stitch count. A slouchy hat needs more stitches for extra room, while a beanie or fitted hat needs just the right number of stitches.
By considering these factors, you’ll be able to cast the right number of stitches for a hat that fits just right.
Step-By-Step Guide to Casting on For a Hat
If you’re ready to knit a hat but unsure how many stitches to cast on, don’t worry! Let’s see a simple step-by-step guide to help you get started and make sure your hat fits perfectly.
Step 1: Measure the Head Circumference
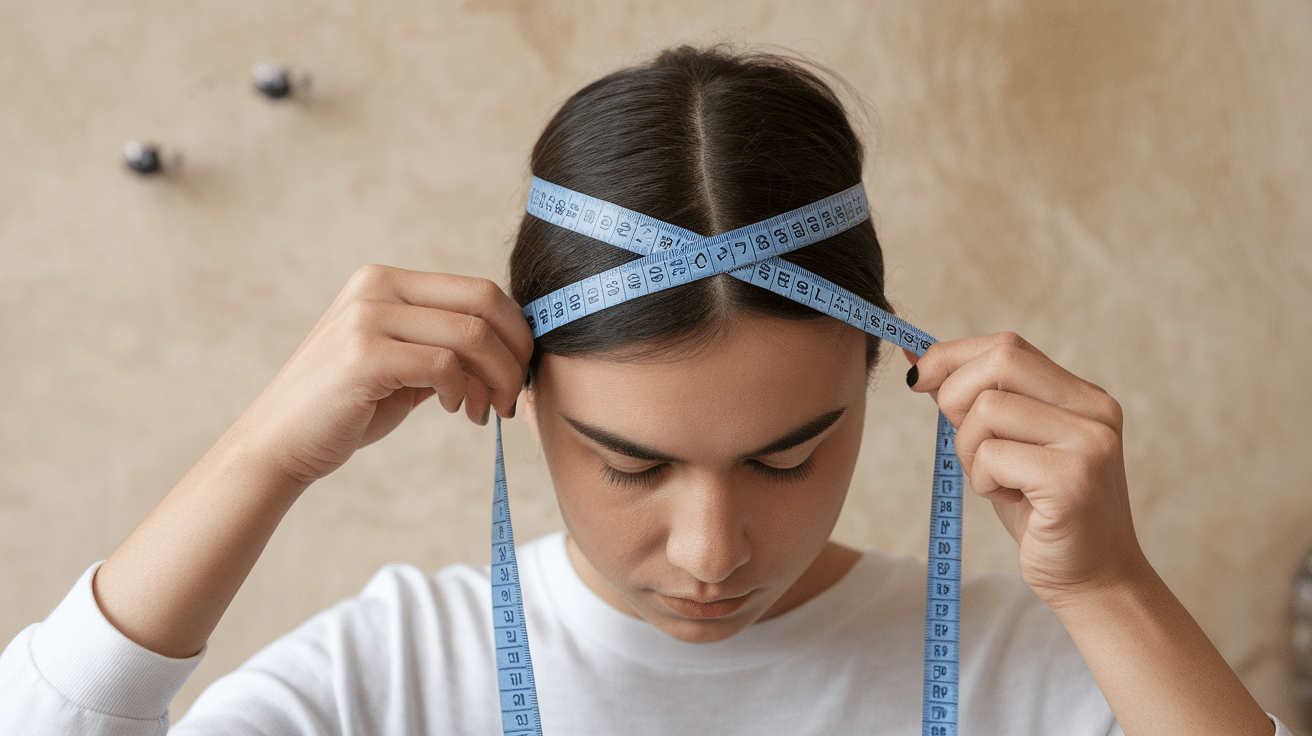
Start by measuring the person’s head (or your own) with a flexible measuring tape. Measure around the widest part of the head, just above the ears.
Most adult heads have an average circumference of around 21-23 inches. Write down the measurement.
Step 2: Knit a Swatch to Check Your Gauge
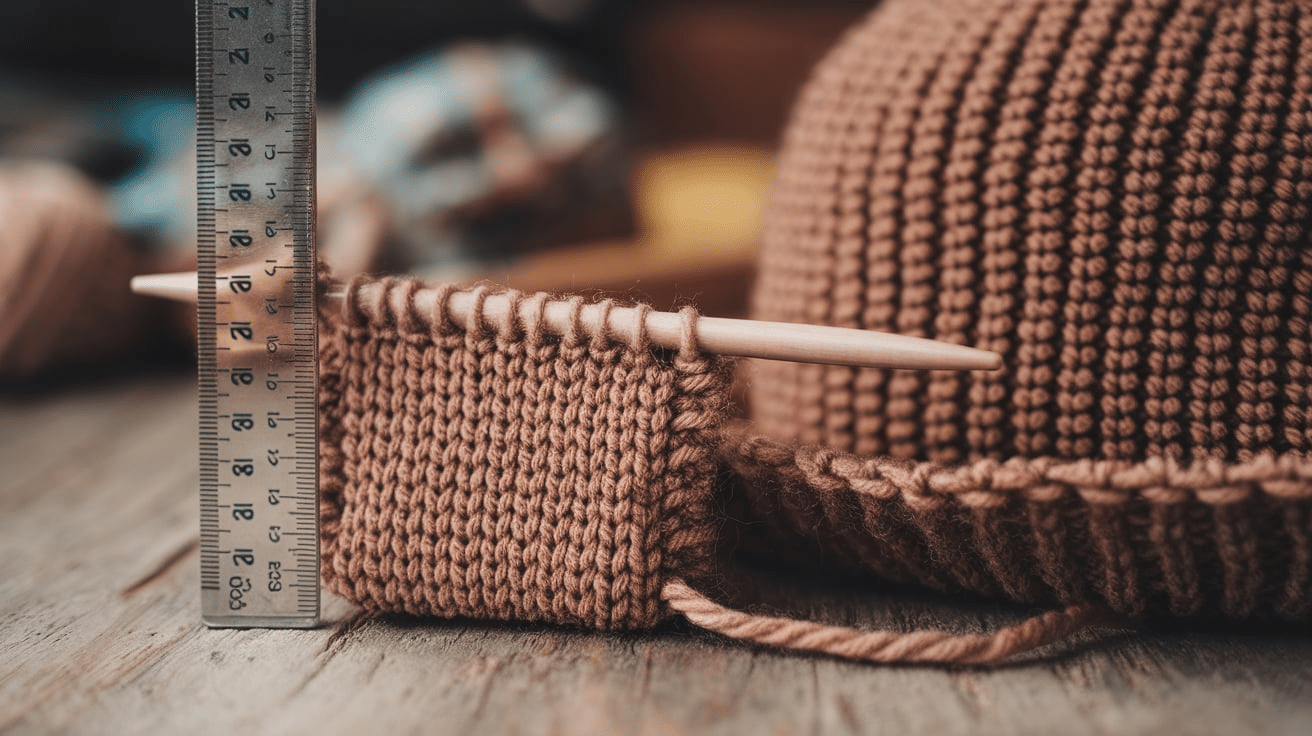
Before you start casting, you need to check your gauge. Knit a small swatch with the yarn and needles you plan to use, then measure how many stitches fit in one inch.
This is important because the number of stitches needed will depend on your gauge. If your gauge is too tight or loose, adjust your needle size to match the pattern’s recommended gauge.
Step 3: Calculate the Number of Stitches to Cast On
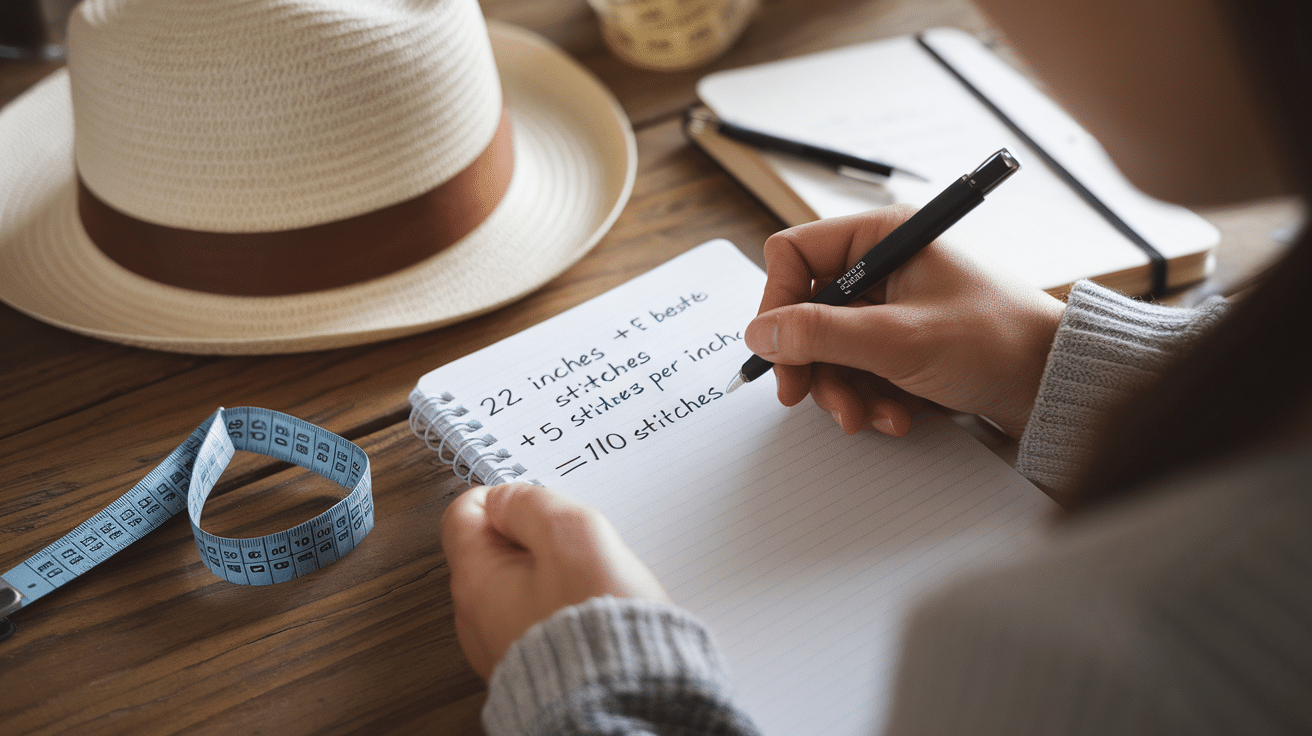
Now that you know the head circumference and your gauge, it’s time to calculate how many stitches you need to cast on. Use this formula: Number of stitches = Head circumference (in inches) × Stitches per inch
For example, if your head circumference is 22 inches and your gauge is 5 stitches per inch, you would need to cast on: 22 inches × 5 stitches per inch = 110 stitches
Step 4: Adjust for The Stitch Pattern
If you’re using a pattern with a stitch repeat (like ribbing, cables, or lace), make sure your stitch count is a multiple of the pattern’s repeat. For example, if your pattern repeats every 4 stitches, adjust your cast-on number to be a multiple of 4.
If your pattern doesn’t match your calculated stitch count, round up or down to the nearest multiple. This will help the pattern fit and look right.
Step 5: Choose Your Yarn and Needles
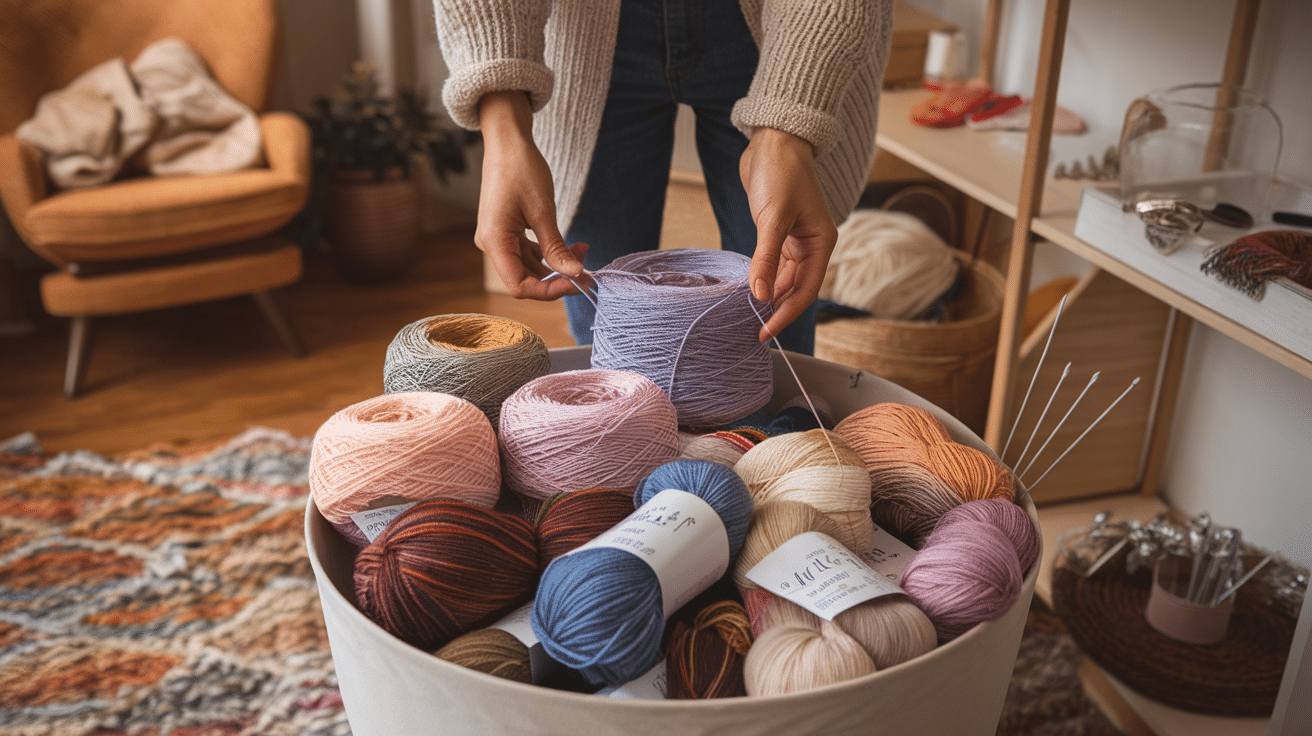
The yarn weight and needle size affect how many stitches you’ll need to cast on. Thicker yarn requires fewer stitches, while thinner yarn needs more stitches.
Always check the yarn label for the recommended needle size, and make sure your gauge matches the pattern.
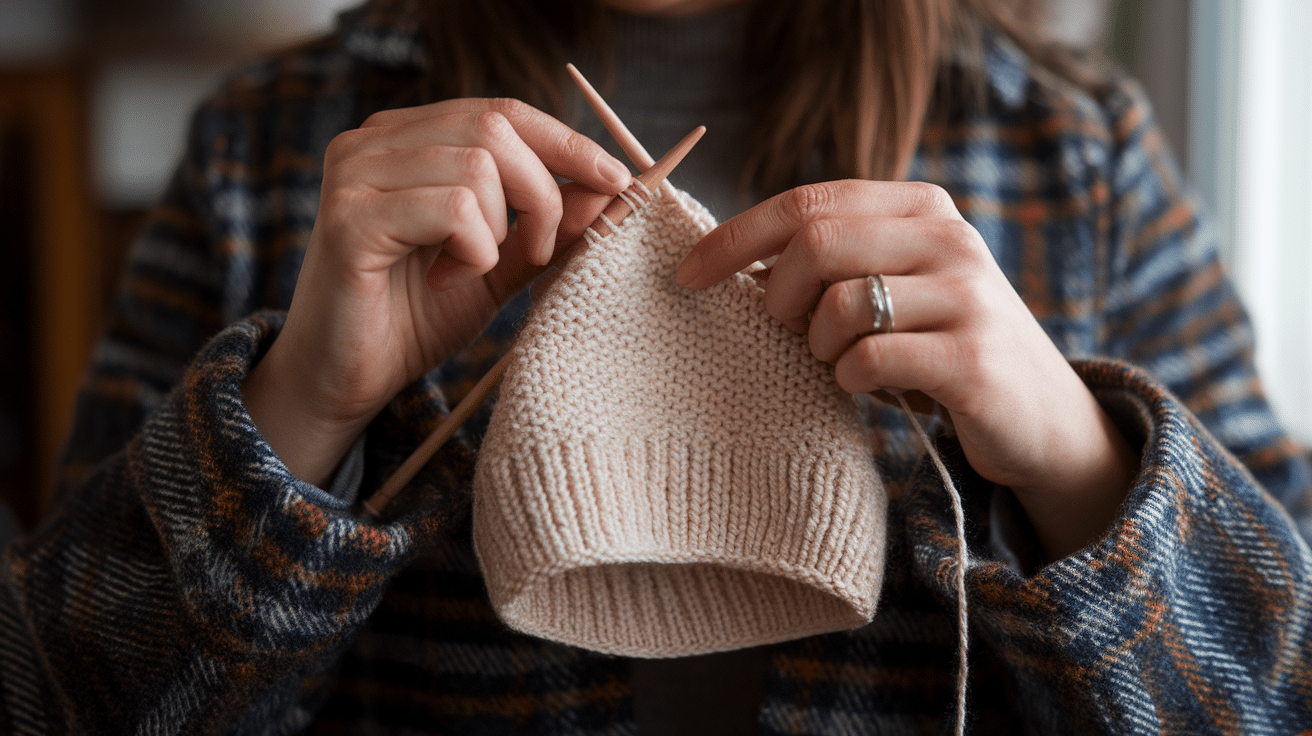
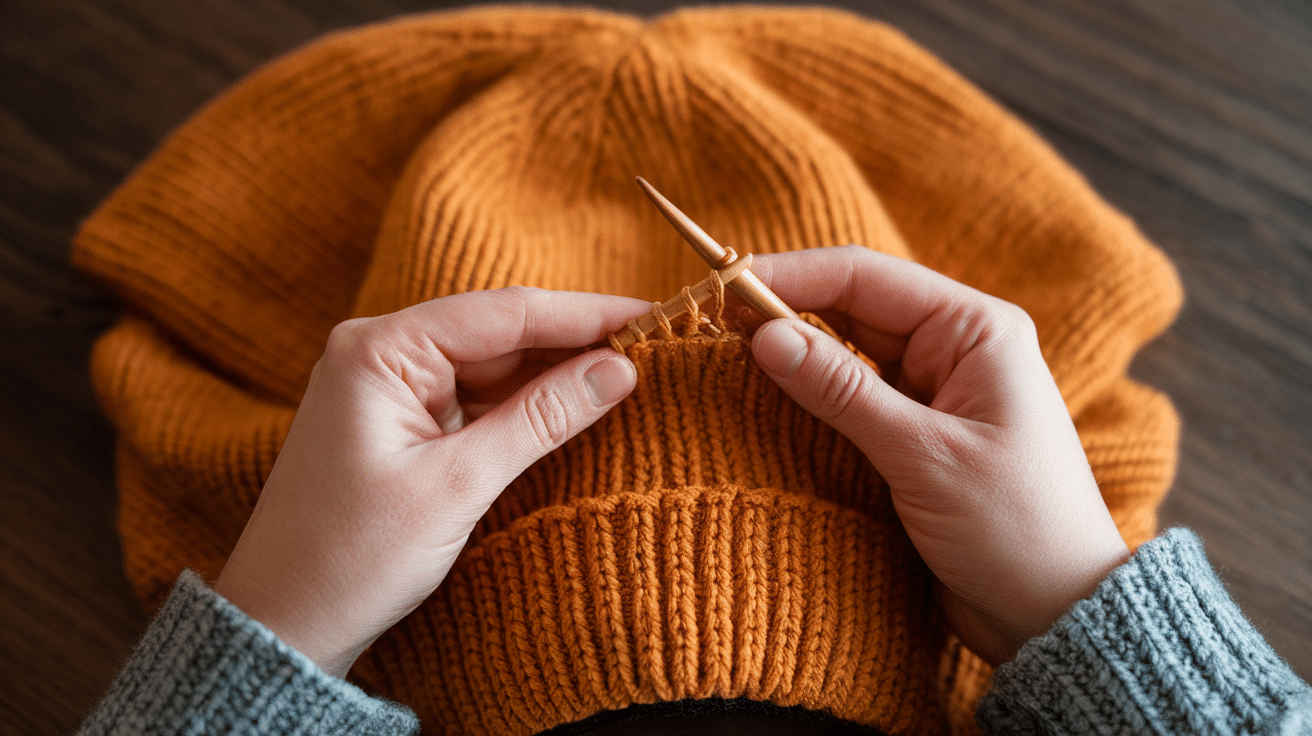
Step 6: Cast On Your Stitches
Once you’ve figured out the correct number of stitches, it’s time to cast them on!
You can use your favorite cast-on method, but the most common methods for hats are the long-tail cast-on or the twisted German cast-on for a stretchy brim.
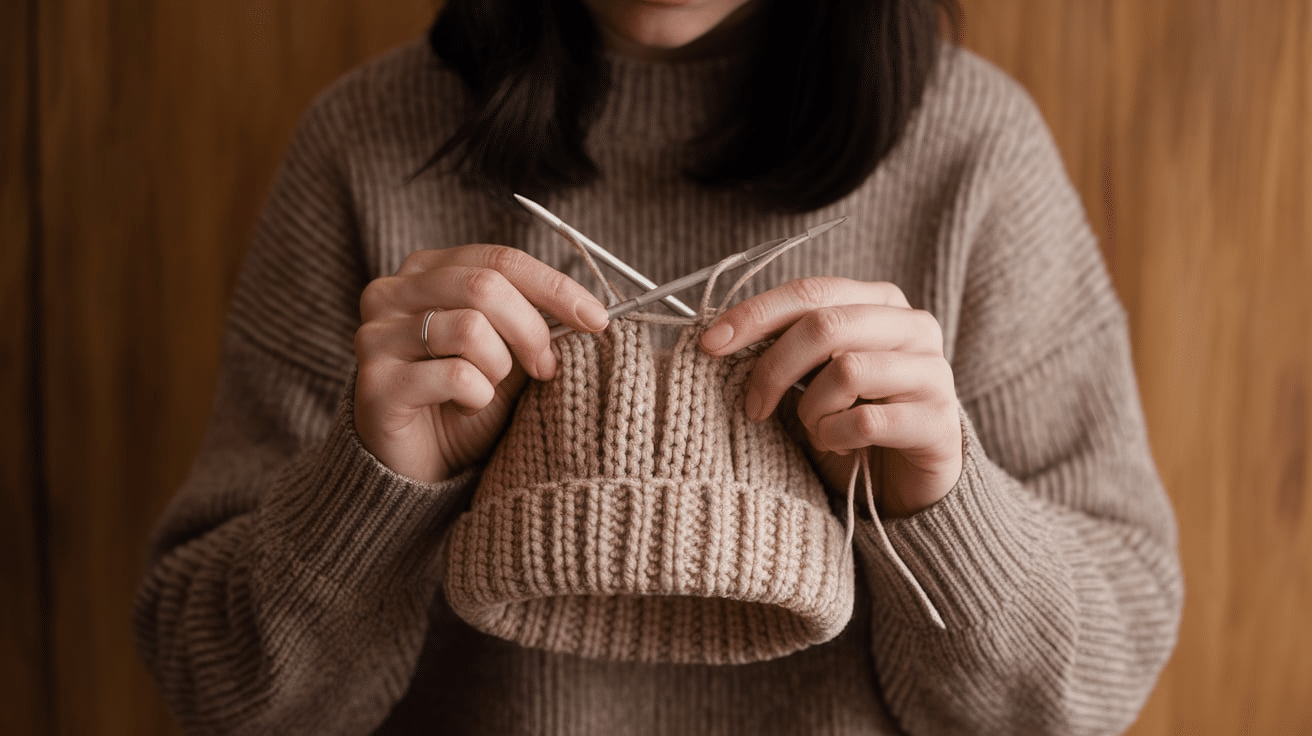
Step 7: Knit the Hat
Now that you’ve cast on, start knitting the hat! If you’re making a simple beanie, you can knit in the round and continue knitting until the hat reaches the length you want.
If you’re adding a brim, make sure to knit a few rows of ribbing (like 2×2 or 1×1) for a stretchy fit.
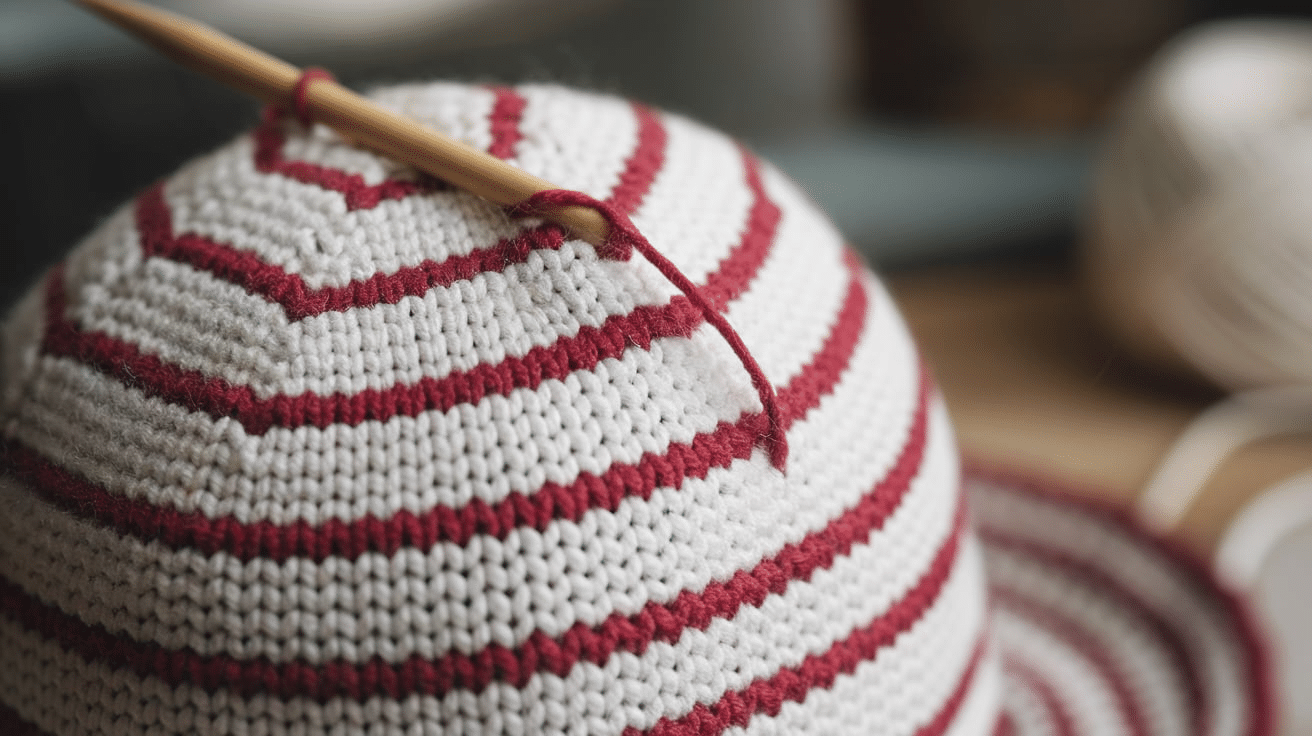
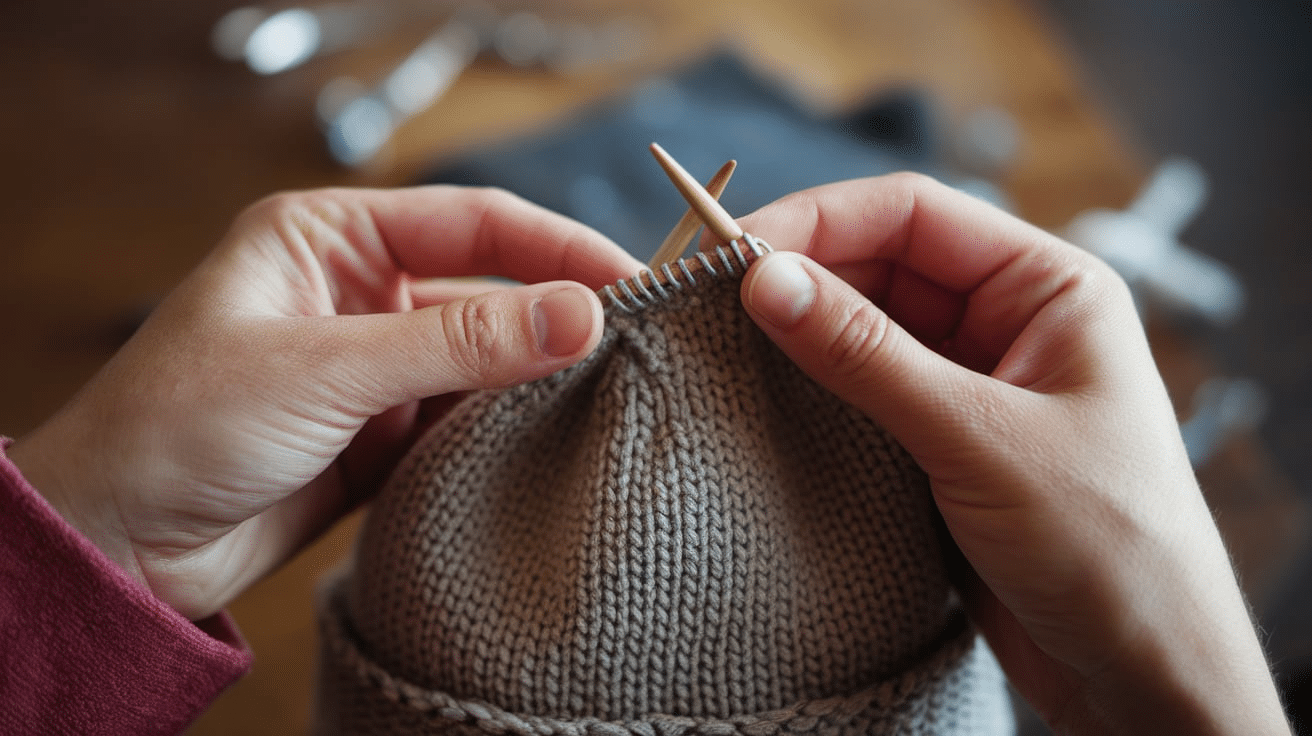
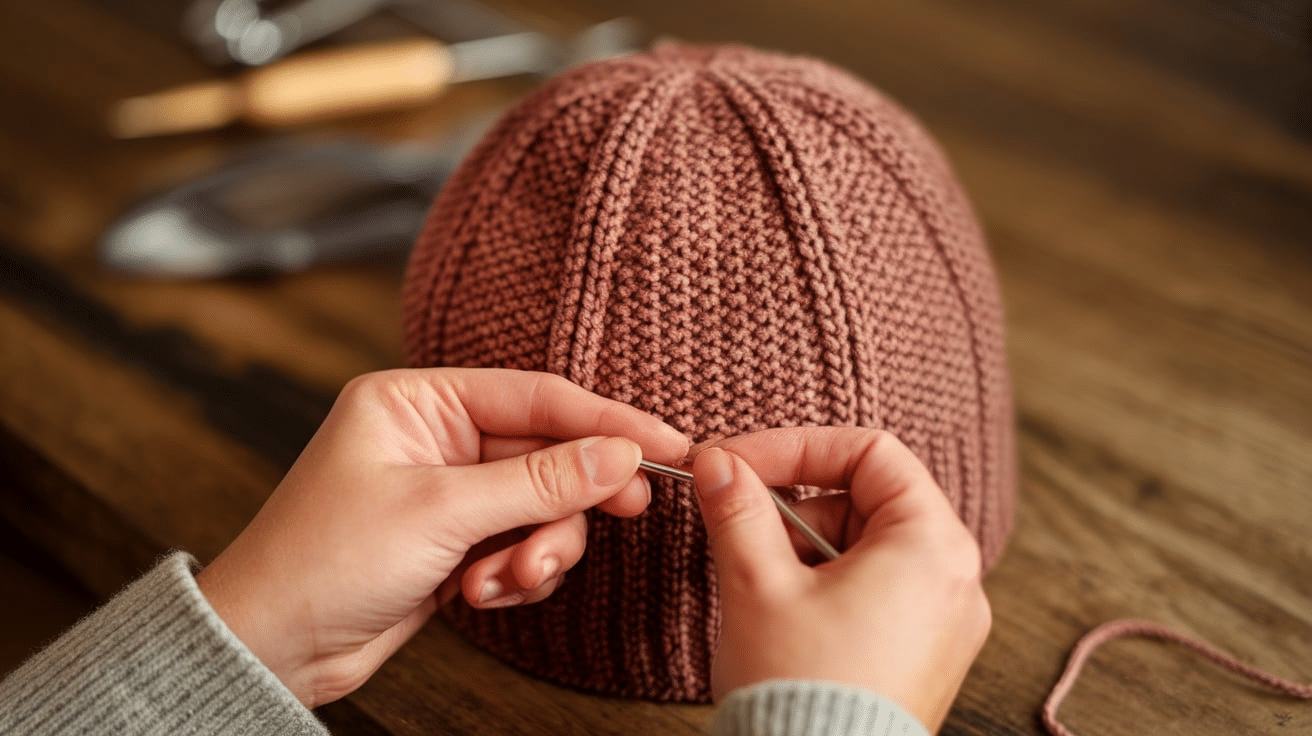
Step 8: Finish the Hat
Once the body of the hat is long enough, you can finish by decreasing the stitches for the crown. Follow your pattern’s instructions for decreasing, and then close the top using a tapestry needle to weave the ends.
Now that you know how to cast on for a hat, you’re ready to start knitting.
How to Adjust the Stitch Count for Different Hat Styles?
When knitting a hat, the style you want to create will affect how many stitches you need to cast on and how you shape the hat.
If you’re aiming for a snug beanie, a slouchy hat, or something with a brim, adjusting your stitch count and design is key to getting the perfect fit. Here’s how to adjust your knitting for different hat styles:
1. Snug Beanie
- Stitch Count: For a snug beanie, you’ll want to cast on the exact number of stitches needed to fit your head circumference. Follow the basic instructions from your pattern for a clean, fitted look.
- Adjustments: You don’t need to add extra stitches for a snug fit, but you can choose a stretchy stitch pattern like ribbing (1×1 or 2×2) for the brim. This will help the hat fit snugly around your head without being too tight.
2. Slouchy Hat
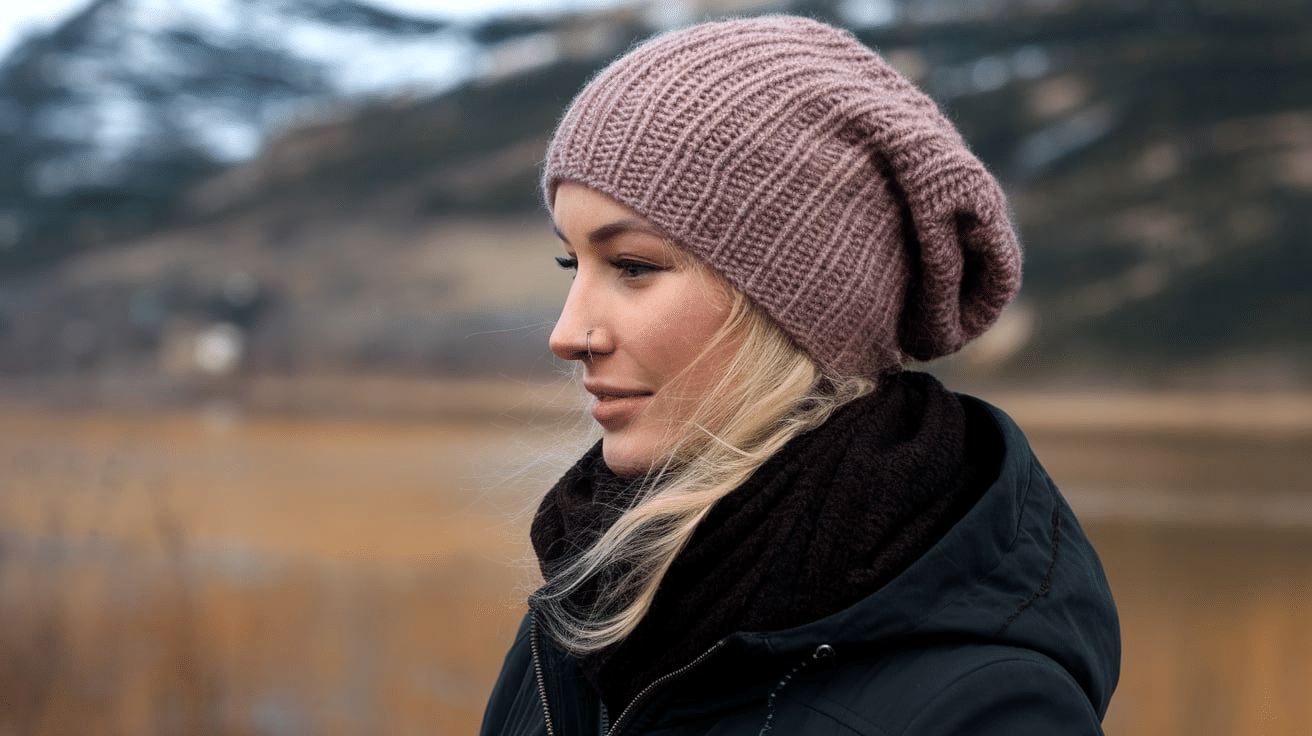
- Stitch Count: For a slouchy hat, you’ll need to cast on extra stitches to create more room. Add 10-20 extra stitches, depending on how loose and roomy you want the hat to be.
- Adjustments: A slouchy hat works best with a looser stitch pattern. You can use a simple stockinette stitch or a loose ribbing to give it extra flow. Keep the hat taller by knitting a few more rows before you start the decreases for the crown.
3. Hat with a Brim
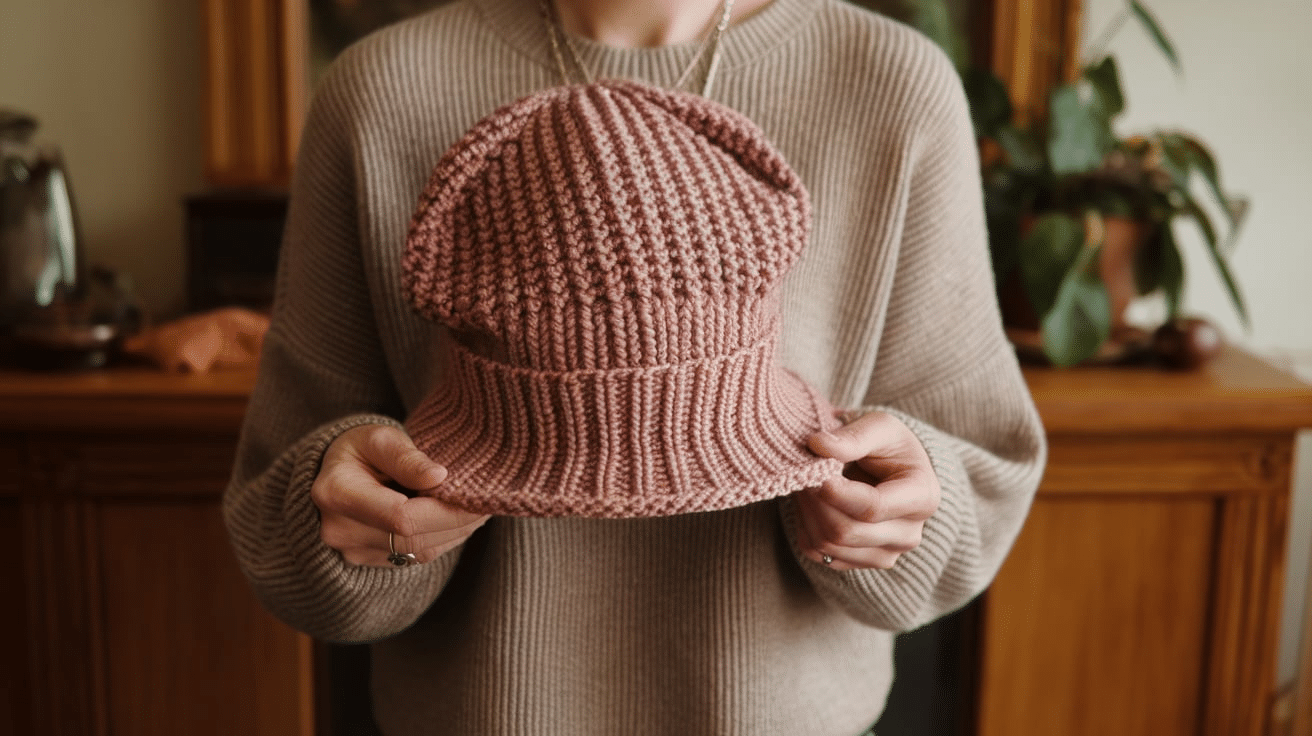
- Stitch Count: When knitting a hat with a brim (like a folded brim or a ribbed brim), you may need to cast on a few more stitches for the extra structure. A folded brim will add a thicker, more structured fit, so you may need to cast on an extra 5-10 stitches, depending on your yarn thickness.
- Adjustments: If you’re doing a ribbed brim (like 2×2 ribbing), make sure your cast-on number is a multiple of the ribbing repeat (e.g., multiple of 4 for 2×2 ribbing). For a folded brim, make sure to knit extra rows before you start shaping the hat to give it the right height for folding.
4. Beanie with a Pom Pom
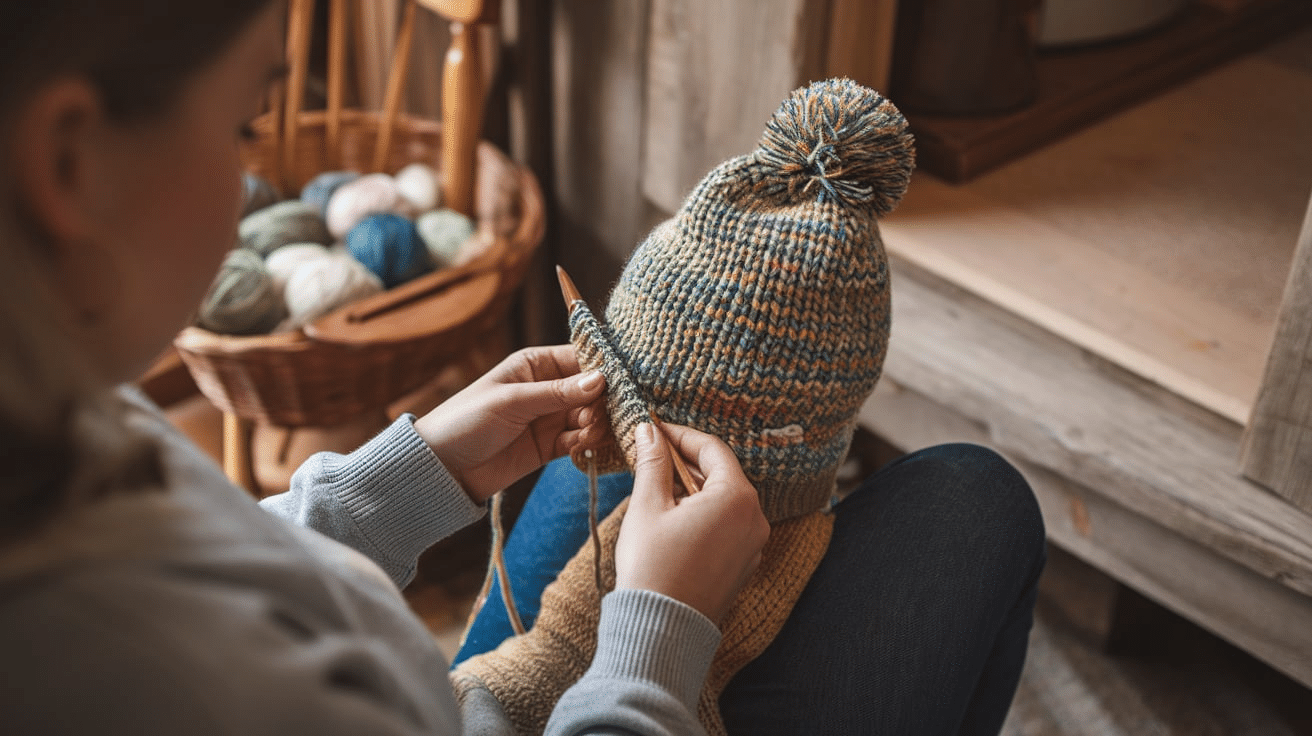
- Stitch Count: For a beanie with a pom-pom, your stitch count doesn’t change much from a snug beanie. The pom-pom is added at the end so that it won’t affect the cast-on number.
- Adjustments: If you’re adding a pom-pom, ensure your hat has enough length to fit over your head comfortably and that the pom-pom won’t make the hat too tight.
5. Slouchy Hat with a Brim
- Stitch Count: This combination style will need extra stitches for the slouchy look and the brim. Add more stitches to the cast-on (around 15-20 stitches more) to achieve the roomy effect. A slightly larger brim can also help keep the hat from feeling too tight at the base.
- Adjustments: Use a looser stitch pattern for the body of the hat (such as stockinette stitch) and ribbing for the brim. You can also make the body of the hat longer before starting the decreases for a nice slouchy effect.
6. Fitted Hat with Textures or Cables
- Stitch Count: If you’re using textured patterns like cables, you might need to adjust the number of stitches. Make sure to calculate the stitch repeats and adjust your cast-on number accordingly. If your pattern needs multiples of 6 or 8, cast on a number that fits those multiples to avoid interruptions in the design.
- Adjustments: Remember that these patterns tend to be thicker for textured or cabled hats, so it may affect the fit. You may need to cast on fewer stitches than usual or choose a looser stitch pattern to ensure the hat fits comfortably.
By adjusting the number of stitches you cast on and the stitch pattern you choose, you can create a variety of hat styles to fit your preferences. These simple adjustments will help you make the perfect hat.
Common Mistakes to Avoid When Casting On for a Hat
Knitting a hat is fun, but a few common mistakes can mess up your hat’s fit and shape. Here are some easy-to-avoid mistakes when casting on for your next hat project:
1. Not Measuring Your Head Correctly: If you guess the size, your hat might end up too tight or too loose. Always measure around the widest part of the head with a flexible measuring tape for the most accurate result.
2. Forgetting to Check Your Gauge: Your gauge is the number of stitches per inch, and it can change depending on your yarn and needle size. If your gauge is too tight or too loose, your hat won’t fit right.
3. Not Accounting for the Stitch Pattern: If you’re using a stitch pattern that repeats, like ribbing or cables, make sure your cast-on number is a multiple of the stitch repeat.
4. Casting On Too Tightly: Casting on too tightly can make the brim of your hat uncomfortable and hard to stretch. It’s important to cast on with a bit of looseness so that the hat can fit over your head comfortably.
5. Choosing the Wrong Yarn: The yarn you use can affect how many stitches you need to cast on. If you use a yarn that’s too thick or too thin for your pattern, the hat may not fit right. Always check the pattern’s yarn recommendations.
6. Ignoring the Pattern’s Cast-On Method: Some patterns recommend a specific cast-on method, like the long-tail cast-on or a stretchy cast-on, to make sure the brim is elastic.
By avoiding these common mistakes, you’ll be able to knit a hat that fits perfectly and looks great. Just take your time, measure carefully, and follow the pattern’s instructions, and you’ll end up with a stylish hat!
Conclusion
Now you have all the tools to start any hat with confidence. Remember that finding the right stitch count is about understanding your yarn, needles, and the head you’re knitting for.
The formulas and charts we covered will save you from the frustration of frogging projects or ending up with hats that don’t fit. Trust the process—measure twice, cast on once.
Your knitting journey just got easier with these techniques in your toolkit. Whether you’re making:
- Baby hats
- Adult beanies
- Slouchy styles
- Or custom-sized creations
Every hat you make from now on will start with the right foundation. Keep this guide bookmarked for your next project.
Happy knitting, and enjoy watching those perfect hats take shape—all because you took the time to get your cast-on number right from the beginning.
Frequently Asked Questions
What Is the Best Yarn for Knitting Hats?
For hats, a worsted-weight yarn is commonly used, but it depends on the pattern. Wool or wool-blend yarns are a great choice for warmth, while cotton or bamboo are lighter and better for warmer weather.
How Do I Finish My Hat with The Crown Decreases?
To finish a hat, follow the pattern’s instructions for decreasing the stitches at the crown. Typically, you’ll decrease by knitting two stitches together until you have a small number of stitches left.
How Do I Make My Hat Fit Better?
If your hat doesn’t fit quite right, try adjusting the stitch count, gauge, or the length of the hat. You can also experiment with different stitch patterns to make the fit more comfortable.
How Long Should I Knit My Hat Before Decreasing?
Most hats are about 7-9 inches (18-23 cm) from the cast-on edge to the start of the decreases. Adjust the length depending on your preference for a snug or slouchy fit.