

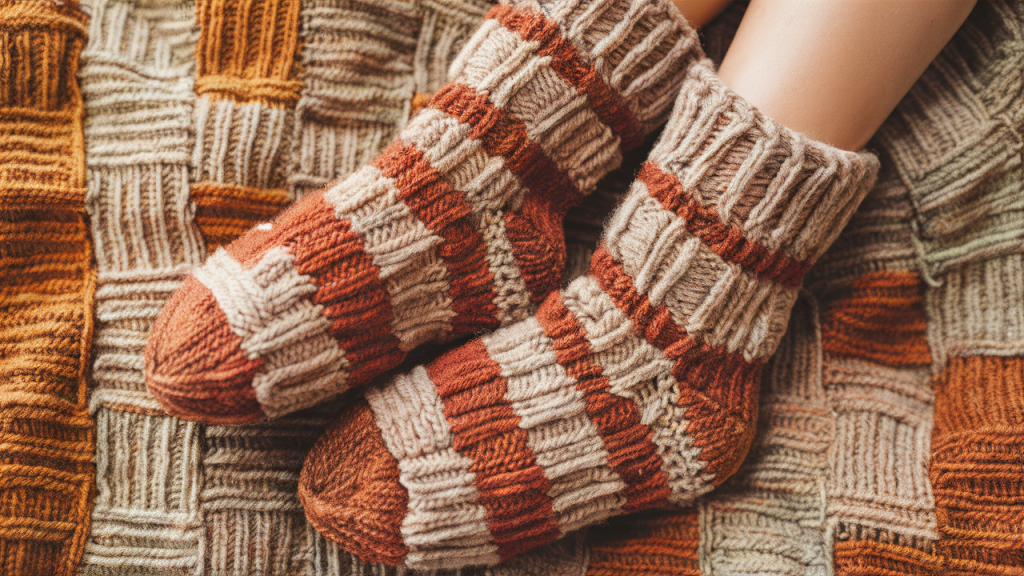
Ever spent hours knitting a beautiful pair of socks only to find they look lumpy or fit awkwardly? Blocking is your solution – and it’s simpler than you might think!
In this guide, I’ll walk you through the entire sock blocking process step by step. You’ll learn:
- What materials you need (including budget-friendly DIY options)
- How to block different yarn types
- Tips for maintaining that perfect fit
I’ve been knitting and blocking socks for over 15 years, helping hundreds of crafters transform their handmade footwear. The techniques I’m sharing have been tested across countless projects.
If you’re a first-time sock knitter or looking to improve your finishing techniques, proper blocking will take your socks from homemade to professional-looking in just a few simple steps.
Let’s turn those uneven stitches into socks you’ll be proud to wear or gift!
What Materials Do You Need?
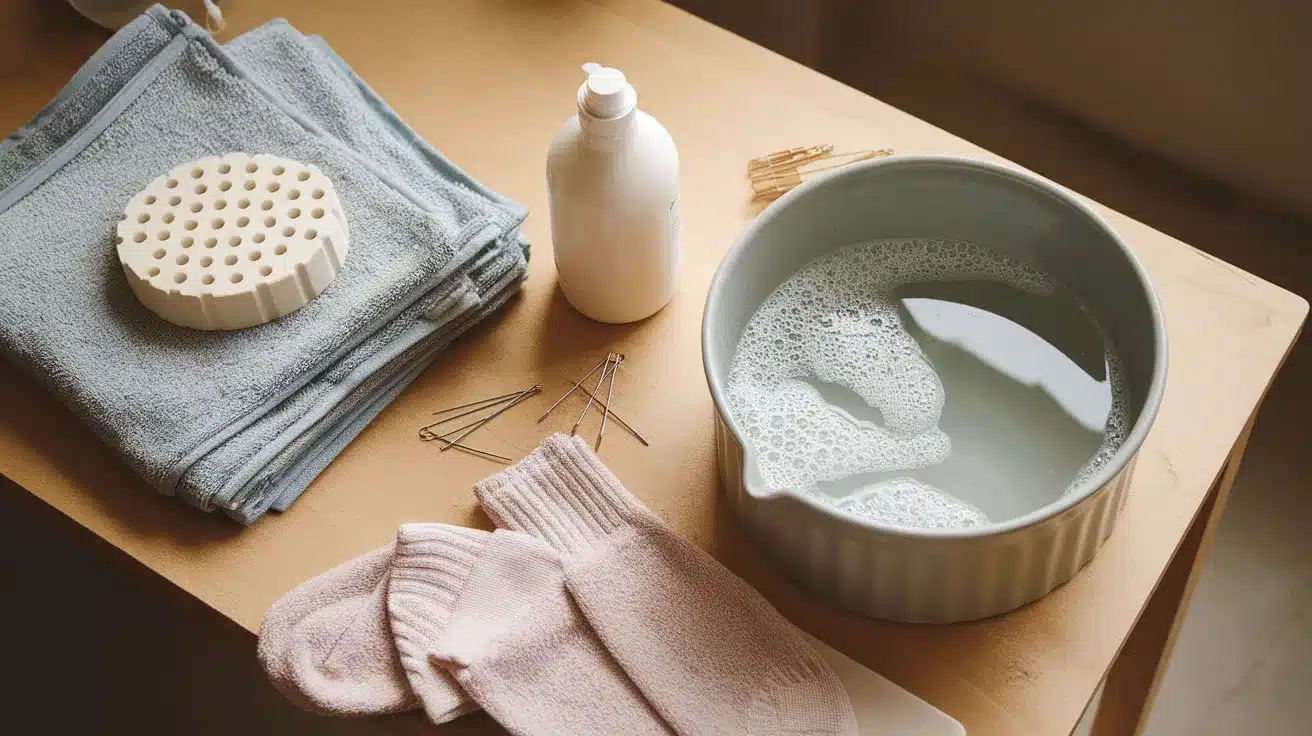
Before you start blocking your socks, let’s gather everything you’ll need. Having the right tools makes all the difference in getting that perfect fit.
Essential Blocking Tools
- Sock blockers: These flat forms help shape your socks. They come in different sizes, so pick ones that match your foot size.
- Spray bottle: For misting your socks with water without soaking them completely.
- Towels: You’ll need these to soak up extra water and provide a clean surface for drying.
- Pins: Regular sewing pins work well to hold sock parts in place while they dry.
- Mild soap: A small amount of wool wash or mild shampoo helps clean and soften the fibers.
- Basin or sink: You’ll need this to soak your socks.
- Measuring tape: This helps check if your socks match your desired measurements.
I’ve found that plastic sock blockers work better than wooden ones if you plan to soak your socks fully. Why? The wood can warp over time with repeated wetting.
Your pins don’t need to be fancy. Simple straight pins with colored heads are easier to see and remove when you’re done.
Remember, you don’t need to buy everything new. Look around your home first – you might already have most of these items!
How to Block Socks?
Blocking socks is a process used by knitters to shape and set knitted socks to their final form. This technique helps improve the appearance and fit of hand-knitted socks. And it is easier than you might think. I’ve broken it down into four main steps that anyone can follow.
Step 1: Prepare Your Materials
Gather all your supplies before starting. This saves time and prevents interruptions. Fill your basin with lukewarm water and add a small amount of mild soap. Mix it gently to create a slight lather, but avoid making too many bubbles.
Have your sock blockers, pins, and towels ready nearby. I like to put everything on a flat surface that won’t be bothered for a day or two while the socks dry.
Step 2: Soak the Socks
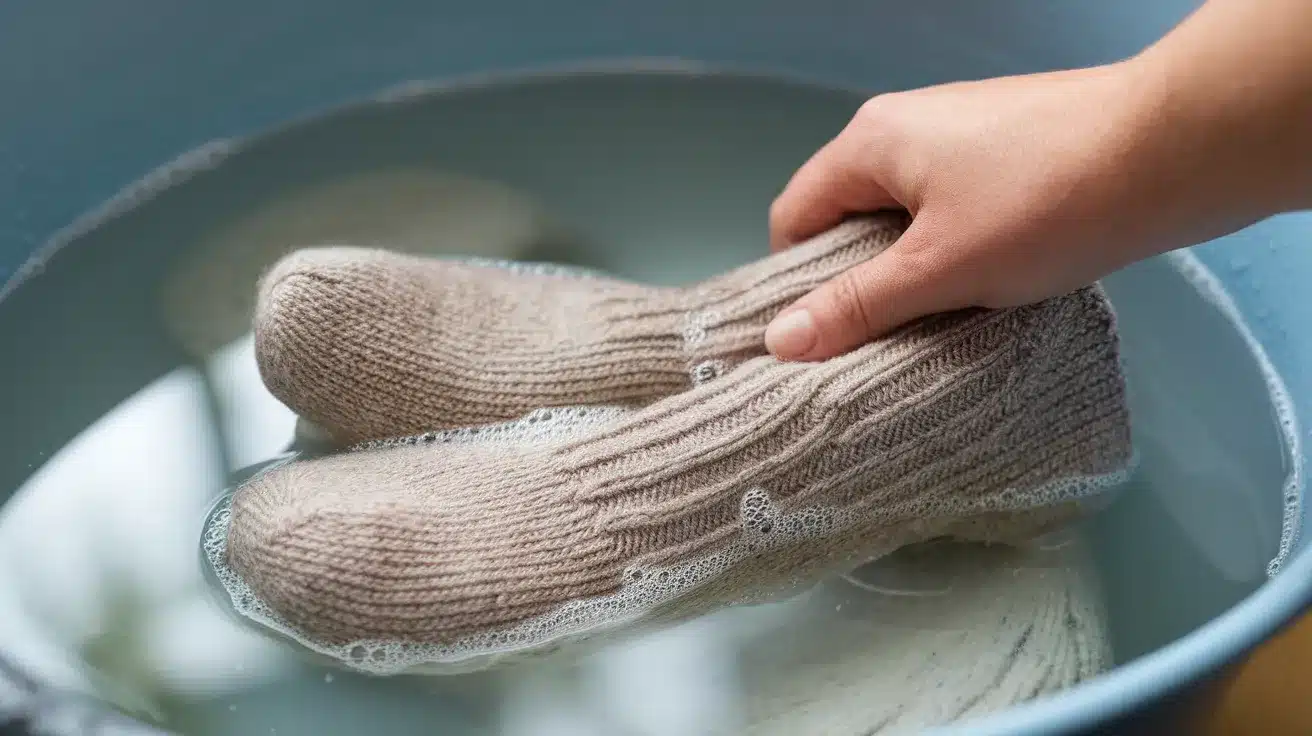
Place your socks in the soapy water and press them down gently. Make sure they’re fully wet, but don’t squeeze or twist them.
Wool fibers can stretch or feel if handled roughly when wet. Let your socks soak for 15-20 minutes. This helps the fibers relax and become more flexible for shaping.
Step 3: Shape the Socks on Blockers

Take the socks out of the water and press them between two towels to remove extra moisture. Don’t wring them! Carefully slide each sock onto its blocker.
Start with the toe section and work your way up to the cuff. Smooth out any wrinkles with your fingers as you go. If you don’t have sock blockers, you can trace your foot on cardboard and cut out the shape instead.
Step 4: Pin and Let Dry

Use pins to secure any parts that need extra help staying in place. The heel turn and toe sections often benefit from pinning.
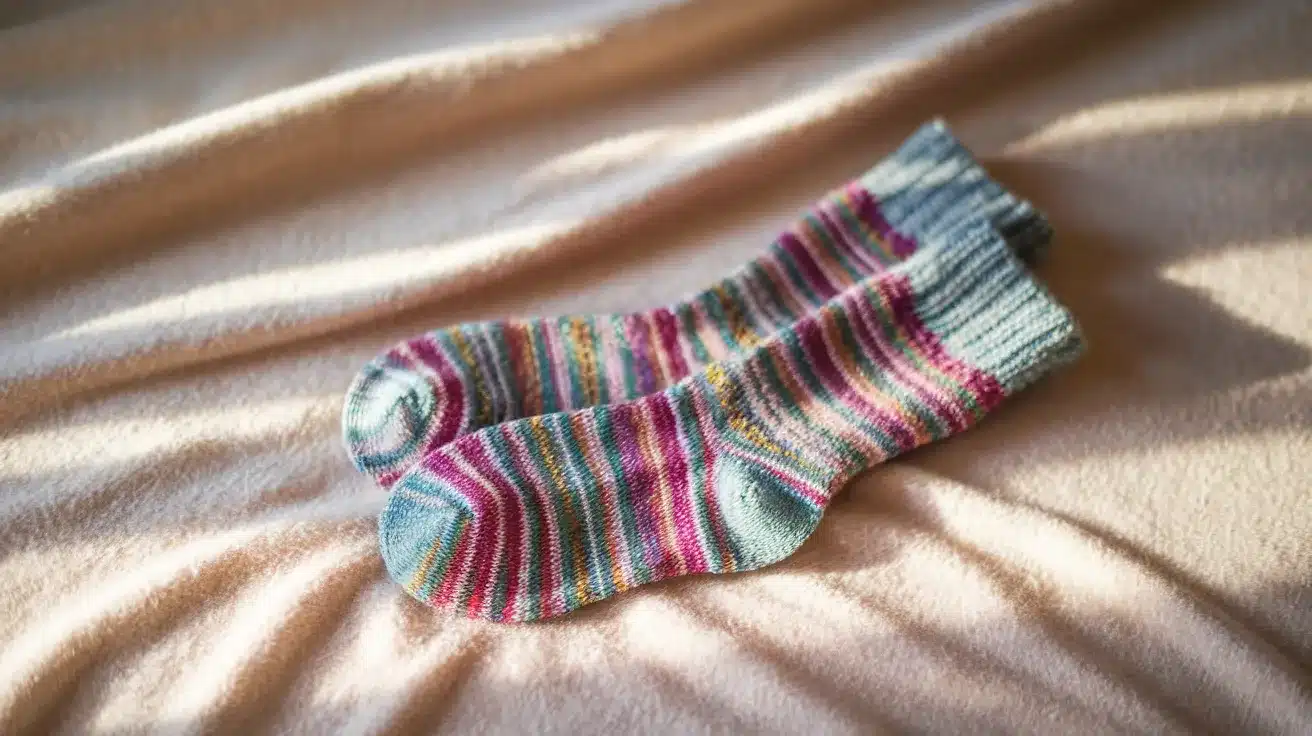
Place your blocked socks in a spot with good airflow. Keep them away from direct sunlight or heat sources, which can damage the yarn. Let them dry completely—usually 24-48 hours, depending on your climate.
I checked by touching the thickest parts of the sock. If they feel cool to the touch, they’re probably still damp. Once fully dry, remove the pins and blockers. Your socks are now ready to wear!
Why Should You Block Knit Socks?
You spent hours knitting those socks, so why take this extra step? Blocking is worth the effort for several important reasons.
Perfect Fit for Your Feet
Blocking helps your socks fit exactly as intended. Without blocking, your socks might be too tight in some spots and loose in others. I’ve found that blocking makes the difference between socks that feel “just okay” and ones that feel made for you.
Hand-knit socks can stretch out during wear. Blocking helps set their ideal shape before you even put them on. This means they’ll hold their form better over time.
Neater And Even Stitches
Have you ever noticed that some areas of your knitting look a bit uneven? This is normal! When you block, the water helps the yarn fibers relax and settle into place.
The result? Your stitches look more uniform and tidy. Those little wobbles and uneven spots become much less noticeable after blocking.
Even the most skilled knitters benefit from this effect. I block every pair I make because it makes my work look so much more professional.
Better Fabric Texture
Blocking can make scratchy yarn softer against your skin. This is especially helpful with wool socks that might feel a bit rough at first. The washing and gentle stretching open up the fabric slightly, giving it better drape and comfort.
Your socks will feel nicer against your feet and move better inside your shoes. Many yarns actually “bloom” when blocked, meaning the fibers fluff up slightly.
This creates a warmer, cozier sock that looks and feels better than an unblocked one. Think of blocking as the finishing touch that takes your socks from “homemade” to “handcrafted.”
Conclusion
Blocking your hand-knit socks is a simple step that makes a big difference. You now have all the skills needed to transform your socks from good to great!
With just some water, blockers, and a bit of patience, you can ensure your socks fit perfectly, look neater, and feel more comfortable against your skin.
I still remember my first pair of properly blocked socks—the difference was like night and day. Don’t skip this final touch in your sock-making process.
Your feet will thank you, and your beautiful handiwork will shine through even more clearly. Give blocking a try with your next pair, and you’ll wonder why you ever considered skipping this essential step!
What’s your experience with blocking socks? I’d love to hear your tips in the comments below!
Frequently Asked Questions
How Long Should I Block My Socks?
Leave the socks to dry completely, typically 24-48 hours, depending on humidity and yarn thickness. Test by touching the heel area—if it feels cool, it’s still damp.
Can I Block Acrylic Socks?
Yes, you can block acrylic socks, but they respond differently than wool. Use cooler water and gentle stretching, as heat can permanently alter synthetic fibers.
Do I Need to Block Socks After Every Wash?
Not necessarily. Reblock only when socks lose their shape. For regular washing, laying flat to dry often provides enough reshaping for maintenance.


