

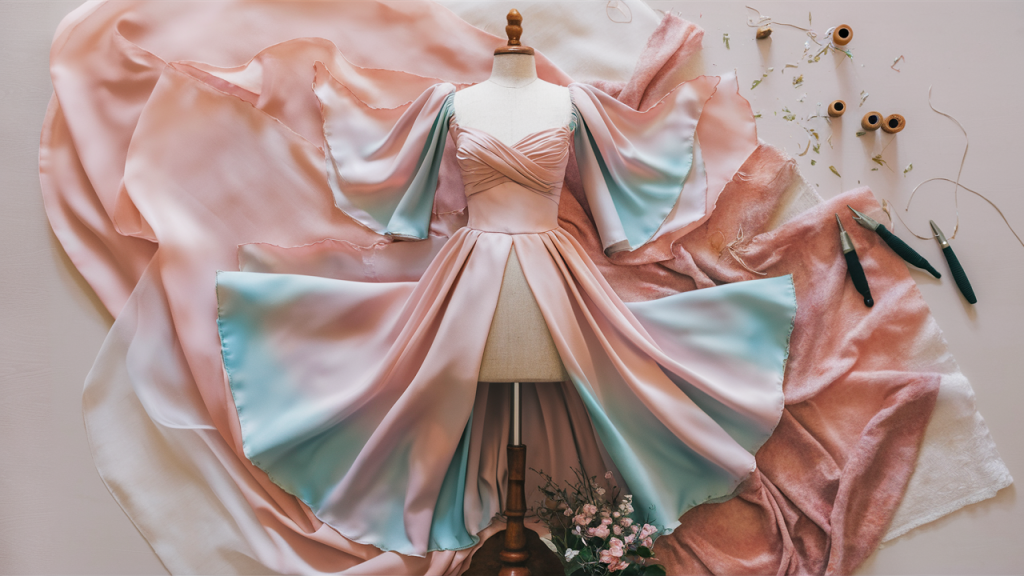
Dressmaking is a fun and satisfying skill that lets you create stylish, custom-made clothing. Whether you’re making a simple dress for everyday wear or a special outfit for an occasion, dressmaking gives you the chance to express your creativity.
In this blog, I’ll cover the basics of dressmaking, from choosing the right fabric to understanding patterns and stitching techniques. You don’t need to be an expert to start; all you need is a bit of patience and practice.
I’ll guide you through the process step by step so you can confidently make your dresses. By the end of this blog, you’ll better understand the tools, tips, and techniques that make dressmaking enjoyable and achievable.
What is Dressmaking and Its Benefits?
Dressmaking is the art of designing and creating clothing. It involves cutting, stitching, and finishing fabrics to make stylish garments like dresses, skirts, and shirts.
It’s a fun and creative skill that allows you to bring your ideas to life and make clothing that fits perfectly and reflects your style. There are many benefits to learning dressmaking:
1. Customization: When making your own clothes, you can customize them to your measurements and style preferences. This means you can create something that fits you perfectly!
2. Creativity: Dressmaking lets you express your creativity. You can choose your fabrics, colors, and patterns to create something unique.
3. Cost-Effective: Making your clothes can save you money in the long run, especially if you reuse old fabrics or buy materials at affordable prices.
4. Sense of Accomplishment: Completing a dressmaking project is very rewarding. There’s nothing like the feeling of wearing something you made yourself!
In short, dressmaking is a fun and practical skill that can help you save money, express your creativity, and wear clothes made just for you.
How to Get Started with Dressmaking
If you’ve ever wanted to make your own clothes, getting started with dressmaking is easier than you might think! It’s a fun skill to learn, and with a little patience and practice, you’ll be creating your own unique garments in no time. Here’s how to begin:
1. Choosing Your Pattern
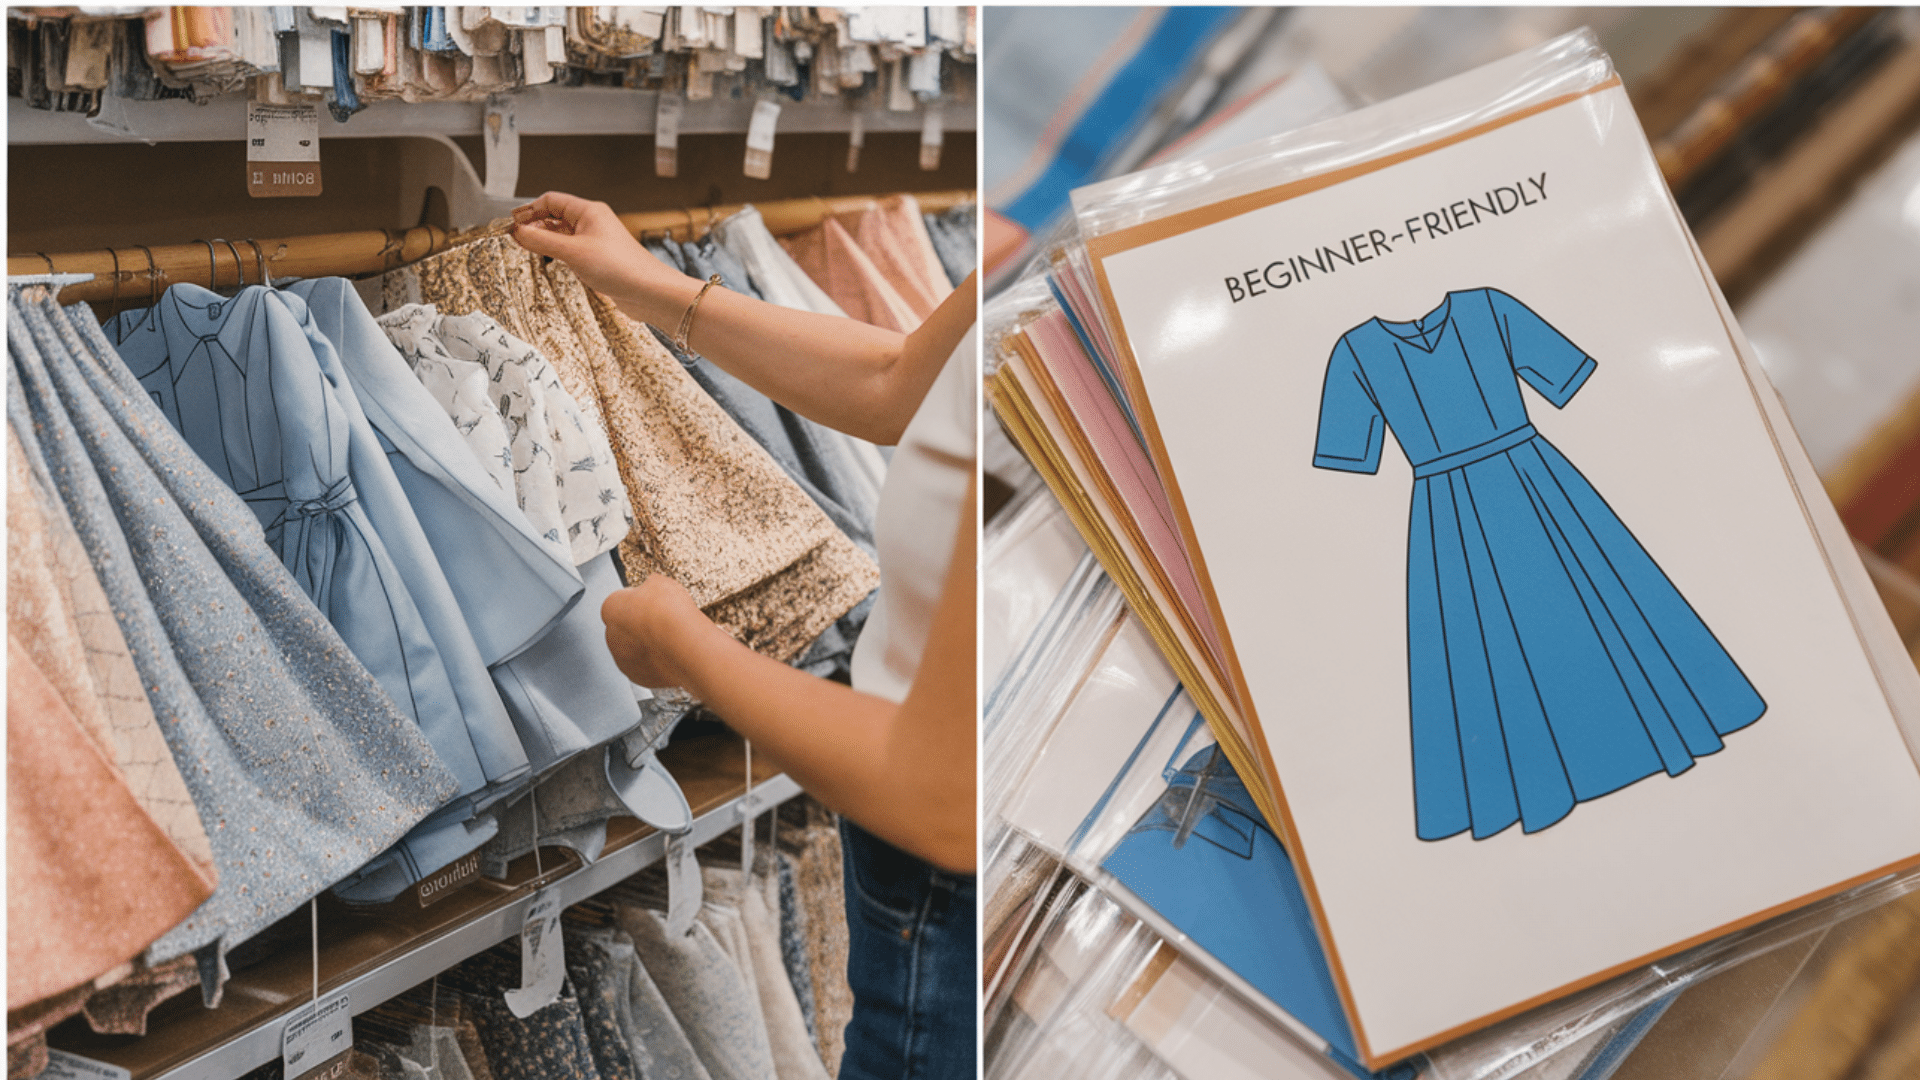
- Patterns are the first step in any dressmaking project. It shows you how to cut out the pieces of fabric and tells you how to sew them together. Start with a simple pattern—one that’s meant for beginners. Look for patterns labeled “easy” or “beginner-friendly” at your local fabric store or online.
- Patterns come in two main types: printed patterns (which you trace directly onto fabric) and digital patterns (which you download and print yourself). You’ll also find patterns in various sizes, so choose one that matches your measurements.
2. Choosing Fabric
- The fabric you choose can make or break your dressmaking project. For beginners, it’s best to start with fabrics that are easy to work with. Cotton is a great choice because it’s easy to sew and comes in many colors and patterns. Linen and lightweight denim are also good beginner options.
- These fabrics are not too slippery or stretchy, which makes them easier to control when sewing. Avoid fabrics like silk or satin when starting—they’re slippery and tricky to work with. It’s also important to pick a fabric that’s appropriate for the season and the style you want.
3. Tools and Materials
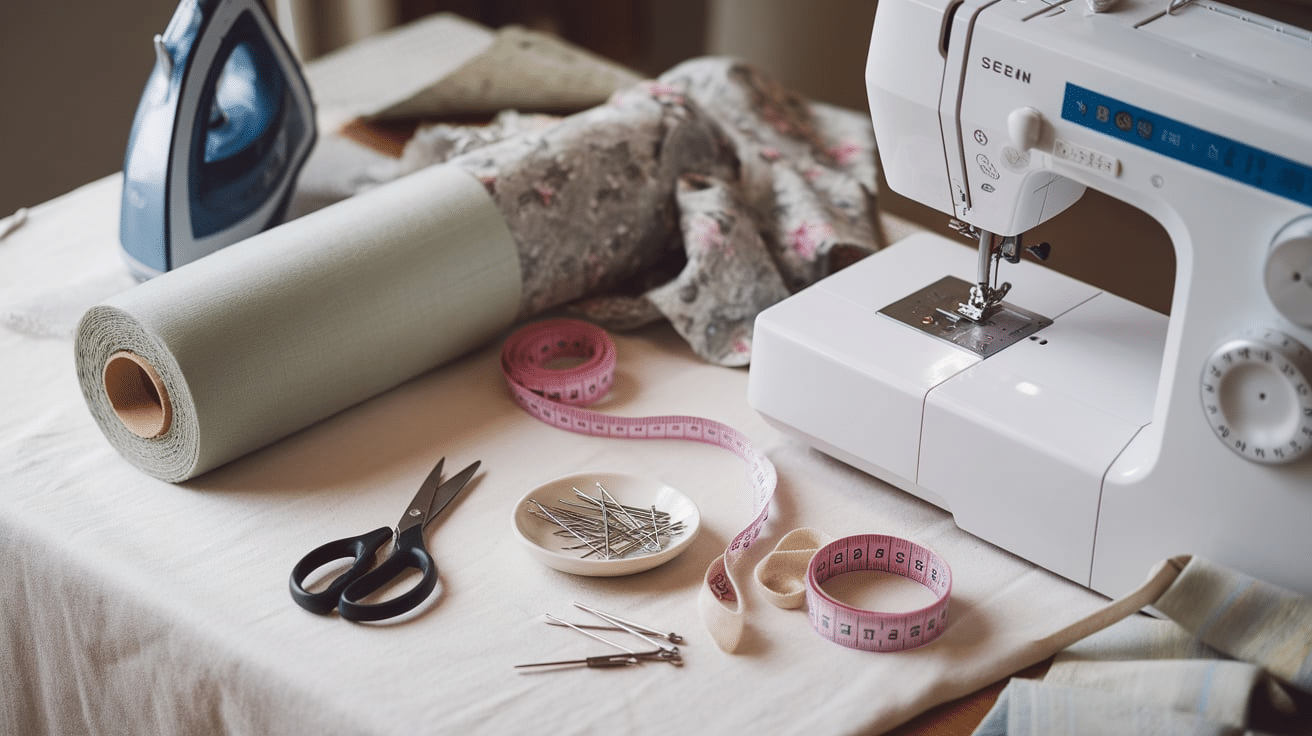
Before you start, make sure you have all the necessary tools. Here’s a list of basic materials you’ll need:
- Sewing machine: A sewing machine will make things faster, but you can also sew by hand.
- Thread: Choose a thread that matches your fabric color. Polyester thread works well for most fabrics.
- Scissors: A good pair of fabric scissors is essential for cutting the fabric accurately.
- Pins: Use pins to hold the fabric pieces together while you sew.
- Measuring tape: This helps you measure yourself and the fabric to ensure everything fits right.
- Iron: Pressing your fabric and seams as you go will help keep your work neat and crisp.
Getting started with dressmaking can feel like a big task, but it’s also a fun and creative hobby. Soon enough, you’ll be making clothes that are unique and completely yours!
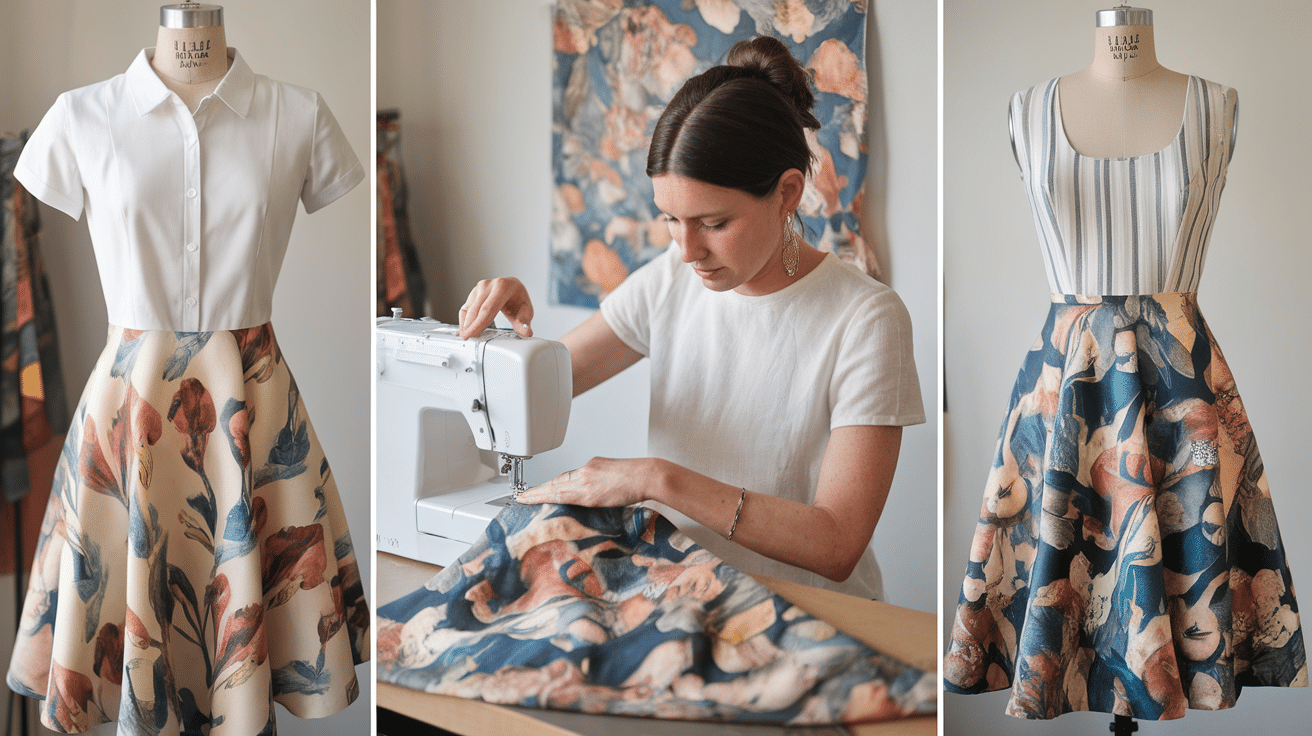
Step-By-Step Guide on How to Make Your First Dress
Making your first dress can feel like a big task, but don’t worry! By following these simple steps, you can create an amazing and well-made dress that fits you perfectly. Let’s get started!
Step 1: Take Measurements
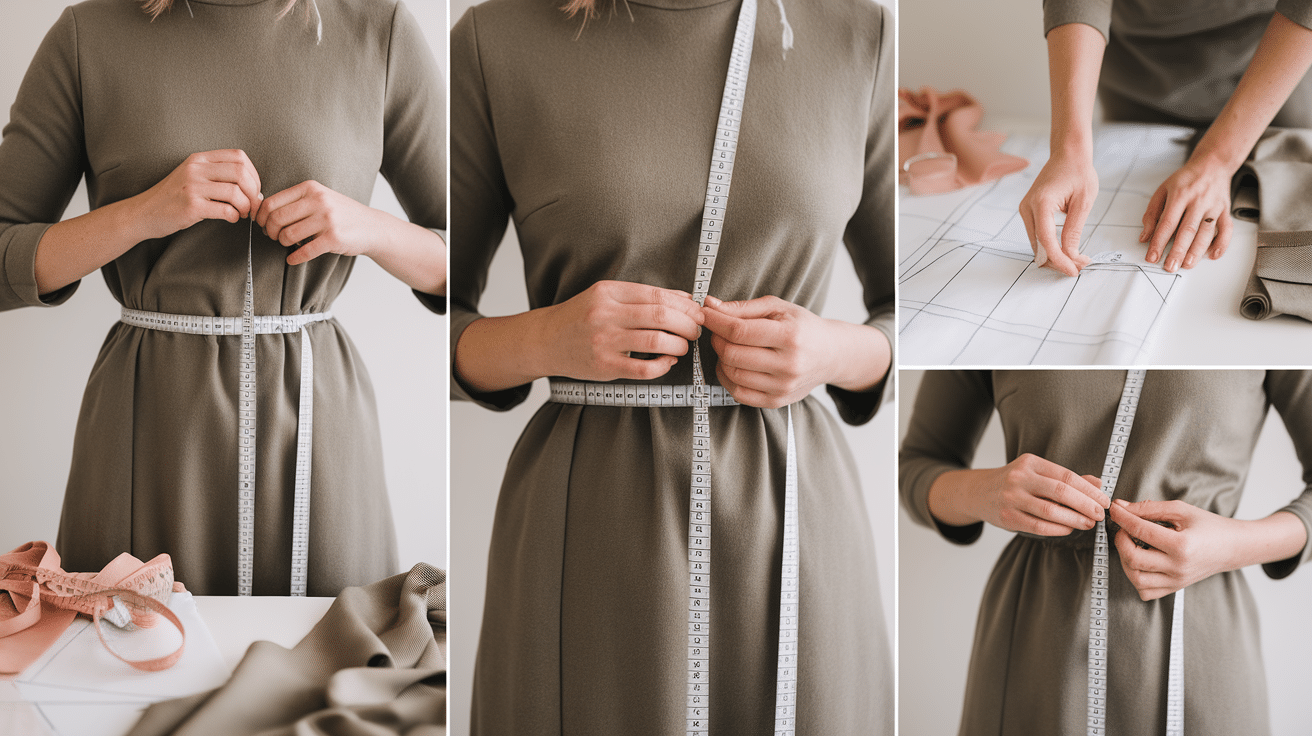
Before you start cutting fabric, you need to know your measurements. Here’s how to do it:
- Bust: Measure around the fullest part of your chest, making sure the tape is straight across your back.
- Waist: Find the smallest part of your waist (just above your belly button) and measure around it.
- Hips: Measure around the fullest part of your hips, keeping the tape straight across your body.
- Length: Measure from your shoulder down to the desired hemline (this is the length of the dress). You can also measure the length from your waist down if you’re making a waistline dress.
Step 2: Prepare the Pattern and Fabric

Decide on a pattern and fabric you like.
- Cut out the pattern: Once you have the fabric and pattern, cut out the pattern pieces. Make sure to follow the cutting lines carefully.
- Prepare your fabric: Before sewing, pre-wash the fabric to avoid shrinkage. Iron the fabric so it’s smooth and easy to work with.
Step 3: Cut the Fabric
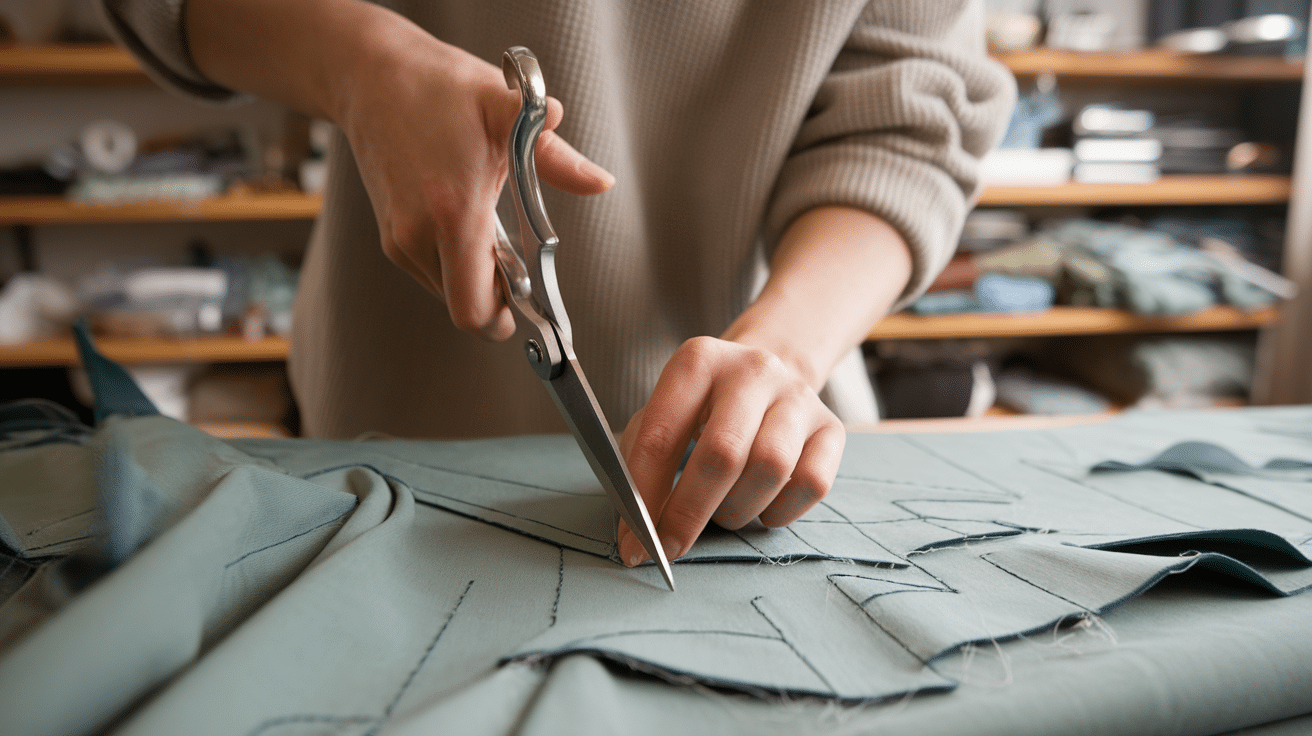
- Lay the pattern pieces on the fabric and pin them down. Make sure the fabric is flat and wrinkle-free, and check that the edges are aligned properly. Follow the grainline shown on the pattern, which helps the fabric sit properly.
- Carefully cut around the pattern pieces with fabric scissors, making sure to cut precisely to avoid any uneven edges.
Step 4: Start Sewing
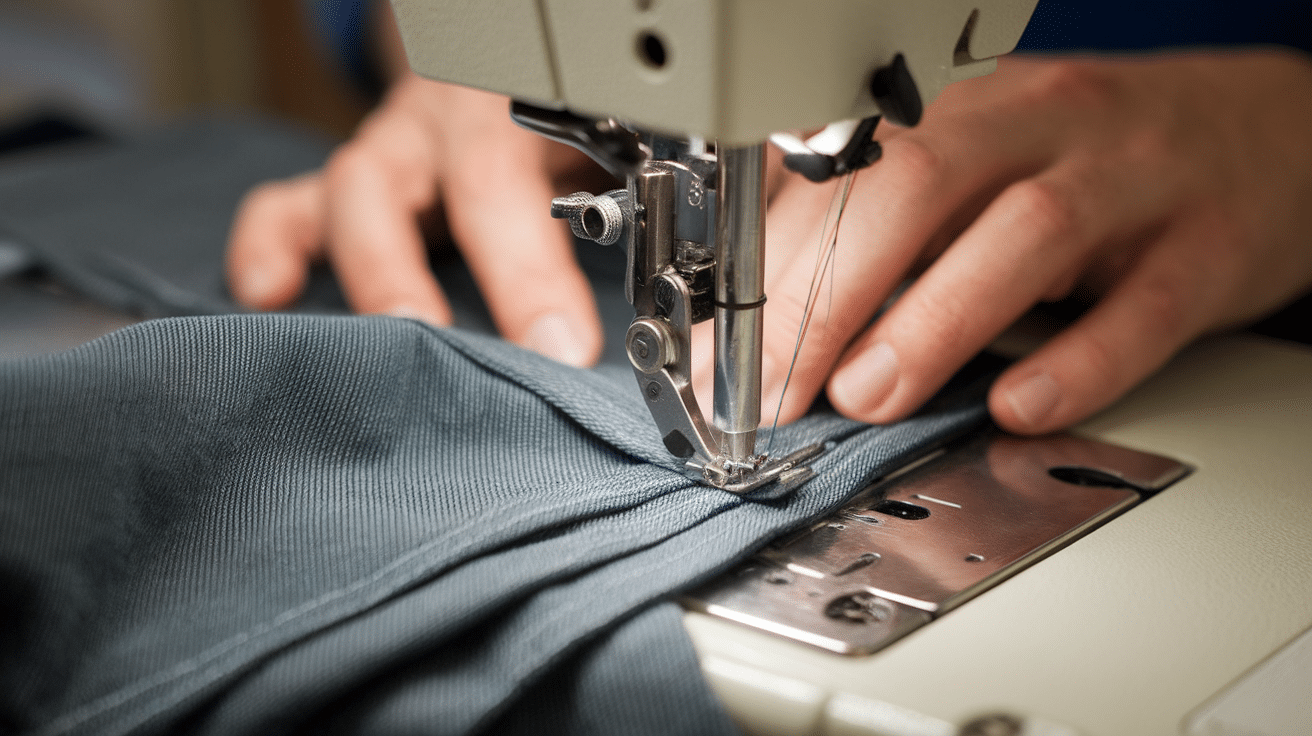
- Start by following the pattern instructions. Usually, you’ll begin by sewing the bodice pieces together. Pin the fabric together before sewing to make sure everything stays in place.
- Use a sewing machine to sew along the lines, or hand-sew if you prefer.
Step 5: Join the Bodice and Skirt
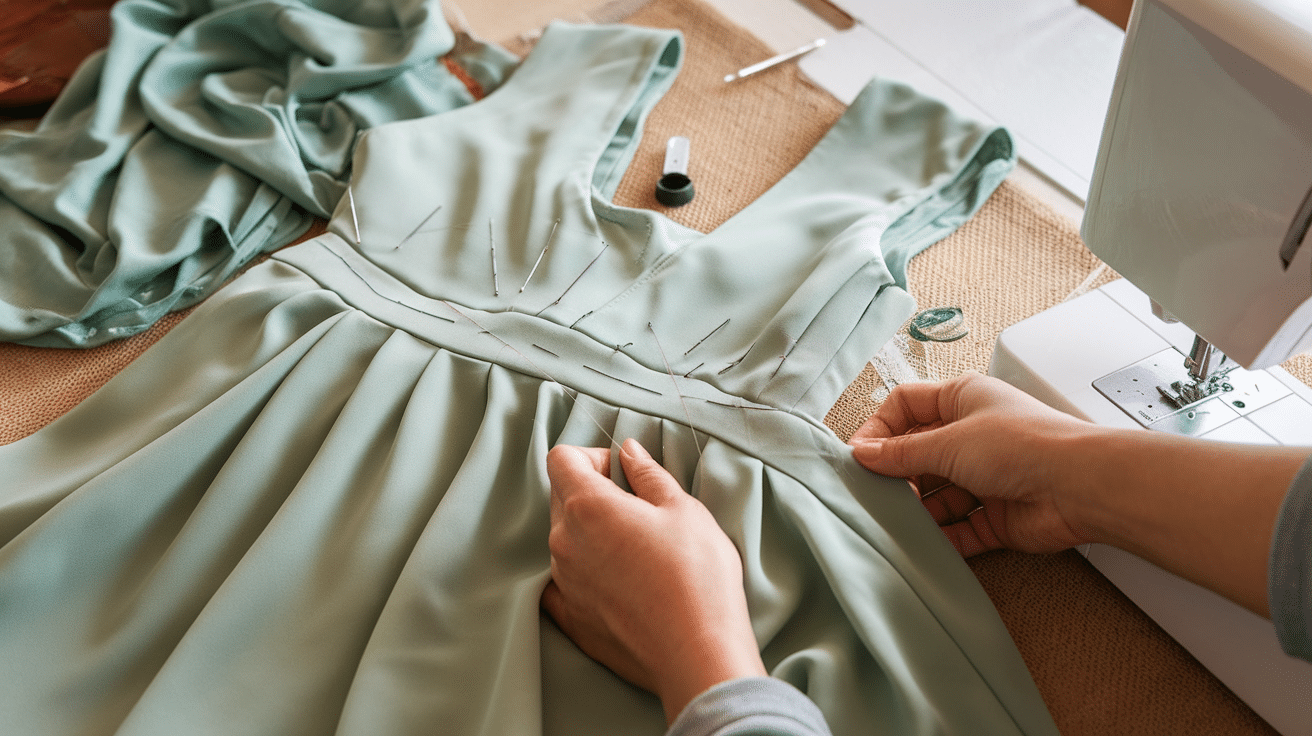
- Once the bodice is sewn together, attach it to the skirt portion of the dress. Ensure the pieces are lined up properly before sewing them together, ensuring the seams match evenly.
- Follow the pattern instructions carefully to make sure you attach them correctly and pin the pieces in place to prevent shifting as you sew. Take your time and check the alignment as you go to get a smooth finish.
Step 6: Add Zippers or Closures
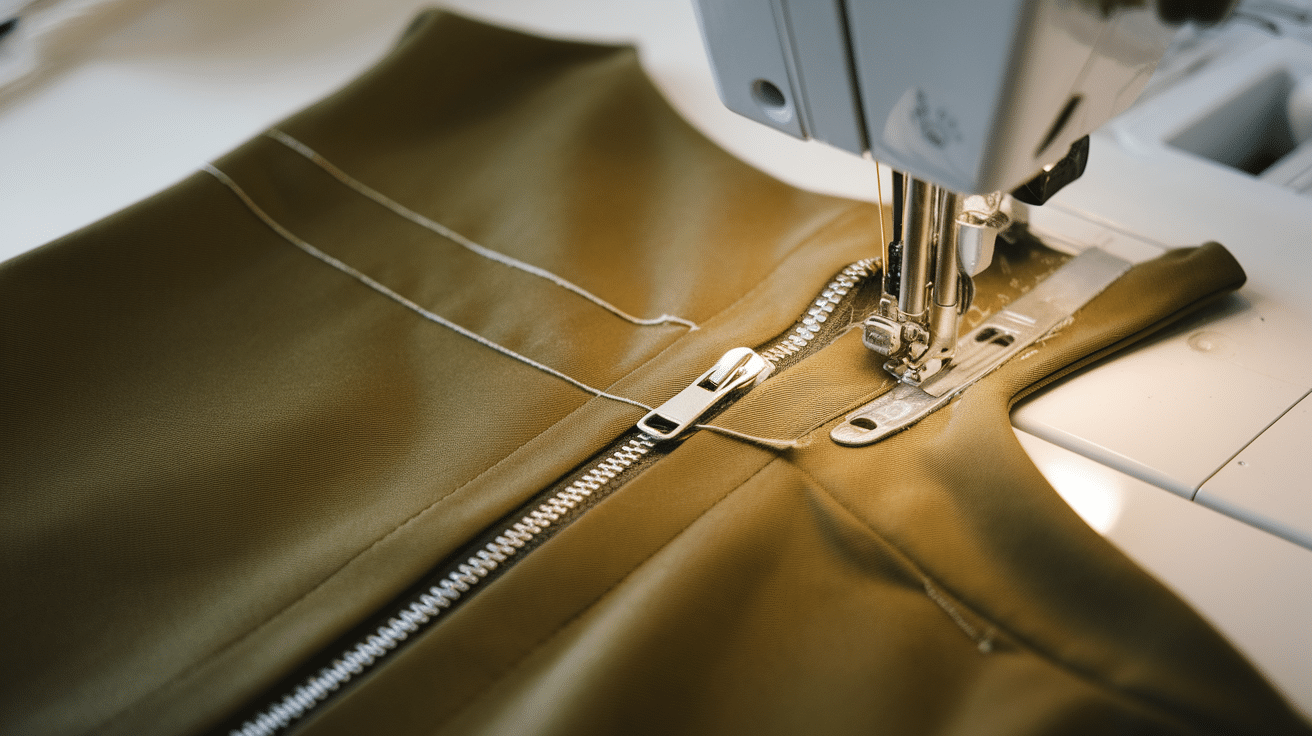
- If your pattern calls for a zipper or other closure, now is the time to add it. Carefully sew the zipper into the back of the dress, following the pattern instructions.
- This part may take a little patience, but you’ll get the hang of it with practice. Take your time to sew slowly along the zipper edge, ensuring the stitches are neat and the zipper functions smoothly when finished.
Step 7: Hem the Dress
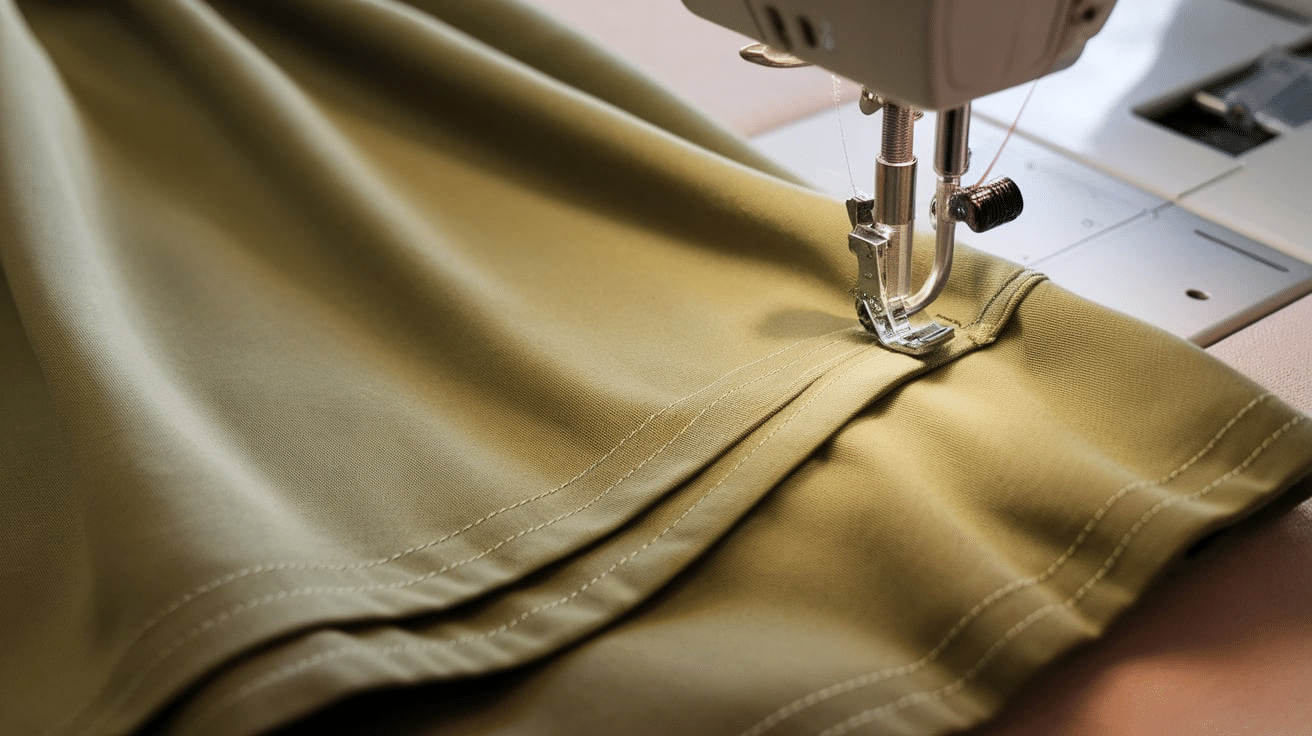
- After the main parts of the dress are sewn together, it’s time to hem the edges. Fold the edges of the fabric under and sew a straight stitch to keep them in place.
- This will help your dress look clean and professional. Take your time to make sure the hem is even all around the dress for the best results.
Step 8: Press the Dress
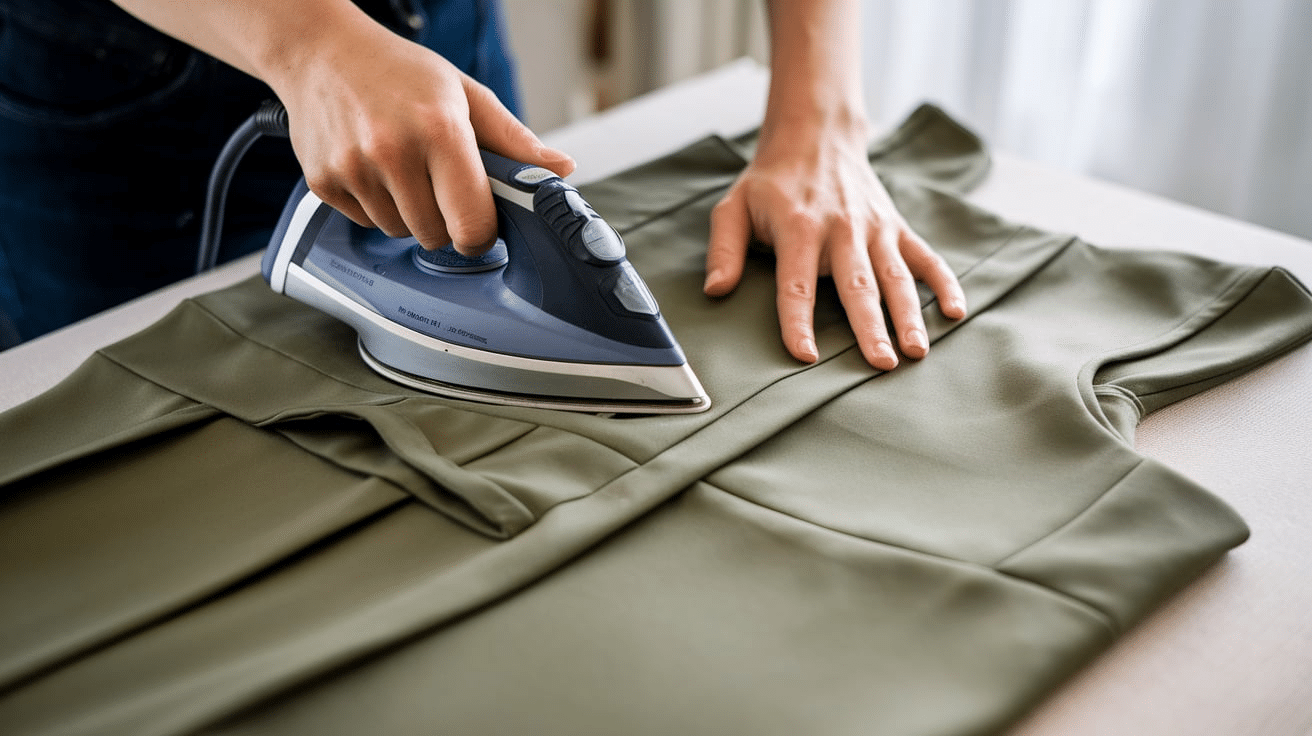
- Once everything is sewn, press your dress with an iron to give it a smooth, polished look. Iron each seam flat to make the dress look crisp and neat.
- Be careful not to burn the fabric, and use the right heat setting for the material you’re working with.
Step 9: Try It On
- Now for the fun part—try on your new dress! Check the fit and make any adjustments, like taking in the sides or shortening the hem. You can add any final touches, like decorative buttons or embellishments.
You’ve made your very own dress. You can try making more complex designs and using different fabrics and patterns with practice. Making your first dress might take some time, but with patience and practice, you’ll improve with every project.
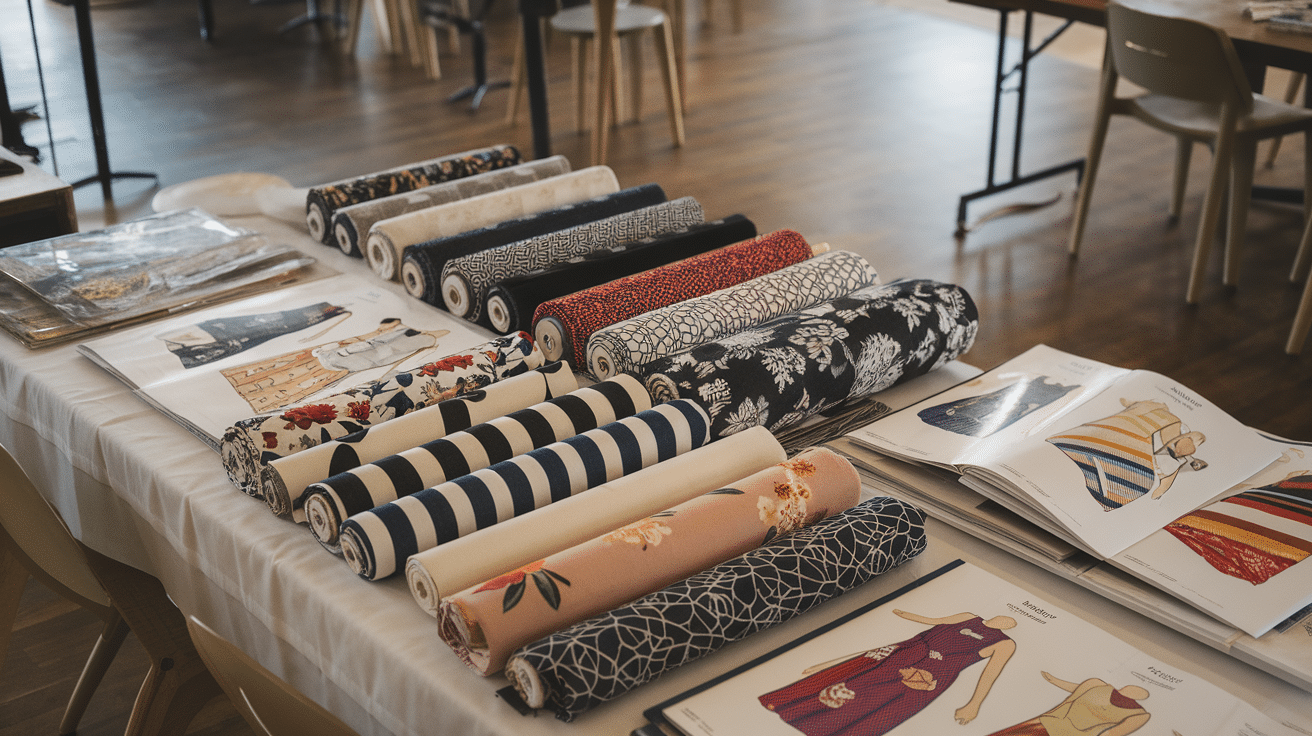
Simple Dressmaking Patterns for Beginners
If you’re just starting with dressmaking, choosing a simple pattern is a great way to get comfortable. Simple patterns help you learn the basics without feeling overwhelmed. Here are some easy-to-follow dressmaking patterns that are perfect for beginners:
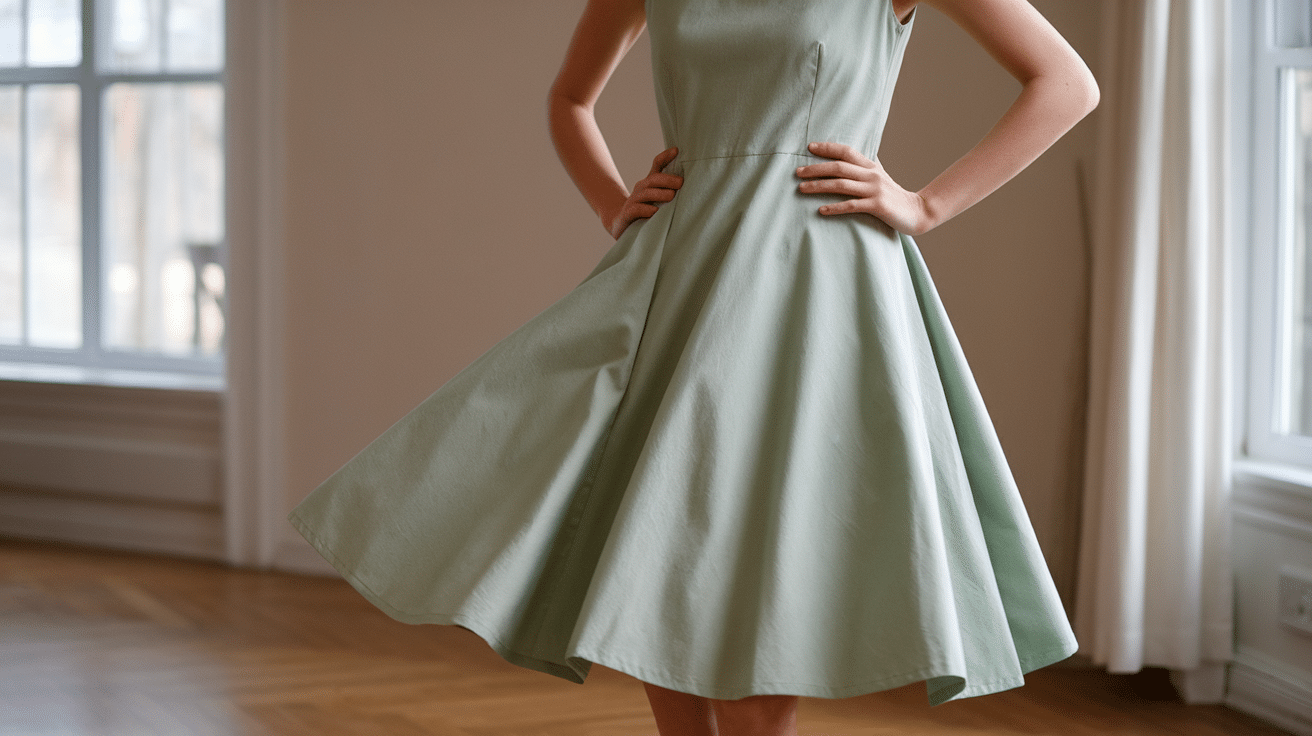
1. A-Line Dress
An A-line dress is a classic design that flares out from the waist, creating a shape that resembles the letter “A.” It’s a comfortable, flattering style that’s easy to make. You only need to sew a few straight seams and add a simple zipper or buttons. This pattern is great for lightweight fabrics like cotton or linen.
2. Shift Dress
A shift dress is another simple design with a straight, loose fit. It has no waist shaping, making it easy to put together. The simple shape and lack of complex seams make this pattern beginner-friendly. To make it your own, you can add fun details like pockets or a decorative neckline.
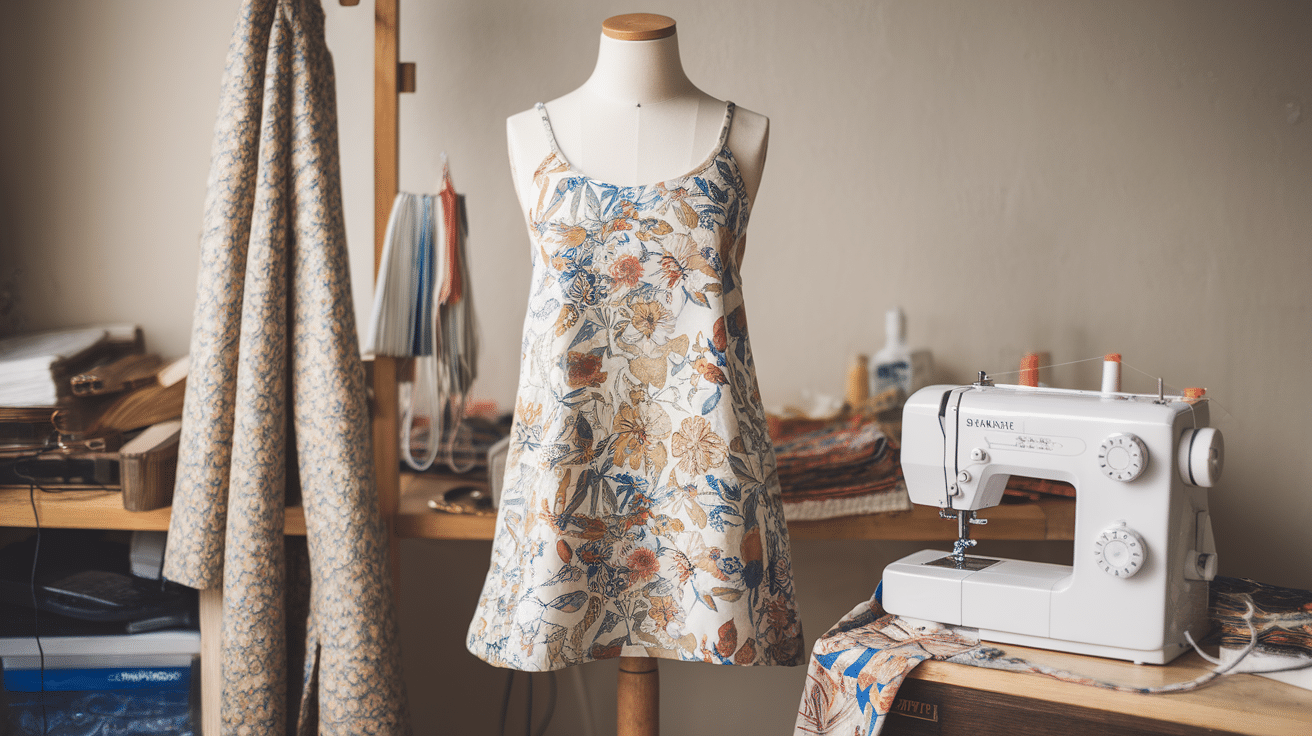
3. Simple Sundress
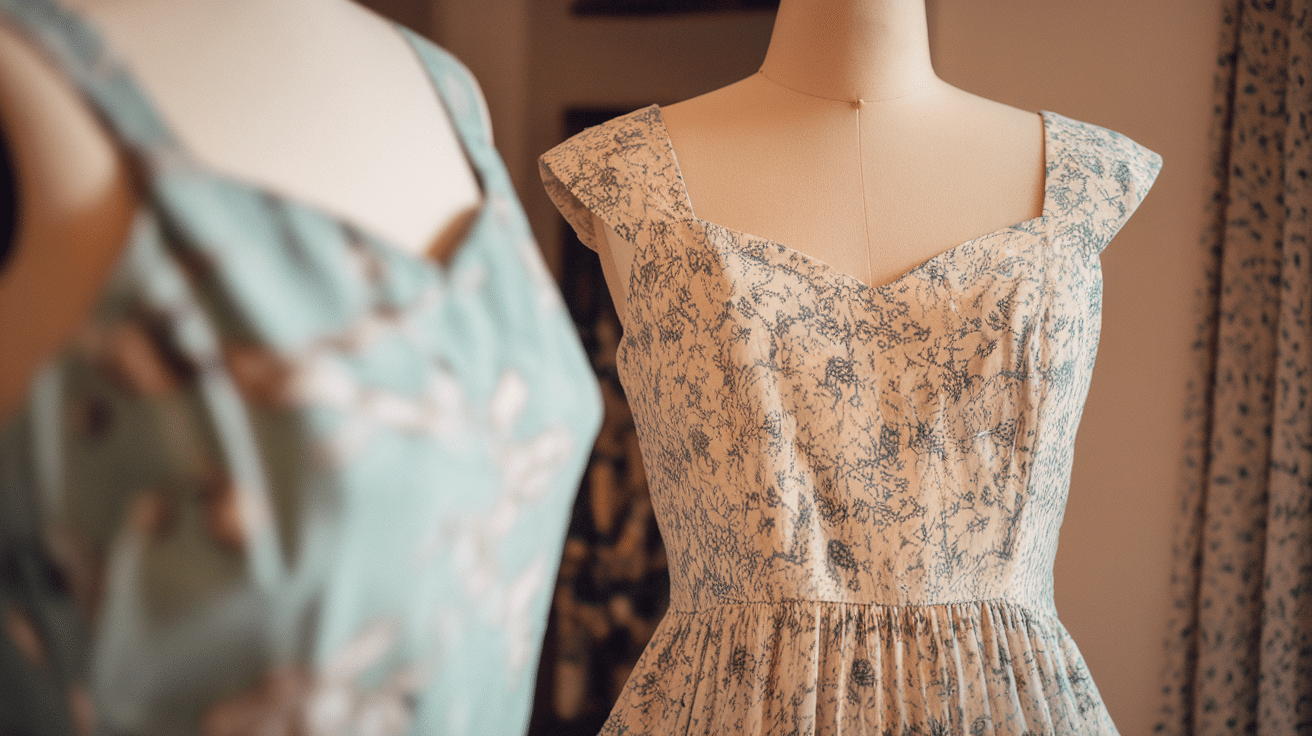
A sundress is a perfect dress to make for warm weather. The pattern is simple, usually involving straps and a basic bodice and skirt. You can add a zipper or buttons in the back, but many sundress patterns use an elastic waistband, making them easy to slip on. This pattern works well with fabrics like cotton, which are light and breathable.
4. Wrap Dress
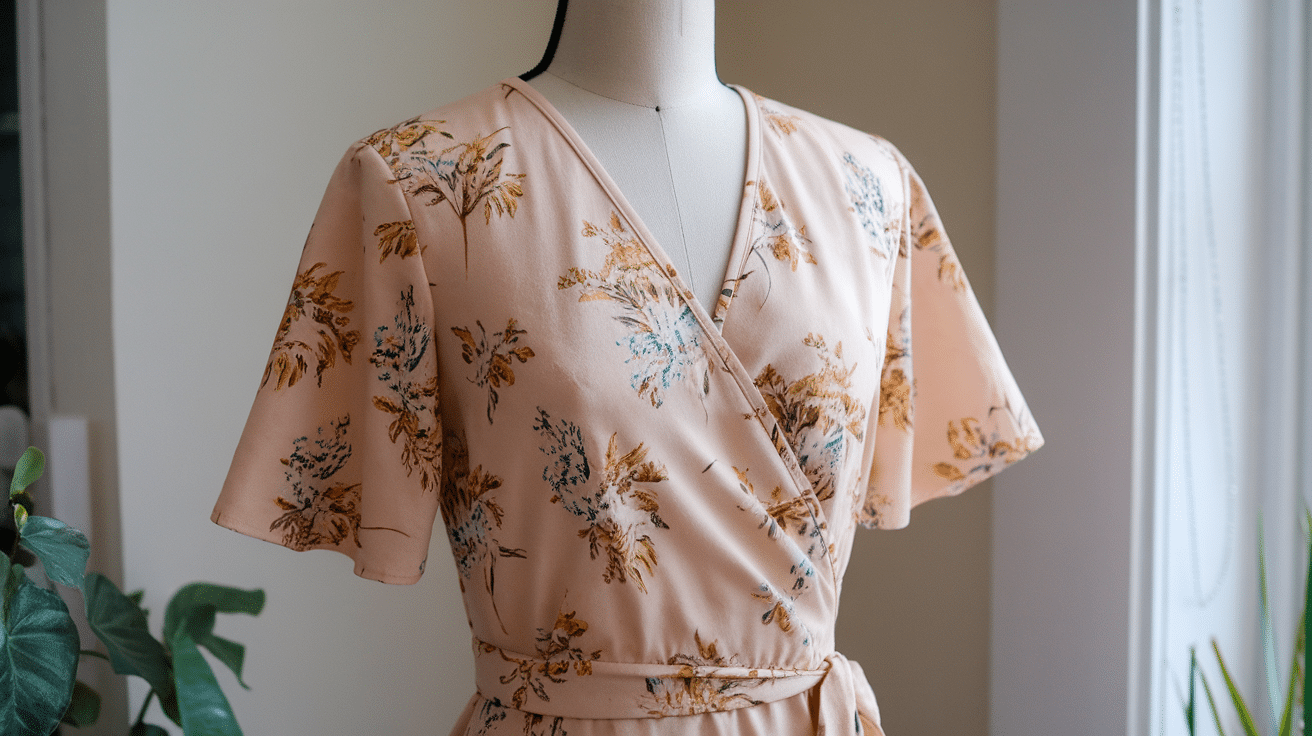
A wrap dress is an easy-to-make style that crosses over at the front and ties at the waist. It’s a great beginner project because it doesn’t require any zippers, and the tie adjusts the fit. Wrap dresses can be made with various fabrics, from casual cotton to flowy jersey knit, depending on the look you want.
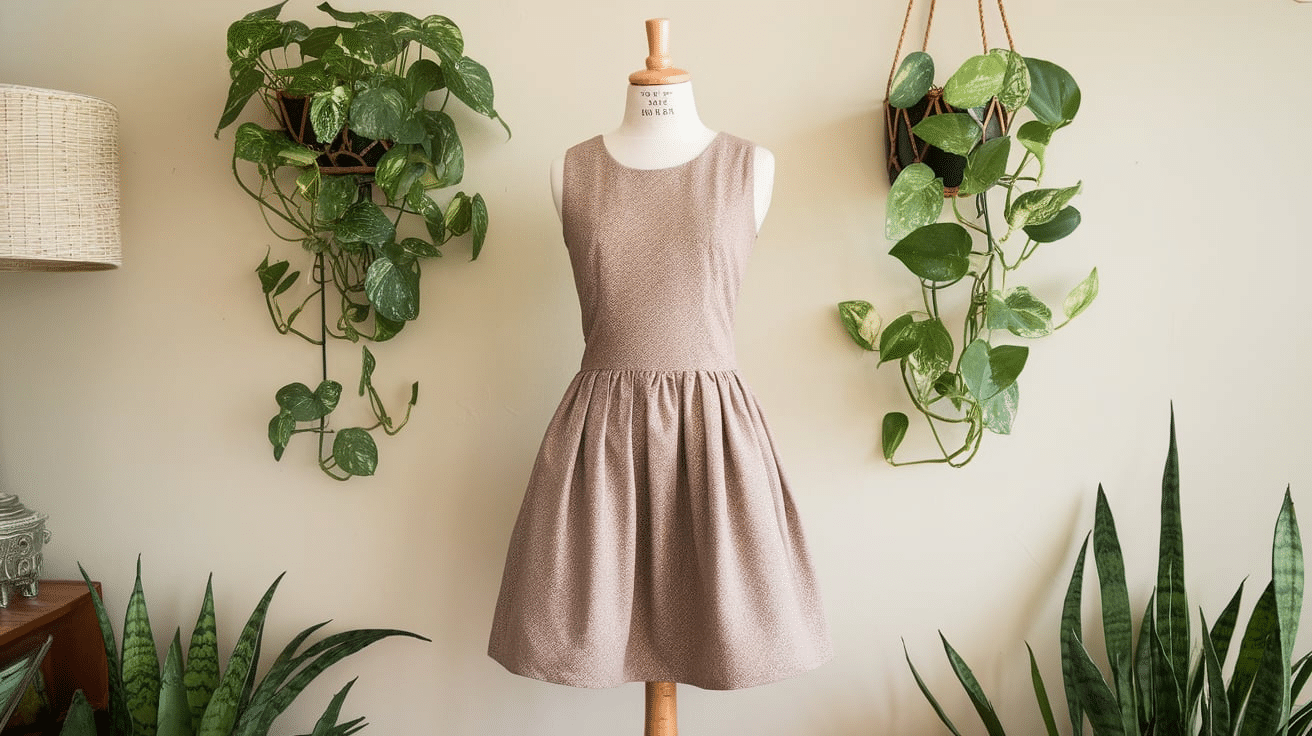
5. Tank Dress
A tank dress is a simple, sleeveless dress that can be worn on its own or layered with jackets and cardigans. The pattern is easy to sew with just a few basic steps. It’s perfect for warmer weather and looks great in fabrics like cotton or jersey for a comfortable fit. You can adjust the length to make it a mini, midi, or full-length dress.
6. T-Shirt Dress
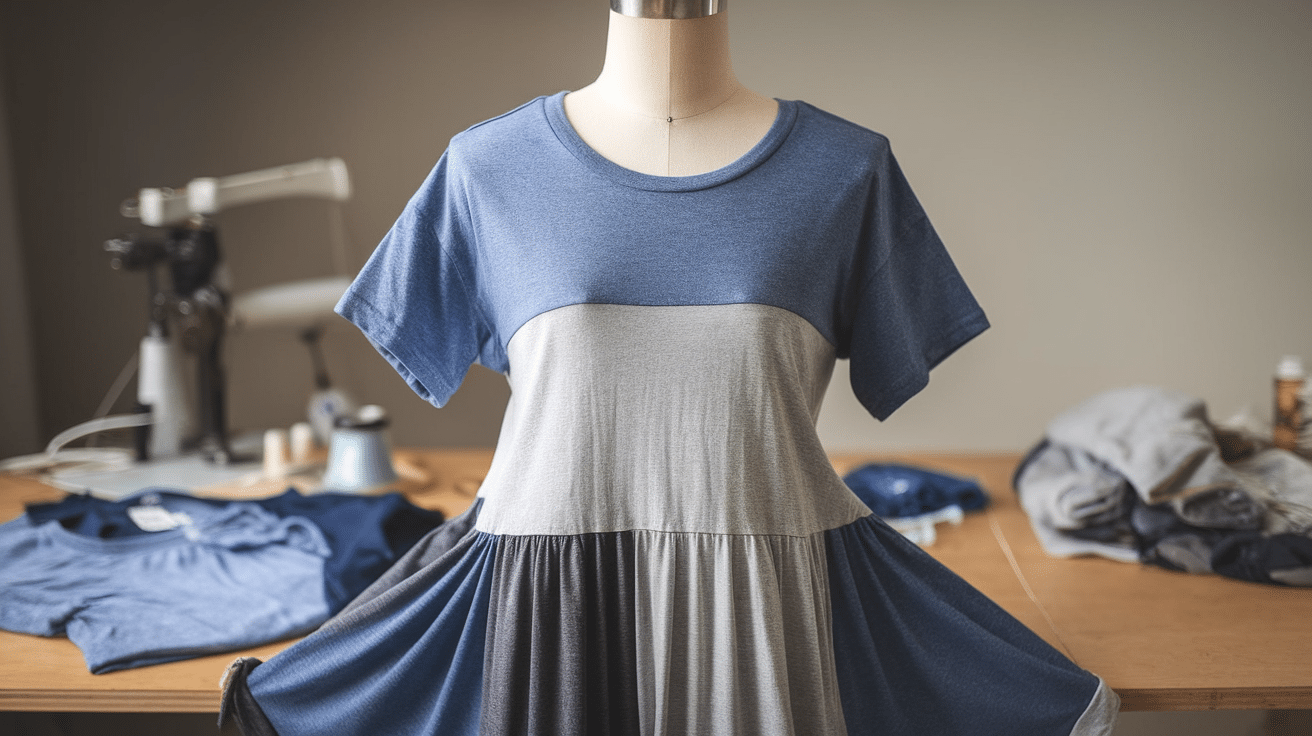
A t-shirt dress is another beginner-friendly pattern. It has a simple fit, similar to a T-shirt, but longer. The dress can be made in a knit fabric, so it’s stretchy and comfortable. Since you don’t have to worry about fitting, this pattern is a great way to practice sewing knit fabrics and make a dress you can wear daily.
7. Peasant Dress

A peasant dress is an easy pattern known for its loose fit and elasticized neckline and sleeves. This pattern is great for casual dresses and is very forgiving for beginners. You can play with the length, fabric, and neckline to create a dress that fits your style.
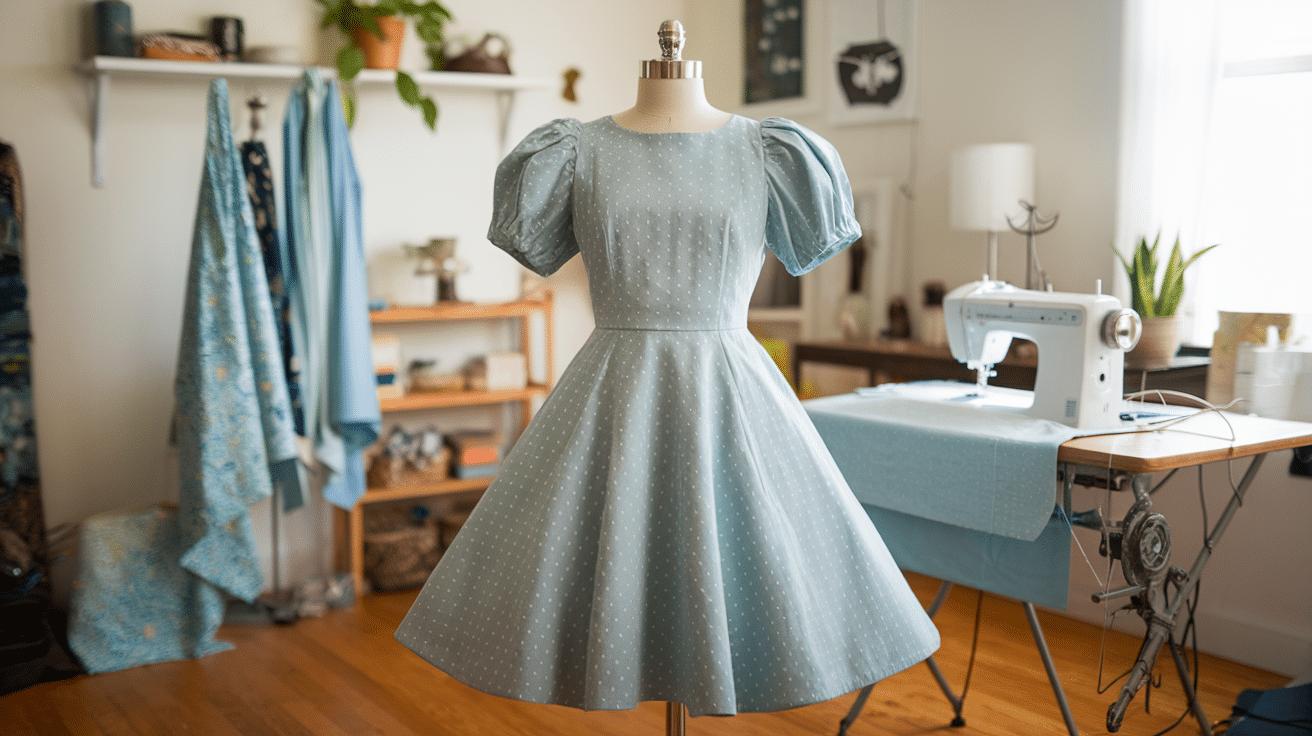
8. Empire Waist Dress

An empire waist dress has a high waistline right under the bust, making it easy to sew. The loose skirt and simple seams make this pattern a good choice for beginners. You can add details like pleats, gathers, or a simple tie belt for a more personalized look.
These simple dressmaking patterns are great for building your confidence and learning new skills. They’ll help you get comfortable with cutting, sewing, and finishing seams while giving you a stylish wardrobe. Start with one of these easy patterns, and soon, you’ll be making dresses that fit perfectly.
Tips for Beginner Dressmakers
If you’re just starting with dressmaking, it can feel a little overwhelming, but don’t worry! With a few helpful tips, you’ll be sewing custom-made dresses in no time. Here are some tips to get you started:
1. Start with Simple Patterns: Choose beginner-friendly patterns to practice. Patterns like A-line dresses or basic shift dresses are simple to make and don’t require complicated techniques.
2. Use the Right Fabric: When you’re learning, it’s best to work with fabrics that are easy to handle, like cotton or linen. These fabrics are stable and easy to sew. Avoid stretchy or slippery fabrics.
3. Take Accurate Measurements: Before you start cutting your fabric, make sure you take accurate measurements of your body. Measure your bust, waist, hips, and length to ensure your dress fits properly.
4. Use Quality Tools: Good tools make a big difference. Invest in a sharp pair of fabric scissors, a measuring tape, and high-quality pins. These tools will help you cut and sew your fabric more precisely.
5. Practice on Scrap Fabric: If you’re trying out a new technique or pattern, practice on scrap fabric first. This will help you get comfortable with the process before working on your final piece.
6. Stay Organized: Keep your fabric pieces, pattern pieces, and tools organized as you sew. This will help you avoid mistakes and keep your project on track. Use containers or a dedicated sewing space to keep everything in order.
With these tips, you’ll feel more confident as you start your dressmaking process.
Conclusion
Dressmaking is a rewarding skill that allows you to create custom-made clothing that fits perfectly and reflects your personal style. You can build your confidence and sewing skills by starting with simple patterns and fabrics, taking accurate measurements, and practicing basic techniques.
Remember, dressmaking takes time and patience, so don’t be discouraged by mistakes. Each project is an opportunity to learn and improve. As you gain experience, you’ll be able to tackle more complex patterns and experiment with different styles and fabrics.
Most importantly, have fun with the process! Dressmaking is a creative and enjoyable hobby that lets you express yourself through fashion. Whether you’re making a casual dress for everyday wear or a special occasion, dressmaking will improve your wardrobe.
Frequently Asked Questions
Do I need a sewing machine to make a dress?
While a sewing machine makes the process faster and more efficient, you can also sew by hand, especially for smaller details or beginner.
How do I choose the right pattern for my first dress?
Start with a simple, beginner-friendly pattern, such as an A-line dress or a shift dress, that has easy-to-follow instructions and doesn’t require complex techniques.
How do I know which size pattern to choose?
Refer to the sizing chart on the pattern. Compare your measurements to the chart and choose the size that matches your bust, waist, and hip measurements.
What is a seam allowance?
A seam allowance is the extra space you leave around the edges of your fabric pieces before sewing them together. It’s typically around 5/8 inch, but this can vary depending on the pattern.
What should I do if the dress pattern doesn’t fit perfectly?
Make adjustments to the pattern by adding or removing fabric, especially in the waist, bust, or hips, to make the fit more comfortable. You can also take the dress in or out after sewing.
Where can I find inspiration for dressmaking?
Look for inspiration on sewing blogs, Pinterest, and fashion magazines or by exploring the work of other dressmakers on social media platforms like Instagram or YouTube.


