Have you ever seen an artist create a perfect copy of a photo? I bet they used grid painting.
Grid painting is a technique where you divide your reference image into squares and then copy each square onto your canvas. It’s like solving a puzzle, one piece at a time.
This method has been around for centuries. Even Renaissance masters used it! Why? Because it works.
Grid painting helps with:
- Getting proportions right
- Scaling images up or down
- Breaking complex images into manageable parts
I love this technique because it works for everyone. If you’ve never picked up a brush or you’ve been painting for years, grid painting can level up your art.
You don’t need fancy supplies to start grid painting. Here’s what I use:
Essential Supplies:
- Canvas or paper
- Pencil (make it light)
- Ruler
- Eraser
- Paint (acrylics, oils, or watercolors)
Optional Tools:
- Grid transfer paper (saves time)
- Projector (for big projects)
- Digital apps (for creating grids easily)
The best part? Most of these items are probably already in your home.
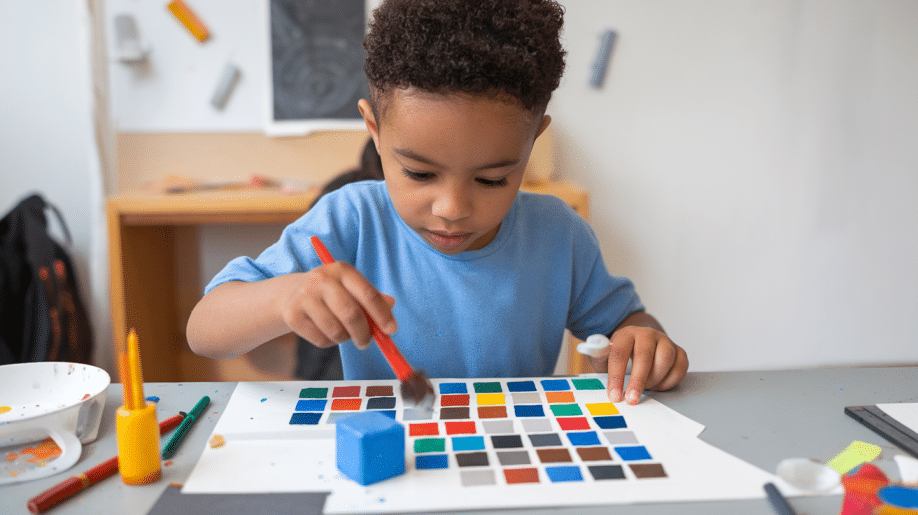
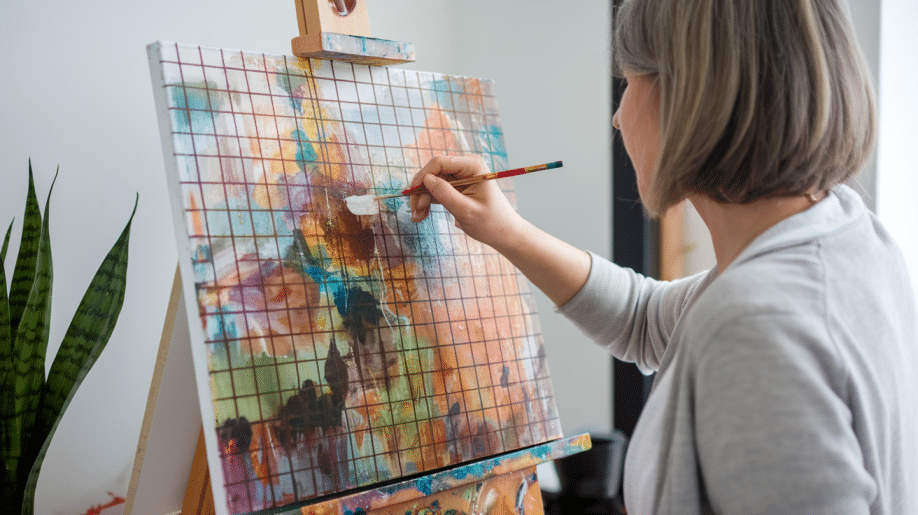
Step-By-Step Guide to Grid Painting
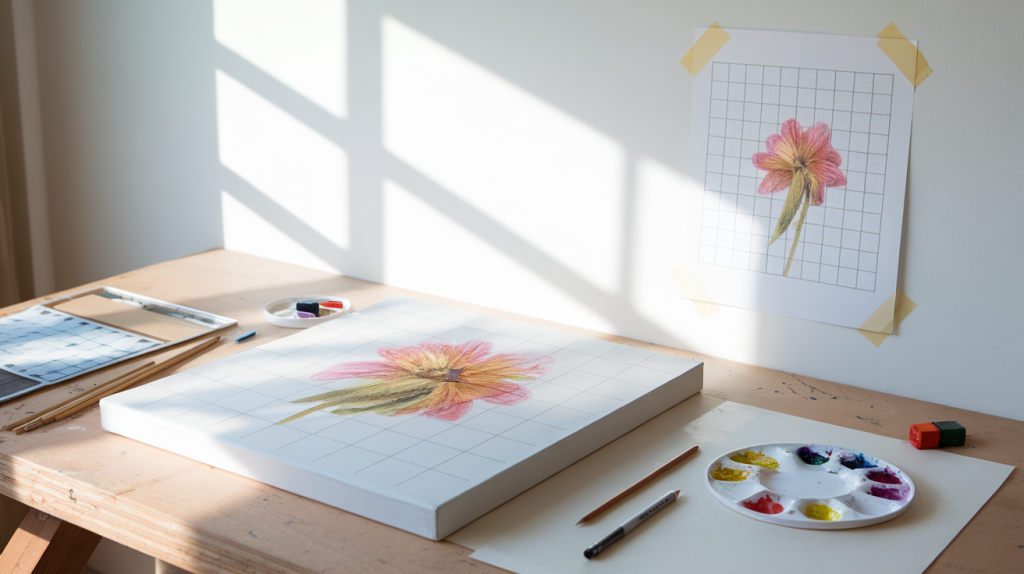
Grid painting breaks down complex images into manageable squares. Start by drawing a light grid over your reference image and a matching grid on your canvas.
Let’s go through the steps to successfully create your own grid painting.
1. Choosing Your Reference Image
Not all images work well for grid painting.
I always look for clear and high-quality images. A good contrast between light and dark, and the subject I’m excited to paint.
Pro tip: Print your reference image if possible. It’s easier to draw grid lines on paper than on a screen.
2. Creating the Grid
This is where the magic begins.
Take your reference image and draw evenly spaced lines across it, creating squares. I usually make my squares about 1 inch apart, but you can adjust based on your image detail.
The more squares you have, the more detail you can capture. But more squares also means more work.
3. Transferring the Grid to Your Canvas
Now, create the same grid on your canvas.
If your canvas is bigger than your reference, make the squares proportionally larger. For example, if your canvas is twice as big, make each square 2 inches.
Keep your pencil lines light. You’ll erase them later.
4. Drawing the Outline
Here’s my secret: Focus on one square at a time.
Look at what’s in square A1 of your reference. Draw only what you see in that square on your canvas.
Then, move to the next square. Don’t worry about the whole picture yet. Your brain finds it easier to copy small sections than an entire image at once.
5. Painting the Grid
Once your outline is complete, start painting.
I follow these steps: first, start with background colors, then add main shapes and forms, and then finish with details and highlights.
Remember to blend where squares meet. You don’t want your painting to look like a checkerboard!
Tips and Tricks for Mastering Grid Painting
Grid painting is a fantastic technique that helps artists maintain accuracy and proportion while creating detailed artwork.
If you’re a beginner or an experienced artist, these tips and tricks will help you refine your grid painting skills and achieve good results.
Maintaining Proportions
Your grid is your map. If something looks off, double-check your grid lines. The grid doesn’t lie.
For faces and other tricky subjects, I sometimes use even smaller grid squares in those areas.
Color Matching
Getting colors right can be tough. I squint at both my reference and canvas to compare them.
Mix your colors before applying them. Test them on scrap paper first.
Patience and Practice
Grid painting takes time. My first attempt took twice as long as I expected.
Don’t rush because each square deserves attention. With practice, you’ll get faster without losing accuracy.
Common Mistakes to Avoid:
I’ve made plenty of mistakes. Learn from mine:
- Making grid lines too dark (they show through paint)
- Creating uneven grid squares (throws off proportions)
- Rushing through boring sections (they still matter!)
- Getting lost in details too early (start with general shapes)
Advanced Grid Painting Techniques
Once you master the basics, try these advanced techniques:
Using Digital Tools
Apps like Procreate or Photoshop can create grids automatically.
I sometimes take a photo of my canvas and overlay the reference grid digitally to check my progress.
Large-Scale Grid Painting
Want to paint a mural? Grid painting scales beautifully.
For huge projects, I use string or tape to mark grid lines on walls.
Combining Grids with Other Techniques
The grid is just the beginning. I often:
- Use grids for the outline, then switch to glazing techniques
- Create abstract backgrounds with grid-based foregrounds
- Use grids for only the complex parts of my painting
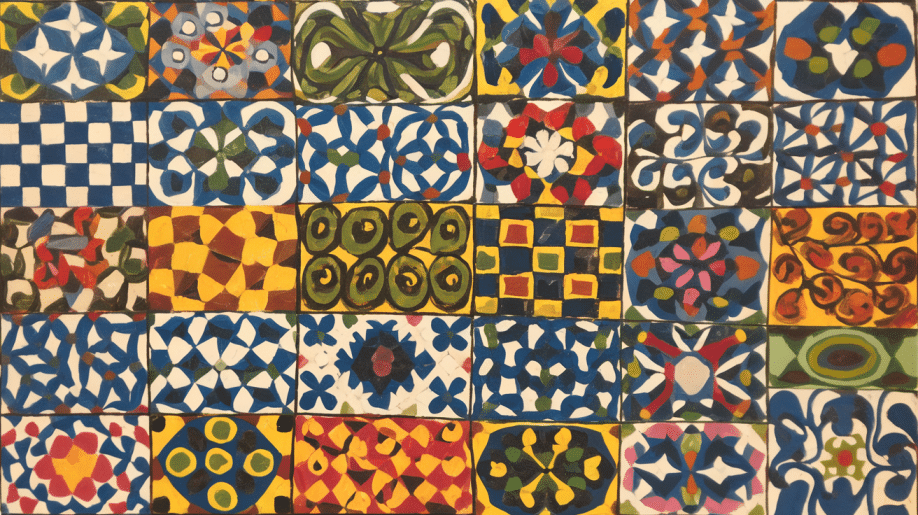
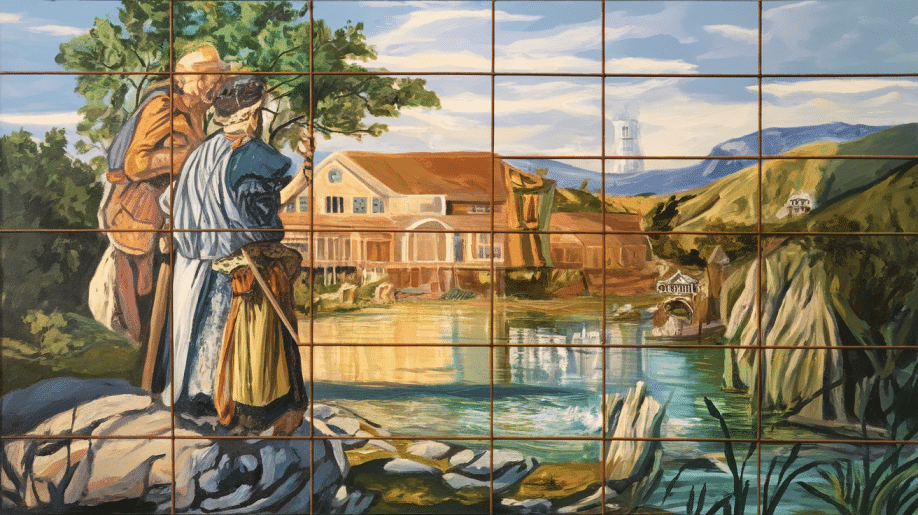
Inspiring Examples of Grid Painting
Grid painting is a technique that artists use to create structured, balanced, and often highly detailed compositions.
Whether used for realism, abstraction, or experimental designs, grids provide a framework that enhances precision and creativity.
I love the way color blocks create harmony. Each square holds its own shade, but together, they tell a bigger story. You can try bold contrasts or gentle gradients.
The key is balance. A grid makes colors pop while keeping things neat. Experiment with warm vs. cool tones or light vs. dark shades for impact.
Playing with Patterns
Patterns break the ordinary. Stripes, dots, or swirls—each one adds movement. I mix and match for a playful effect. You don’t need perfection.
Organic shapes inside a grid create interest. Try repeating one pattern across squares or making each section unique. Unexpected combinations often lead to the best results.
Portraits in a Grid
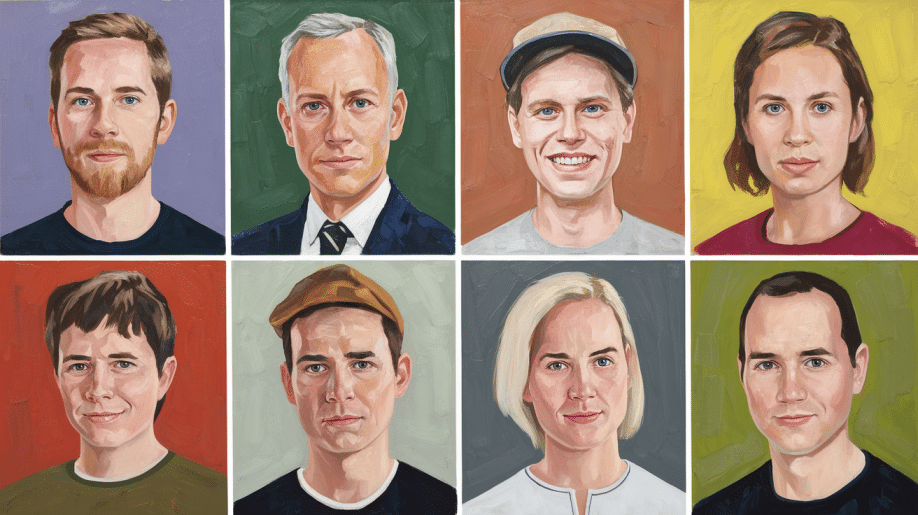
Portraits don’t need smooth lines. A grid-based face looks modern and fresh. I use separate squares for features.
Some hold just a single color; others contain details. You can play with pixel-like designs or go abstract. It’s surprising how a few well-placed marks still resemble a person.
Nature in Sections
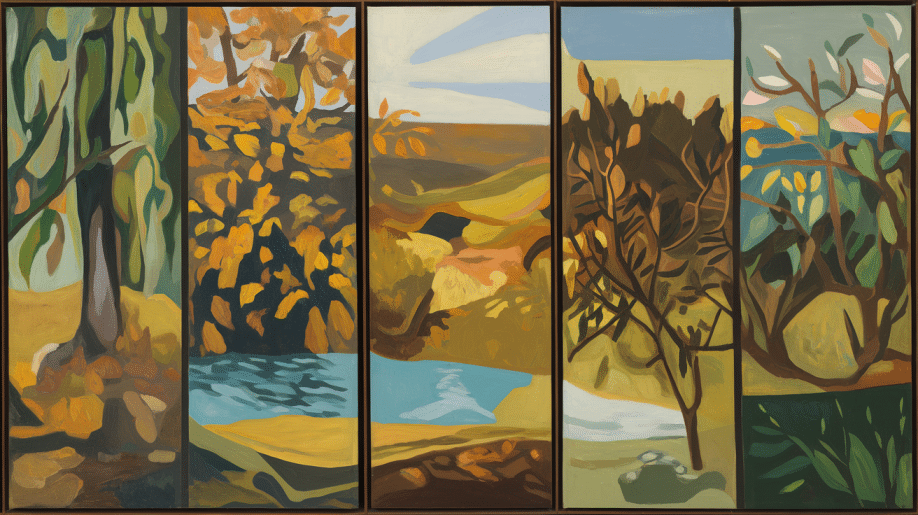
Breaking nature into squares makes it more striking. I paint leaves, waves, or sunsets in divided blocks. Each square tells part of the scene.
You can focus on textures—like tree bark or water ripples—and exaggerate them. This method makes nature feel both real and artistic.
Storytelling Through Grids
A grid can hold a whole story. Each section is a snapshot of a bigger picture. I use different frames for a timeline effect or shift colors to show mood changes.
You can experiment with mini-scenes in each box or let the image connect across all squares.
Playing with Perspective
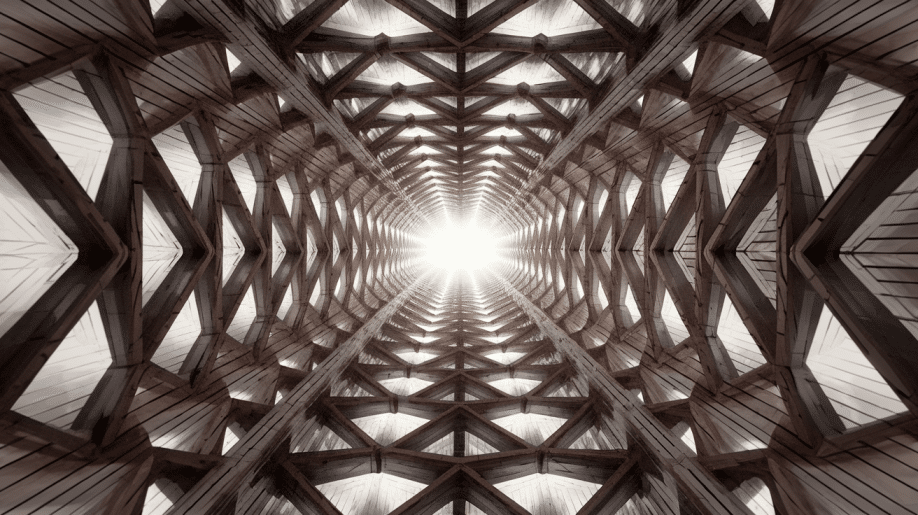
Grids don’t have to be flat. I tilt them, stretch them, or make some boxes bigger than others. This tricks the eye and adds depth.
You can create illusion effects—like a tunnel or a 3D cube. Overlapping grids also make layers more exciting.
Mixing Mediums
Why stick to one material? I combine paint with collage, ink, or digital tools. You can mix in textures, fabrics, or newspaper clippings.
Some squares can be smooth, others rough. The contrast keeps the grid lively. Let your creativity flow with unexpected combinations.
Grids as a Creative Challenge
A grid can feel like a puzzle. Each box is a piece, and it’s up to me to make them fit.
You can turn a grid into a personal challenge—limit colors, try only lines, or use a single brushstroke per square. The constraints often push creativity further than endless freedom.
Conclusion
Grid painting changed my art journey. It gave me the confidence to tackle subjects I thought were beyond my skill level.
The best part? Anyone can do it. You don’t need special talent—just patience and practice.
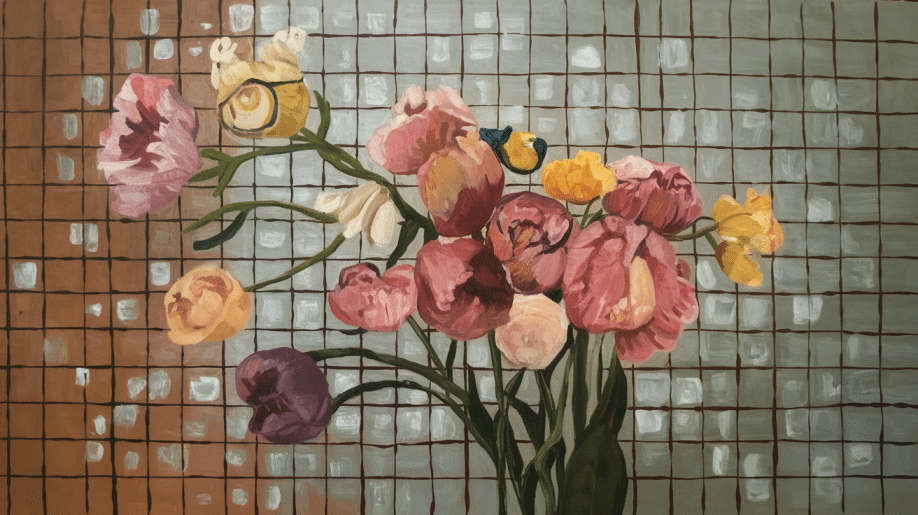
Why not try a small grid painting this weekend? Start with something simple, like a flower or fruit.
I’d love to see what you create! Share your grid painting projects in the comments below.
What subject will you tackle first with this technique?
Frequently Asked Questions
Is Grid Painting only For Beginners?
I still use grids, and I’ve been painting for years. Grid painting is like using a ruler for straight lines. It’s a tool, not a crutch.
Can I Use Grid Painting for Digital Art?
Most digital art programs have grid options built in. I find it especially useful when working with a drawing tablet.
How Do I Choose the Right Grid Size?
It depends on your painting. For detailed work like portraits, I use small grids (½-inch squares). For landscapes or simpler subjects, larger squares (1-2 inches) work fine.
What if My Grid Lines Show Through the Paint?
Draw your lines super lightly. Erase as you go and add an extra layer of paint for coverage. Use a tiny bit of white to cover stubborn lines.
Can I Use Grid Painting for Abstract Art?
I use grids to plan abstract compositions. Grids help create balanced designs even when the final piece looks free-form.