Does the Kitchener stitch make you want to hide your knitting needles forever? You’re not alone. This invisible seaming technique has tripped up countless knitters, but it doesn’t have to be your nemesis.
In this guide, I’ll teach you how to master the Kitchener stitch with a foolproof method that will stick in your memory. No more hunting for tutorials whenever you need to finish a toe or join pieces.
I’ve been teaching knitting for over a decade, and the Kitchener stitch is the skill my students struggle with most. The memory tricks I share have helped hundreds of frustrated knitters finally conquer this technique.
By the end of this article, you’ll know:
- The simple rhyme that makes Kitchener impossible to forget
- How to spot and fix common mistakes
- When to use Kitchener
- Ways to practice that build muscle memory fast
Ready to make the Kitchener stitch your new superpower?
What is the Kitchener Stitch?

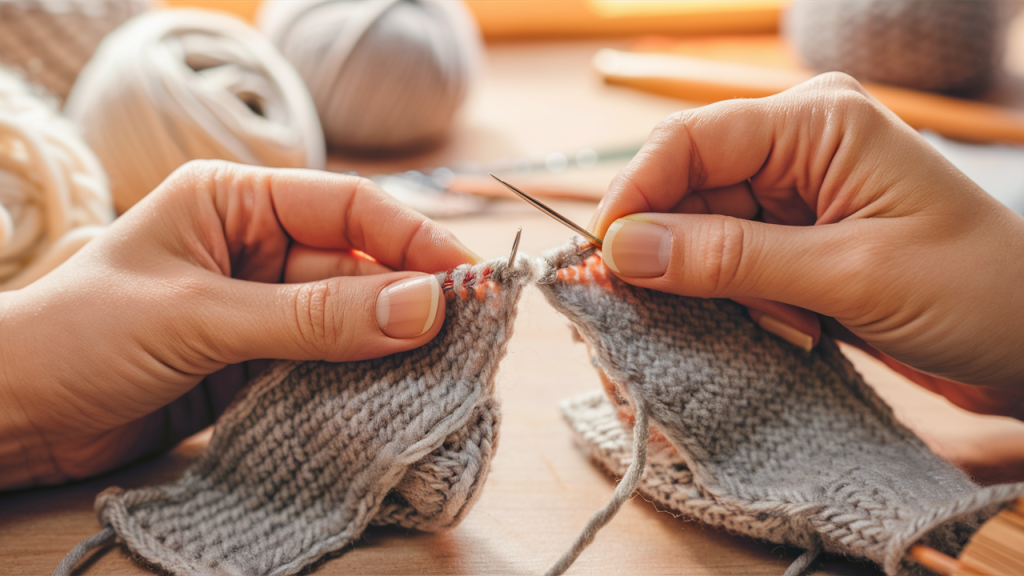
The Kitchener stitch (also called grafting) is a special technique that joins two pieces of knitting with an invisible seam. Unlike regular seaming methods, it creates a seamless connection that looks like the stitches flow into each other.
I first learned this stitch when making socks. It’s how you close the toe without a bumpy seam that would hurt your feet. But that’s not all it can do!
You might use the Kitchener stitch for:
- Closing toe seams on socks
- Joining the shoulders of a sweater
- Connecting pieces of a stuffed toy
- Finishing the top of a hat knit flat
Think of it as magic that makes two separate pieces become one. Once you learn it, you’ll find yourself using it everywhere.
Tools and Materials Needed
You don’t need fancy equipment for the Kitchener stitch. You probably already have everything on hand:
- Tapestry needle (also called a darning needle)
- Yarn that matches your project
- Your knitted pieces are ready to join
- Scissors
- Good lighting
- A bit of patience
The tapestry needle is the star of the show here. Make sure it has an eye big enough for your yarn but isn’t so large that it distorts your stitches.
Pro tip: I always keep a small magnetic needle case in my knitting bag. Nothing slows you down like hunting for a lost needle!
Step-by-Step Instructions
1. Setup Phase
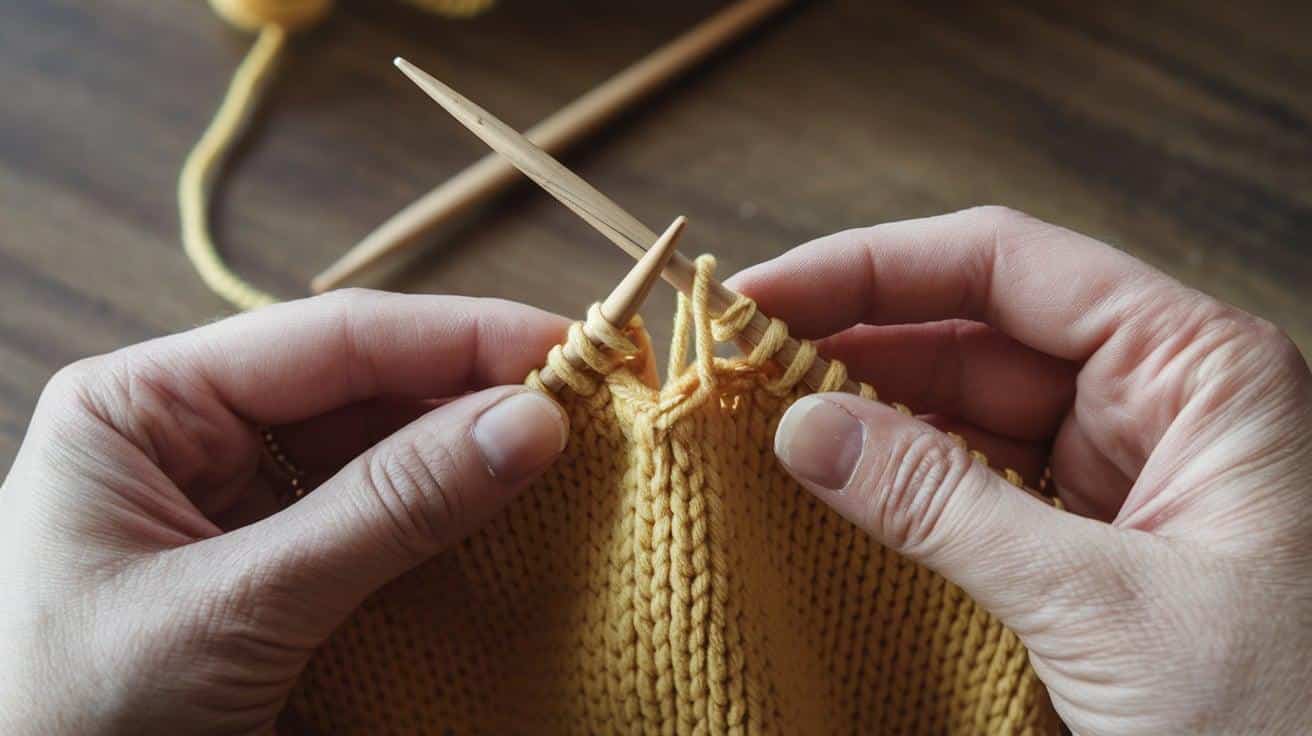
Arrange your work with the needles parallel to each other. Thread your tapestry needle with a tail three times the length of your seam. Hold the needles so the points face right and the yarn tail hangs from the back needle.
Before beginning the actual seam, take a moment to ensure your tension is consistent and your stitches are aligned properly across both needles. This alignment is crucial for creating an invisible join that will look seamless in your finished project.
If working with a particularly slippery yarn, you might want to place your work on a non-slip surface or lap cloth to prevent shifting while you’re joining the pieces together.
2. Starting Phase
Insert the tapestry needle into the first stitch on the front needle as if to purl. Pull the yarn through, leaving a stitch on the needle. Insert the tapestry needle into the first stitch on the back needle as if to knit. Pull the yarn through, leaving a stitch on the needle.
This process creates a smooth, nearly invisible join that mimics the natural flow of stitches in your knitting. Take care to maintain even tension as you work through each stitch pair to ensure your toe seam lies flat and comfortable against your foot.
For best results, work in good lighting and take your time with each stitch, as rushing through this final step can compromise the comfort and appearance of your finished sock.
3. Main Pattern Phase
Work through both needles in this rhythm: On the front needle, first knit and slip off, then purl and leave on. On the back needle, first purl and slip off, then knit and leave on.
Keep repeating this sequence—front knit-off, front purl-on, back purl-off, back knit-on—until you have just one stitch left on each needle. This consistent pattern creates the invisible seam that makes the Kitchener stitch special.
4. Finishing Phase
Work through the front needle with a knitting motion for the final stitches while removing the stitch. Then, move to the back needle, using a purling motion to remove the last stitch. Finish by weaving in the remaining yarn tail to secure your beautiful, invisible seam.
Take breaks if you need to. The Kitchener stitch requires focus, especially at first. Many knitters find it helpful to practice this technique on scrap yarn before applying it to your finished sock project. The rhythm of “knit, slip off, purl, leave on; purl, slip off, knit, leave on” can be challenging to memorize initially, but with practice, it becomes second nature.
Don’t be discouraged if your first attempt isn’t perfect – even experienced knitters sometimes need to rip back and try again to achieve that perfectly seamless toe.
Memory Tricks and Mnemonics
So many knitters struggle with Kitchener because they can’t remember the pattern. Let’s see some tricks that worked for my students and me:
The Knitter’s Rhyme: “Front purl, slip. Front knit, leave. Back knit, slip. Back purl, leave.”
Think of it as “KPKP”:
- Knit the purls
- Purl the knits
The “In-Out” Method:
- Front needle: In front, out back
- Back needle: In back, out front
My favorite is the “Opposite Day” trick: If the stitch looks like a knit stitch, you purl into it. If the stitch looks like a purl stitch, you knit into it.
Pick the one that clicks for your brain. We all learn differently!
Practicing the Kitchener Stitch
Don’t wait until you’re finishing an important project to try this technique. Practice makes permanent.
Here’s how I suggest you practice:
- Cast on 10 stitches on two separate needles
- Work a few rows of stockinette stitch on each
- Practice joining them with the Kitchener stitch
- Repeat until you can do it without looking at the instructions
Try this while watching TV to build muscle memory. Before long, your hands will know what to do even if your brain takes a break.
Use a light, solid color of scrap yarn to see what’s happening. Dark or fuzzy yarns make learning harder.
Troubleshooting Common Issues
Even experienced knitters hit snags with the Kitchener stitch. Here are fixes for common problems:
1. The seam is Too Tight
- Cause: Pulling yarn too hard between steps
- Solution: Keep tension similar to your knitting tension
- Fix: If already too tight, try gently stretching the seam horizontally
2. The Seam Is Too Loose
- Cause: Not maintaining consistent tension
- Solution: Give a gentle tug after each stitch
- Fix: Thread the needle back through the loose areas to take up slack
3. Lost Track of Position
- Cause: Distraction or interruption
- Solution: Look at where your yarn comes from
- Fix: Use a small safety pin to mark your last completed step
4. Visible Bumps Along Seam
- Cause: Incorrect stitch sequence or twisted stitches
- Solution: Double-check that you’re following the right order
- Fix: Undo back to the mistake and restart from there
5. Different Number of Stitches on Each Needle
- Cause: Miscounting or dropped stitches
- Solution: Count before you start
- Fix: Add or decrease stitches to make counts match before grafting
Don’t panic if you make a mistake! You can always undo the Kitchener stitch by carefully pulling out the yarn and trying again.
Advanced Tips and Variations
1. Ribbing Variation
When joining ribbed fabric, match the stitch type:
- For knit stitches: Front knit-off, knit-on; Back purl-off, purl-on
- For purl stitches: Front purl-off, purl-on; Back knit-off, knit-on
2. Garter Stitch Method
For garter stitch, use this simpler pattern:
- Front: Purl-off, knit-on
- Back: Purl-off, knit-on
3. Color Changes
When grafting pieces with different colors:
- Use the destination color (the color of the stitches you’re entering)
- Change yarns at the midpoint of your grafting for clean transitions
5. Quick Grafting for Small Seams
For tiny seams under 10 stitches:
- Thread through all front stitches as if to purl
- Thread through all back stitches as if to knit
- Adjust tension as you remove stitches from needles
5. Provisional Cast-On Trick
Start with a provisional cast-on if you know you’ll be Kitchering later:
- Cast on provisionally
- Knit your piece
- Unzip the provisional cast-on onto a needle
- Graft to your second piece for a perfectly seamless join
Conclusion
You’ve done it! You now know how to master the Kitchener stitch.
This technique might seem tricky at first. But with practice, it becomes second nature. Remember to start slow and be patient with yourself. The invisible seam you create will make your projects look professionally finished—no more bumpy toes on socks or awkward seams on sweaters.
Keep these tips handy for your next project:
- Use the memory trick that works best for you
- Practice on scrap yarn before trying it on a real project
- Keep your tension even throughout
Happy knitting! Your newfound Kitchener stitch skills will serve you well for years to come. Soon, you’ll be the friend others turn to for help with this magical technique.
Frequently Asked Questions
Can I Use the Kitchener Stitch on Ribbing or Other Textured Stitches?
Yes, you can use Kitchener on any stitch pattern. You must match your grafting to the pattern by changing which stitches you knit or purl into.
How Do I Fix It if My Kitchener Seam Is Too Tight?
Don’t pull the yarn tight after each step. If it’s too tight, gently stretch the seam sideways, undo it, and try again with looser tension.
Will the Kitchener Stitch Work with Bulky Yarn?
The Kitchener stitch works with any yarn weight. Use a tapestry needle with an eye big enough for your bulky yarn to pass through easily.
Do I Need to Block My Work Before Doing the Kitchener Stitch?
You don’t need to block first. The Kitchener stitch works better on live stitches that haven’t been blocked, as they’re more even and easier to see.
How Do I Know if I’m Doing the Kitchener Stitch Correctly?
The right side of your work should look like a perfect row of knit stitches. If you see bumps or gaps, you might be working the steps in the wrong order.


