

In this article, you’ll learn a complete system for transforming your chaotic art space into an organized creative haven. I’ll show you seven simple steps for arranging your supplies, essential organization tools, and common mistakes to avoid.
I’ve spent 15 years teaching art and organizing studios of all sizes. The methods I’m sharing have helped hundreds of my students and workshop participants reclaim their creative spaces.
Whether you’re setting up a new art room or rescuing an existing one from clutter, these practical solutions will save you time, money, and frustration. Imagine walking into your art space and finding exactly what you need when you need it.
Let’s turn your art room into a space that inspires rather than overwhelms.
Step-by-Step Guide to Organizing Your Art Room
Organizing your art room doesn’t have to be overwhelming. A clear system will save time, keep your space clutter-free, and make creating more enjoyable.
Follow these steps to turn your workspace into a well-organized, inspiring area.
Step 1- Clear the Clutter
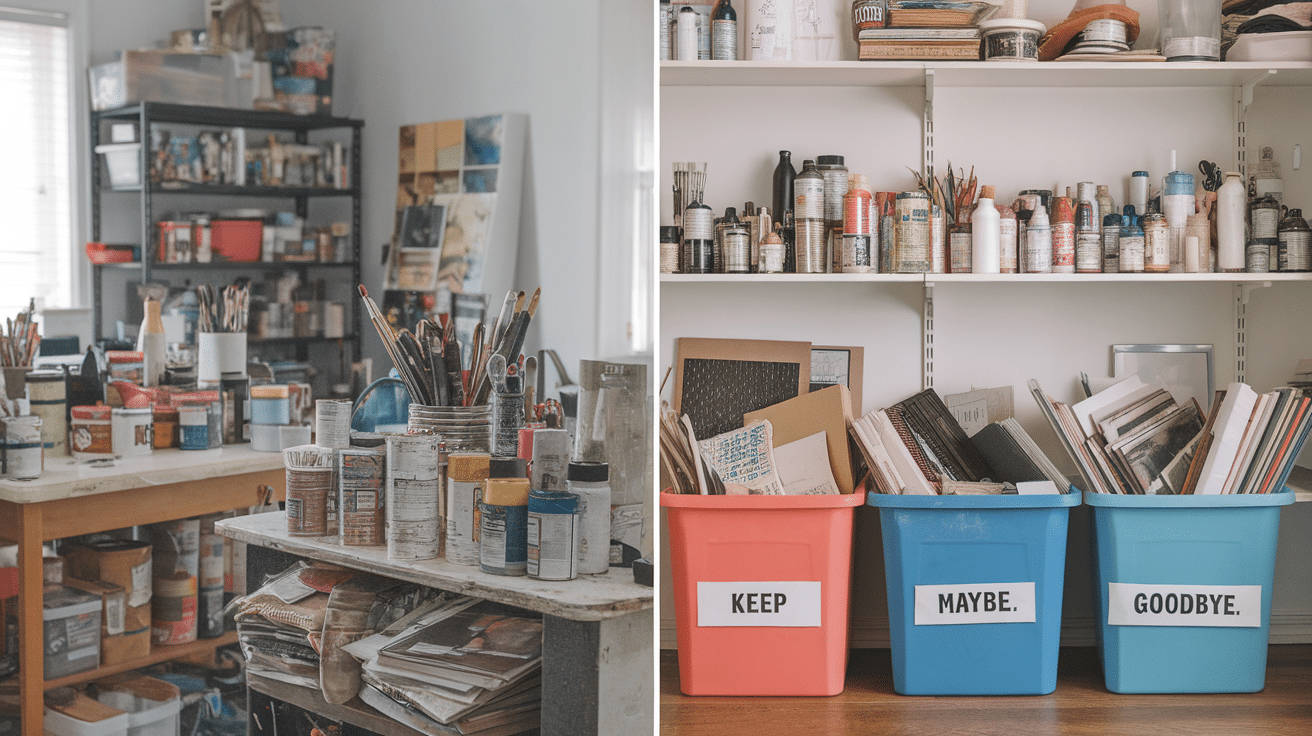
First things first – let’s get rid of what you don’t need.
I spent a whole weekend sorting through years of accumulated art supplies. It was tough but freeing!
Pull everything out and make three piles:
- Keep (things you use regularly)
- Maybe (review these again in 6 months)
- Goodbye (donate, recycle, or toss)
Be ruthless. That dried-up paint from 2019? It’s time to let go.
Step 2- Plan Your Layout
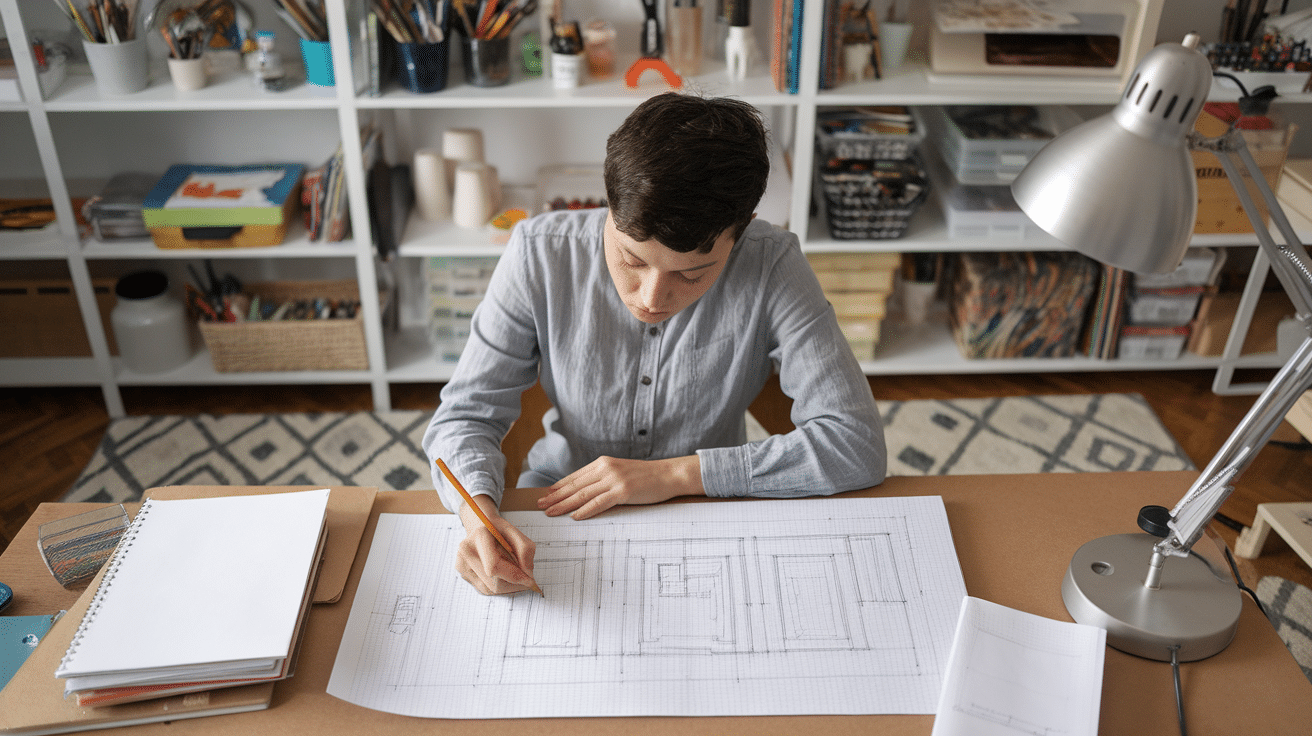
Think about how you actually work, not how you think you should work.
I’m right-handed, so I keep frequently used tools on my right side. Where do you naturally reach when working? Place things accordingly.
Map your space on paper first.
Consider:
- Natural light sources
- Electrical outlets
- Water access (if needed)
- Traffic flow around your workspace
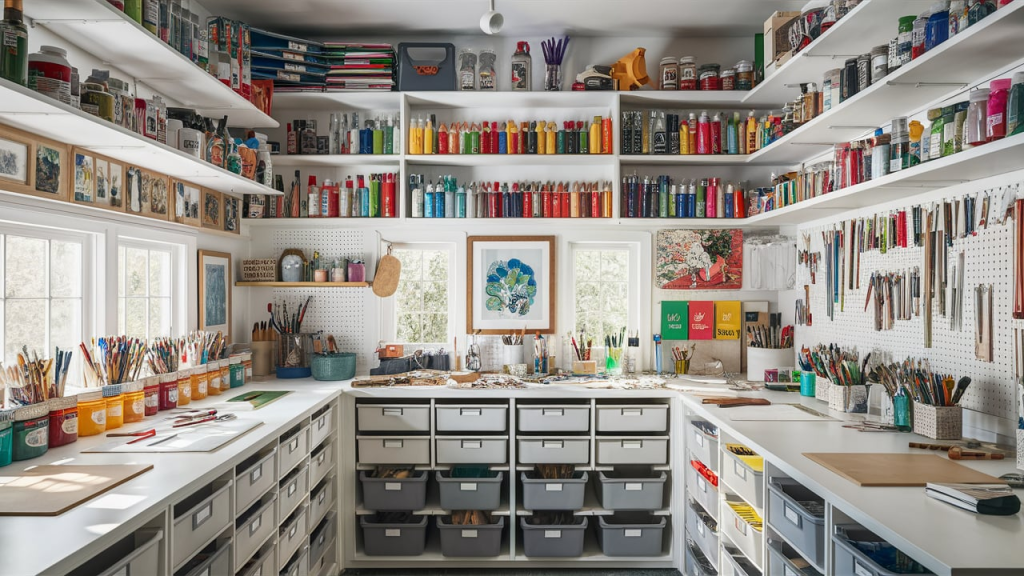
Step 3- Smart Storage Solutions
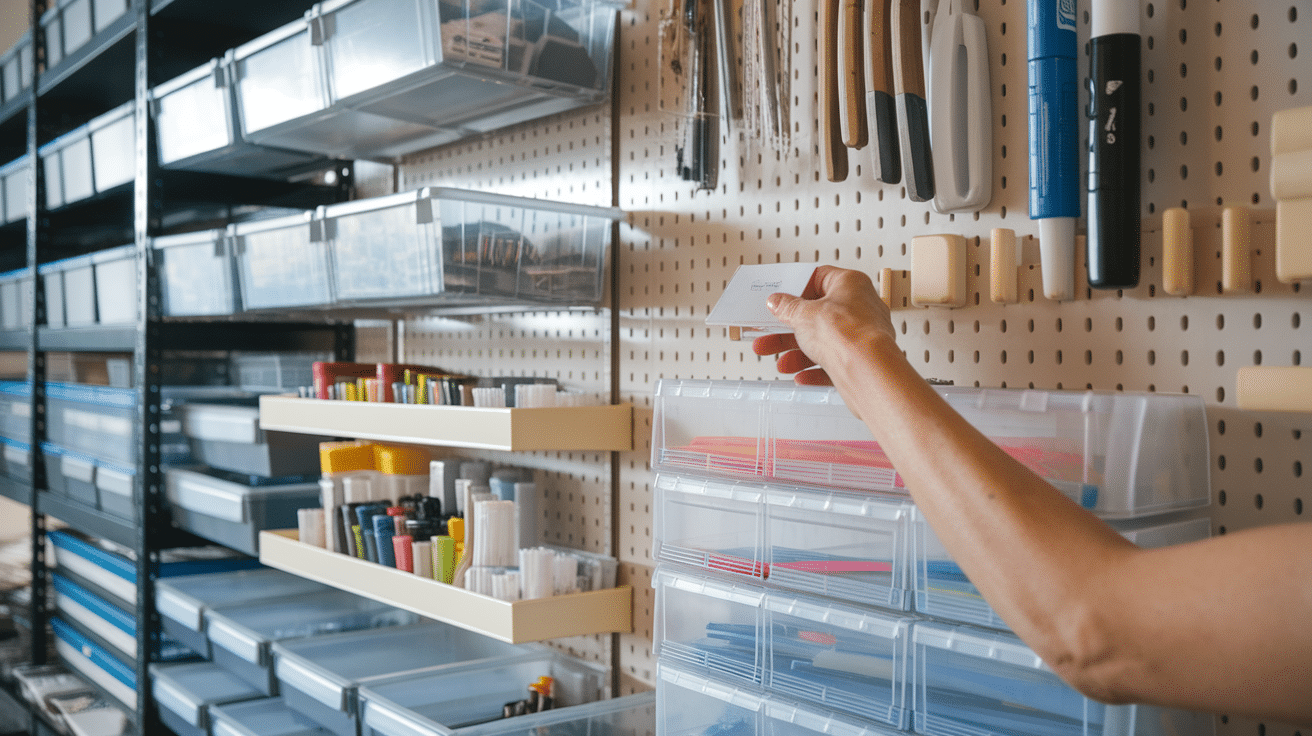
You don’t need fancy systems – just thoughtful ones.
My favorite storage hack is clear containers. When I can see what’s inside, I’m more likely to use it. Label everything, even if it seems obvious now.
Vertical space is your friend. Install shelves, pegboards, or hanging organizers to maximize every inch.
Step 4- Organize by Category

Group similar items together. This seems obvious, but it makes a huge difference.
I organize by:
- Medium (paints, pencils, markers)
- Color families
- Project types
- Frequency of use
Keep your most-used supplies within arm’s reach and store seasonal or special-occasion items further away.
Step 5- Set Up a Clean-Up System
Make cleaning as easy as creating.
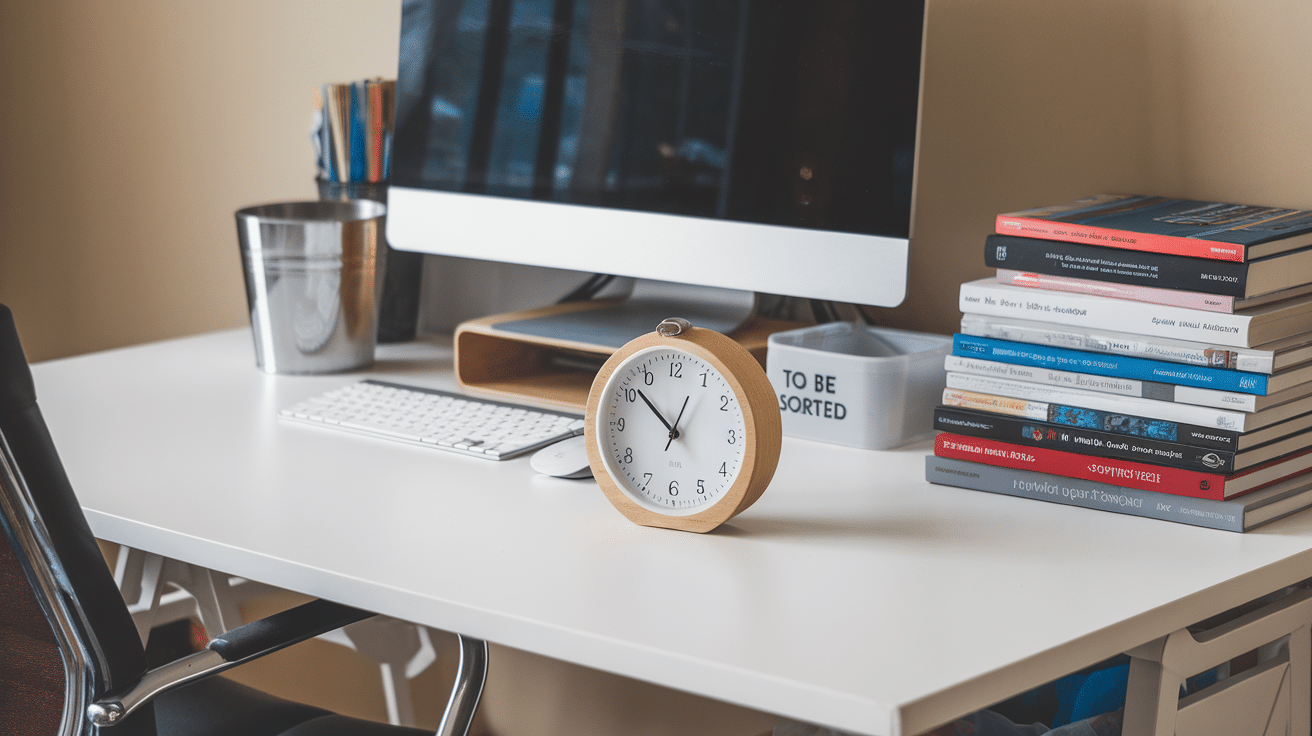
I keep a small trash can right next to my desk and a “to be sorted” bin for items I use during a session but don’t have time to put away properly.
Set a timer for 10 minutes at the end of each art session to dedicate to cleaning up. Your future self will thank you.
Step 6- Personalize Your Space

This is where the fun begins!
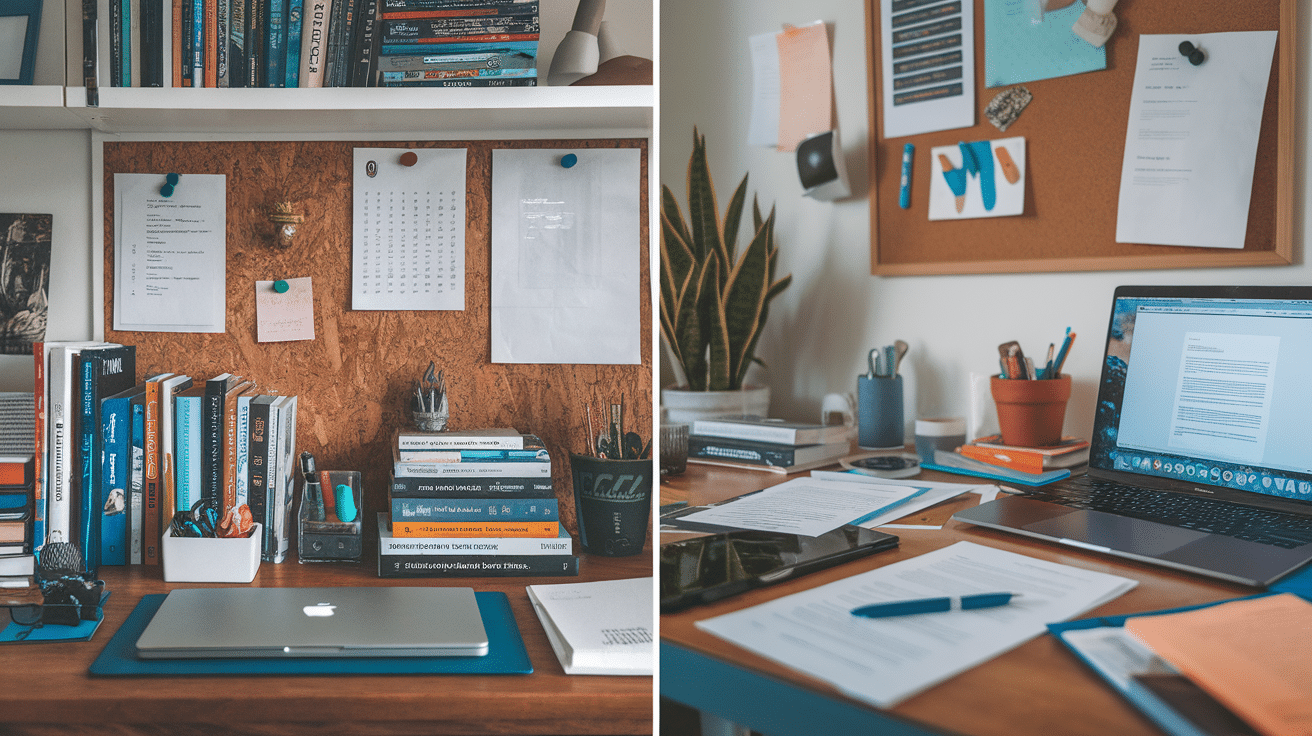
My workspace features a wall of inspiration – pictures, quotes, color palettes I love. This isn’t just decorative; it’s functional inspiration.
Add elements that:
- Inspire you
- Make you comfortable
- Reflect your artistic style
- Energize your creativity
Step 7- Maintain the Organization
The hardest part isn’t getting organized – it’s staying organized.
I do a mini-reset every Friday afternoon. This regular maintenance prevents the need for another massive overhaul.
Schedule monthly check-ins to evaluate what’s working and what needs tweaking.
Must-Have Tools for an Organized Art Room
You don’t need to break the bank to stay organized.
Here are my essentials:
- Clear bins and containers – They show contents at a glance
- Label maker (or masking tape and marker) – Label everything!
- Pegboard – For hanging tools and creating flexible storage
- Desktop organizers – For corralling small items
- Rolling cart – For supplies that need to move around
- Good lighting – You can’t organize what you can’t see
- Clock or timer – To help manage clean-up time
Common Mistakes to Avoid When Organizing
I’ve made plenty of organizational blunders over the years.
Learn from my fails:
- Buying storage before sorting: Figure out what you have first, then buy containers that fit your needs.
- Creating systems that are too complicated: If it takes five steps to put something away, you won’t do it.
- Organizing for Instagram, not real life: Those perfect color-coded shelves look amazing but may not be practical for daily use.
- Forgetting workflow: Organize based on how you actually create, not some idealized process.
- Trying to do it all at once: Break the process into manageable chunks to avoid burnout.
Conclusion
Organization isn’t about perfection—it’s about creating freedom for your creativity to flow. When your supplies have homes, your mind has room to explore radial symmetry and other artistic concepts.
Start with one small area today. Maybe it’s your paintbrushes or colored pencils. Small victories build momentum.
The best system is one you’ll actually use. What works for Instagram stars might not work for you. Trust your creative instincts.
The true test? When you walk into your art room feel excitement instead of dread. When ideas flow, clutter no longer blocks your path.
Your organized art space is waiting. What masterpiece will you create first?
Frequently Asked Questions
What’s the Best Way to Organize Paints?
By type first (acrylic, watercolor, oil), then by color family.
How Should I Handle Inherited or Gifted Art Supplies?
Test them first to ensure they still work properly. Keep only what fits your current artistic style and donate the rest to schools or community centers.
What’s the Best Lighting for An Art Room?
Natural light is ideal, supplemented with full-spectrum bulbs (5000K). Position your workspace to avoid casting shadows on your work area.
Should I Separate Teaching Supplies from Personal Art Supplies?
Yes! Keep teaching materials in clearly labeled bins separate from your work. This prevents frustration when preparing for classes or workshops.
How Do I Create an Organization System I’ll Actually Stick With?
Build habits by connecting the organization to existing routines. For example, always clean brushes before lunch or sort papers while listening to your favorite podcast.


