


Have you tried knitting but only know the basic knit stitch? Learning the purl stitch is your next big step! As a knitter for over 10 years, I remember how the purl stitch seemed tricky at first.
The purl stitch is simply the opposite of the knit stitch, but it opens up so many options for your projects. With just knit and purl, you can create textured patterns like ribbing, seed stitch, and moss stitch.
Many beginners find purl stitches confusing or awkward to hold. Don’t worry – I felt the same way. In this guide, I’ll show you exactly how to make clean, even purl stitches using clear photos and simple steps.
You’ll learn proper hand positions, common mistakes to avoid, and easy ways to fix errors. By the end of this article, you’ll feel comfortable adding this essential technique to your knitting skills.
Knitting Supplies and Materials
Before we start with purl stitching, let’s talk about what you’ll need. The good news is that you don’t need anything fancy to learn this skill.
Basic Supplies
- Medium-weight yarn (worsted weight is perfect for beginners)
- Knitting needles (size US 7-9 work well with medium yarn)
- Scissors
- Tapestry needle (for weaving in ends later)
- Stitch markers (optional but helpful)
Picking Your Yarn
I suggest starting with a light-colored, smooth yarn. Why? Dark or fuzzy yarns make it hard to see your stitches as you learn.
Cotton or wool-blend yarns are my top picks for beginners. They’re not slippery like pure wool can be, and they hold their shape well.
Avoid yarn that’s too thin or too thick for your first purl project.
The medium weight strikes the right balance between ease of handling and the ability to see what you’re doing.
Choosing Needles
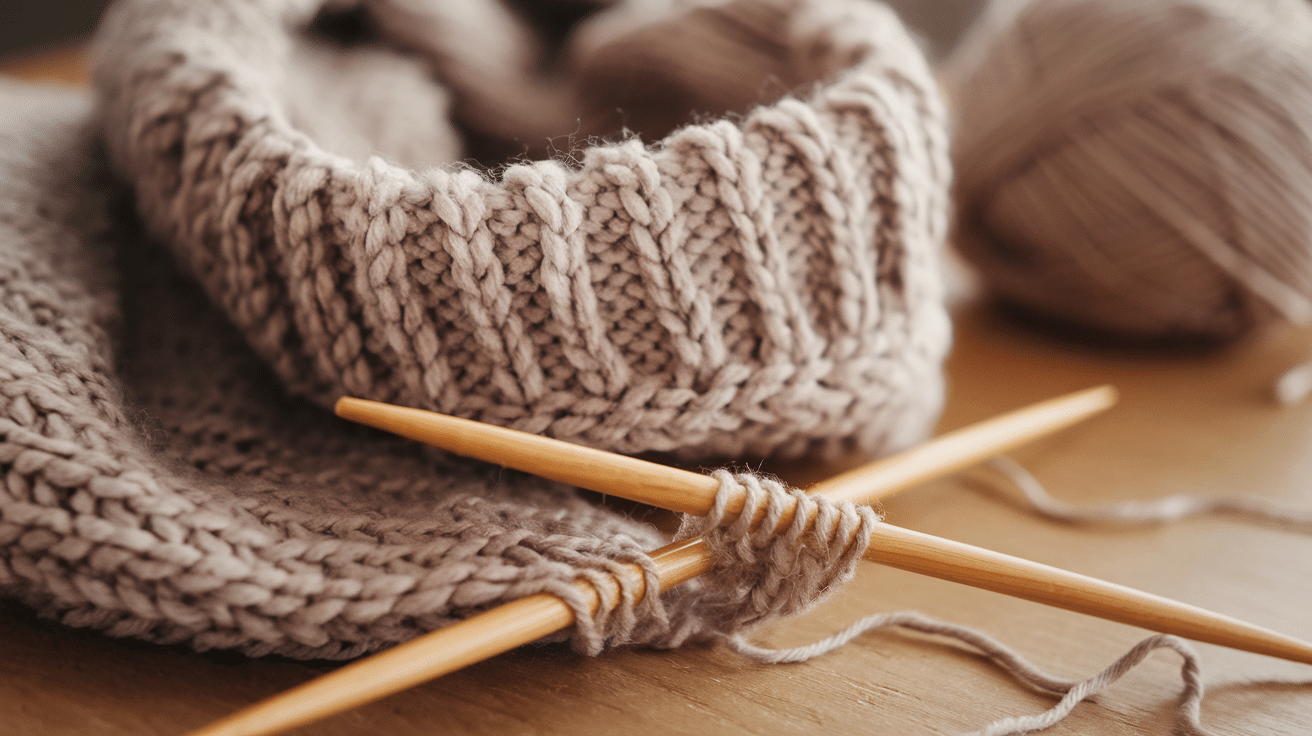
For your first purl practice, wooden or bamboo needles are best. They grip the yarn better than metal or plastic, so your stitches won’t slip off as easily.
I started with straight needles, and I think they’re easier for beginners. Circular needles are great, too, but they add another layer to learn.
The needle size should match your yarn – check the yarn label for suggestions. When in doubt, grab a size 8 (5mm) needle for worsted-weight yarn.
What about you? Do you already have supplies, or will you be shopping for new ones?
How to Knit the Purl Stitch?
Learning to purl is like learning to write with your non-dominant hand – a bit strange at first, but soon it becomes natural.
Let me show you how I do it, step by step.
Purl Stitch Abbreviations
- P – Purl stitch
- P2 – Purl 2 stitches
- P2tog – Purl 2 stitches together (decreases by 1 stitch)
- PFB – Purl into front and back of same stitch (increases by 1 stitch)
- WS – Wrong side (purl stitches often appear on the wrong side)
When a pattern says “P3,” it simply means “make 3 purl stitches in a row.”
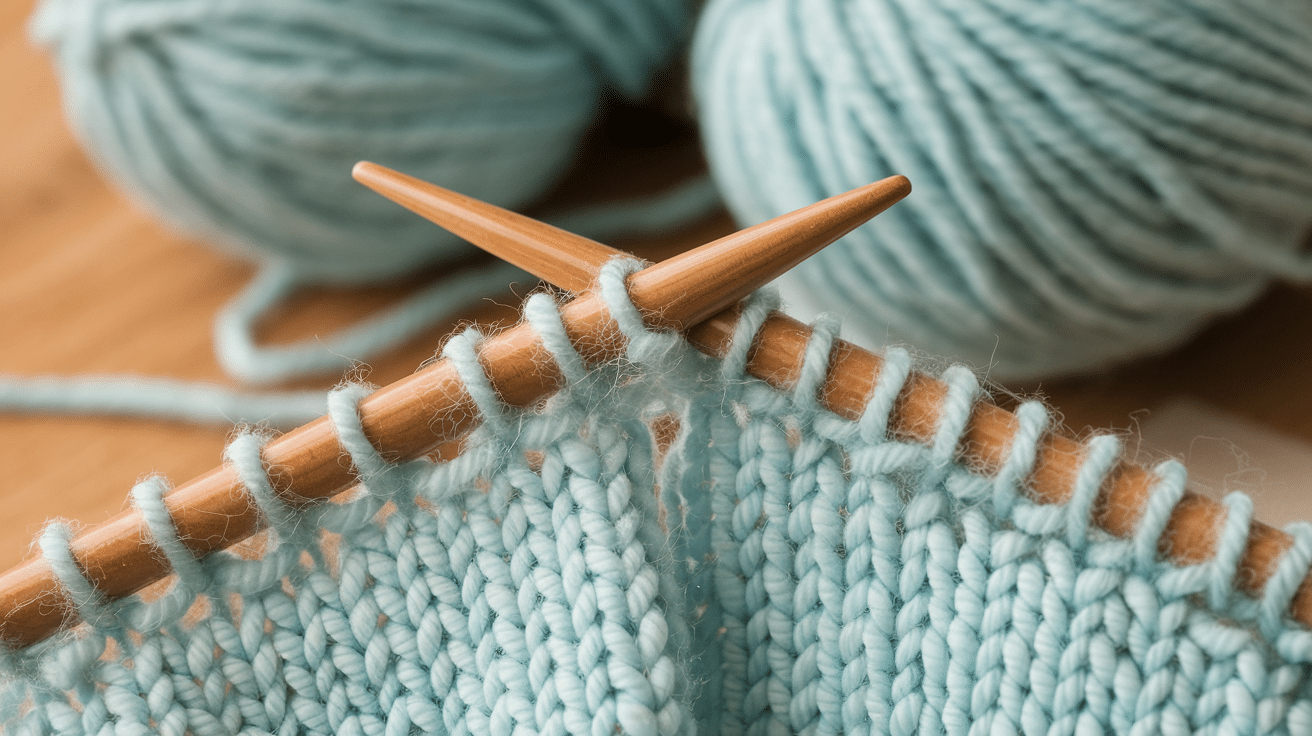
Basic Purl Stitch: Step-By-Step
- Hold your needles correctly. Put the needle with stitches in your left hand. The empty needle goes in your right hand.
- Position the yarn. The working yarn must be in front of your work. This is key – if your yarn is in the back, you’ll make a knit stitch instead.
- Insert the right needle. Push it into the front stitch from right to left. Your needle should now be pointing toward you, not away from you.
- Wrap the yarn. Take the working yarn and wrap it counterclockwise around the right needle. The yarn goes over the top of the needle and down between both needles.
- Pull through the loop. Push the right needle down and back, catching the wrapped yarn as you go. This forms your new stitch.
- Slide off the old stitch. Let the original stitch drop from the left needle while keeping the new stitch on the right needle. You’ve completed one purl stitch!
Repeat these six steps for each purl stitch in your row. The motion might feel strange at first, but with practice, your hands will learn the pattern.
Purling vs. Knitting
Knit and purl stitches are two sides of the same coin. Understanding how they work together will take your knitting to the next level.
I think of knit and purl as partners in a dance – each has its own steps, but together, they create something special.
| Feature | Knit Stitch | Purl Stitch |
|---|---|---|
| Needle Position | Insert from left to right | Insert from right to left |
| Yarn Position | Held at the back of work | Held at the front of the work |
| Appearance | Smooth “V” shape | A small bump or horizontal line |
| Feel | Smooth side of fabric | The bumpy side of the fabric |
| Motion | Push away from you | Pull toward you |
| Common Use | Right side (RS) of work | Wrong side (WS) of work |
| First Stitch Feel | Often easier for beginners | It can feel awkward at first |
When you work only knit stitches in rows, you create a fabric called garter stitch. It’s bumpy on both sides and stays flat.
When you knit one row and then purl the next row, you create a stockinette stitch.
One side shows smooth Vs, while the other shows bumpy rows. The magic happens when you mix knits and purls in the same row.
This creates patterns like:
- Ribbing (k1, p1 or k2, p2) – perfect for cuffs and edges
- Seed stitch (alternating knits and purls) – creates a textured fabric
- Moss stitch – similar to seed stitch but with a different pattern
I started with knit stitches, but once I learned to purl, my projects became much more interesting.
Rhyme for Remembering the Purl Stitch
When I was learning to purl, I made up a little rhyme that helped me remember the steps. You might find it helpful, too!
My Purl Stitch Rhyme
Front to back, wrap around
Pull it through, then slip it down
Let me break down what each line means:
“Front to back” – This reminds you to keep your yarn in front of your work and insert the needle from front to back.
“Wrap around” – Wrap the yarn around your right needle in a counter-clockwise motion.
“Pull it through” – Pull your right needle with the wrapped yarn through the stitch on the left needle.
“Then slip it down” – Slip the old stitch off the left needle, keeping your new stitch on the right needle.
I repeat this rhyme in my head when I’m purling. After a while, you won’t need the rhyme anymore – your hands will know what to do.
Other Memory Helpers
Some of my students use these tricks to remember purling:
- Think “knit away, purl toward” – you push the needle away for knit, pull toward for purl
- The letter P looks like a purl bump – so P is for Purl and Pull toward you
- “Yarn in Front” – Stick a note on your pattern until it becomes a habit
What works best for you might be different. The goal is to make the motion feel natural so you don’t have to think about it.
Try saying my rhyme out loud as you work through each purl stitch. It makes learning more fun!
Creative Projects Using Purl Knitting
Now that you know how to purl, let’s use your skills! I’d like to share some simple projects that use both knit and purl stitches.
1. Beginner-Friendly Scarf
A scarf is the perfect first project for practicing your purl stitch. Start with a basic 1×1 ribbing pattern (knit 1, purl 1, repeat).
This creates a stretchy fabric that doesn’t curl at the edges. I made my first ribbed scarf with just 20 stitches across and worked until it reached about 5 feet long.
For a more interesting look, try changing to a 2×2 rib (knit 2, purl 2, repeat) after a few inches. The changing texture adds visual interest without extra work.
2. Cozy Dishcloths
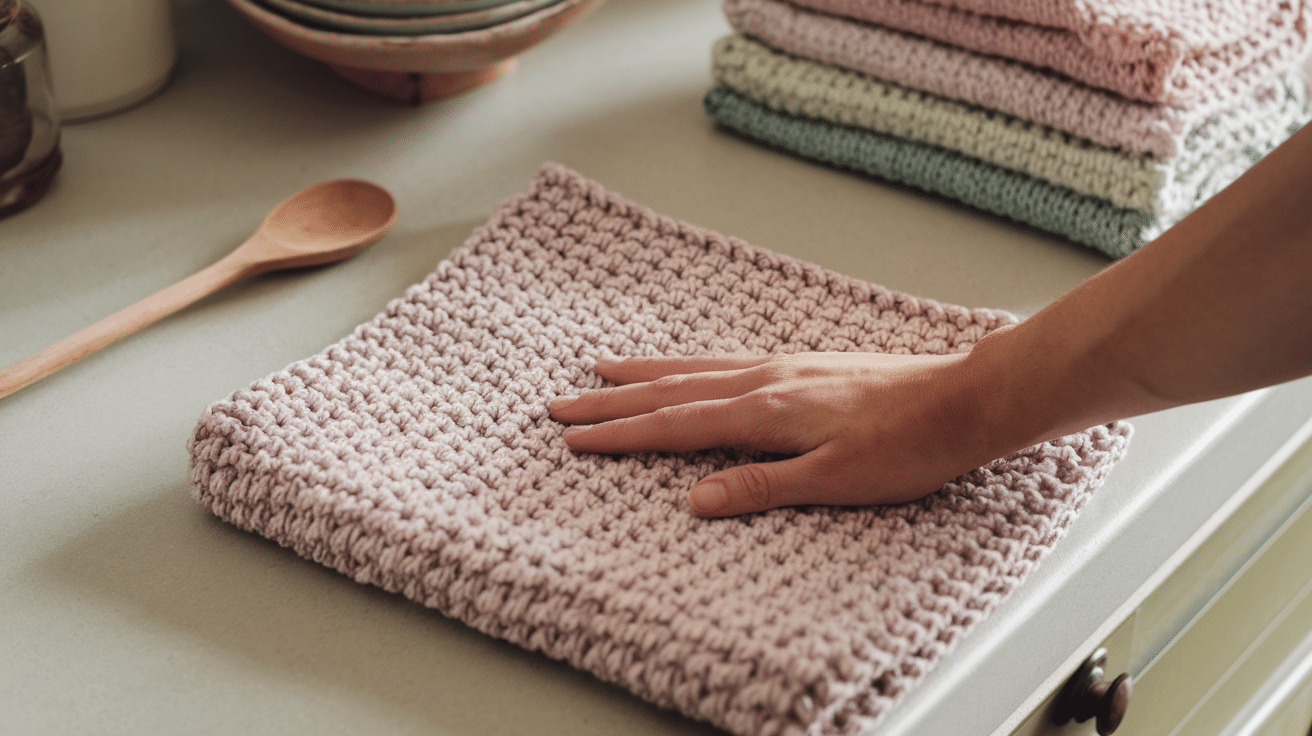
Dishcloths are quick to finish and very useful. For your first dishcloth, cast on 30 stitches and work in seed stitch (row 1: k1, p1 across; row 2: p1, k1 across).
This creates a textured surface perfect for scrubbing. I keep cotton yarn in my kitchen just for making dishcloths when I need a small, fast project.
They take about 2-3 hours to complete, making them perfect weekend projects.
3. Simple Baby Blanket
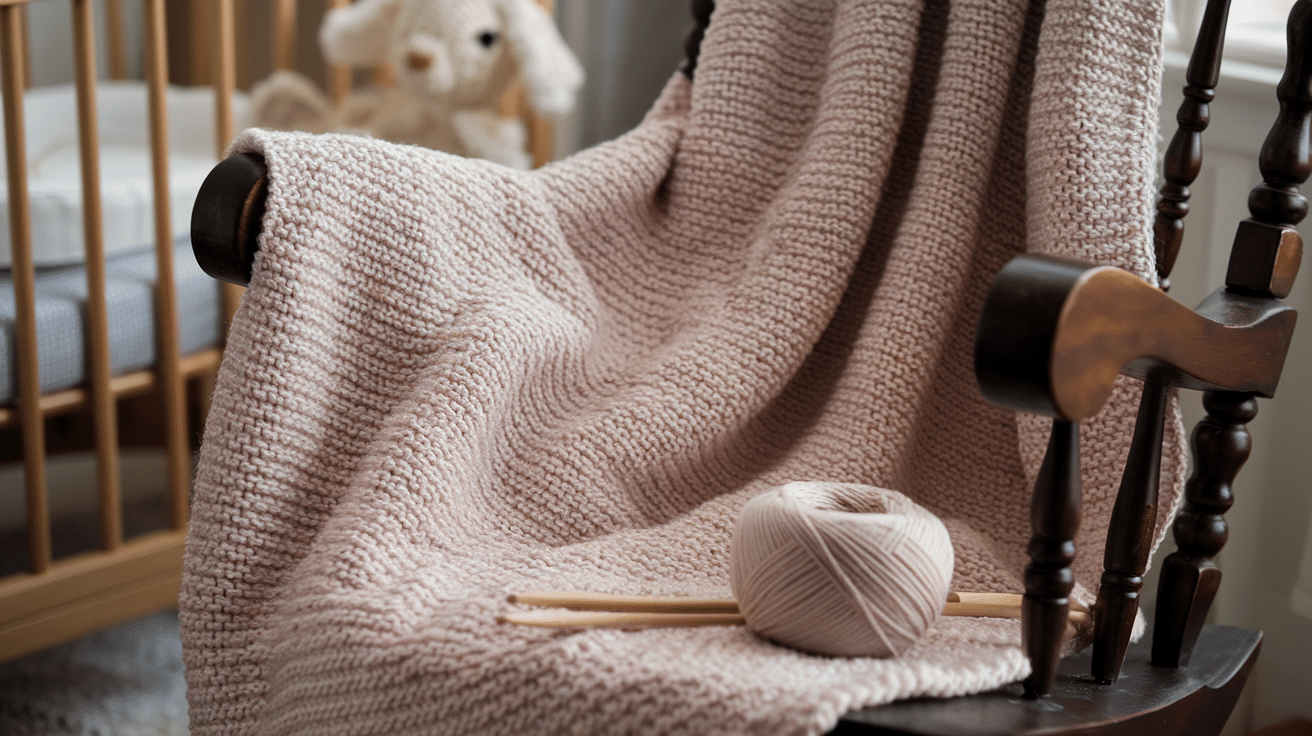
Baby blankets don’t need to be complex. A simple basketweave pattern uses just knits and purls in groups. Cast on a multiple of 8 stitches plus 4.
Then work in a pattern of knit 4, purl 4 for 4 rows, then switch to purl 4, knit 4 for the next 4 rows.
My niece still uses the basketweave blanket I made her five years ago. The texture makes it interesting for little hands to touch.
4. Textured Pillow Cover
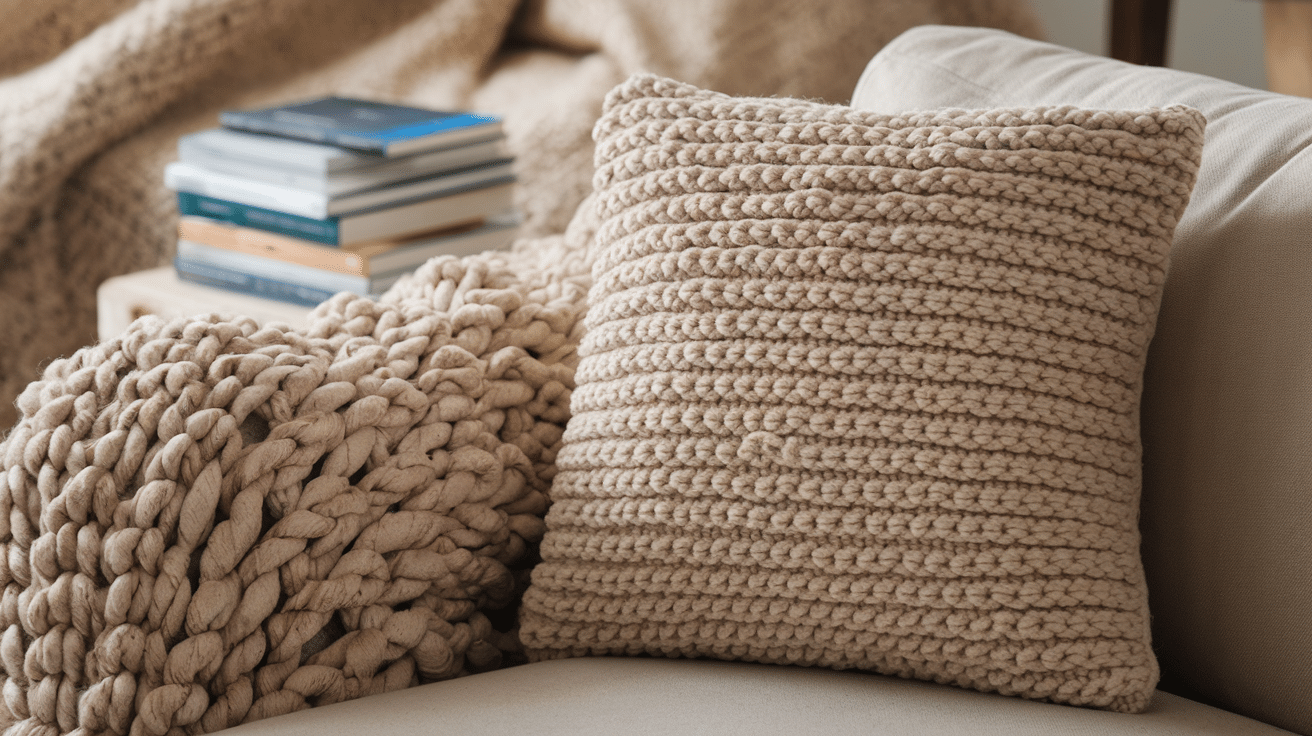
Home decor is another great way to show off your new skills. For a simple pillow cover, make two identical squares in moss stitch.
This stitch creates a nubbly texture that looks much harder than it is. You can make these any size to fit the pillows you already have.
Sew three sides together, insert your pillow form, and then sew the fourth side closed.
5. Warm Hat with Brim
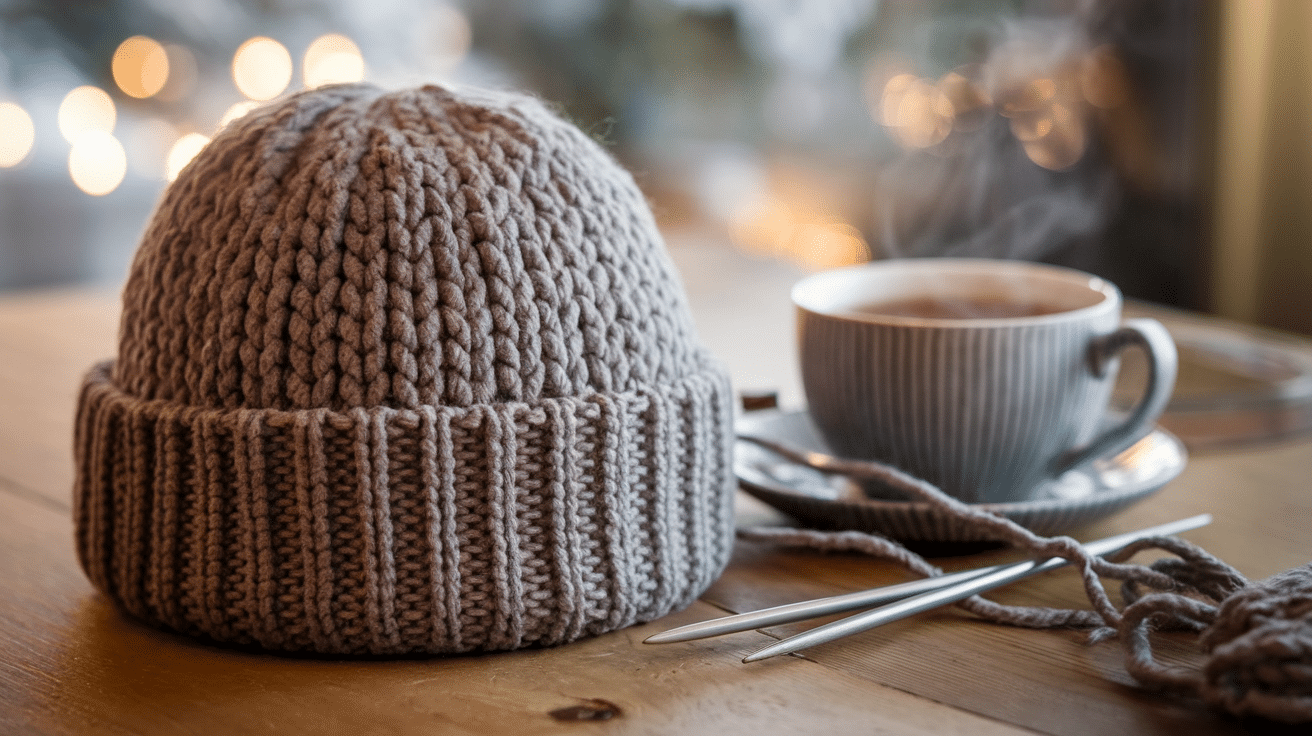
A hat with a ribbed brim shows off both stitches beautifully. The ribbed section uses knit and purl stitches and provides stretch to fit comfortably.
The body of the hat can be worked in stockinette (knit a round, purl a round). I find hats satisfying because they finish quickly but still feel like a real accomplishment.
Plus, everyone needs warm hats in winter! Which project sounds most interesting to you?
Starting with something small lets you practice your purling without committing to a huge project right away.
Common Mistakes when Purling & How to Fix Them
Even experienced knitters make mistakes. I’ve been knitting for years, and I still drop stitches sometimes! Here are the most common purling problems and simple fixes.
1. Yarn in The Wrong Position
The most common mistake is keeping your yarn in the back instead of the front. This creates a knit stitch when you want a purl.
If you notice right away, just undo that one stitch. If you find it later, you can use a crochet hook to fix just that stitch without undoing rows.
2. Dropping Stitches
It happens to everyone – suddenly, you have one less stitch than you started with! Look for a loose strand hanging below your work.
Use a crochet hook to pull this loop up through each row until it reaches your needle again.
3. Tight Purling
Many knitters purl tighter than they knit. This creates uneven fabric in the stockinette stitch. Try to keep the same tension for both stitches.
Practice makes perfect. You can also try wrapping your yarn a bit looser around the needle when purling.
4. Accidental Yarn Overs
If you bring your yarn over the needle instead of between the needles, you create an extra stitch. This looks like a small hole in your work.
When you find one, simply drop that extra loop off your needle on the next row.
5. Twisted Stitches
If your purl stitches look twisted, you might be wrapping your yarn the wrong way. Make sure you’re wrapping counterclockwise around the right needle.
If you find twisted stitches later, you can fix them when you work that stitch on the next row.
Tips for Knitting the Purl Stitch
After teaching many beginners, I’ve collected these helpful tips to make purling easier. These simple tricks can help you avoid common problems.
1. Start with Good Lighting: I can’t stress this enough: good lighting makes a huge difference. Sit near a window or use a desk lamp. When you can clearly see each stitch, purling becomes much easier, and your work will have fewer mistakes.
2. Practice Muscle Memory: Set aside 15 minutes daily just for purl practice. The motion feels strange at first but becomes natural with repetition. Your hands will soon remember the movements without you having to think about each step.
3. Check Your Yarn Position: Before each purl stitch, double-check that your yarn is in front of your work. This simple habit prevents accidentally making knit stitches when you are meant to purl.
4. Watch Your Tension: Many knitters pull purl stitches too tight. Try to keep the same tension for both knit and purl stitches. Looser purls make your next row easier to work.
5. Use the Right Needles: Slippery metal needles can make purling harder for beginners. Wooden or bamboo needles grip the yarn better. They cost about the same but make learning much easier.
6. Count Your Stitches: Count your stitches at the end of each row. This helps you catch mistakes early when they’re easier to fix. I use stitch markers every 10 stitches to make counting simpler.
7. Take Regular Breaks: Your hands need rest. Take a 5-minute break every 20-30 minutes to stretch your fingers and wrists. This prevents hand fatigue and helps you maintain good technique.
Conclusion
Learning to purl opens up a whole new world of knitting possibilities. What was once just flat, plain fabric can now become textured, stretchy, and much more interesting.
Don’t worry if your first attempts aren’t perfect. My early purl stitches were uneven and tight, but that’s normal! With each row you complete, your hands learn the motion better.
Remember that knitting is about enjoying the process. Some days, your purling will flow smoothly, and other days, it might feel awkward again. That’s all part of the craft.
I’d love to see your first purl projects! Share photos in the comments below or ask questions if you get stuck. We’re all learning together, and every knitter started exactly where you are now. What will you make with your new purl skills?
Frequently Asked Questions
Why Does My Purl Stitch Look Loose Compared to My Knit Stitch?
Your tension naturally differs between stitches. Try wrapping the yarn slightly tighter for purls or slightly looser for knits until they match up.
Can I Purl Continental Style if I Already Knit English Style?
Yes! Many knitters use different styles for different stitches. Continental purling keeps the yarn in your left hand and can be faster once learned.
How Do I Fix a Dropped Purl Stitch Several Rows Down?
Use a crochet hook to catch the dropped stitch. Pull it up through each row, making sure to alternate between knit and purl formations depending on your pattern.


