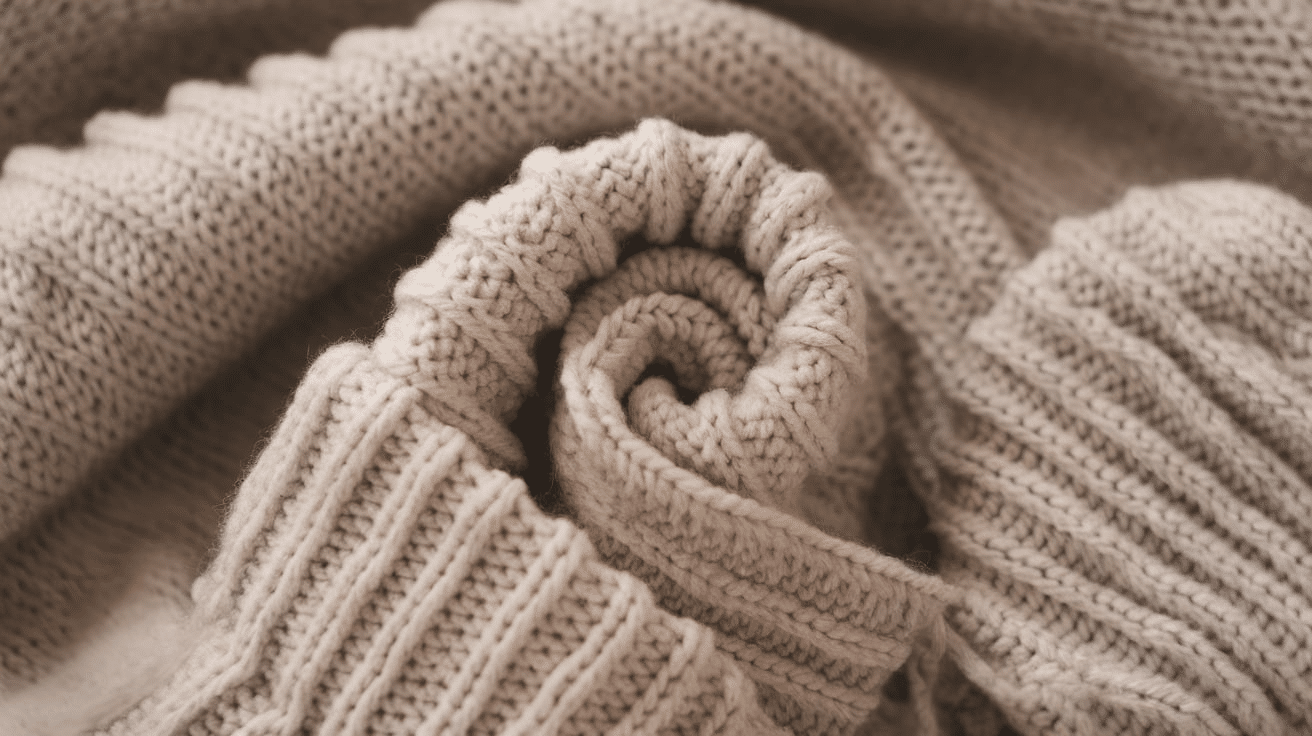
The reverse stockinette stitch is a simple but fun knitting technique that creates a smooth and shiny fabric on the outside and a bumpy texture on the inside. It’s the opposite of the regular stockinette stitch, where the soft side is on the front and the rough side is on the back.
This stitch is perfect for adding variety to your projects, whether you’re making scarves, blankets, or sweaters. It gives your work a unique texture that stands out. While it can be tricky to work with because it tends to curl at the edges, there are easy ways to fix that and make it look neat.
In this blog, I’ll explain how to knit the reverse stockinette stitch, offer tips for keeping your edges from curling, and suggest ideas for using it in your knitting projects. Let’s get started!
What is the Reverse Stockinette Stitch?
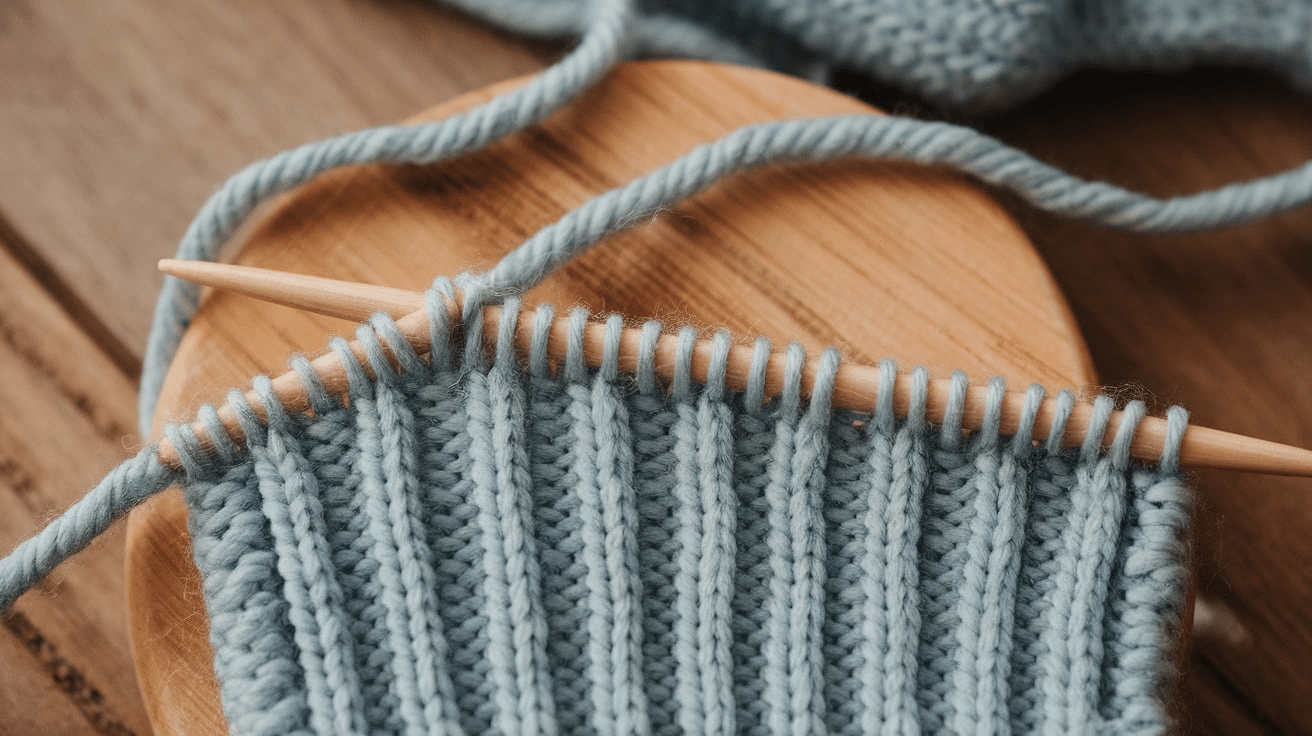
The reverse stockinette stitch is just like the regular stockinette stitch but is flipped. While regular stockinette has smooth, flat fabric on the front and bumpy stitches on the back, the reverse stockinette has a rough front and a smooth side on the back.
In the reverse stockinette stitch, you purl every stitch on the right side (the front of your work) and knit every stitch on the wrong side (the back of your work). This creates a fabric that’s a bit more textured and unique compared to the regular stockinette.
This stitch is often used to add interest to knitting projects, especially when you want to show off the textured bumpy side. It can be used in scarves, sweaters, and even accessories like pillow covers. The reverse stockinette is simple but gives a nice twist to your usual knitting.
When to Use the Reverse Stockinette Stitch?
The reverse stockinette stitch may seem simple, but it can add a lot of interest and texture to your knitting. It’s the perfect way to break up the smoothness of regular stockinette and give your projects a unique look. Here are some great ways to use reverse stockinette in your knitting:
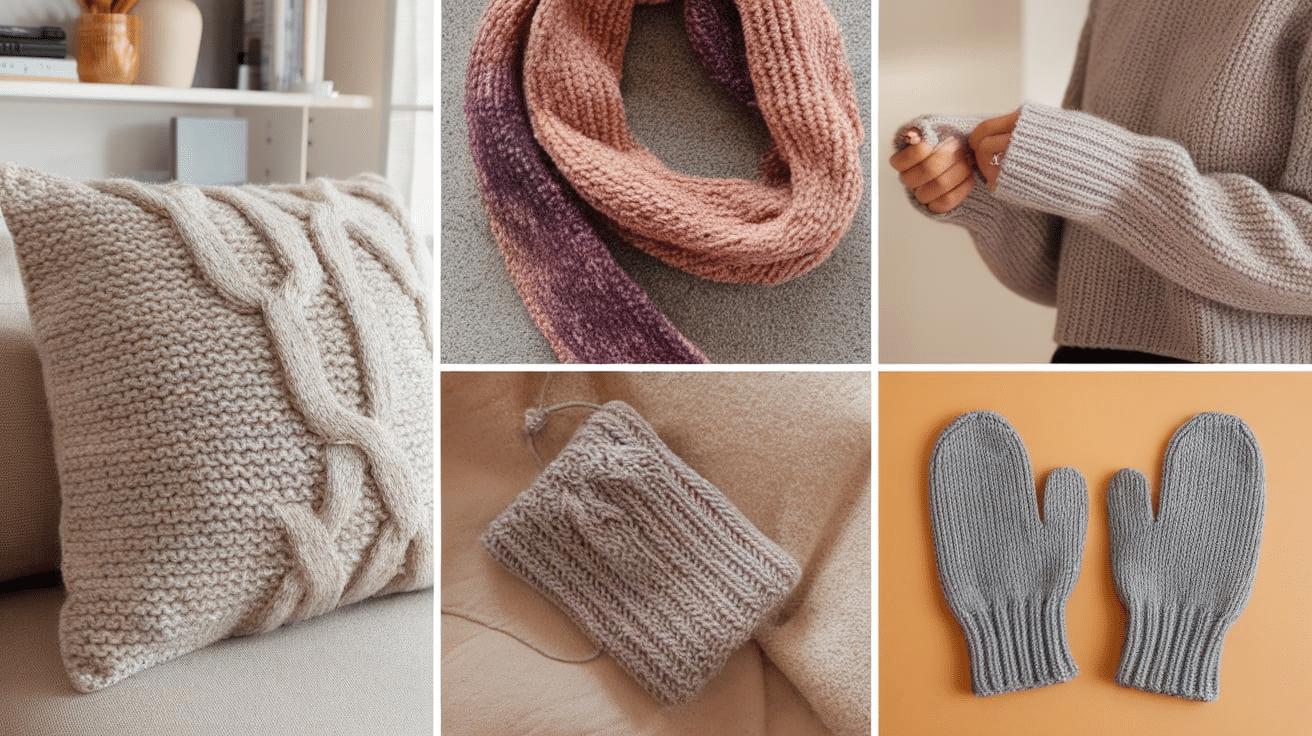
1. Adding Texture to Garments: The reverse stockinette stitch works well in sweaters, cardigans, and other garments. You can use it to create sections of textured fabric or even add it to the sleeves or back for a change in design.
2. Knitting Fun Pillows and Home Décor: If you’re making decorative pillows, coasters, or blankets, reverse stockinette is a great stitch. It gives your home décor projects a soft, bumpy texture that looks interesting and cozy.
3. Creating Borders: You can add reverse stockinette to the edges of your projects as a decorative border. For example, try it as a border around a scarf or on the cuffs of a sweater. It adds a simple but stylish touch.
4. Stripes and Patterns: Mix reverse and regular stockinette to create fun striped patterns. The smooth fabric of the stockinette contrasts well with the rough texture of the reverse stockinette.
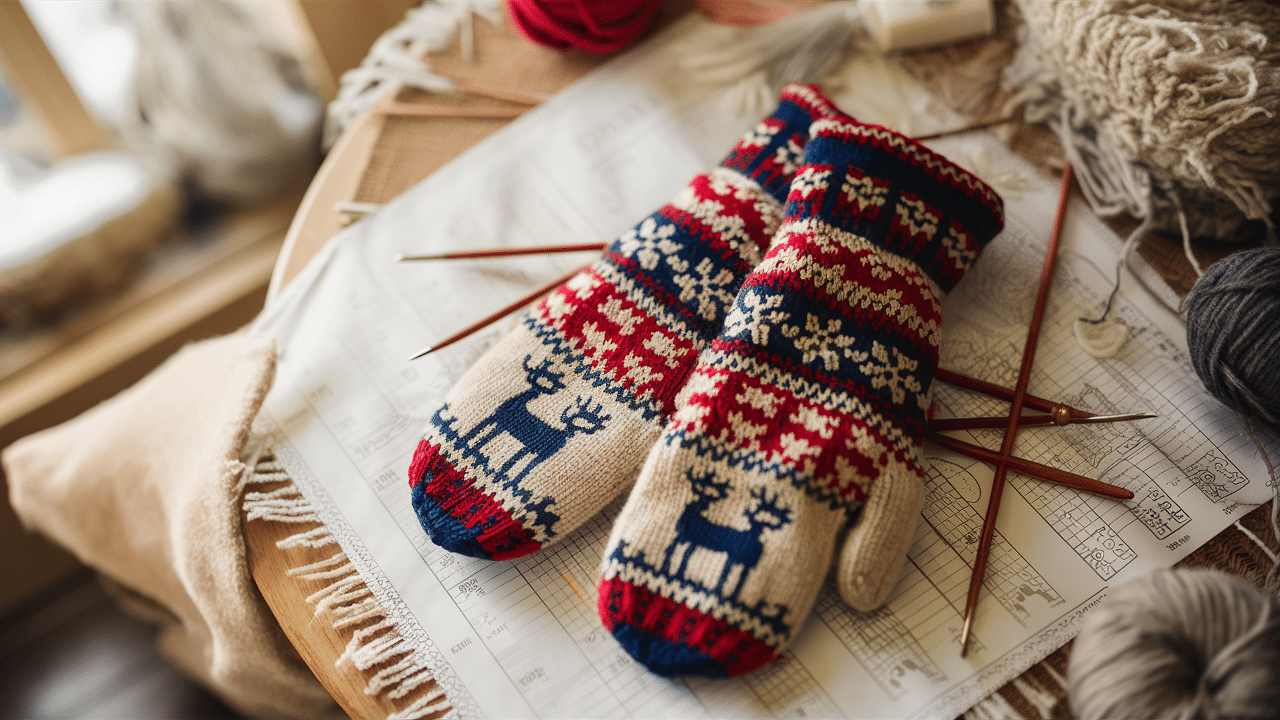
5. Textured Scarves and Hats: The reverse stockinette stitch makes for cozy and textured scarves, hats, and mittens. It adds extra warmth and character, especially when combined with other stitches.
If you plan on knitting a new sweater, a scarf, or a cozy home accessory, the reverse stockinette stitch is a great way to introduce texture and make your project stand out.
Materials Needed for the Reverse Stockinette Stitch
You’ll need a few basic materials to knit the reverse stockinette stitch.
1. Yarn
- Type: The reverse stockinette stitch works well with any yarn, but a DK weight or worsted weight yarn is a good place to start.
- Texture: Wool and wool blends best show off the reverse stockinette’s texture. However, cotton, bamboo, or acrylic yarns can also be used, though they might not show the bumps as clearly.
- Color: Pick a color that you love, as reverse stockinette will highlight the fabric’s texture so that the color will play a key role in the look of your project.
2. Other Materials
- Knitting Needles: Choose needles that match your yarn weight. A 3.5mm to 4mm (US 4-6) needle is ideal for DK-weight yarn. Depending on your preference and the project, you can use either straight or circular needles.
- Stitch Marker: If you’re working in the round, a stitch marker will help you keep track of your rows. It’s also useful for marking the beginning of a row when working flat.
- Tapestry Needle: You’ll need this for weaving in the ends once your project is finished. It’s especially helpful for finishing projects like scarves, blankets, and garments neatly.
- Scissors: A pair of small scissors to trim your yarn when finished.
With these basic tools, you’ll be ready to knit the reverse stockinette stitch and make something creative.
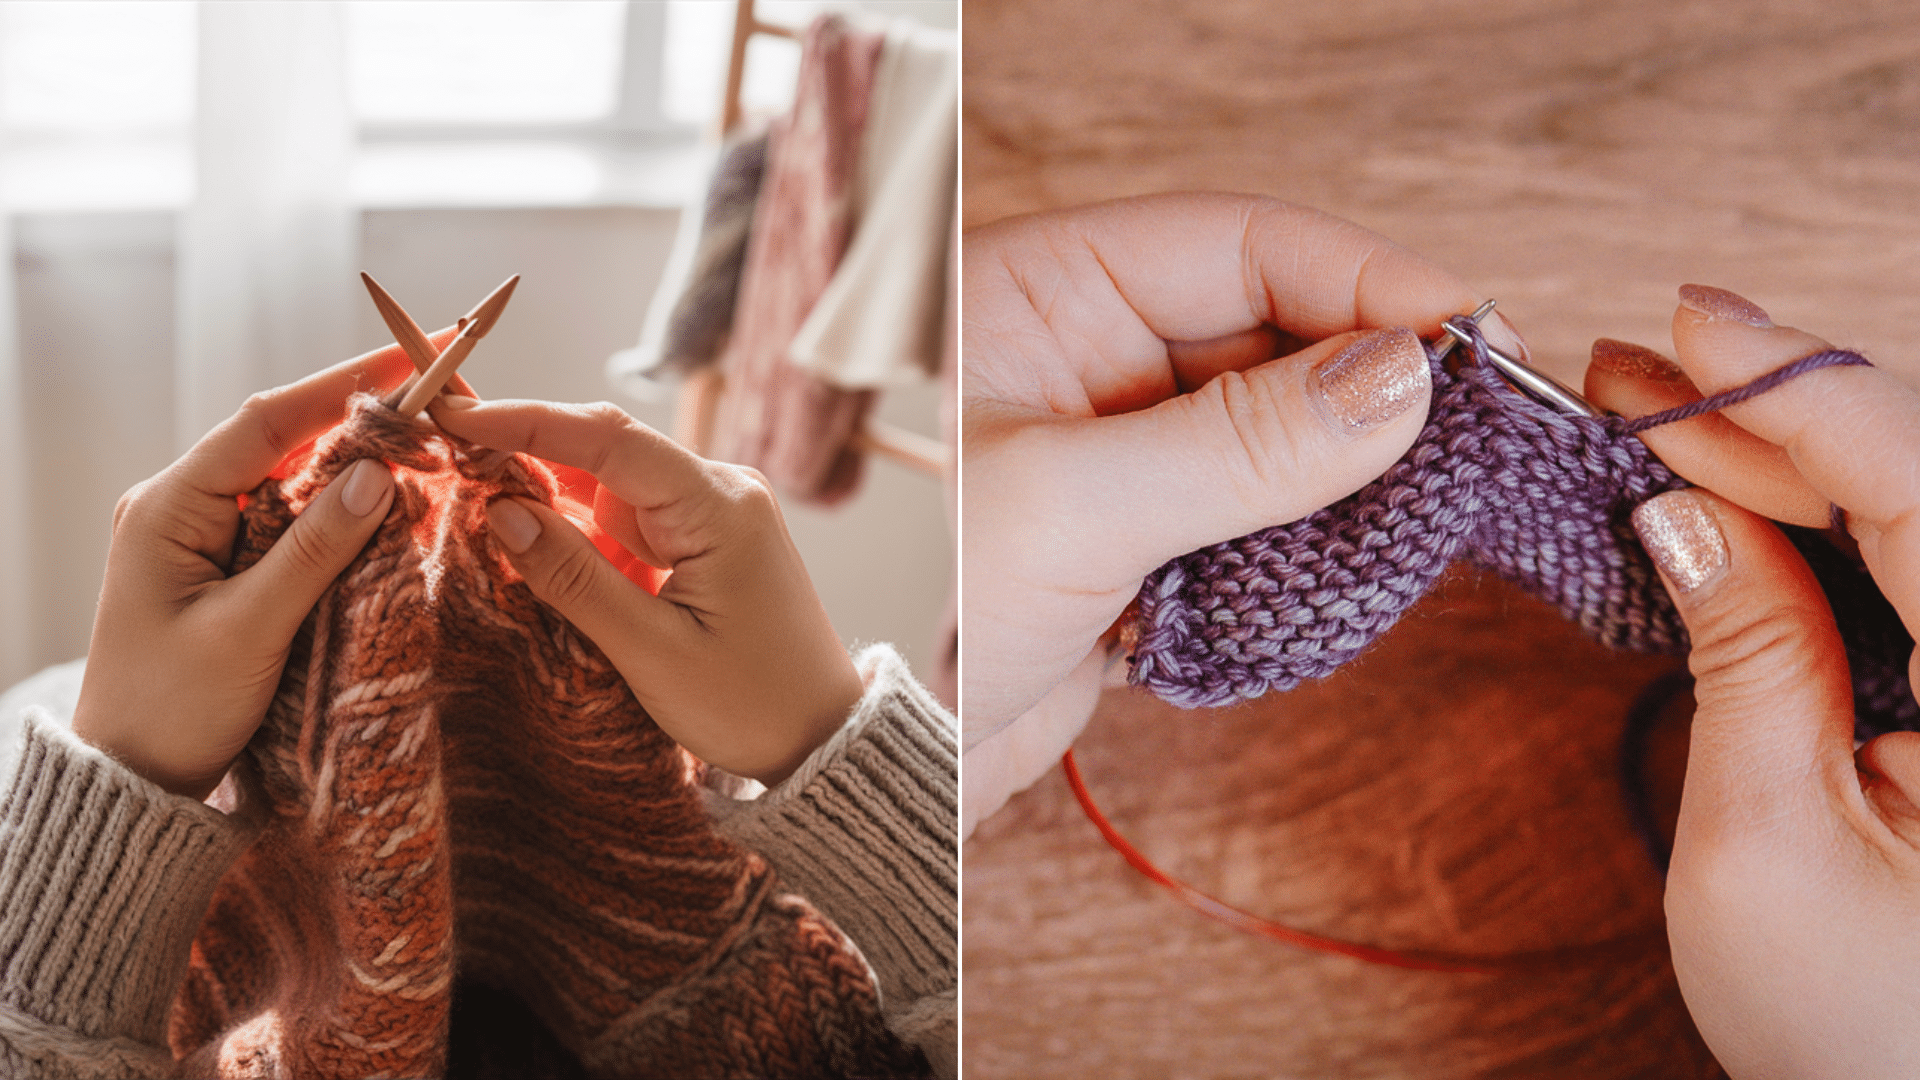
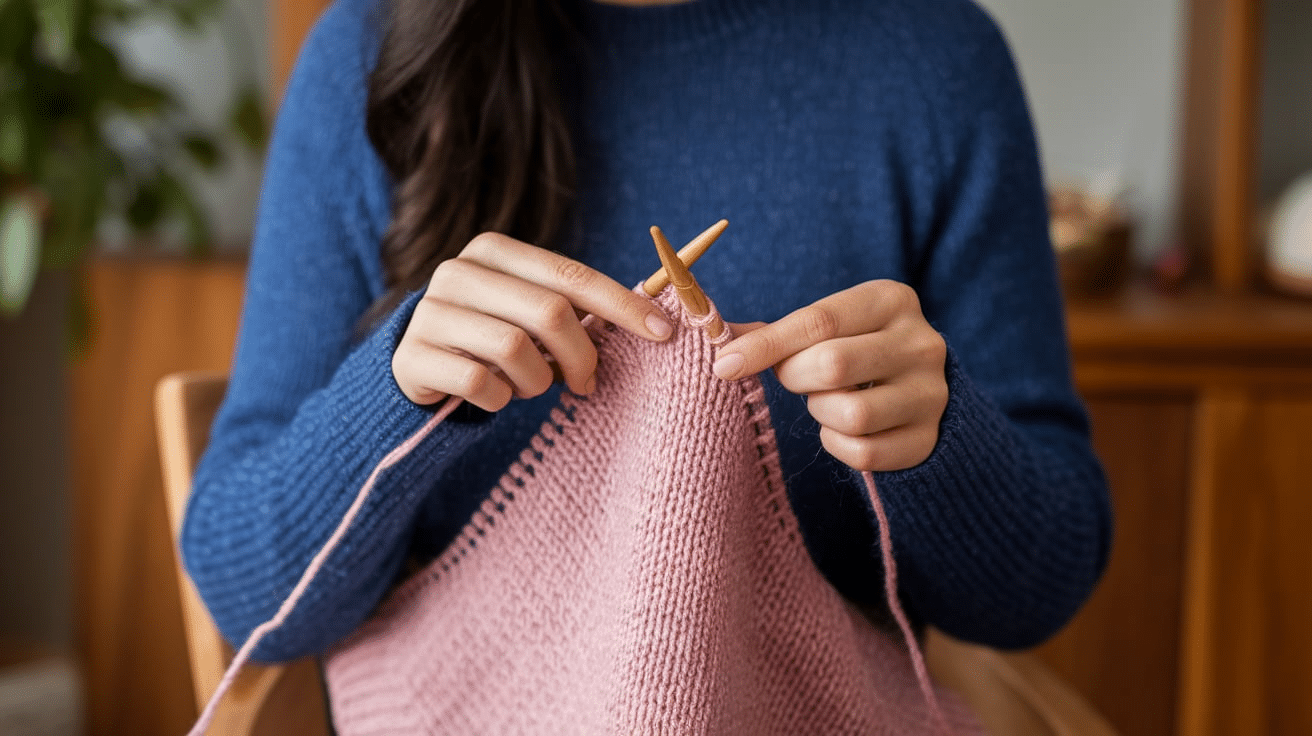
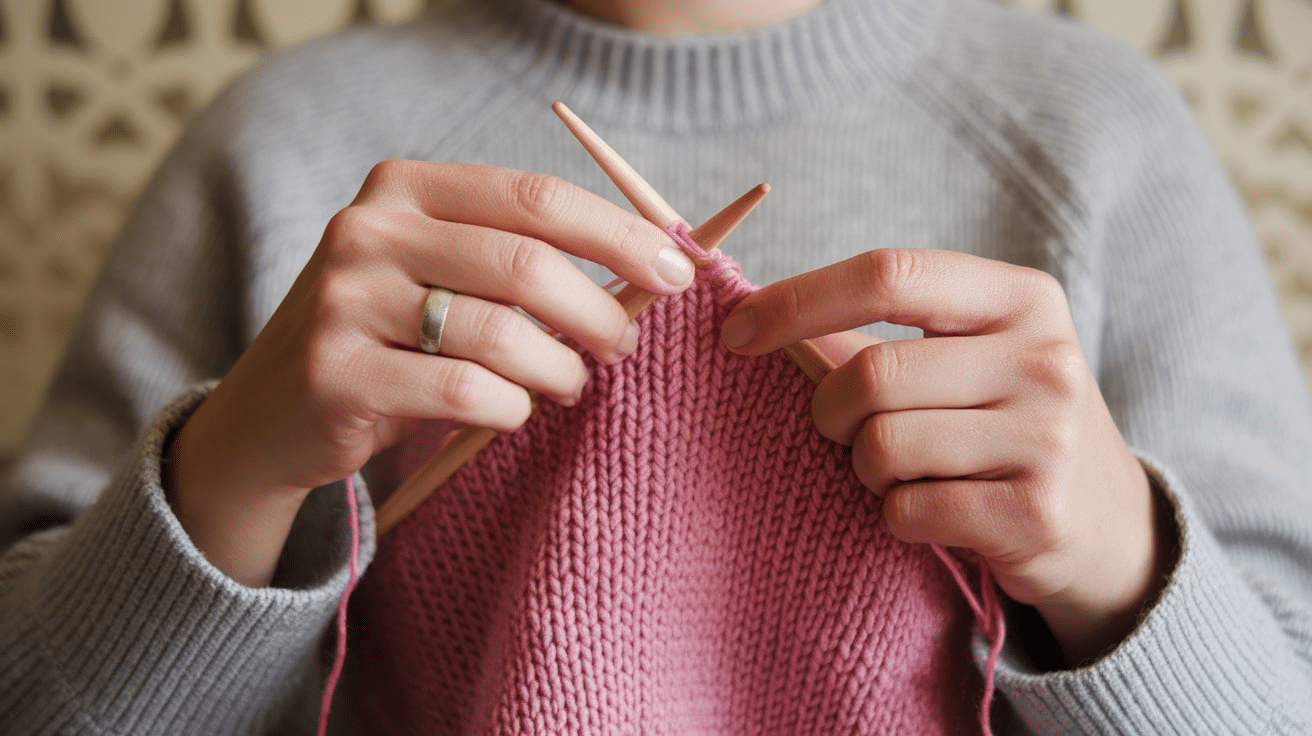
Step-by-Step Guide to the Reverse Stockinette Stitch
The reverse stockinette stitch is easy to learn and adds great texture to your knitting. It’s a great way to change up the usual smooth stockinette stitch and give your projects an interesting look. Let’s go through the steps for knitting the reverse stockinette stitch.
Step 1: Cast On Your Stitches
- Start by casting on the number of stitches you need for your project. For practice, try casting on around 20-30 stitches. You may need to cast on more if you’re making something like a scarf or blanket.
- Just make sure the number of stitches is even, as the pattern will alternate between right and wrong sides.
Step 2: Row 1 (Right Side – Purl Every Stitch)
The reverse stockinette stitch starts with a purl row on the right side (the front of your work). This is where the stitch gets its texture:
- Hold the yarn in front of your work.
- Insert your needle from front to back through the first stitch on the left needle.
- Wrap the yarn around the needle and pull it through the stitch to create a purl stitch.
- Repeat this for each stitch across the row. When you finish, you’ll have a row of purl stitches on the right side of your work.
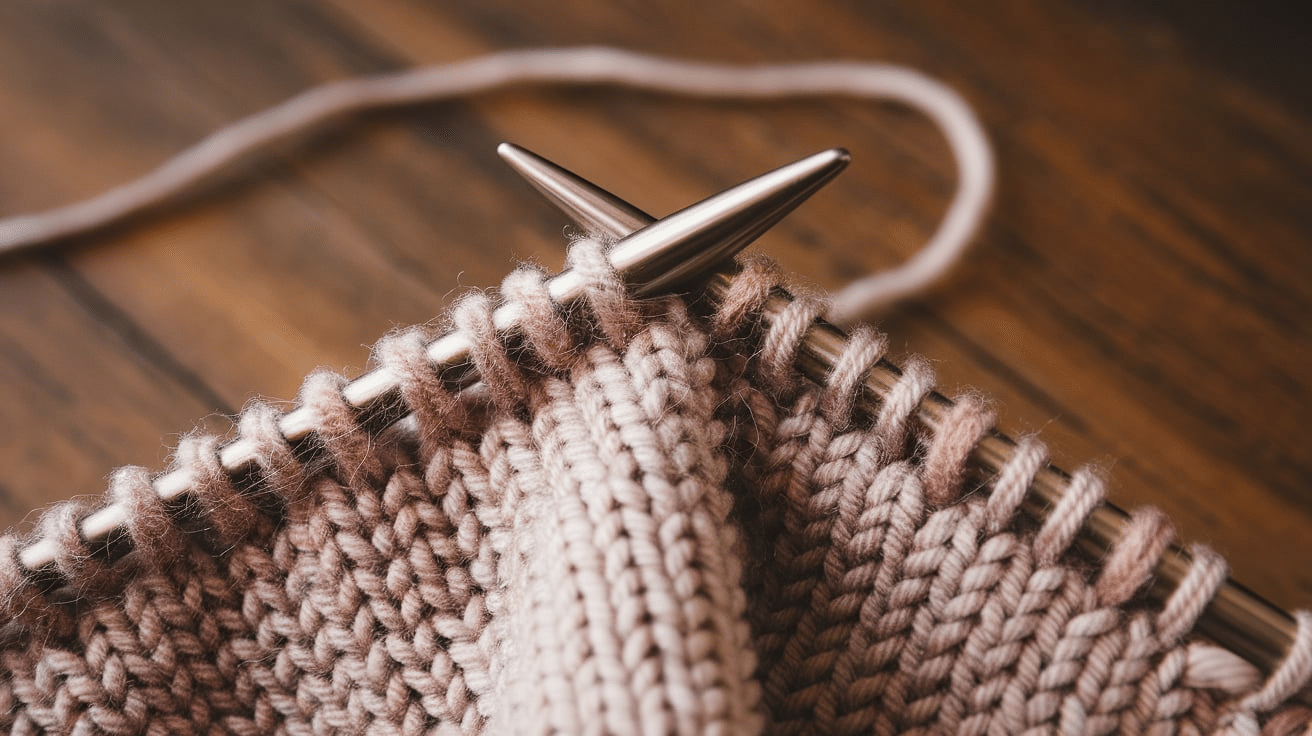
Step 3: Row 2 (Wrong Side – Knit Every Stitch)
You’ll knit every stitch on the wrongside (the back of your work). This is the opposite of the regular stockinette stitch, where you purl on the wrong side:
- Hold the yarn in the back of your work as you would for regular knitting.
- Insert your needle into the stitch as you normally would to knit.
- Wrap the yarn around the needle and pull it through, creating a knit stitch.
- Repeat this across the entire row. This will leave you with smooth, regular stockinette stitches on the back of your fabric.
Step 4: Repeat Rows 1 and 2
Now that you’ve completed one set of rows, continue repeating these two rows:
- Row 1: Purl every stitch on the right side.
- Row 2: Knit every stitch on the wrong side. Keep repeating these rows until your project reaches the desired length.
Step 5: Shape Fabric
After knitting a few rows, you’ll notice the fabric starting to take shape:
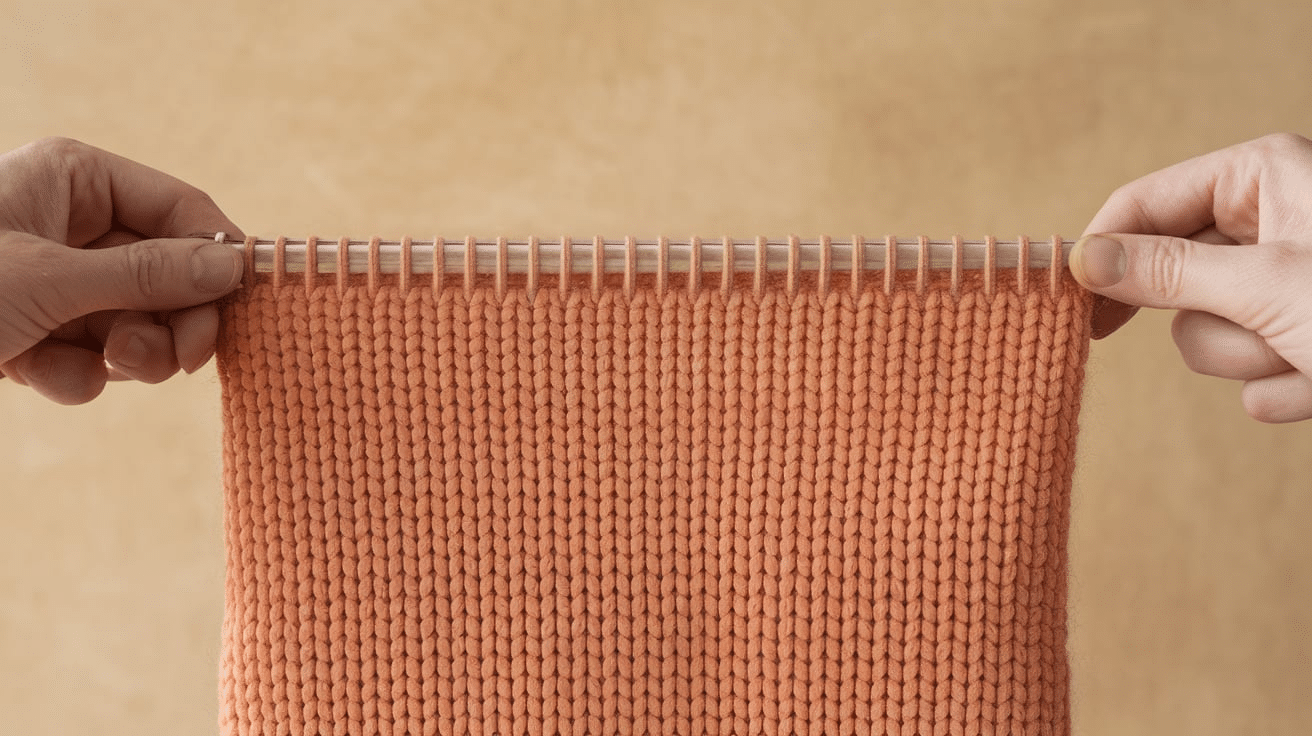
- The right side (the front) will have a bumpy texture, creating the signature look of a reverse stockinette.
- The wrong side (the back) will have a smooth surface similar to a regular stockinette. This is because on the right side, you are purling, and on the wrong side, you are knitting.
The reverse stockinette stitch is a simple technique that can add interest and character to your projects. Whether you use it for garments, accessories, or home décor, it gives a unique look that stands out. You can create a fun fabric with just a few basic steps.
Creative Ways to Use Reverse Stockinette Stitch
If you’re wondering where to use it, here are some fun project ideas that showcase the beauty of this unique stitch.
1. Cozy Scarves and Shawls
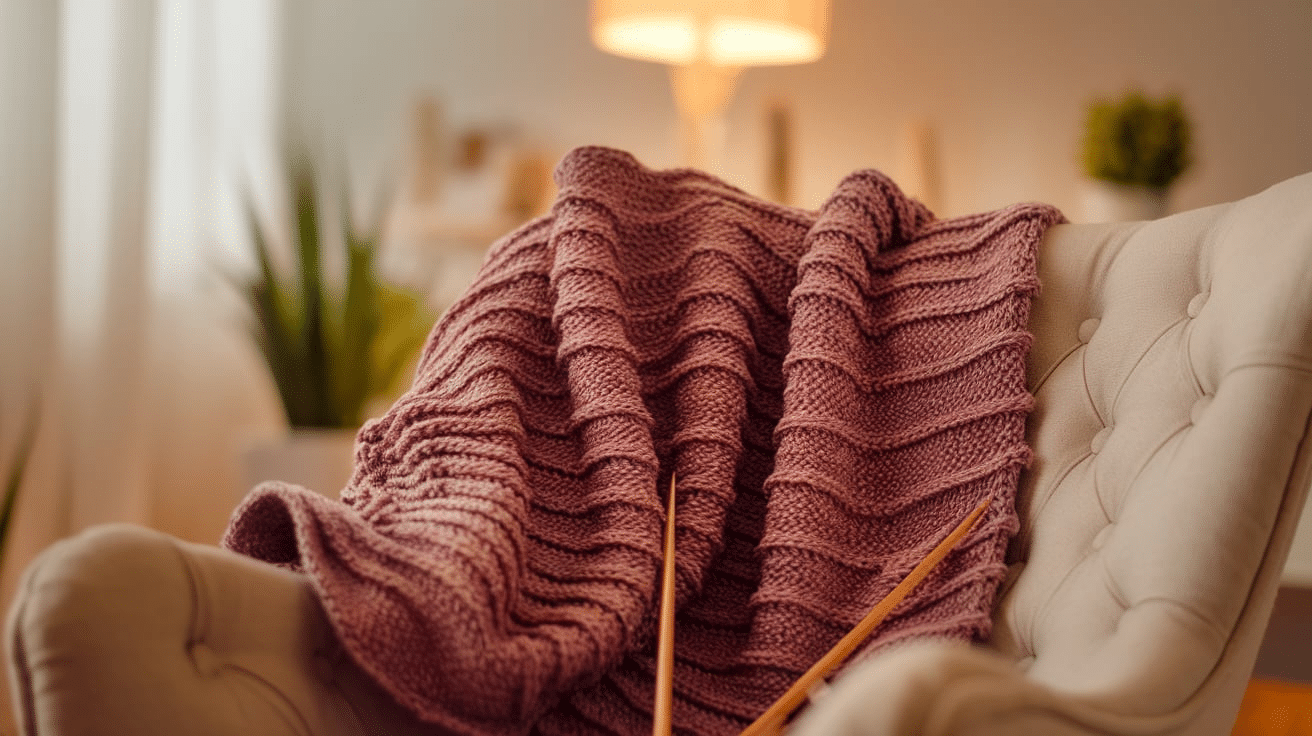
The reverse stockinette stitch works really well for scarves and shawls. The bumpy texture gives a cozy feel and is perfect for adding variety to your usual knitted items. You can knit an entire scarf in a reverse stockinette or combine it with a regular stockinette to create a fun striped pattern.
2. Decorative Pillow Covers
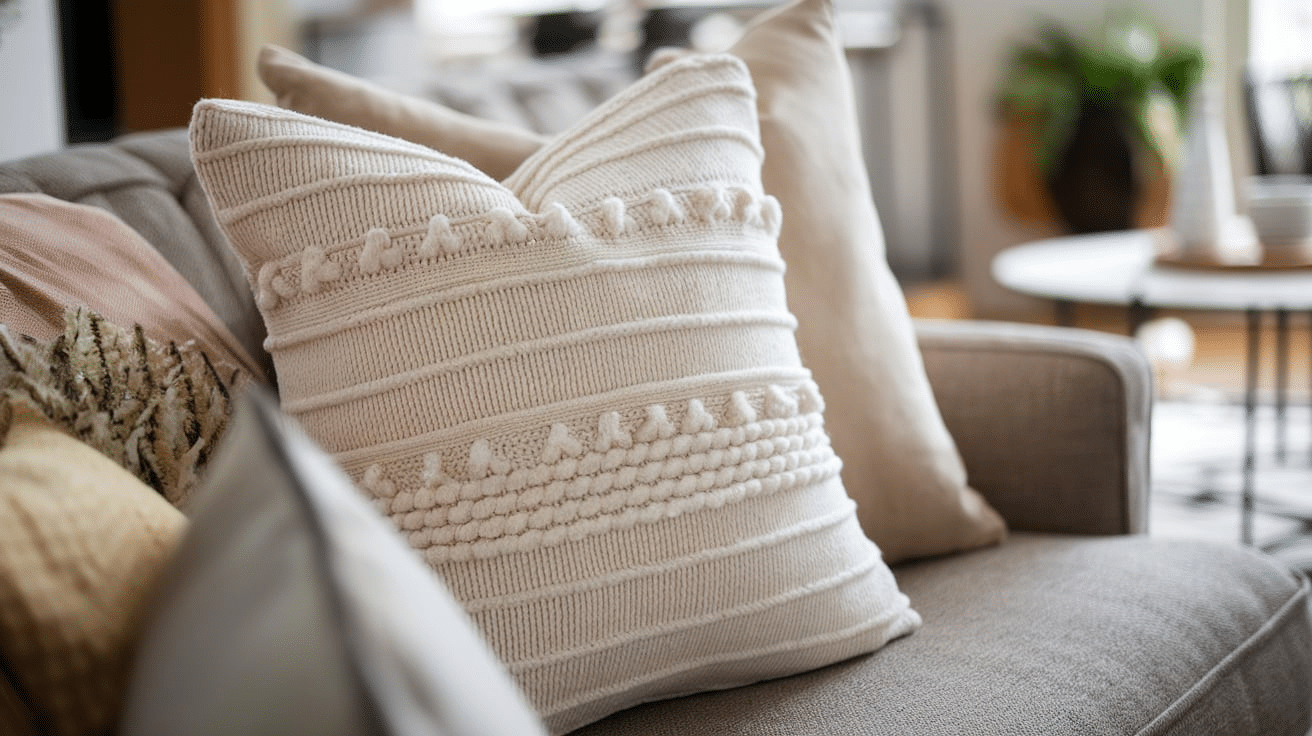
Add some texture to your home décor with a reverse stockinette pillow cover. The stitch creates a soft, bumpy fabric that looks stylish and feels comfortable. You can use it for the front and back of the pillow or as a border or accent on a plain pillow.
3. Soft Hats and Beanies
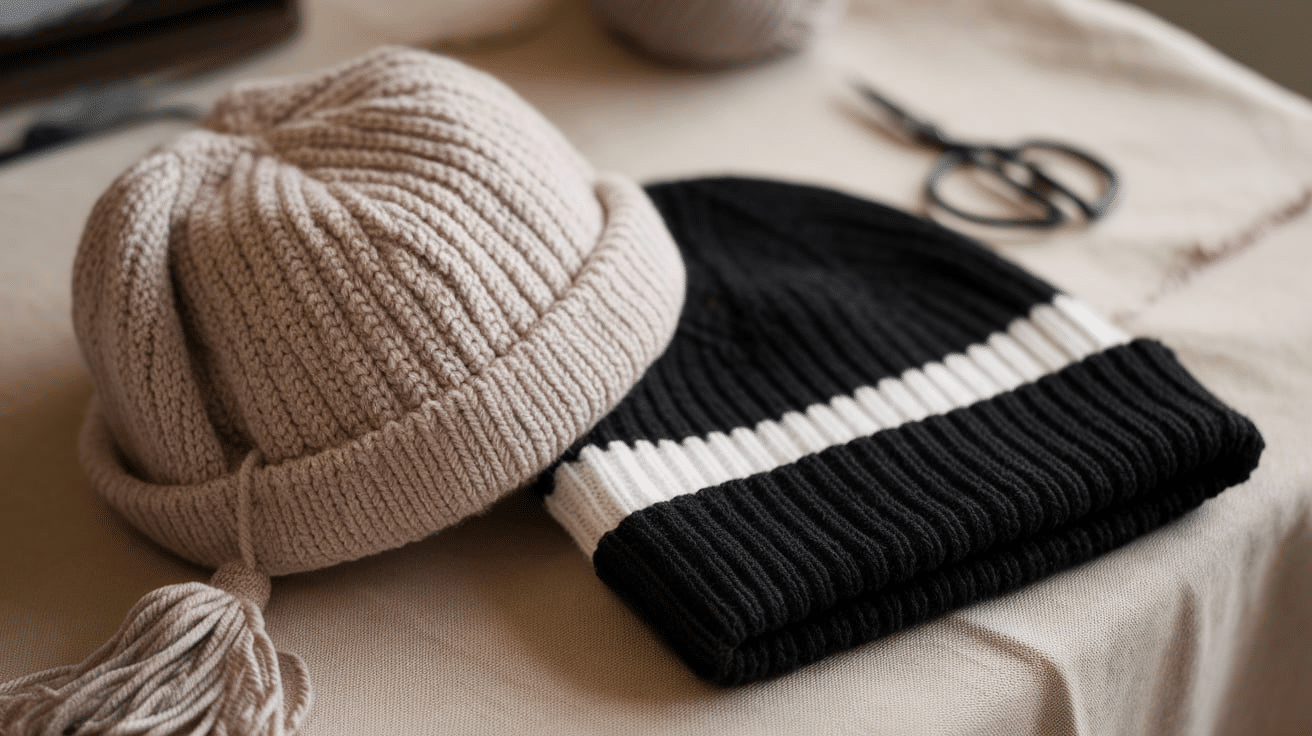
Reverse stockinette is great for hats because the texture is cozy and stylish. Knit a simple beanie or slouchy hat using just a reverse stockinette for a smooth but textured design. For added contrast, you can also mix it with other stitches, like regular stockinette or ribbing.
4. Mittens and Gloves
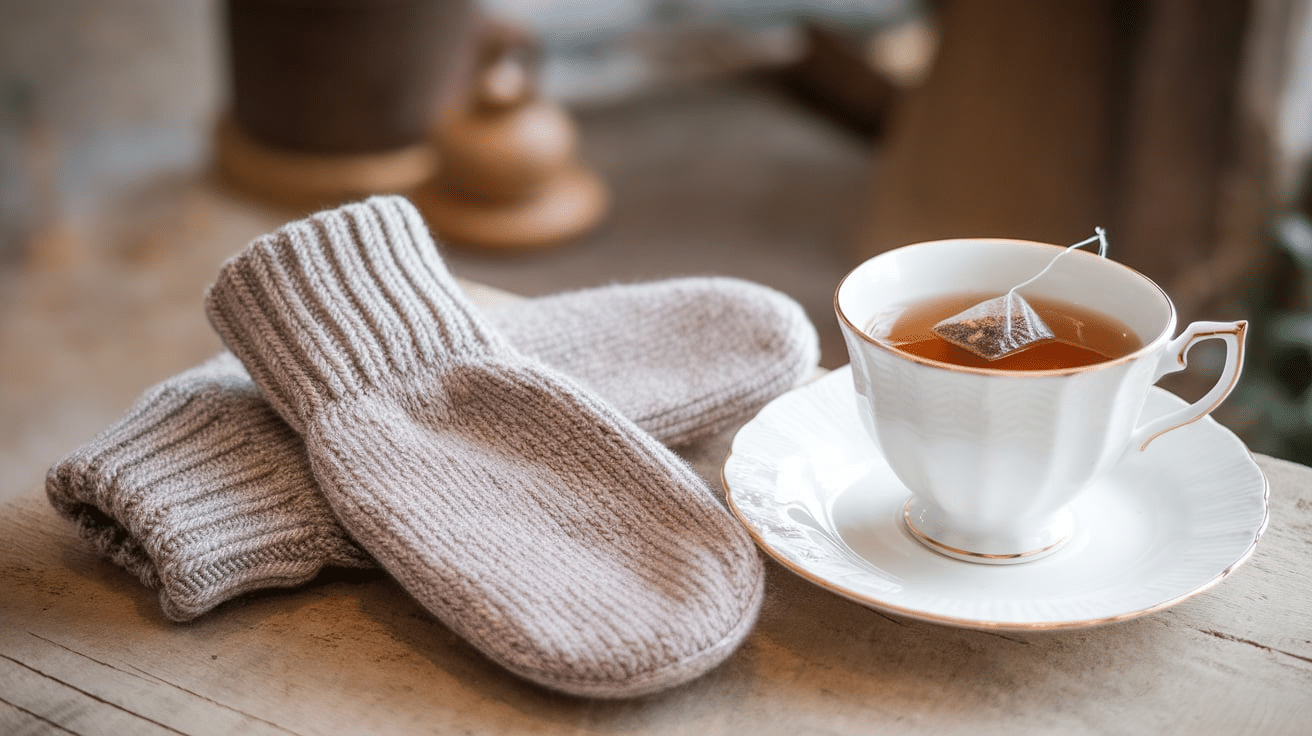
If you’re making mittens or gloves, a reverse stockinette can add a fun texture to the body or the cuffs. Pair it with ribbing or other knit stitches to create a practical yet stylish pair of mittens perfect for cold weather. The texture looks great and provides extra warmth, making them both fashionable and functional for winter.
5. Textured Coasters and Dishcloths
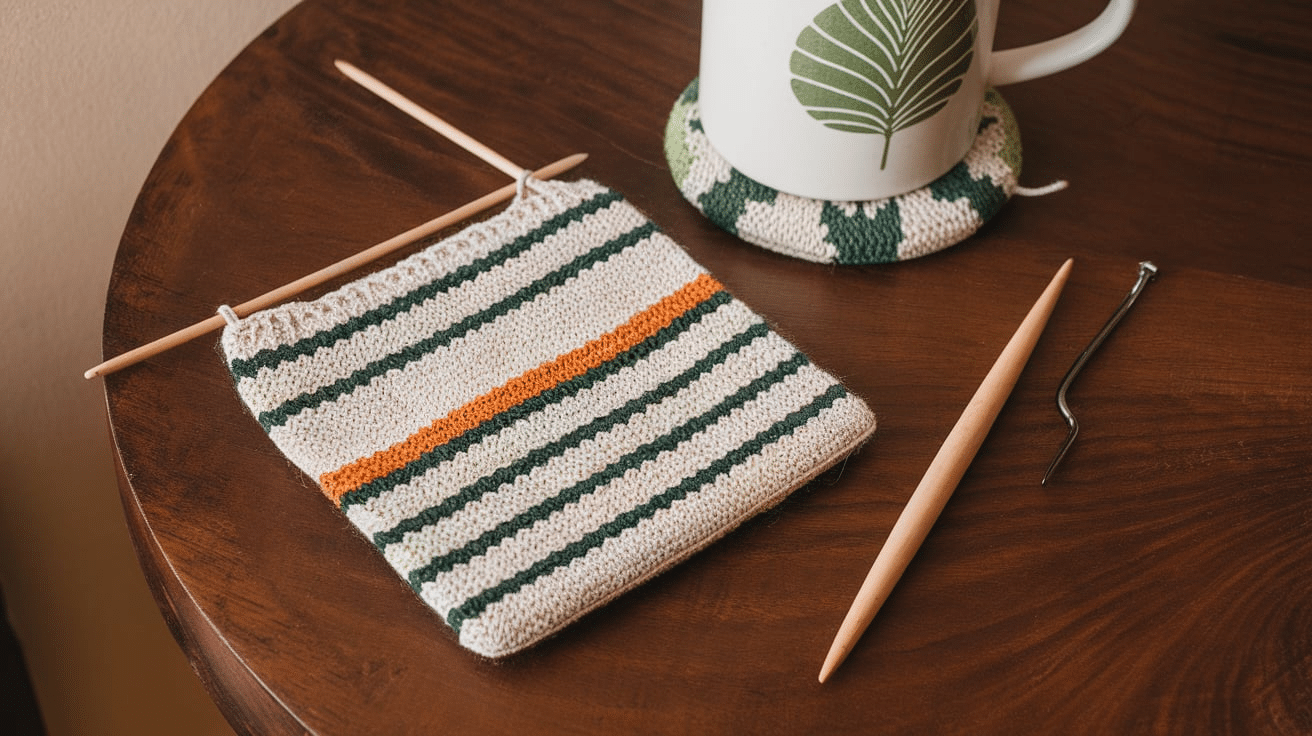
Reverse stockinette is a great option for small home accessories like coasters and dishcloths. The texture makes them durable and adds a decorative touch to your kitchen or living room. Plus, they knit up quickly, so you can make several quickly.
6. Baby Blankets and Accessories
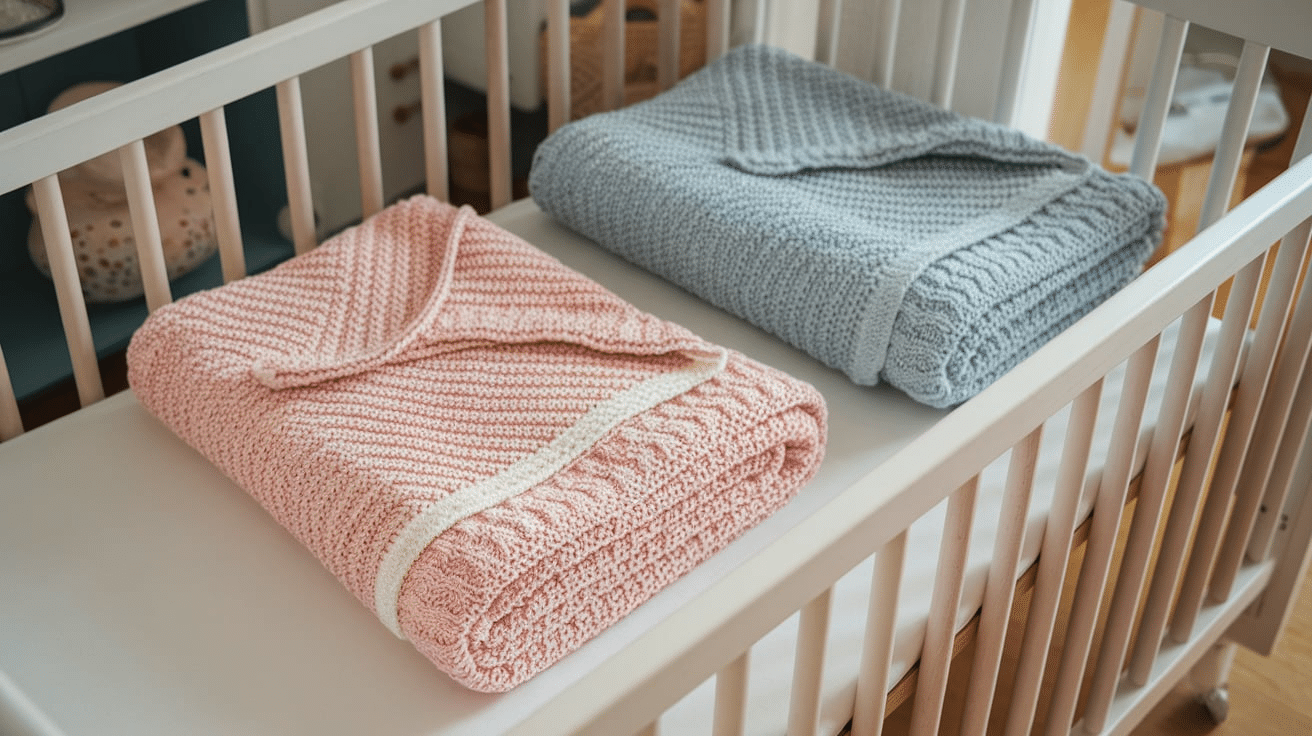
Use reverse stockinette to create soft, textured baby blankets, booties, or hats. The stitch’s bumpy texture provides a gentle, cozy feel against the skin, making it perfect for little ones. Pair it with garter stitch or other soft patterns for a variety of textures.
7. Sweaters and Cardigans

Try adding reverse stockinette sections to the body or sleeves for a unique twist on a traditional sweater. You can alternate it with regular stockinette or add it around the neckline and cuffs to create a standout design. The texture will give your sweater a more interesting look.
The reverse stockinette stitch can be used in so many creative ways. Try experimenting with different combinations of stitches, colors, and patterns to make your knitting projects unique.
Helpful Tips for Knitting the Reverse Stockinette Stitch
1. Watch Out for Curling Edges
- One of the challenges of reverse stockinette stitch is that the edges tend to curl toward the back of the work. This happens because of the difference in texture between the smooth knit side and the bumpy purl side.
- To prevent this, consider adding a border of garter stitch (knit every row) or a few rows of regular stockinette at the edges of your project. This will help keep your fabric flat.
2. Keep Your Tension Even
- Just like regular stockinette, keeping your tension even when knitting reverse stockinette is important. If your stitches are too tight, it could make the fabric stiff and cause the edges to curl more.
- If they’re too loose, the fabric might look uneven. Try to find a balance that works for you and practice with a few swatches if necessary.
3. Use a Heavier Yarn for a Stronger Texture
- Reverse stockinette works well with any yarn, but thicker yarns, like worsted or bulky, will show off the texture clearly.
- If you’re knitting something where you want the bumps to stand out, a thicker yarn will give you a more dramatic effect.
4. Pair with Other Stitches
- Reverse stockinette can be combined with other stitches for even more texture. Alternating between reverse stockinette and regular stockinette creates a cool striped effect while combining it with ribbing on the edges or cuffs gives a neat finish to your project.
With these tips, you can create amazing, well-structured projects using the reverse stockinette stitch.
Conclusion
The reverse stockinette stitch is a great way to add personality and style to your knitting projects. It’s simple to learn and can be used in a variety of items, from scarves and hats to home décor like pillows and coasters.
While it’s easy to knit, there are a few things to remember, like managing curling edges and maintaining even tension. With a little practice, you’ll be able to create a unique fabric that stands out in your projects.
Whether you’re a beginner or an experienced knitter, the reverse stockinette stitch offers many ways to add a unique touch to your work. So grab your yarn and needles and try to experiment with a reverse stockinette for some fun projects.
Frequently Asked Questions
Can I use reverse stockinette for entire projects?
Yes! Reverse stockinette can be used for projects like scarves, sweaters, or pillows. It adds texture and a unique look, but be mindful of curling edges.
What types of yarn work best for reverse stockinette?
Any yarn can be used for reverse stockinette, but thicker yarns like DK or worsted weight show the texture best. Wool and wool blends are great for highlighting the bumpy texture.
Is reverse stockinette a good stitch for beginners?
Yes! Reverse stockinette is simple to learn and works well for beginner projects. It’s an easy way to create texture without complicated patterns.
Will reverse stockinette look the same in every project?
The appearance of the reverse stockinette can change depending on the yarn and needle size you use. Thicker yarns will define the texture more, while finer yarns will make the bumps less pronounced.