


The felling stitch is a useful technique for finishing seams in knitting and sewing projects. It’s often used to join two pieces of fabric together neatly, hiding the raw edges to create a smooth and professional look.
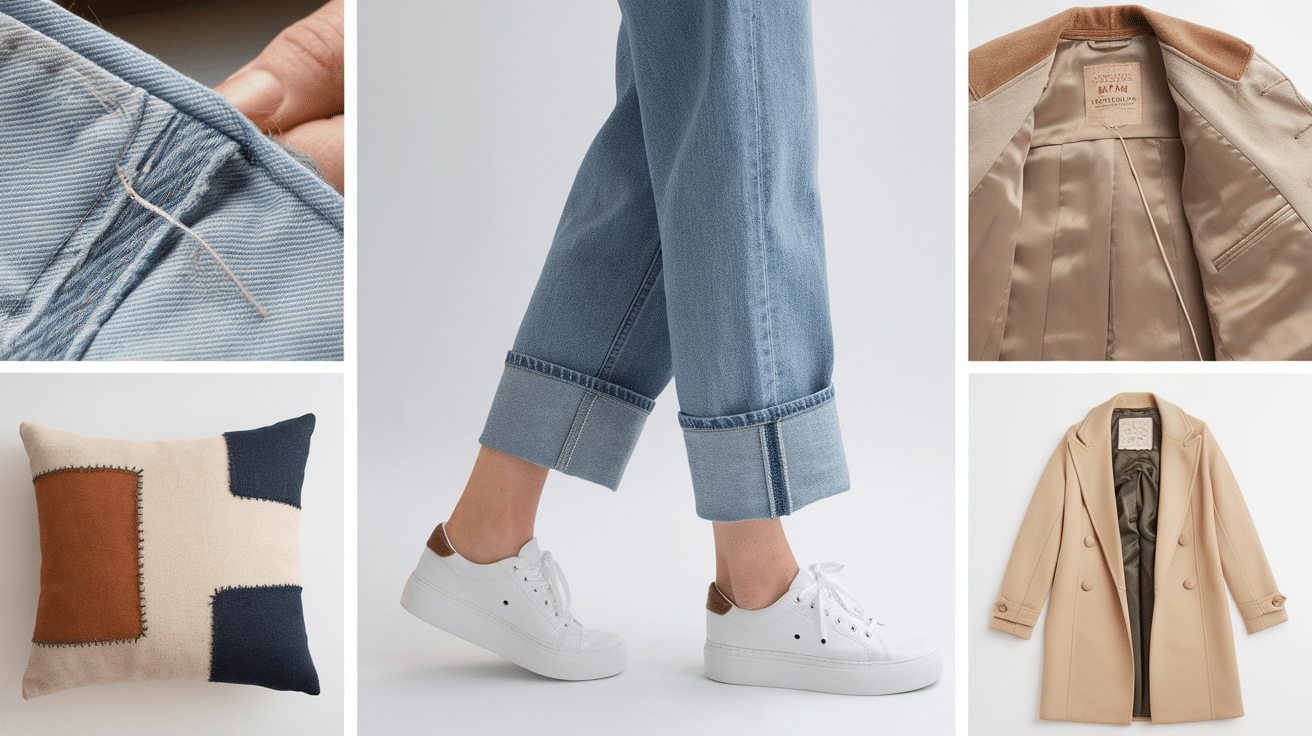
This stitch is great for projects like blankets, pillows, or garments where you want to make sure the seams stay secure and don’t show.
In this blog, I’ll go over how to work the felling stitch step by step, along with tips for making it easier to use. This stitch will be a handy tool for knitting or sewing, whether you’re a beginner or an experienced knitter. By the end of this blog, you’ll be able to use the felling stitch confidently in your next project.
What is the Felling Stitch?
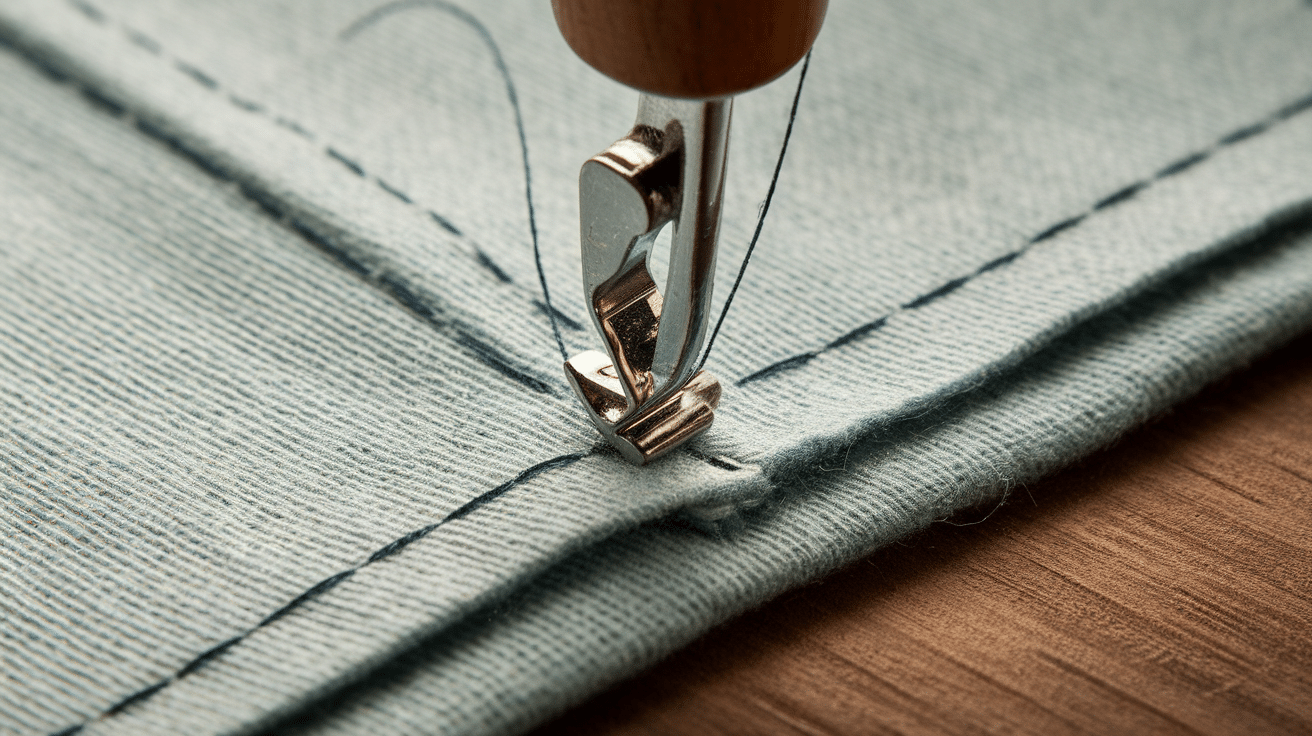
The felling stitch is a simple sewing technique for combining two pieces of fabric while keeping the edges neat and hidden. It’s often used to attach a lining to a jacket or cleanly finish seams on both sides of the fabric.
When you use the felling stitch, you take small, even stitches through the fabric, catching only a tiny bit of the fabric on the other side. This helps to secure the fabric pieces together without the stitches showing on the front side. The result is a smooth, classic-looking seam that handles wear and tear.
It’s a handy stitch for a variety of sewing projects, from clothing to home décor, and is especially useful when you want a strong and neat finish without visible stitching.
Why Use the Felling Stitch?
The felling stitch is a great choice for many sewing projects because it gives your work a neat and clean finish. Here are some reasons why you might want to use it:
1. Neat and Invisible Seams: The felling stitch hides the raw edges of the fabric, making the seams look neat on both sides. This is perfect for projects like jackets, where you want the inside to look as nice as the outside.
2. Strong and Durable: It’s a sturdy stitch that holds fabric together well, making it ideal for things like lining or areas that will get a lot of use. It keeps everything in place without worrying about the stitches coming undone.
3. Professional Finish: If you want your project to look polished and well-made, the felling stitch is a simple way to add a stylish touch.
4. No Visible Stitches on the Front: The felling stitch keeps your stitching hidden, giving a clean, smooth look on the front side of your work. This is perfect when you don’t want the stitching to show.
In short, the felling stitch helps create strong and neat seams, making it a great choice for any sewing project!
Materials Needed for the Felling Stitch
1. Fabric
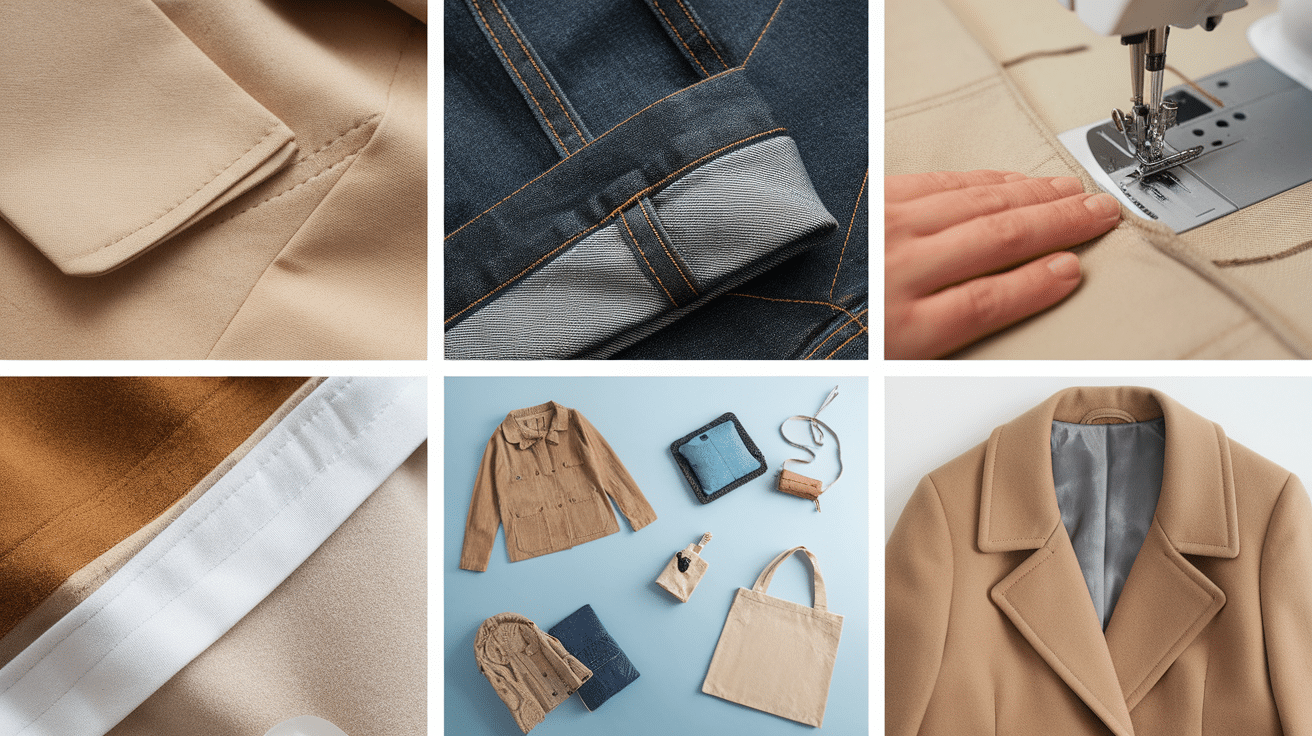
When using the felling stitch, the type of fabric you choose plays a key role in how your project turns out. It’s best to use medium-weight fabrics with some structure, as this stitch will hold up well.
- Cotton: This is one of the best fabrics for the felling stitch. It’s easy to work with, durable and holds its shape well. Cotton is great for quilting, pillow covers, and lightweight garments.
- Wool: Wool is another good fabric for the felling stitch, especially for outerwear like jackets or coats. It’s sturdy and soft, perfect for decorative and functional seams.
- Denim: For heavier projects like bags or jeans, denim works well with the felling stitch. It’s thick and durable, providing a strong seam that can withstand wear and tear.
- Linen: Linen is good for lighter, breathable projects like summer dresses or table linens. It’s slightly stiffer than cotton but flexible enough to handle the felling stitch.
- Silk: While not as common, silk can also be used with the felling stitch for delicate projects. You’ll need to handle it carefully, but it adds a smooth and luxurious touch to items like lining or decorative pieces.
2. Other Materials
- Needle: Use a sharp hand-sewing needle for precise stitching, especially when working with heavier fabrics.
- Thread: Choose a strong thread that matches your fabric color. Polyester thread is durable and works well for most fabrics. For lighter fabrics, you can use cotton or silk thread.
- Pins: Pins help hold your fabric in place while you stitch, ensuring the pieces stay aligned.
- Scissors: A sharp pair of fabric scissors will help you trim threads neatly and cut your fabric pieces before sewing.
- Iron: An iron is useful for pressing seams flat after stitching, giving your felling stitch a crisp and neat finish.
- Thimble: When working with thicker fabric like denim, a thimble can protect your fingers while you push the needle.
These materials will help you achieve a smooth finish with the felling stitch, ensuring that your seams are strong, neat, and long-lasting.
Step-by-Step Guide on How to Knit the Felling Stitch
Step 1: Prepare Your Fabric
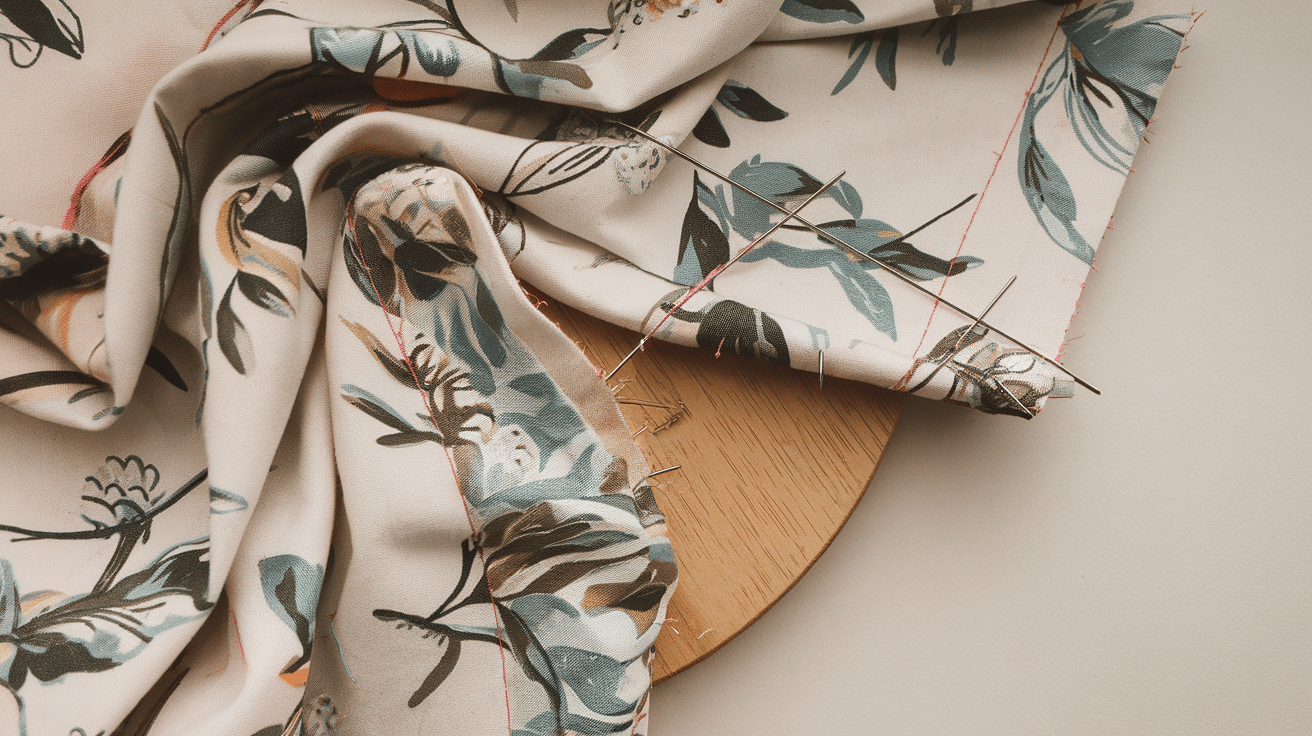
- Before sewing with the felling stitch, ensure your fabric edges are ready. If you’re using fabric with raw edges, fold them under slightly to prevent fraying. This will keep the fabric tidy as you work.
- Pin the pieces of fabric together where you want to sew, making sure everything is aligned properly, and keep the edges flat to ensure a clean finish.
Step 2: Thread Your Needle
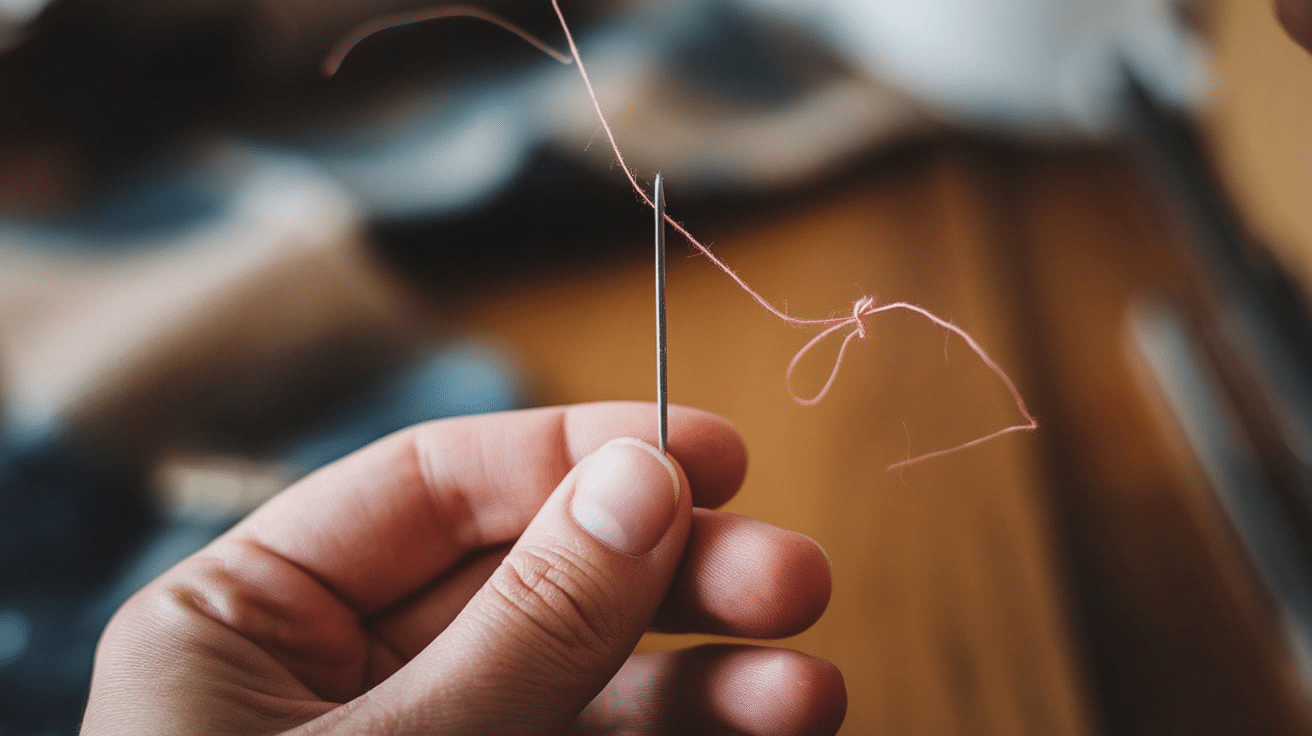
- Cut a piece of thread that’s about 18 inches long. Thread the needle and tie a small knot at the end of the thread. Be sure the knot is large enough to hold the thread securely.
- You can use matching thread for a seamless look or a contrasting color for a decorative touch. A thinner thread works best for smaller projects, while a thicker thread is great for heavier fabrics.
Step 3: Start Sewing on the Right Side
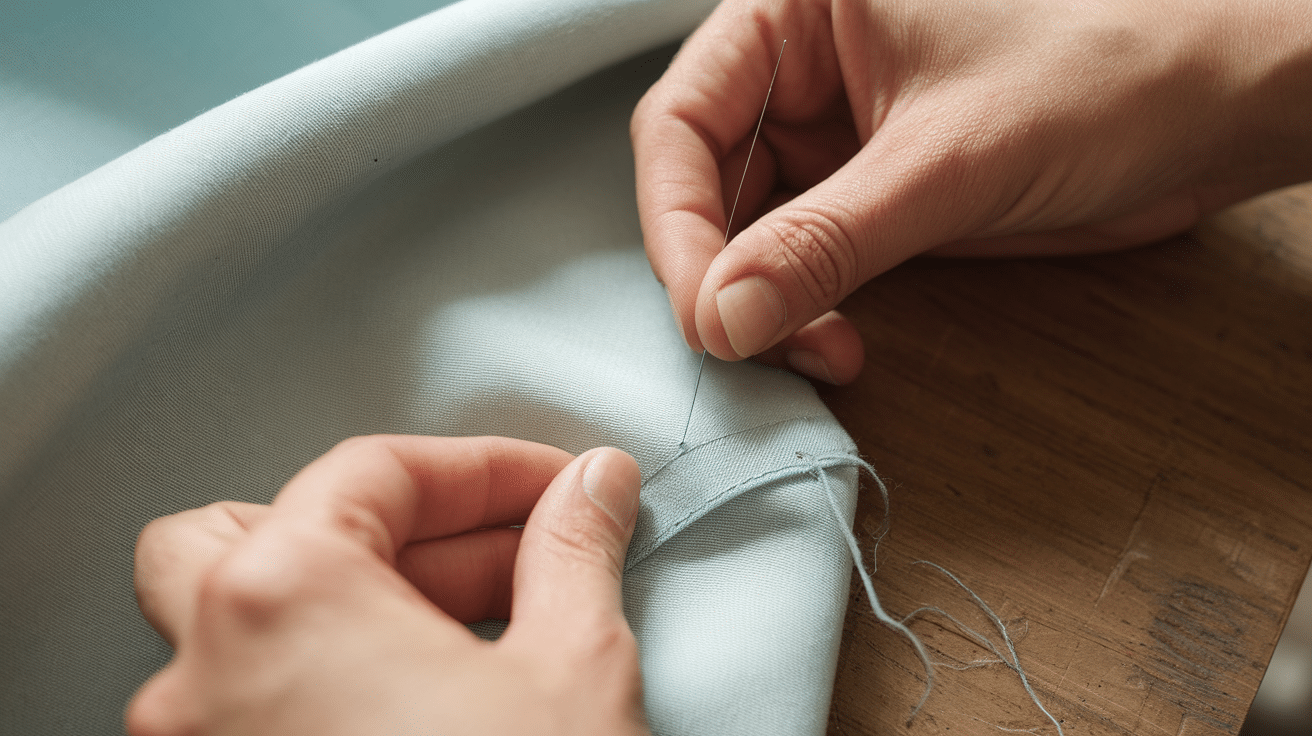
- Begin sewing on the right side of the fabric (the side you want to show). Insert the needle through the fabric from the back (wrong side), coming up just slightly near the edge. This will be the starting point of your stitch.
- Make sure your stitches are small, as large stitches will make the seam look bulky. The first stitch should anchor the fabric in place to prevent shifting.
Step 4: Make Small, Even Stitches
- Next, make small stitches along the edge of the fabric. Each stitch should be tiny and even, making sure that you are only catching a small amount of the fabric on the other side. This helps create a neat, clean seam.
- Continue sewing, taking care to keep your stitches evenly spaced. It helps to check your stitches every few inches to make sure they are consistent in size and placement.
Step 5: Secure the Stitch
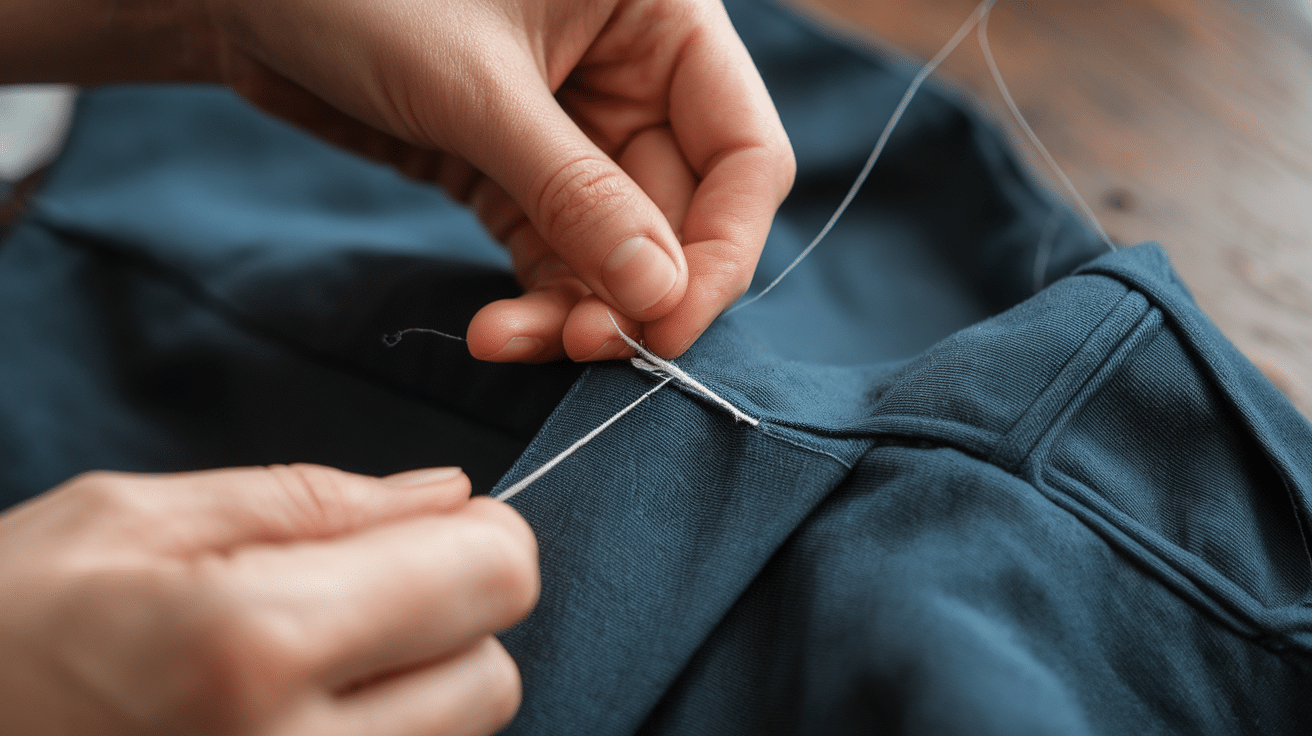
- When you reach the end of the seam, push the needle through the fabric one last time to secure the stitch. Tie a knot on the back side to hold everything in place.
- Make sure the knot is tight enough to prevent the stitch from coming undone. If you’re working with thicker fabric, you might want to add a second knot for extra security.
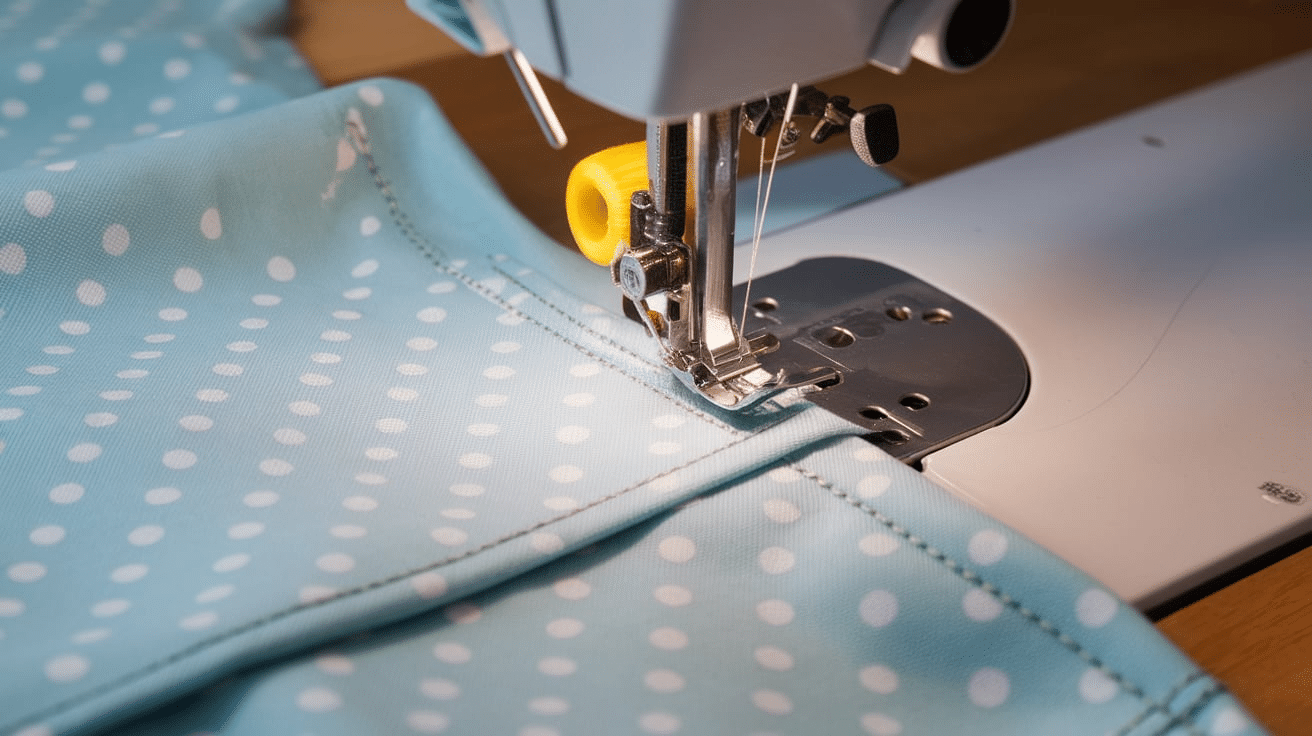
Step 6: Press the Seam

- Once you’ve finished sewing, gently press the seam with an iron. This helps smooth out wrinkles and makes the felling stitch look even cleaner.
- Be sure to press the fabric with the right amount of heat—too much heat could damage the fabric. Pressing the seam also helps the felling stitch lie flat, giving your project a crisp, clean finish.
That’s it! You’ve now mastered the felling stitch. It’s a simple but effective way to create strong, neat seams for your sewing projects. With a little practice, you can use it for all kinds of tasks, from adding linings to decorative details.
Benefits of Using the Felling Stitch
The felling stitch is a simple technique, but it offers many great benefits for your sewing projects. Here’s why you might want to consider using it:
1. Neat and Clean Finish: The felling stitch creates a smooth, neat seam. Your project looks tidy and well-made because the raw edges are hidden inside.
2. Strong and Durable: This stitch is strong and secure, making it ideal for items that need to withstand a lot of wear, like jackets or bags. It helps keep fabric pieces in place.
3. No Visible Stitches on the Front: One of the best things about the felling stitch is that it hides the stitches on the front of the fabric. This means your project looks smooth and polished without any visible stitching.
4. Versatile for Many Projects: The felling stitch can be used for various sewing tasks, from attaching linings to adding decorative touches. It’s perfect for coats, pillow covers, and even simple repairs.
5. Easy to Learn and Use: The felling stitch is easy to learn, even if you’re a beginner. It doesn’t require special tools or skills so that you can use it immediately on your projects.
In short, the felling stitch is a useful and practical technique that can strengthen, clean, and improve the appearance of your sewing projects.
Tips and Best Practices for Using the Felling Stitch
The felling stitch is a great way to create neat and strong seams, but like any sewing technique, a few tips can help you get the best results. Here are some simple best practices to remember when using the felling stitch.
1. Keep Your Stitches Even: If your stitches are too big, they might not look as neat, and if they’re too small, it can be hard to keep everything secure. Try to keep your stitches consistent in size for a clean finish.
2. Use the Right Thread: Choose a thread that matches your fabric. If you’re sewing a light fabric, use a thinner thread, and for heavier fabrics, choose a stronger, thicker thread. Matching the right thread makes your stitching blend in.
3. Be Careful with Tension: When pulling the thread through the fabric, make sure the tension isn’t too tight. If the stitches are too tight, the fabric could bunch up, making the seam look uneven. Keep your stitches snug.
4. Secure the End of Your Stitch: At the end of the seam, be sure to tie off the thread securely. You can make a small knot to keep the stitch from coming undone.
5. Press Your Seams: Press your seam with an iron after you finish sewing. This will help flatten the fabric and give the felling stitch a crisp, clean look. Just be careful not to use too much heat, which could damage some fabrics.
6. Practice on Scraps: If you’re new to the felling stitch, practice on scrap fabric first. This will help you get a feel for the stitch and how to keep your tension even before you work on your main project.
By following these tips, you can use the felling stitch confidently and get great results every time. It’s a simple technique to make your projects look good.
Conclusion
The felling stitch is a simple yet powerful technique that can make your sewing projects look smooth and have a nice finish. It’s a great way to join fabric pieces while hiding raw edges, giving your work a clean, polished finish.
If you’re working on a jacket lining, a decorative pillow, or a quilting project, the felling stitch adds strength and durability to your seams.
By following the step-by-step guide and using the right materials, you can easily master this stitch. It’s also a versatile technique, perfect for all types of projects, from functional to decorative. With a little patience, the felling stitch will quickly become a go-to technique.
Frequently Asked Questions
When should I use the felling stitch?
Use the felling stitch to join linings, attach decorative pieces, or finish seams in garments and home décor projects.
How do I start the felling stitch?
Start by folding the fabric edges slightly, pinning them in place, and then sewing along the seam from the right side of the fabric.
Does the felling stitch show on the front of the fabric?
No, the felling stitch hides the stitching on the front side, giving a smooth and clean appearance.
How do I finish off the felling stitch?
When you reach the end of your seam, make a small knot at the back to secure the thread and prevent it from unraveling.
Can the felling stitch be used for quilting?
Yes, the felling stitch can be used for quilting, especially when finishing seams or attaching quilted patches.


