Have you ever looked at a cone and thought, “How hard could it be to draw that?” Then you try it and realize there’s more to this simple shape than meets the eye.
I’ve been there too. That’s why I’ve created this guide with inspiring cone drawing ideas to help you master this fundamental shape.
In this article, I’ll walk you through everything from basic outlines to fantasy-themed designs. Whether you’re struggling with shading or just want to add more interesting shapes to your art,
I’ve got you covered. As an artist who’s taught beginners for over 5 years, I know exactly where most people get stuck with cone drawings.
The best part? You don’t need fancy supplies or years of experience to follow along. Just grab a pencil and let’s get started!
Essential Tools for Cone Drawing
To draw cones with precision and realism, having the right tools can make a big difference.
If you’re a beginner or an experienced artist, these essentials will help you achieve smooth lines, accurate proportions, and effective shading.
Pencils (HB, 2B, 4B)
Different pencil grades create different shades:
- HB pencil – Great for outlines and light details
- 2B pencil – Perfect for medium shading
- 4B pencil – Ideal for dark shadows and deep tones
I usually start with an HB for the basic shape, then use 2B and 4B for shading. Don’t worry if you only have one pencil though – you can vary your pressure instead.
Erasers
Two types of erasers come in handy:
- Kneaded eraser – This gray, putty-like eraser can be shaped to lift out small areas of graphite. Perfect for creating highlights!
- Regular eraser – For completely erasing lines or mistakes
Blending Tools
To create smooth shading, try these blending tools:
- Tissue or paper towel – Wrap it around your finger to gently blend shading
- Blending stumps – These tightly rolled paper tools help smooth out pencil marks
- Cotton swabs – Work in a pinch if you don’t have proper blending stumps
Paper Types for Better Shading
The paper you use affects how your shading looks:
- Smooth Bristol board – Creates very even, clean shading
- Sketch paper with tooth – Holds more graphite for darker shades
- Drawing paper – A good middle ground for beginners
I usually recommend starting with regular drawing paper until you find what works best for you.
Fun and Inspiring Cone Drawing Ideas
Let’s explore some fun and creative inspirations to draw cones!
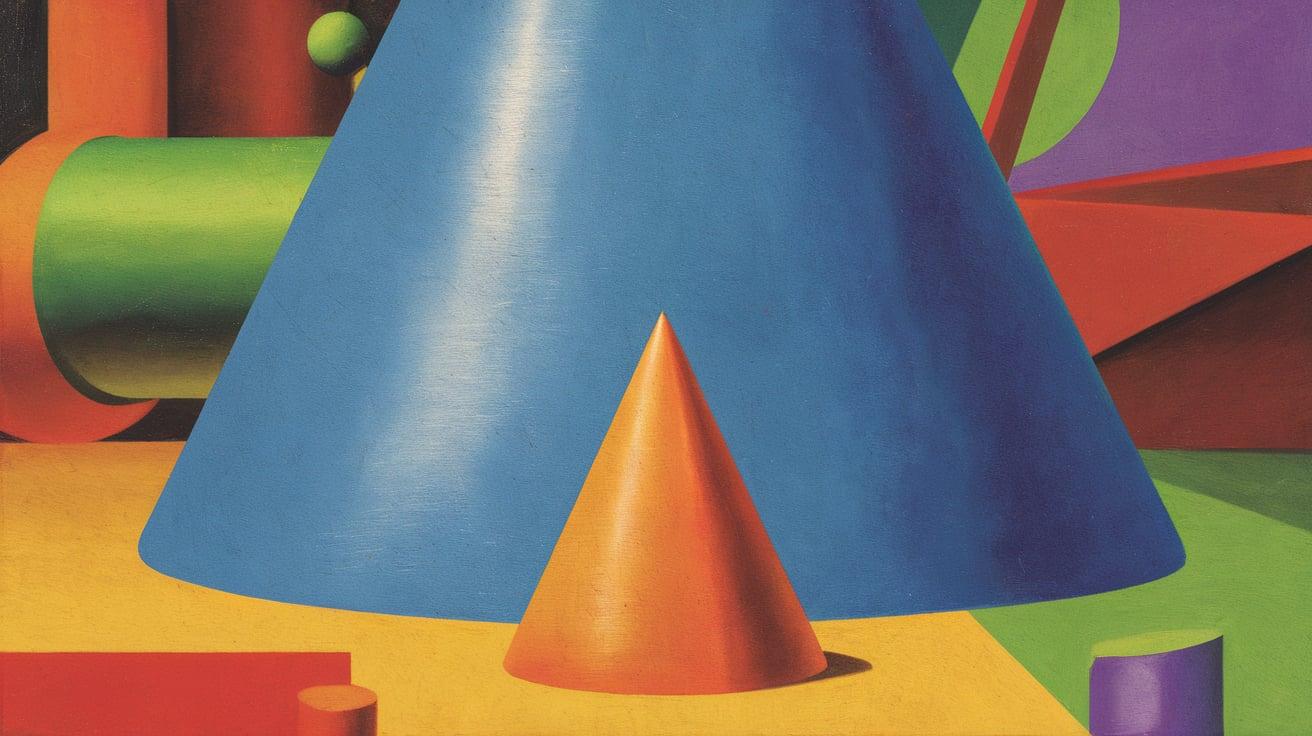
1. Simple Cone Outline
Let’s start with the basics:
- Draw a horizontal oval for the base
- Mark a point above the center of the oval for the tip
- Draw two straight lines connecting the tip to the edges of the oval
- Erase the back portion of the oval (the part that would be hidden)
This simple outline is the foundation for all other cone drawings. Practice this until you can do it easily.
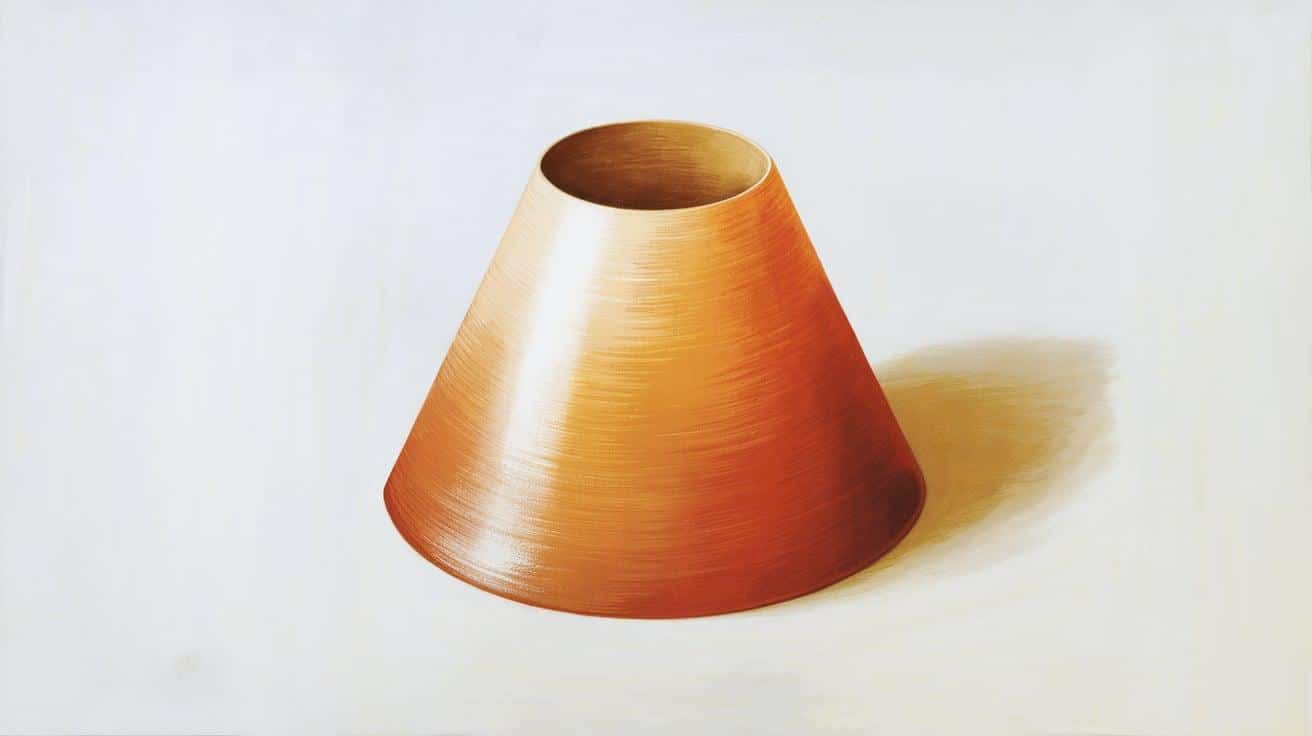
2. Shaded Cone for Depth
Now let’s add some shading:
- Decide where your light source is coming from (I like starting with upper left)
- Leave the side facing the light source lighter
- Add darker shading to the opposite side
- Draw a shadow on the surface the cone is sitting on
Remember: The shadow on the ground should extend in the opposite direction from your light source.
3. Cone with A Smooth Gradient
For a realistic look, create a smooth transition from light to dark:
- Shade lightly over the entire cone except for the highlighted area
- Add darker shading to the shadow side
- Use your blending tool to smooth the transition between light and dark
- Add a final layer of dark shading to the deepest shadow area
This technique creates that smooth, realistic look that makes objects appear 3D.
4. Textured Cone
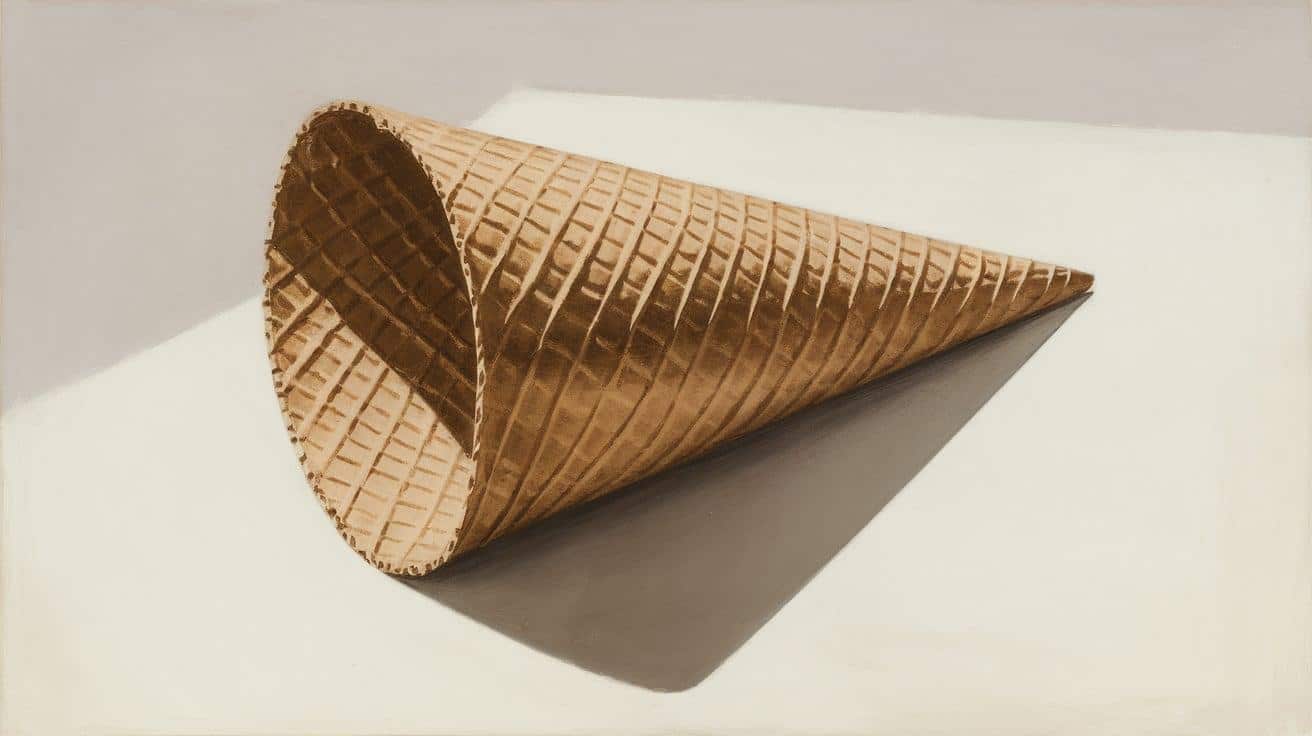
Plain cones are fine, but textured ones are more interesting:
- Draw your basic cone outline.
- Decide on a texture (rough, bumpy, scaly, etc).
- Add the texture pattern consistently across the surface.
- Still shade according to your light source.
You can try textures like small circles for a bumpy surface, short lines for a rough, bark-like texture and cross-hatching for a woven look.
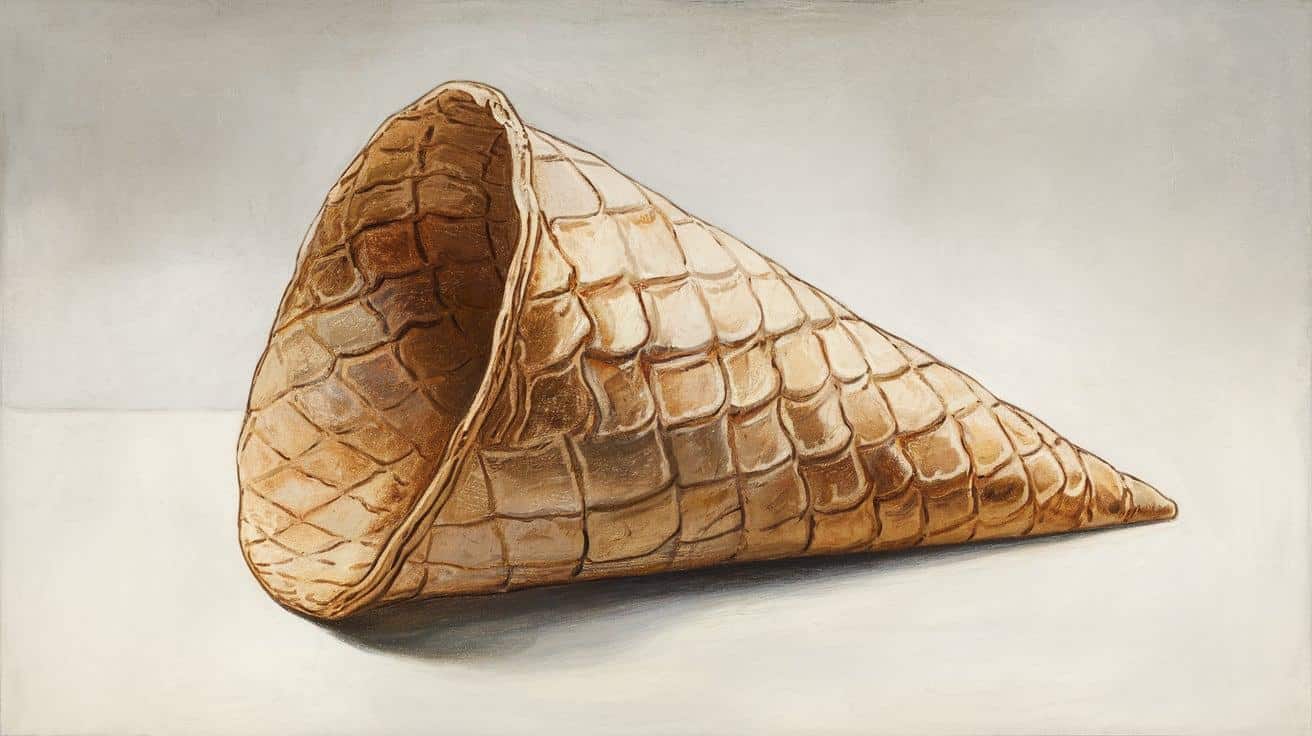
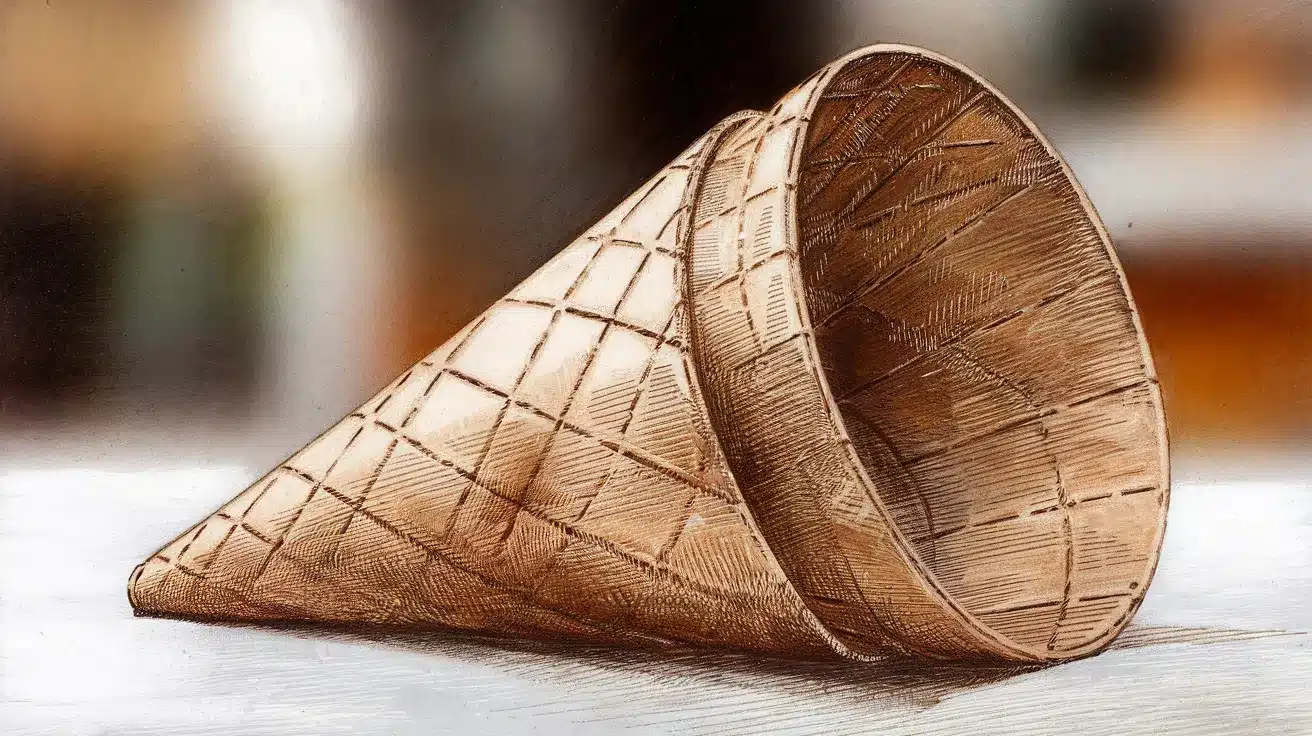
5. Ice Cream Cone Drawing
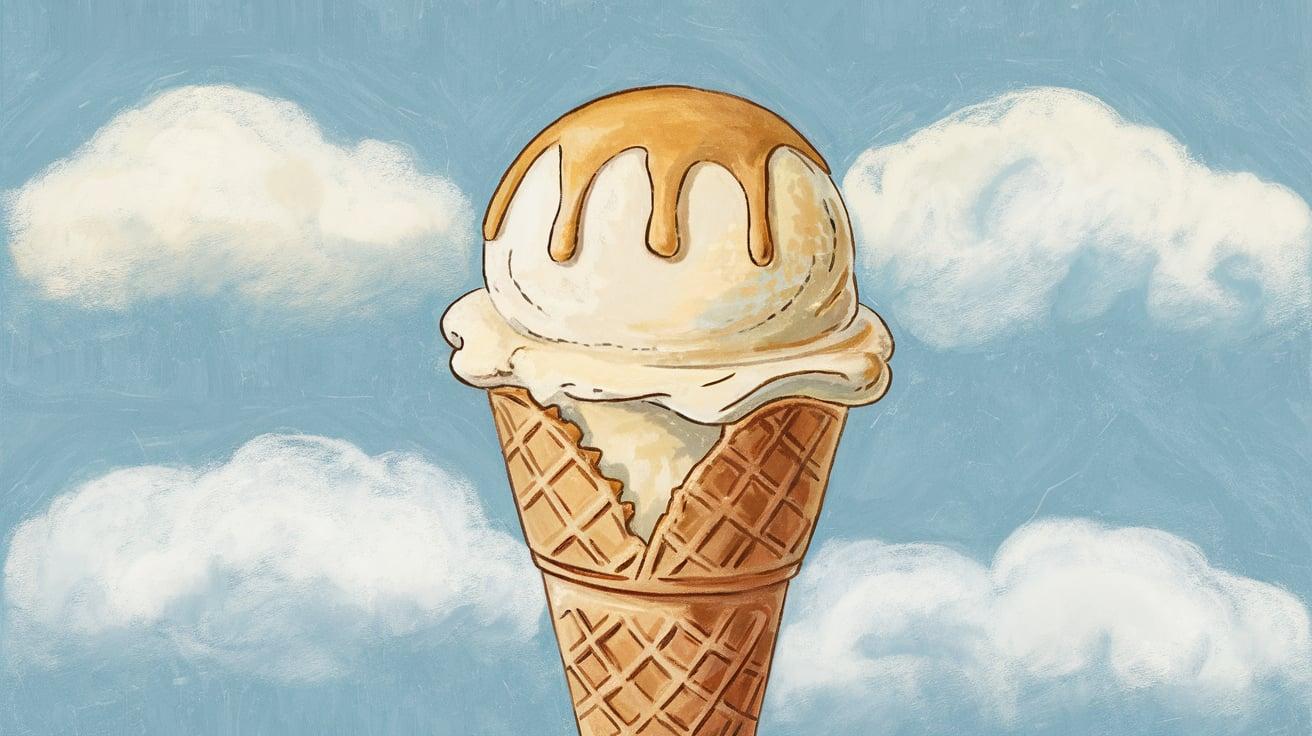
Who doesn’t love ice cream?
- Draw a waffle cone pattern using crisscrossing diagonal lines.
- Add scoops of ice cream on top (these are basically spheres).
- Add details like drips, sprinkles, or a cherry.
- Shade both the cone and ice cream.
This is a great way to practice combining shapes (cones and spheres).
6. 3D Cone with Realistic Shadows
For a more advanced approach:
- Create your basic shaded cone
- Darken the shadow side significantly more
- Add a cast shadow that’s darkest near the cone and fades as it extends away
- Add a slight reflection on the surface under the cone
Pro tip: The shadow edge should be softer the further it gets from the object.
7. Geometric Cone with Perspective
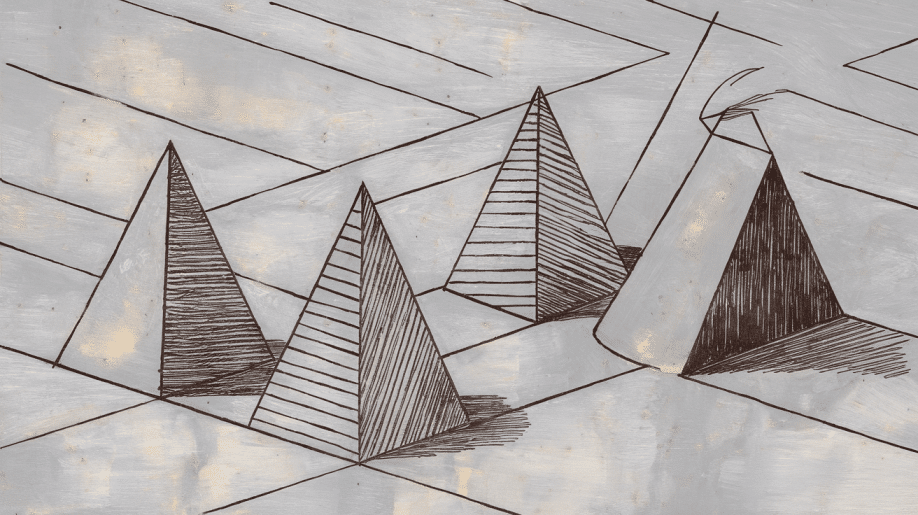
Challenge yourself with different viewpoints:
- Draw cones viewed from above (you’ll see more of the circular base)
- Draw cones viewed from below (the base appears as an oval below the tip)
- Draw cones tipped over on their sides
- Create a row of cones at different angles
This practice helps you understand how shapes change depending on your viewpoint.
8. Cone with Cross-Hatching Technique
Instead of blending, try cross-hatching:
- Draw parallel lines in one direction on the shadow side
- Add another layer of lines going in a different direction
- Add more layers in shadow areas for darker tones
- Keep the light side mostly free of lines
This technique gives a more stylized, artistic look to your cones.
Let’s get creative:
- Draw cone outlines that overlap each other
- Use different colors or shading patterns for each
- Try distorting the cone shape by making it wavy or curved
- Cut out sections to create negative space
There are no rules here – just have fun experimenting!
10. Stacked Cones Drawing
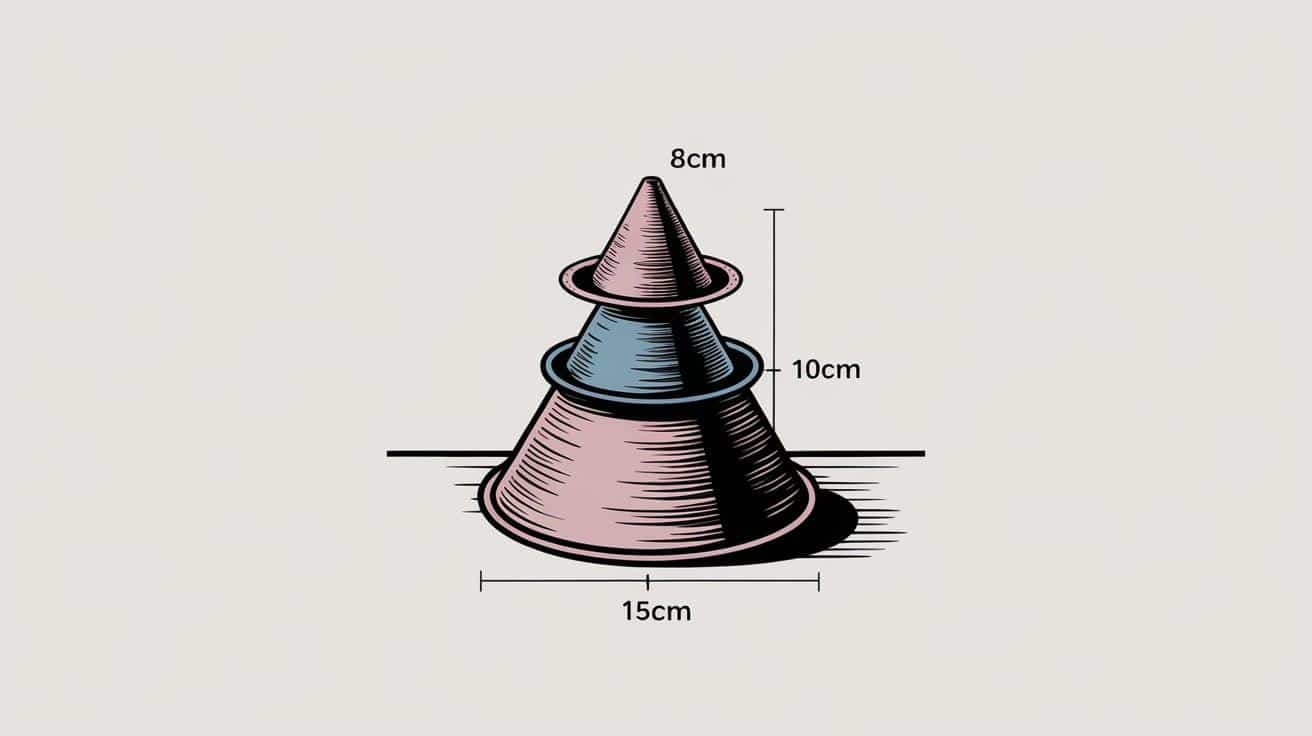
Create interesting arrangements:
- Draw several cones stacked on top of each other
- Vary their sizes and angles
- Make sure the shadows and highlights are consistent
- Consider having some cones balanced precariously for visual interest
This exercise teaches you about composition and how objects interact.
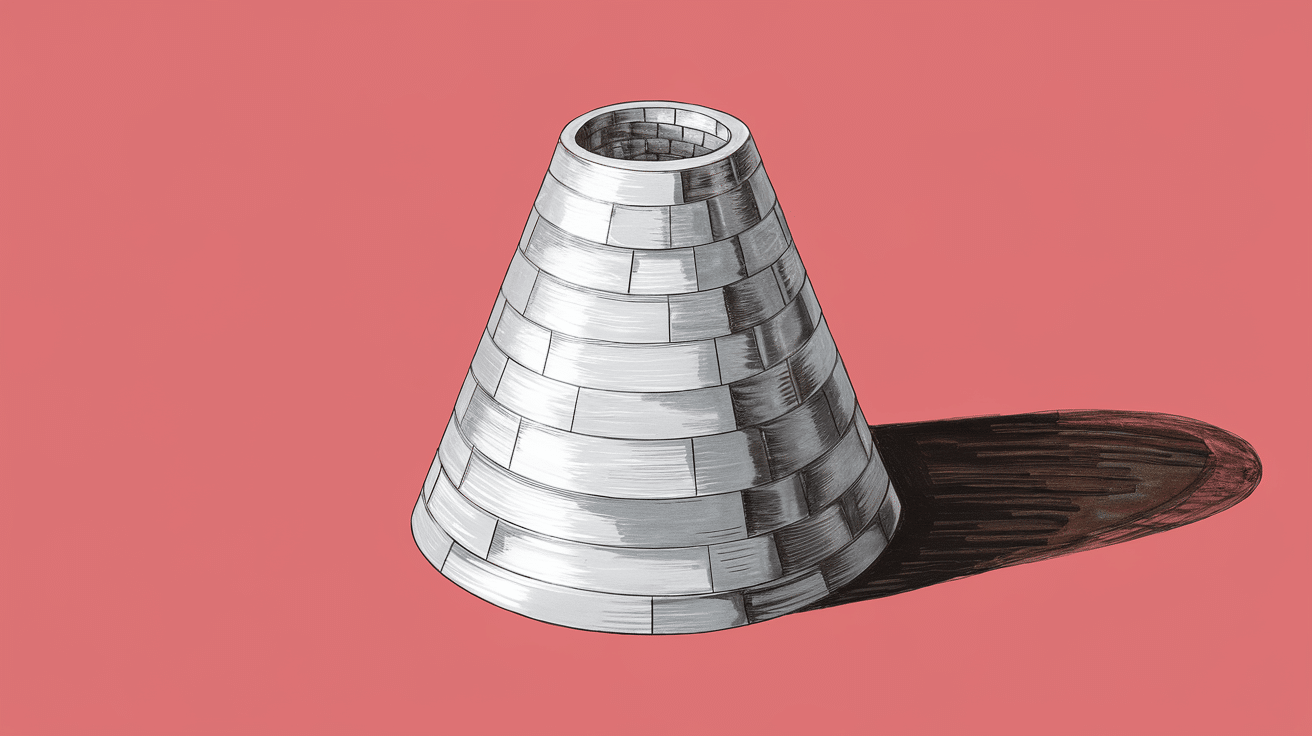
11. Cone as A Base for Other Objects
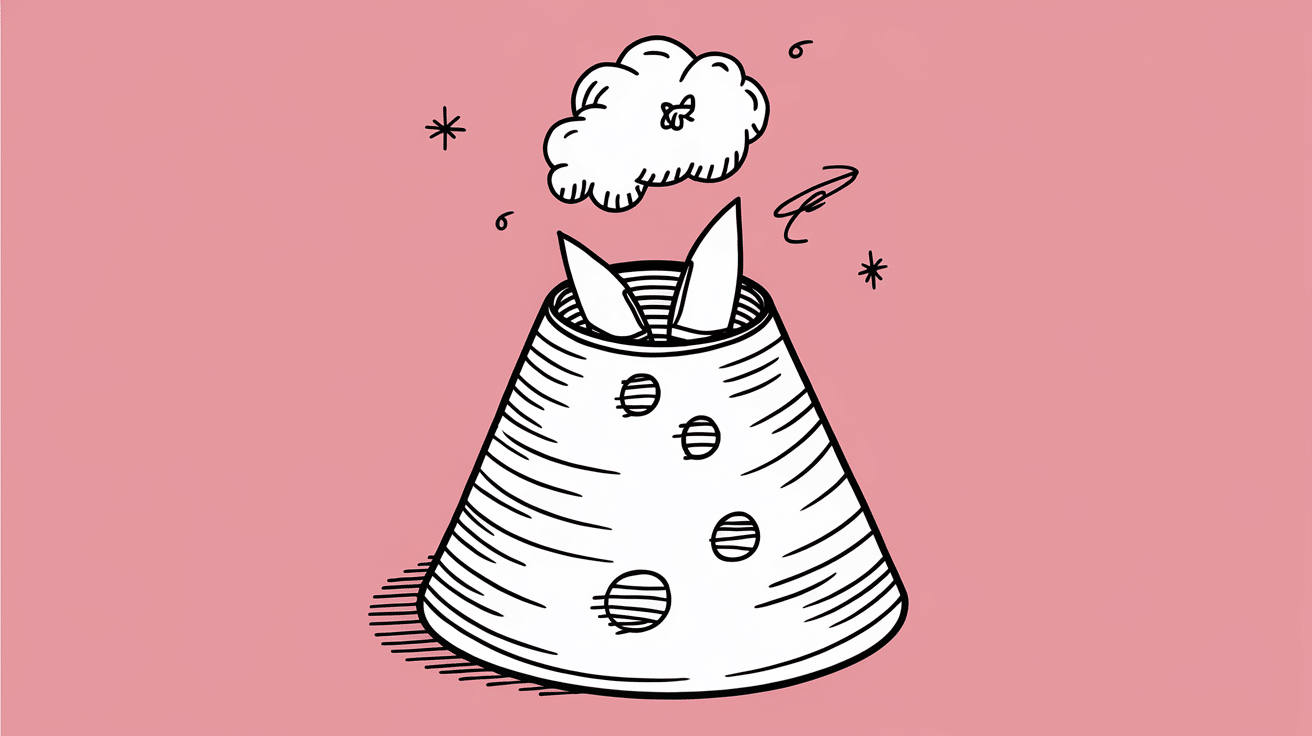
Cones are building blocks for many objects:
- Add branches to create simple pine trees
- Add a brim for a witch’s hat
- Add a rounded top for a rocket ship
- Turn it upside down and add details for a funnel or megaphone
This shows how mastering basic shapes helps you draw more complex objects.
12. Fantasy-Themed Cone Designs
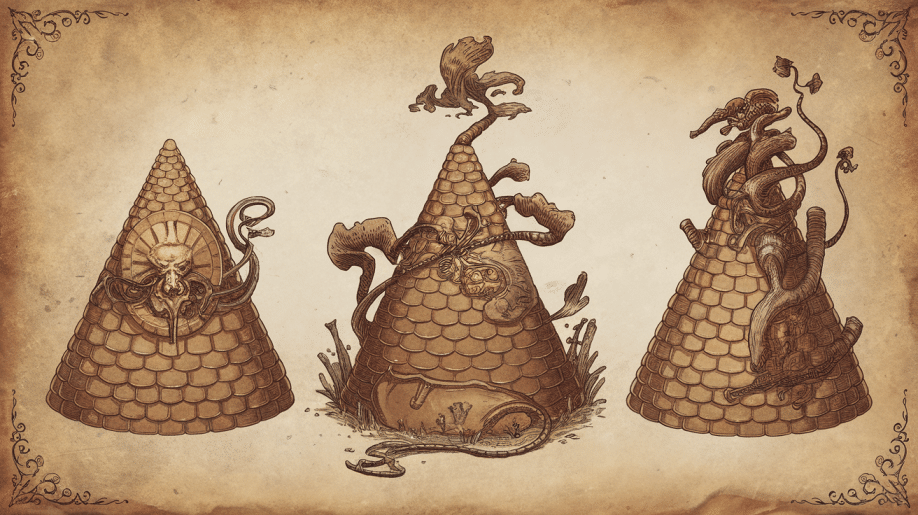
Let your imagination run wild:
- Draw a cone with a spiral pattern wrapping around it
- Add glowing stars or gems embedded in the surface
- Create a cone with sections that appear to be different materials
- Add magical effects like sparks or mist coming from the tip
Fantasy elements make practicing basics more fun and engaging.
How Cone Drawing Helps Improve Shading and Perspective?
You might wonder why anyone would spend time practicing how to draw cones. Good question! Cones may seem like simple shapes, but they are fundamental in art, design, and technical drawing.
If you’re a beginner or an advanced artist refining your shading techniques, drawing cones offers numerous benefits.
Think of basic shapes as the alphabet of drawing. Just like you need to know letters before writing words, you need to understand shapes before creating complex art.
Cones are one of those fundamental building blocks that show up everywhere – from still life setups to cartoons. Master this shape, and you’ll have an easier time drawing:
- Mountains and volcanoes
- Party hats and wizard hats
- Ice cream cones
- Tree shapes
- Rooftops and spires
Cones are perfect for practicing two key skills:
- Shading curves – The rounded surface of a cone helps you learn how light wraps around objects
- Perspective – Drawing the circular base from different angles teaches you how circles appear as ovals in 3D space
When I first started teaching art, I noticed students who practiced cone drawings picked up shading much faster than those who didn’t.
Common Uses of Cones in Artwork
Cones pop up in art more than you might think:
- Still life setups – Art teachers love using cones as practice objects
- Architectural details – Church spires, roof points, and towers
- Character design – Hats, horns, and pointed features
- Landscape elements – Trees, mountains, and rock formations
Tips for Improving Your Cone Drawings
Drawing cones may seem simple, but mastering them can enhance your skills in shading, perspective, and form. Let’s look at some key tips to improve your cone drawings:
Use Different Pencil Grades for Depth
Don’t just press harder with the same pencil. Instead:
- Use HB for outlines and highlights
- Use 2B for mid-tones
- Use 4B or 6B for the darkest shadows
This creates more realistic depth than you can achieve with a single pencil.
Practice Shading Techniques
Try these different approaches:
- Hatching- parallel lines
- Cross-hatching- overlapping lines in different directions
- Stippling- using dots
- Smooth blending- creating gradual transitions
Each technique creates a different feel and texture.
Observe Real-Life Cones for Accuracy
Nothing beats studying the real thing:
- Look at ice cream cones, party hats, or traffic cones
- Notice how light hits them and where shadows fall
- Pay attention to how the circular base appears from different angles
I keep a simple paper cone on my desk as a reference model.
Conclusion
Drawing cones helps improve your skills in perspective, shading, and design. By practicing different ideas, you can develop better control over shapes and lighting in your artwork.
Don’t rush the process. Even something as simple as a cone takes practice to master. Start with the basic outline, then gradually try more complex ideas as you get comfortable.
Remember that every artist started somewhere. Those amazing realistic drawings you admire began with someone practicing basic shapes like cones!
Now, grab your pencil and start drawing. Your future self will thank you for mastering these fundamentals today.
Frequently Asked Questions
How Do I Make My Cone Drawing Look More Realistic?
Focus on light direction and soft blending. Make sure your highlights and shadows make sense based on where your light source is coming from.
What Is the Best Pencil for Shading Cones?
Use 2B for light shading and 4B or 6B for darker shadows. These three grades give you enough range to create realistic shading without needing many supplies.
How Can I Improve My Shading Techniques?
Practice blending with tissues, cotton swabs, or blending stumps. Also, try shading in layers – start light and gradually build up darker areas. Don’t rush to the darkest shadows right away.
What Are Common Mistakes in Cone Drawing?
Uneven shading and incorrect shadow placement. Many beginners shade randomly instead of following where the light would naturally hit.
How Can I Add Creativity to My Cone Drawings?
Experiment with patterns, textures, and different perspectives. Try combining cones with other shapes or cutting sections out of your cone.