

Looking for a creative way to express yourself through art? Pop art self-portraits offer an accessible approach for artists of all levels.
This article presents distinct pop art styles you can try today, if you’re new to art or more experienced.
You’ll learn about pop art’s history and necessary supplies and receive step-by-step instructions to create your distinctive self-portrait.
These techniques work well for artists at any skill level and require minimal specialized knowledge.
This guide will help you transform a simple photo into a stylized work of art using pop art techniques.
What Is a Pop Art Self-Portrait?
A pop art self-portrait is a colorful, bold representation of yourself using the style and techniques of the pop art movement.
It transforms ordinary images into something extraordinary and eye-catching.
The Origins of Pop Art
Pop art began in the 1950s and exploded in popularity during the 1960s. Artists like Andy Warhol and Roy Lichtenstein created works that celebrated everyday objects and popular culture.
These artists turned soup cans, comic strips, and celebrity photos into iconic works of art. They used bright colors, bold outlines, and repeated patterns to make their art stand out.
Why Pop Art Works Well for Self-Portraits?
Pop art is well-suited for self-portraits because:
- It uses bold, clear visual elements
- It doesn’t require advanced realistic drawing skills
- It relies on simple shapes and defined color areas
- It allows for personal expression through stylistic choices
- It provides accessible techniques for various skill levels
Your self-portrait can serve as a visual representation of your identity through thoughtful color and style choices.
Essential Supplies for Creating a Pop Art Self-Portrait
You don’t need fancy art supplies to create stunning pop art.
Here’s what you’ll need:
Traditional Art Supplies
- Paper or canvas: Thick paper, poster board, or canvas
- Pencil and eraser: For sketching your initial outline
- Black markers: For bold outlines (Sharpies work great!)
- Paints or markers: Bright, bold colors (especially primary colors)
- Paintbrushes: If using paint
- Ruler: For creating clean lines and divisions
Digital Tools for A Pop Art Look
If you prefer digital art, try these tools:
- Smartphone apps: Photoshop Express, Procreate Pocket, or Canva
- Computer software: Adobe Photoshop, GIMP (free), or Krita (free)
- Tablet or stylus: For more precise digital drawing
- Online filters: Many websites offer pop art filters for photos
Digital tools allow for experimentation with colors and effects without using physical supplies.
Pop Art Self-Portrait Ideas to Try
Before starting with your portraits, you can look at a wide range of ideas. There are quite a few ideas available online, which you can look at for yourself.
Here are several pop art styles you can consider for your self-portrait:
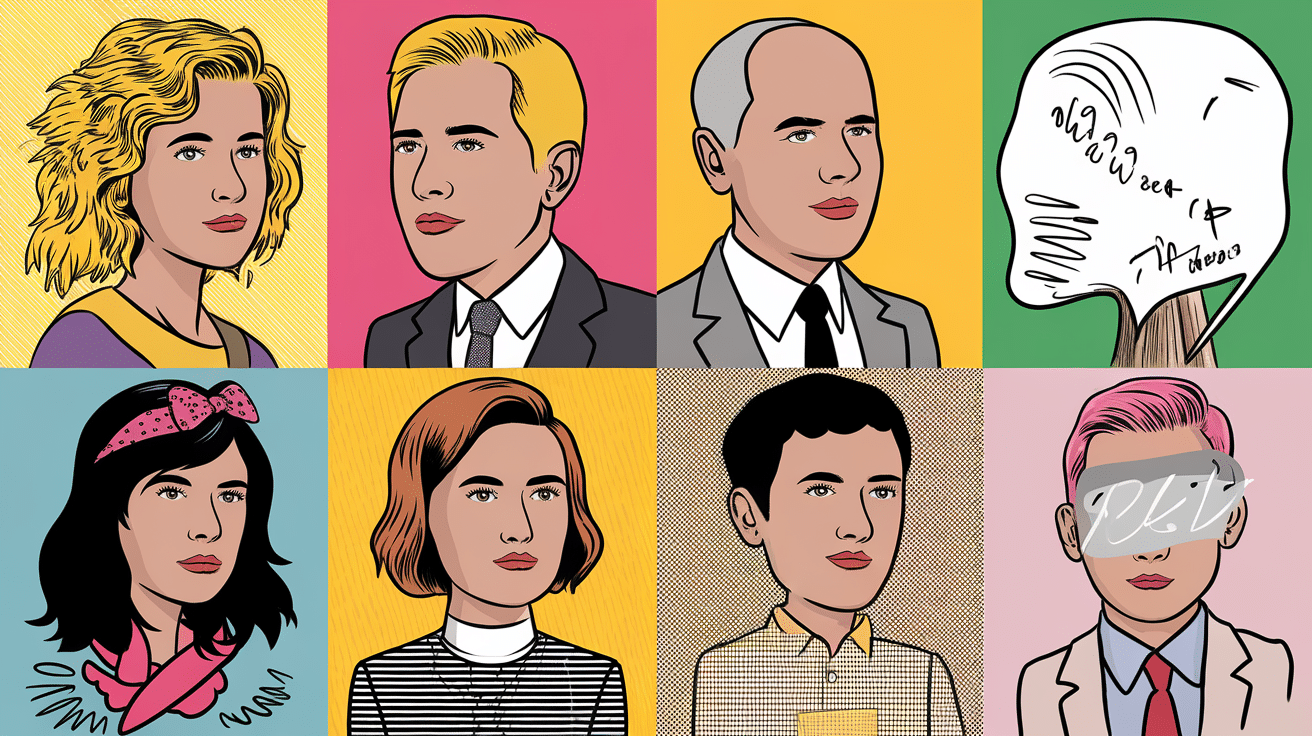
1. Classic Comic Book Style
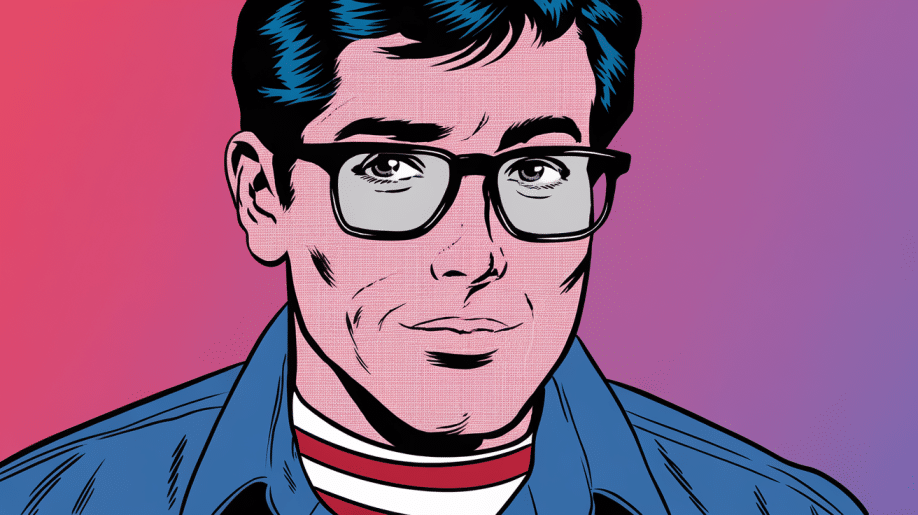
Transform yourself into a comic book character with:
- Bold black outlines
- Speech bubbles with your favorite saying
- Primary colors (red, blue, yellow)
- Action lines or “POW!” graphics
This style feels like you’ve stepped right out of a vintage comic book!
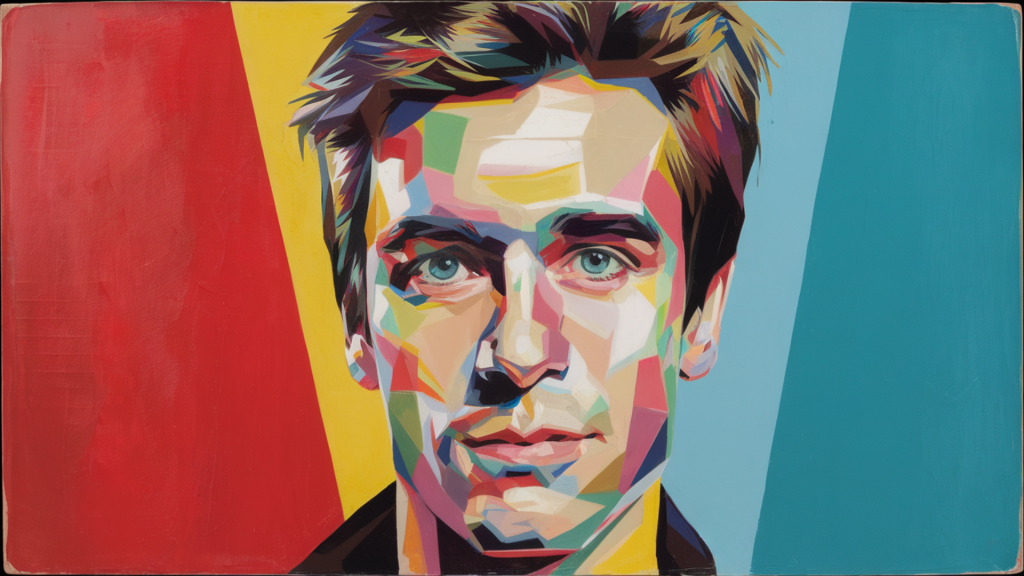
Create a striking portrait using:
- Thick black outlines around facial features
- Blocks of unmixed primary colors
- Minimal shading
- Simplified facial features
This style is beginner-friendly and instantly recognizable as pop art.
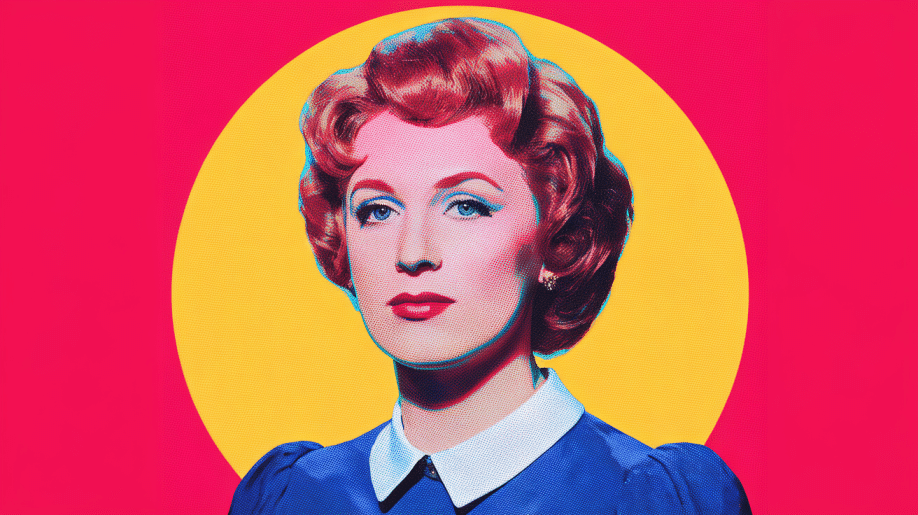
Try this newspaper printing style with:
- Small dots that create shading and dimension
- Limited color palette
- Varying dot sizes for different tones
- Bold outlines to define features
This technique mimics old-school printing methods used in comics and newspapers.
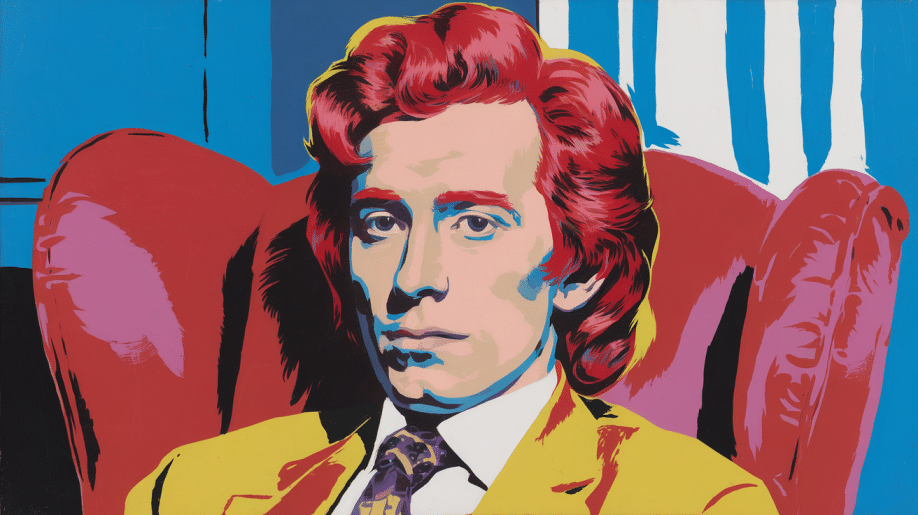
4. Andy Warhol-Inspired Multi-Color Portraits
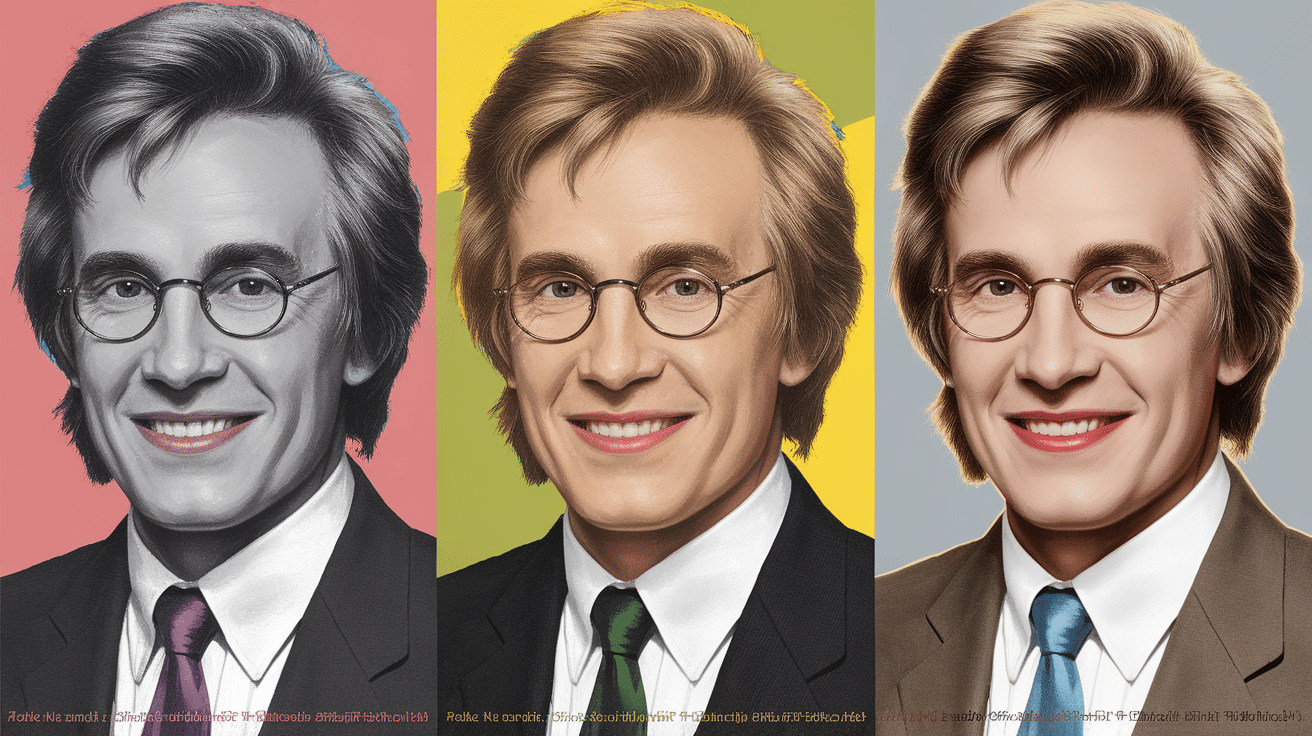
Create a grid of colorful self-portraits:
- Divide your canvas into 4, 6, or 9 squares
- Draw the same portrait in each square
- Use different bold color combinations for each
- Keep outlines consistent across all portraits
This is one of the most recognizable pop art styles, often associated with Warhol’s work.
5. Lichtenstein-Inspired Speech Bubble Portraits
Add drama to your portrait with:
- Thought or speech bubbles with text
- Ben-Day dots for shading
- Primary colors with black outlines
- Emotional expressions or surprised looks
This style tells a story within your portrait.
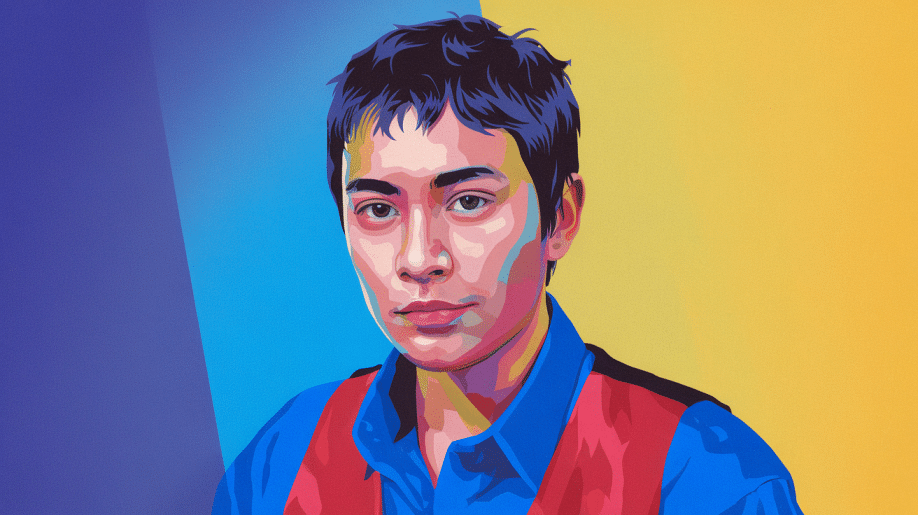
6. Neon and Psychedelic Color Themes
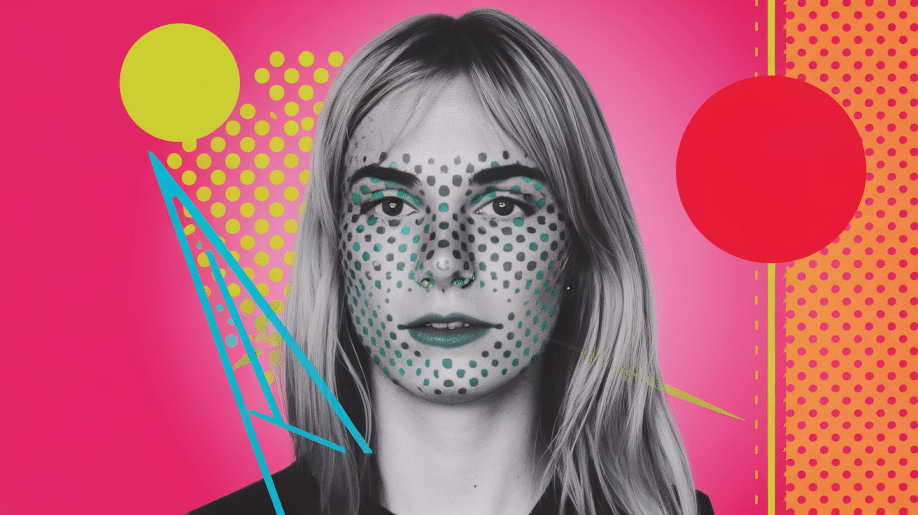
Go bold with vibrant neon colors:
- Fluorescent pinks, greens, and yellows
- Swirling patterns in the background
- High contrast between colors
- Glowing effects around features
This style creates an energetic, modern pop art look.
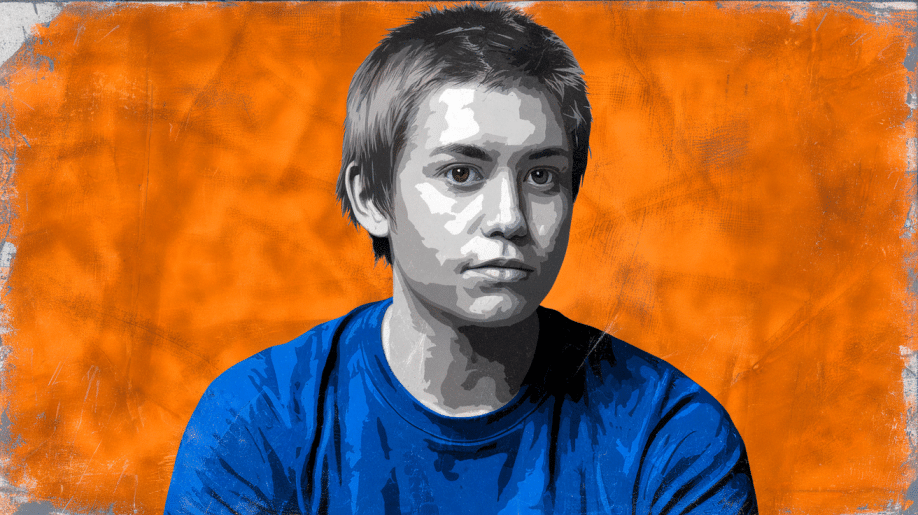
7. High-Contrast Black and White with A Pop of Color
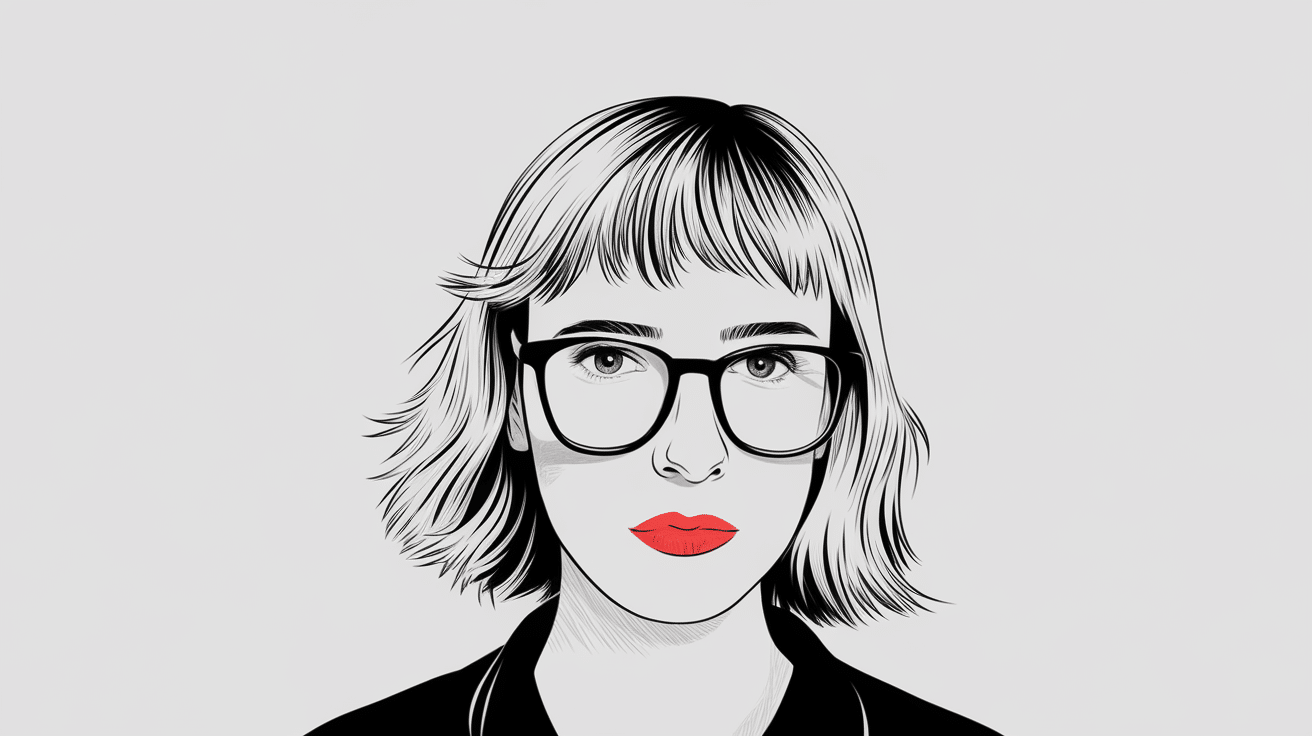
Create drama with:
- Mostly black and white portrait
- One or two elements in bright color (like red lips or blue eyes)
- Strong shadows and highlights
- Simplified features
This style is sophisticated while still being distinctly pop art.
8. Stencil and Graffiti-Inspired Pop Art
Channel street art vibes with:
- Simple stencil-like shapes
- Spray paint effects (real or simulated)
- Drips and splatters
- Bold, contrasting colors
- Layered elements
This urban style combines pop art with street art influences.
9. Cut-Out Collage Style Portraits

Mix and match with:
- Photos, magazine cutouts, and colored paper
- Different textures and patterns
- Layered elements building your portrait
- Unexpected materials (fabric, foil, etc.)
This hands-on approach creates unique, textured portraits.
10. Mixed Media Pop Art Portraits
Combine multiple techniques:
- Paint, markers, and collage elements
- Different textures and surfaces
- Digital and traditional elements
- Various pop art styles in one portrait
This approach lets you experiment with different techniques.
11. Self-Portraits with Everyday Objects
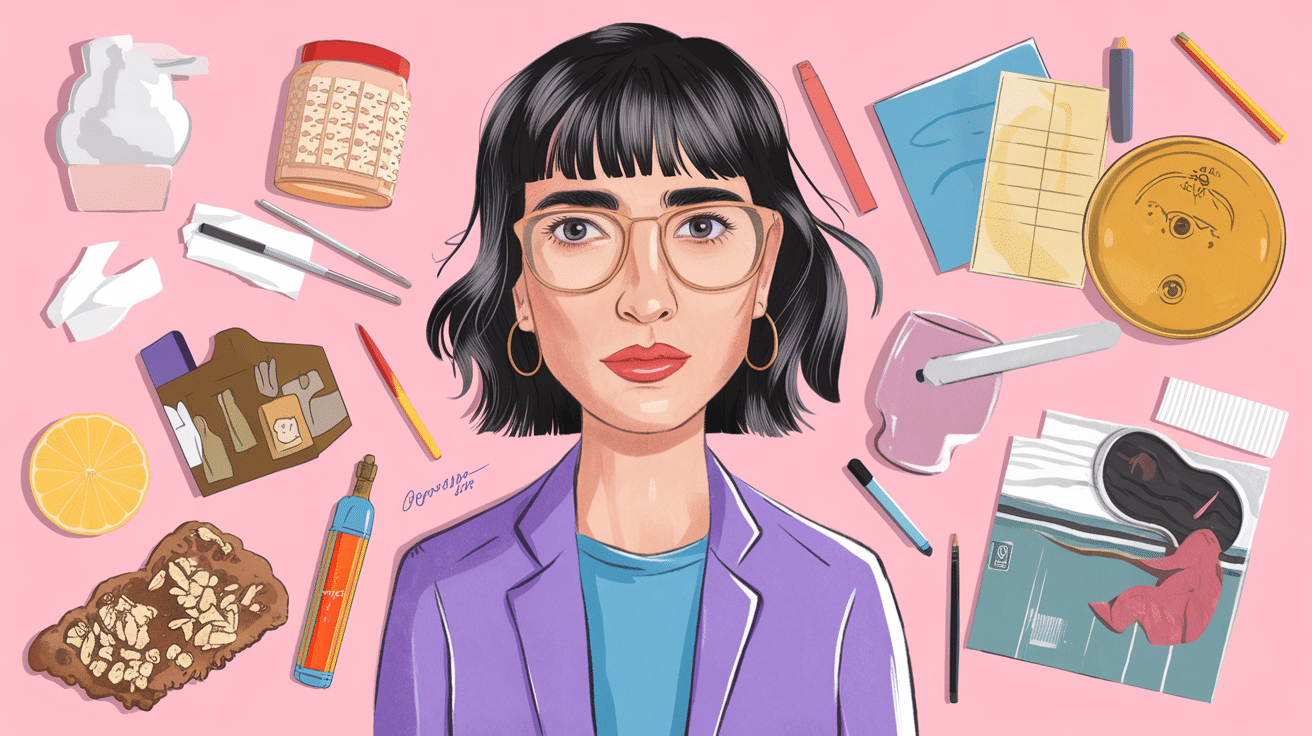
Incorporate objects that represent you:
- Replace your face with a favorite product.
- Add brand logos that you love.
- Include everyday objects that tell your story.
- Use commercial packaging colors and designs.
This Warhol-inspired approach adds personal meaning to your pop art.
Step-by-step guide to creating a pop art self-portrait
Creating your own pop art self-portraits might seem overwhelming at first, but following a series of steps will make it easy to start.
1. Choosing your style and reference photo
- Pick one of the 11 styles above that speaks to you
- Take a selfie or find a photo with good lighting and a clear view of your face
- Choose a photo where your features are distinct (avoid overly shadowed photos)
- Decide if you want a headshot, half-body, or full-body portrait
Tip: Simple images with clear features work best for beginners.
2. Sketching and outlining the portrait
- Print your photo or keep it visible on a device
- Lightly sketch the main features of your face (eyes, nose, mouth, hairline)
- Simplify details—pop art isn’t about realism!
- Go over your sketch with a black marker or pen
- Erase any pencil lines showing through
Focus on creating bold, clean lines that capture your essence.
3. Adding Bold Colors and Patterns
- Choose a color scheme (primary colors work great for beginners)
- Fill in different sections of your portrait with flat colors
- Add patterns like dots or lines for shading if your style calls for it
- Keep colors in separate sections with minimal blending
- Add background elements like patterns or shapes
Remember: Pop art often uses non-realistic color choices.
4. Enhancing the Pop Art Effect with Digital Tools (optional)
If you’re using digital tools:
- Import your portrait or photo into your chosen app
- Apply filters that create pop art effects
- Adjust colors, contrast, and brightness
- Add digital elements like halftone dots or text
- Experiment with layers and effects
Digital tools make it easy to try different looks without starting over.
Tips for Making Your Pop Art Self-Portrait Stand Out
Pop Art is all about bold colors, striking contrasts, and a sense of fun. To make your Pop Art self-portrait unique and eye-catching, follow these creative tips:
Using Unexpected Color Combinations
- Try complementary colors (opposite on the color wheel)
- Use neon or metallic colors for extra pop
- Create your own color scheme that represents your personality
- Break the rules—try colors that wouldn’t normally go together
Unexpected color combinations can help differentiate your work.
Experimenting with Different Backgrounds
- Add geometric shapes or patterns
- Include symbols that represent your interests
- Create contrast between your portrait and the background
- Try repeating elements for a dynamic effect
The background is just as important as the portrait itself!
Incorporating Text and Graphic Elements
- Add a favorite quote or saying
- Include your name in a stylish font
- Use onomatopoeia (sound effect words) like “bam!” or “wow!”
- Add symbols that represent things you love
These elements add personality and context to your portrait.
Showcasing and Sharing Your Pop Art Self-Portrait
Pop Art self-portraits are bold, colorful, and expressive—perfect for making a statement! Once you’ve created your masterpiece, it’s time to show it off!
Framing and Displaying Your Artwork
- Choose a simple frame that doesn’t compete with your bold art
- Consider mounting on a colorful mat board for extra pop
- Create a gallery wall with multiple pop art pieces
- Display your art where it catches light and attention
Proper display enhances the visual impact of your artwork.
Sharing on Social Media and Digital Platforms
- Post your creation on Instagram, TikTok, or Pinterest
- Use hashtags like #popartportrait or #popartselfie
- Join art challenges or groups to share with other artists
- Create before-and-after posts showing your process
Sharing online can connect you with other pop art enthusiasts.
Conclusion
Pop art self-portraits provide a distinctive visual approach to artistic expression.
Whether selecting a Warhol-inspired color grid or a comic book-style portrait, the process allows for personal interpretation and stylistic experimentation.
Pop art as a movement often challenges conventional artistic standards and embraces individual expression. These ideas serve as starting points that can be adapted and modified to suit your preferences and artistic vision.
Consider trying one of these techniques with your preferred materials to create your pop art self-portrait.
Frequently Asked Questions
Do I Need to Be Good in Drawing to Make Pop Art?
No! Pop art often uses simplified shapes and bold colors. If you’re not confident in your drawing skills, you can trace photos, use stencils, or even start with digital filters.
What if I Don’t Have Art Supplies at Home?
Start digital! Many free apps and websites can transform your photos into pop art. You can also use whatever you have on hand—colored pens, highlighters, or even cut paper can work.
How Long Does It Take to Create a Pop Art Self-Portrait?
It depends on your chosen style and method. A simple digital portrait might take 30 minutes, while a detailed hand-painted version could take several hours or days.
Can Kids Create Pop Art Self-Portraits?
Pop art is perfect for kids because it’s bold and colorful and doesn’t require realistic drawing skills. Just simplify the steps for younger children.
How Do I Fix Mistakes in My Pop Art Portrait?
For traditional art, you can incorporate mistakes into your design or cover them with collage elements. With digital art, you can easily fix mistakes by using the undo button or working in layers.


