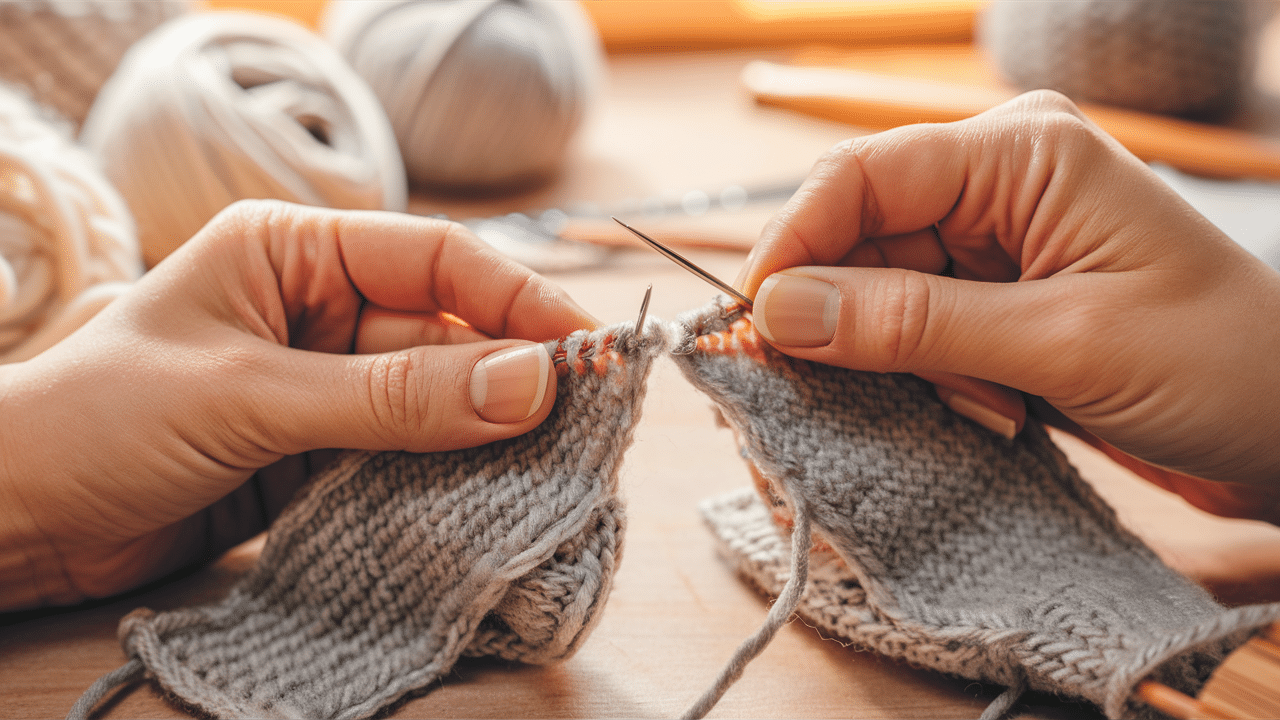
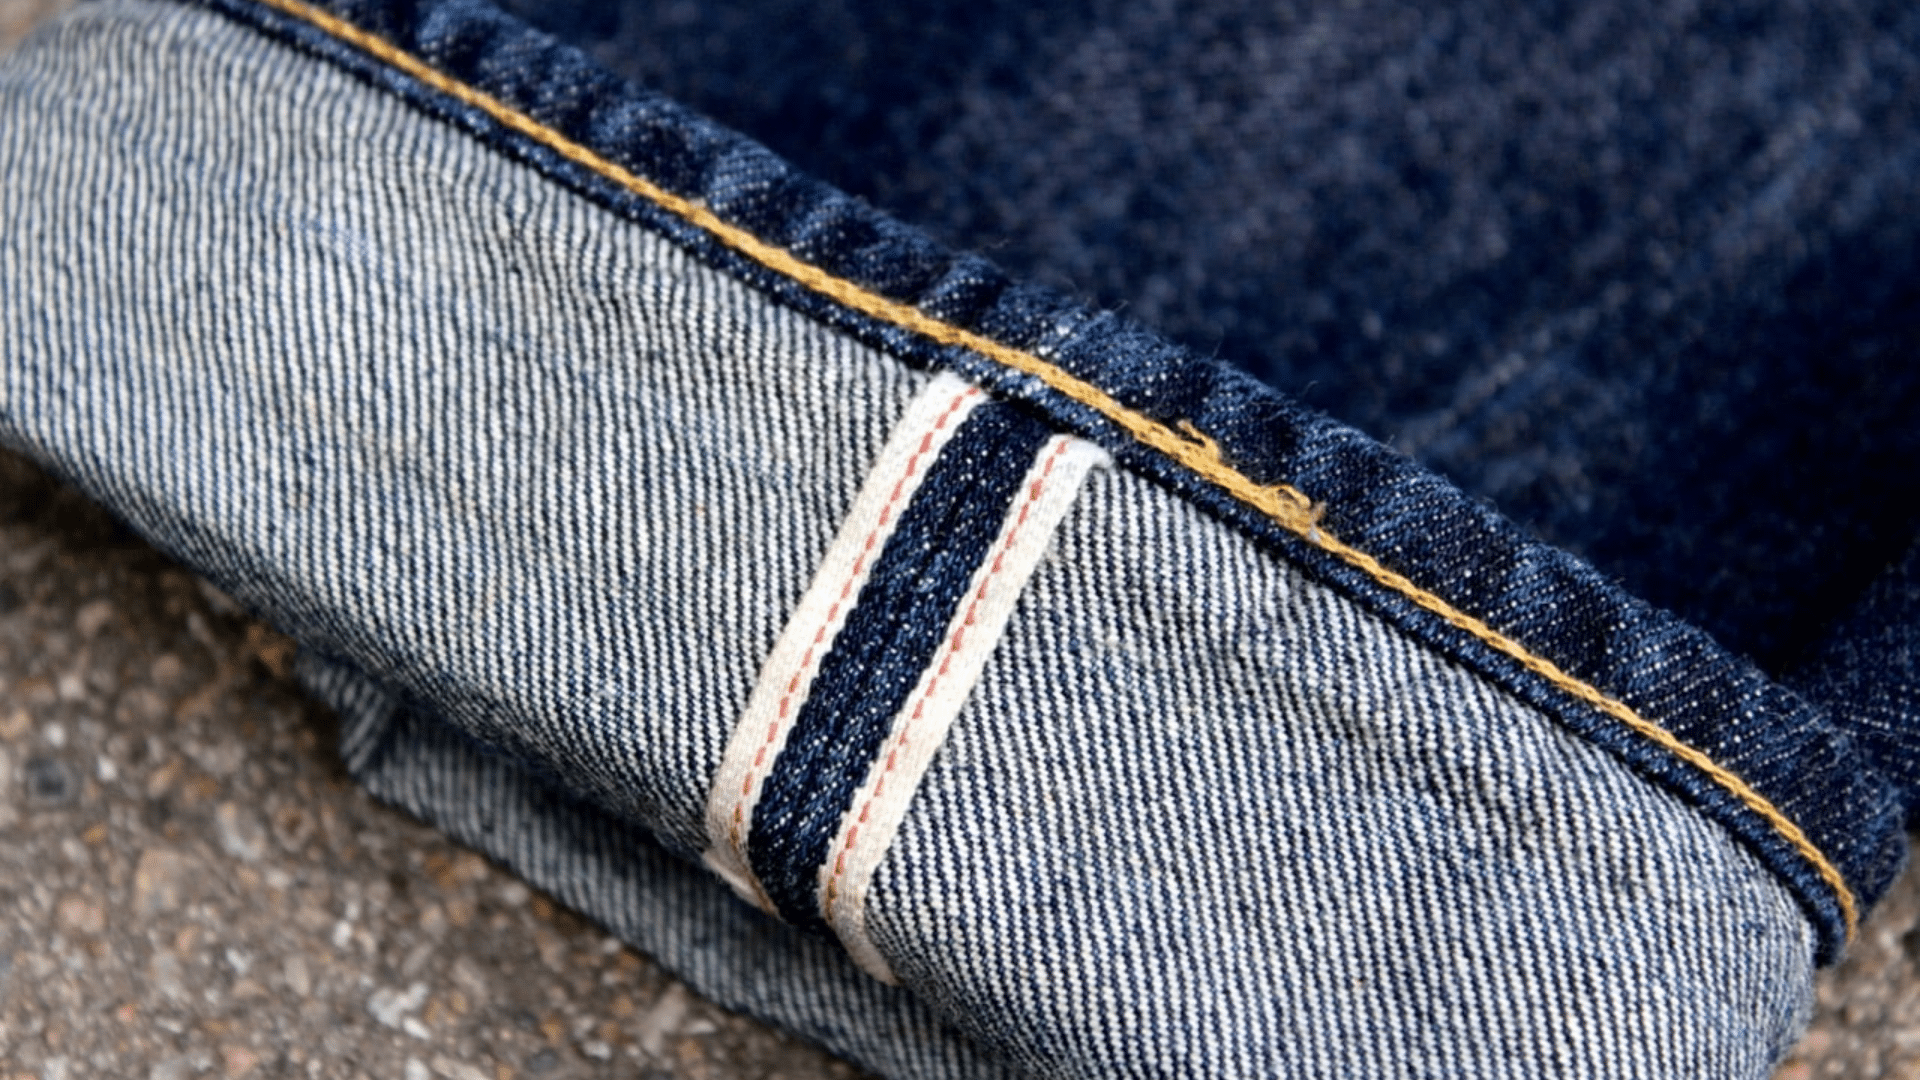
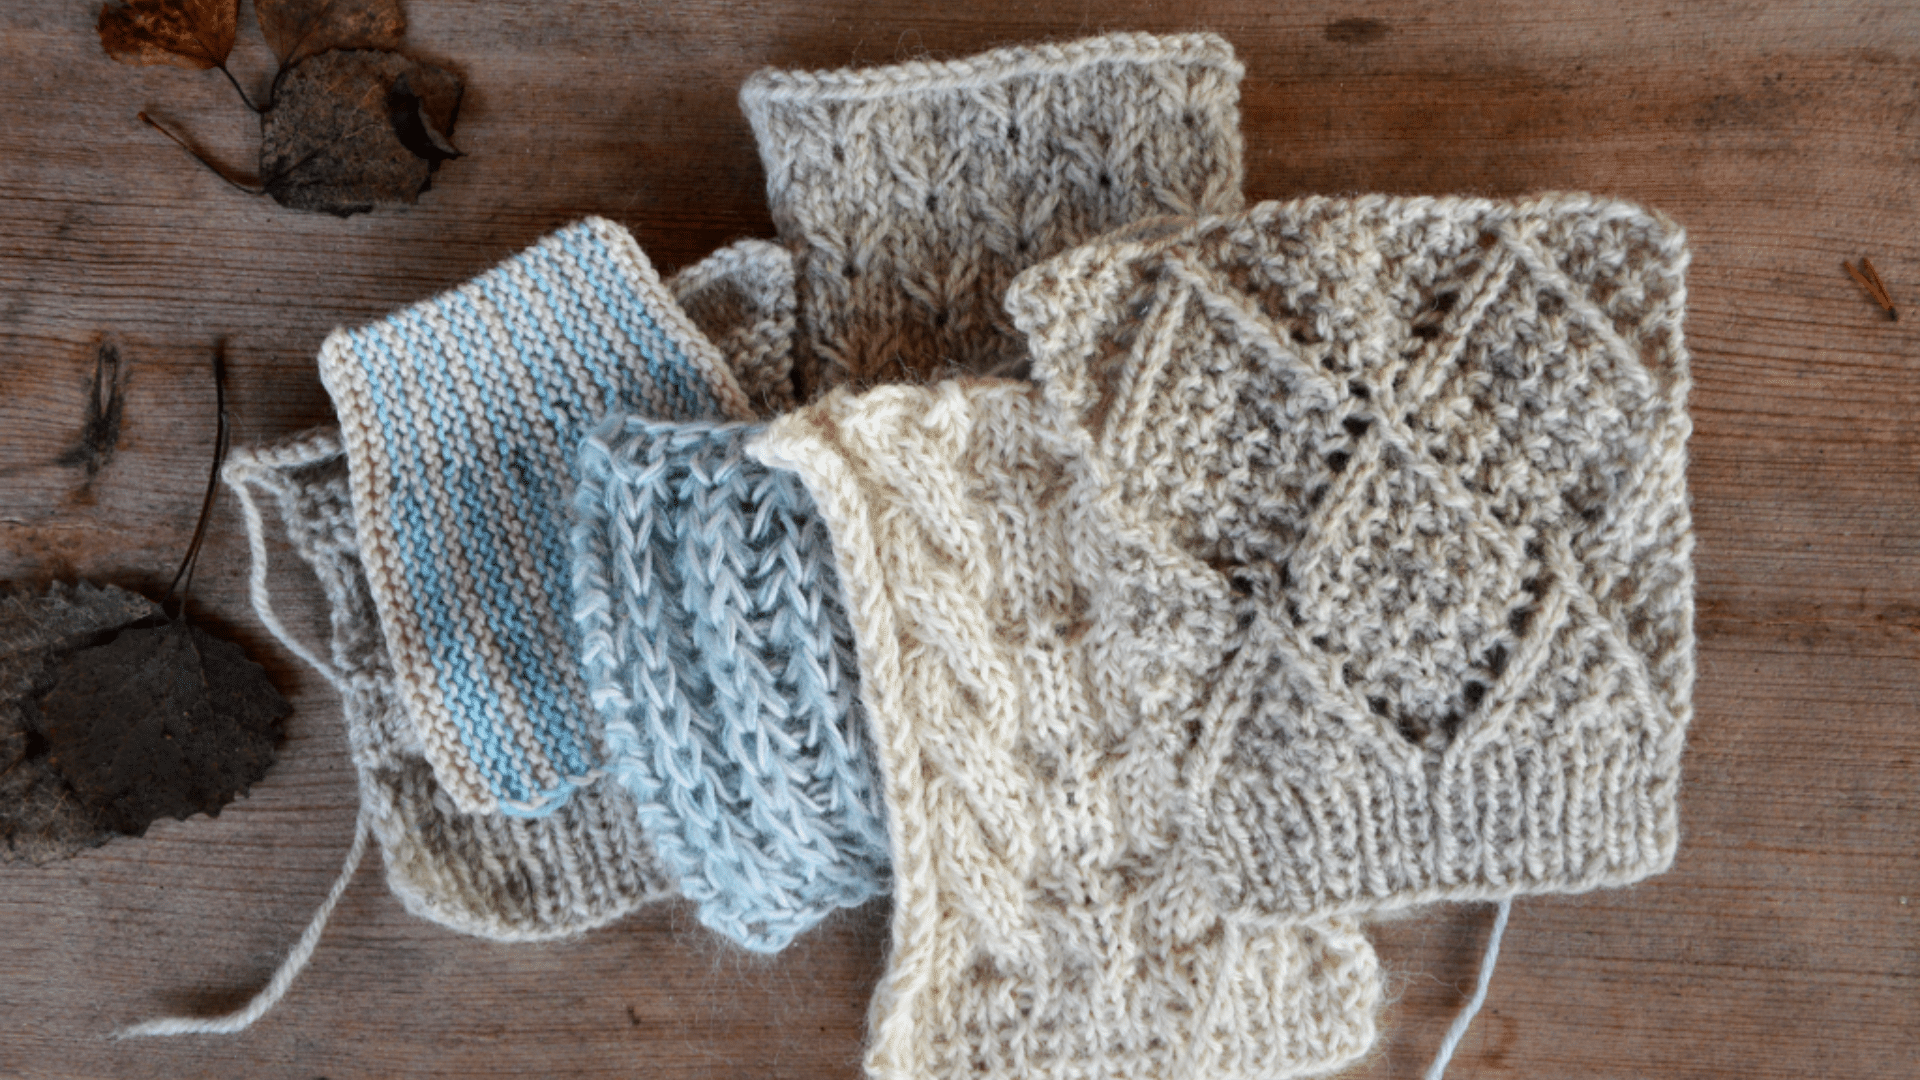
A selvedge edge in knitting is the neat border created along the sides of your project. It helps prevent curling, makes seaming easier, and gives your work a professional look. If you’re knitting a scarf, sweater, or blanket, adding a selvedge edge can improve the overall appearance of your piece.
There are many types of selvedge edges, including garter stitch, slipped stitch, and chain edges. Each one has a different look and purpose, depending on the project. Some edges add stability, while others create a decorative border.
In this guide, I’ll explain different selvedge edge techniques, how to knit them, and when to use each one. Whether you’re a beginner or an experienced knitter, learning how to create clean edges will take your knitting to the next level.
Types of Selvedge Edges and When to Use Them
Adding a selvedge edge to your knitting can make your project look neat and smooth. The selvedge is the edge stitches that run along the sides of your work, helping to prevent curling, making seaming easier, and sometimes even adding a decorative touch.
There are several types of selvedge edges, each with a different purpose. Here’s a look at the most common types and when to use them.
1. No-Selvedge Edge (Raw Edge)
A no-selvedge edge means you follow the pattern without adding any special edge stitches. The edge is left as is, with the natural structure of the knitting forming the border.
Best For: Seamed garments, lace knitting, and projects with picked-up edges.
When to Use It:
- If the project will be seamed later, like in sweaters or panels.
- When knitting lace patterns, the raw edge will be part of the design.
- If you’re going to pick up stitches later for adding a border or another section.
2. Garter Stitch Selvedge
A simple selvedge where you knit the first and last stitch of every row, no matter what the pattern says. This creates a slightly bumpy but sturdy edge.
Best For: Scarves, dishcloths, blankets, and any project where curling is a concern.
When to Use It:
- To prevent edges from curling in the stockinette stitch.
- When making scarves, blankets, or shawls that need a sturdy border.
- If you want an easy, beginner-friendly edge that looks clean.
3. Slipped Stitch Selvedge (Chain Edge)
A sleek, decorative edge where you slip the first stitch of every row instead of knitting it. This forms a neat chain-like border along the edges.
Best For: Shawls, scarves, button bands, and any project where you want a clean, smooth edge.
When to Use It:
- When you want a smooth, polished edge for an open-knit project.
- If your project will have visible edges, like in a shawl or a scarf.
- When knitting button bands or sections that will be seamed together, since the chain edge makes sewing easier.
4. Double Slipped Stitch Selvedge
This is similar to the single-slipped stitch selvedge, but instead of slipping only one stitch, you slip two stitches at the beginning of every row. This makes the edge even firmer and more decorative.
Best For: Blankets, large garments, and projects needing extra durability.
When to Use It:
- When knitting heavier fabrics that need extra reinforcement.
- If you want a strong and decorative border.
- When making blankets or large panels that require a more defined edge.
5. I-Cord Selvedge
An i-cord selvedge creates a round, tube-like edge by working a few extra stitches at the beginning and end of each row in a specific way. This gives a smooth and firm border.
Best For: Shawls, scarves, cardigans, and decorative edges.
When to Use It:
- When you want a thicker, rounded edge for a decorative finish.
- If your project is highly visible and needs a polished look.
- In shawls, scarves, and garments where the edge should look neat and professional.
6. Ribbed Selvedge
A selvedge that follows the knit and purl pattern of the main project to maintain a seamless edge.
Best For: Sweaters, cuffs, waistbands, and fitted garments.
When to Use It:
- When working on ribbed fabrics to keep the edges consistent.
- If you’re making cuffs, waistbands, or collars that need a stretchy edge.
- When you want an edge that blends smoothly into the rest of the fabric.
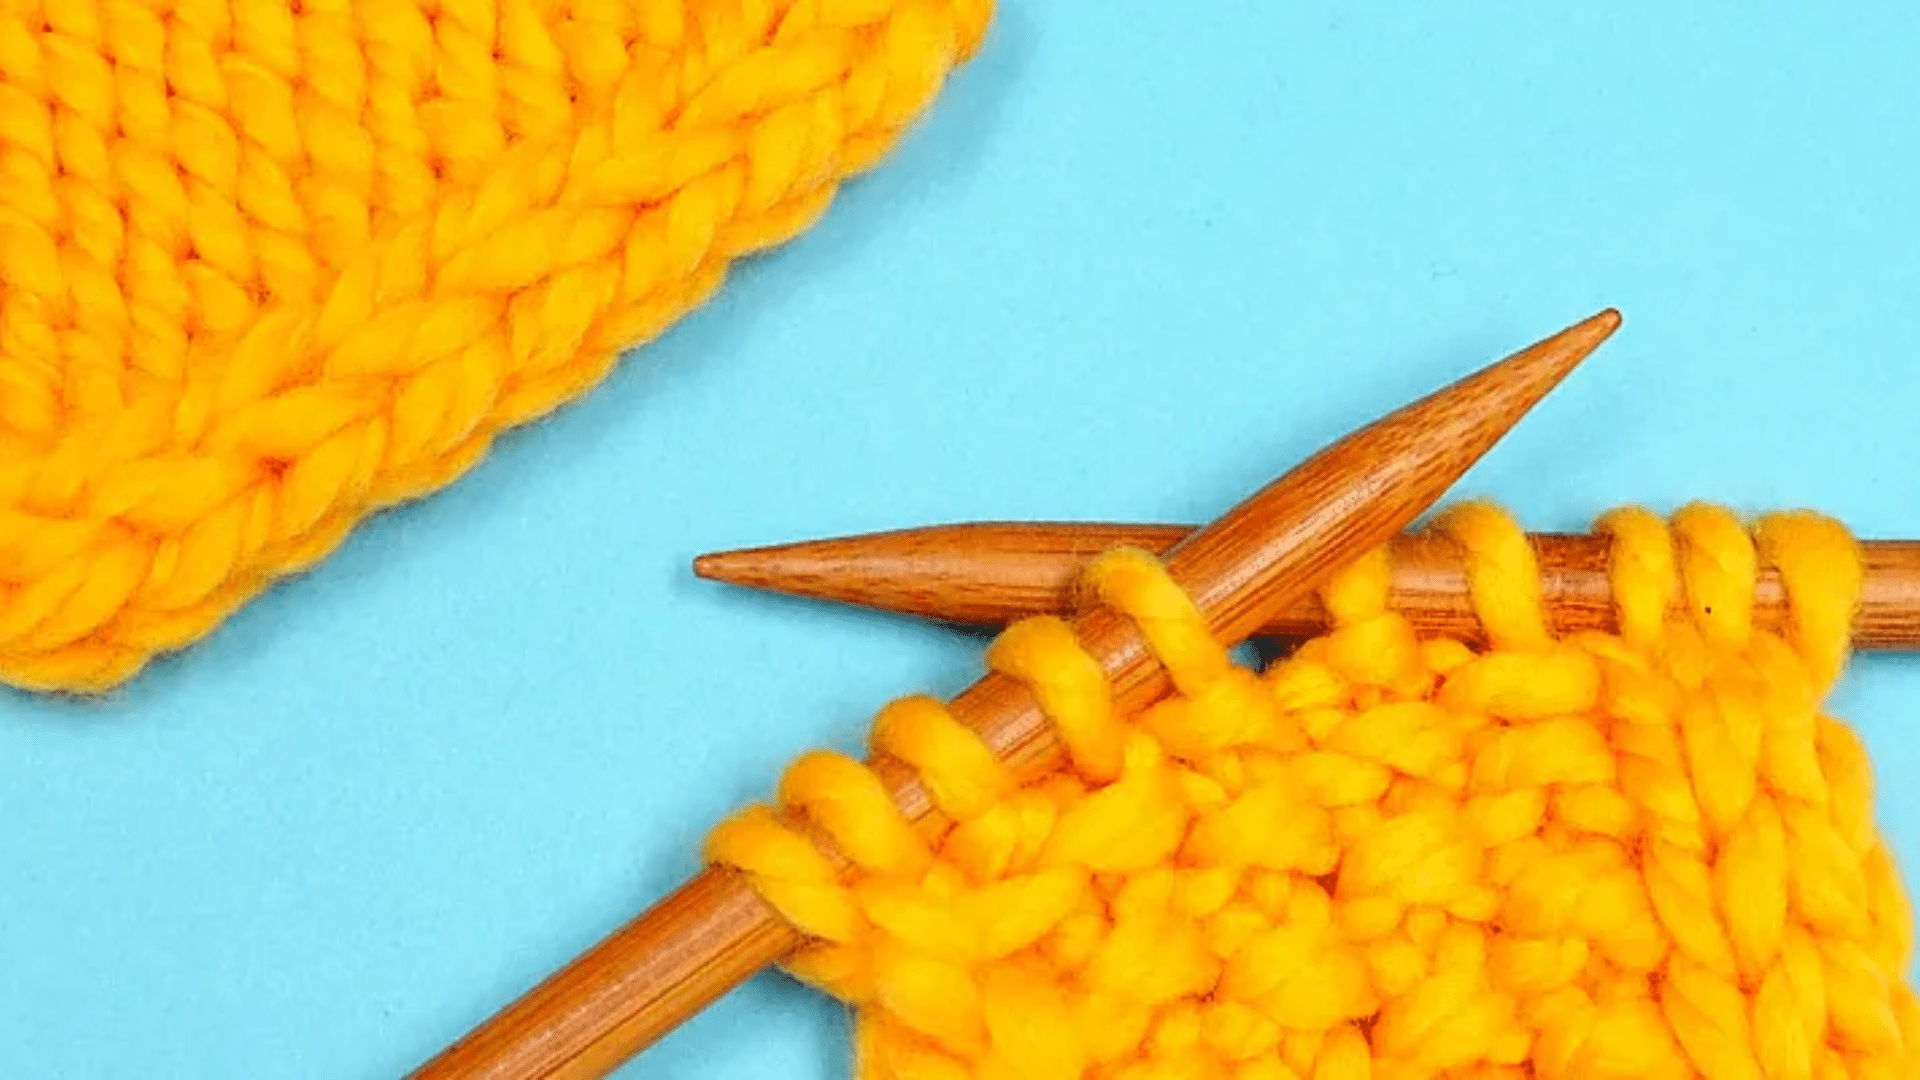
How to Knit Selvedge Edges: Step-by-Step Guide
A selvedge edge is the border of your knitting project. It helps keep the edges neat, makes sewing pieces together easier, and prevents curling in certain stitches like stockinette.
Most selvedge edges are created by adding one or two extra stitches at each side of your project. These stitches are handled differently than the rest of the row to form a cleaner edge.
Adding a selvedge edge is simple, and there are different ways to do it depending on the look and function you want. In this guide, I’ll walk you through how to knit a selvedge edge step by step.
1. Knit with No-Selvedge Edge (Raw Edge)
The no-selvedge edge, also called a raw edge, means you don’t add any extra stitches or special techniques to the sides of your work. You knit the pattern as written, letting the edges form naturally. Here’s how to do it:
Step 1: Follow your pattern as written—knit or purl each stitch without making any changes at the edges.
Step 2: Keep your tension even—since there’s no structured selvedge, try to keep your stitches at the same tightness to avoid loose or wavy edges.
This method is simple but can sometimes result in loose, uneven, or curling edges, depending on the stitch pattern.
2. Knit a Basic Garter Stitch Selvedge
The garter stitch selvedge is one of the easiest and most reliable edges. It creates a firm, slightly bumpy border that helps prevent curling and adds structure to your project.
Step 1: At the start of every row, knit the first stitch—this keeps the edge firm and even.
Step 2: Knit the last stitch of every row—this locks the edge in place.
Step 3: Continue knitting the rest of the pattern as usual—the selvedge will naturally form along the sides.
Since garter stitch lays flat, this selvedge is great for stockinette projects that tend to curl. It’s also a great beginner-friendly option because it requires no special techniques.
3. Knit a Slipped Stitch Selvedge (Chain Edge)
The slipped stitch selvedge, also called a chain edge, creates a smooth, decorative border that looks professional and polished.
Step 1: At the start of each row, slip the first stitch purlwise—insert the right needle into the first stitch as if to purl but don’t actually purl it. Instead, just transfer it to the right needle.
Step 2: Knit the rest of the row as normal—this keeps the main pattern intact.
Step 3: Knit the last stitch of every row—this ensures the edge remains structured and doesn’t stretch too much.
This method is simple yet effective and works well with different knitting styles. Since the edges stay smooth, this selvedge is great for projects that won’t have seams, like shawls or decorative pieces.
4. Knit a Double Slipped Stitch Selvedge
The double slipped stitch selvedge is a variation of the slipped stitch edge. It creates a thicker, firmer edge that works well for blankets, large panels, and any project needing extra durability.
Step 1: Cast on 2 extra stitches to account for the selvedge.
Step 2: At the start of every row, slip the first two stitches purlwise (as if you were going to purl them).
Step 3: Knit across the row as normal.
Step 4: At the end of every row, knit the last two stitches.
This method reinforces the edges and creates a neat, slightly raised border that doesn’t stretch out over time.
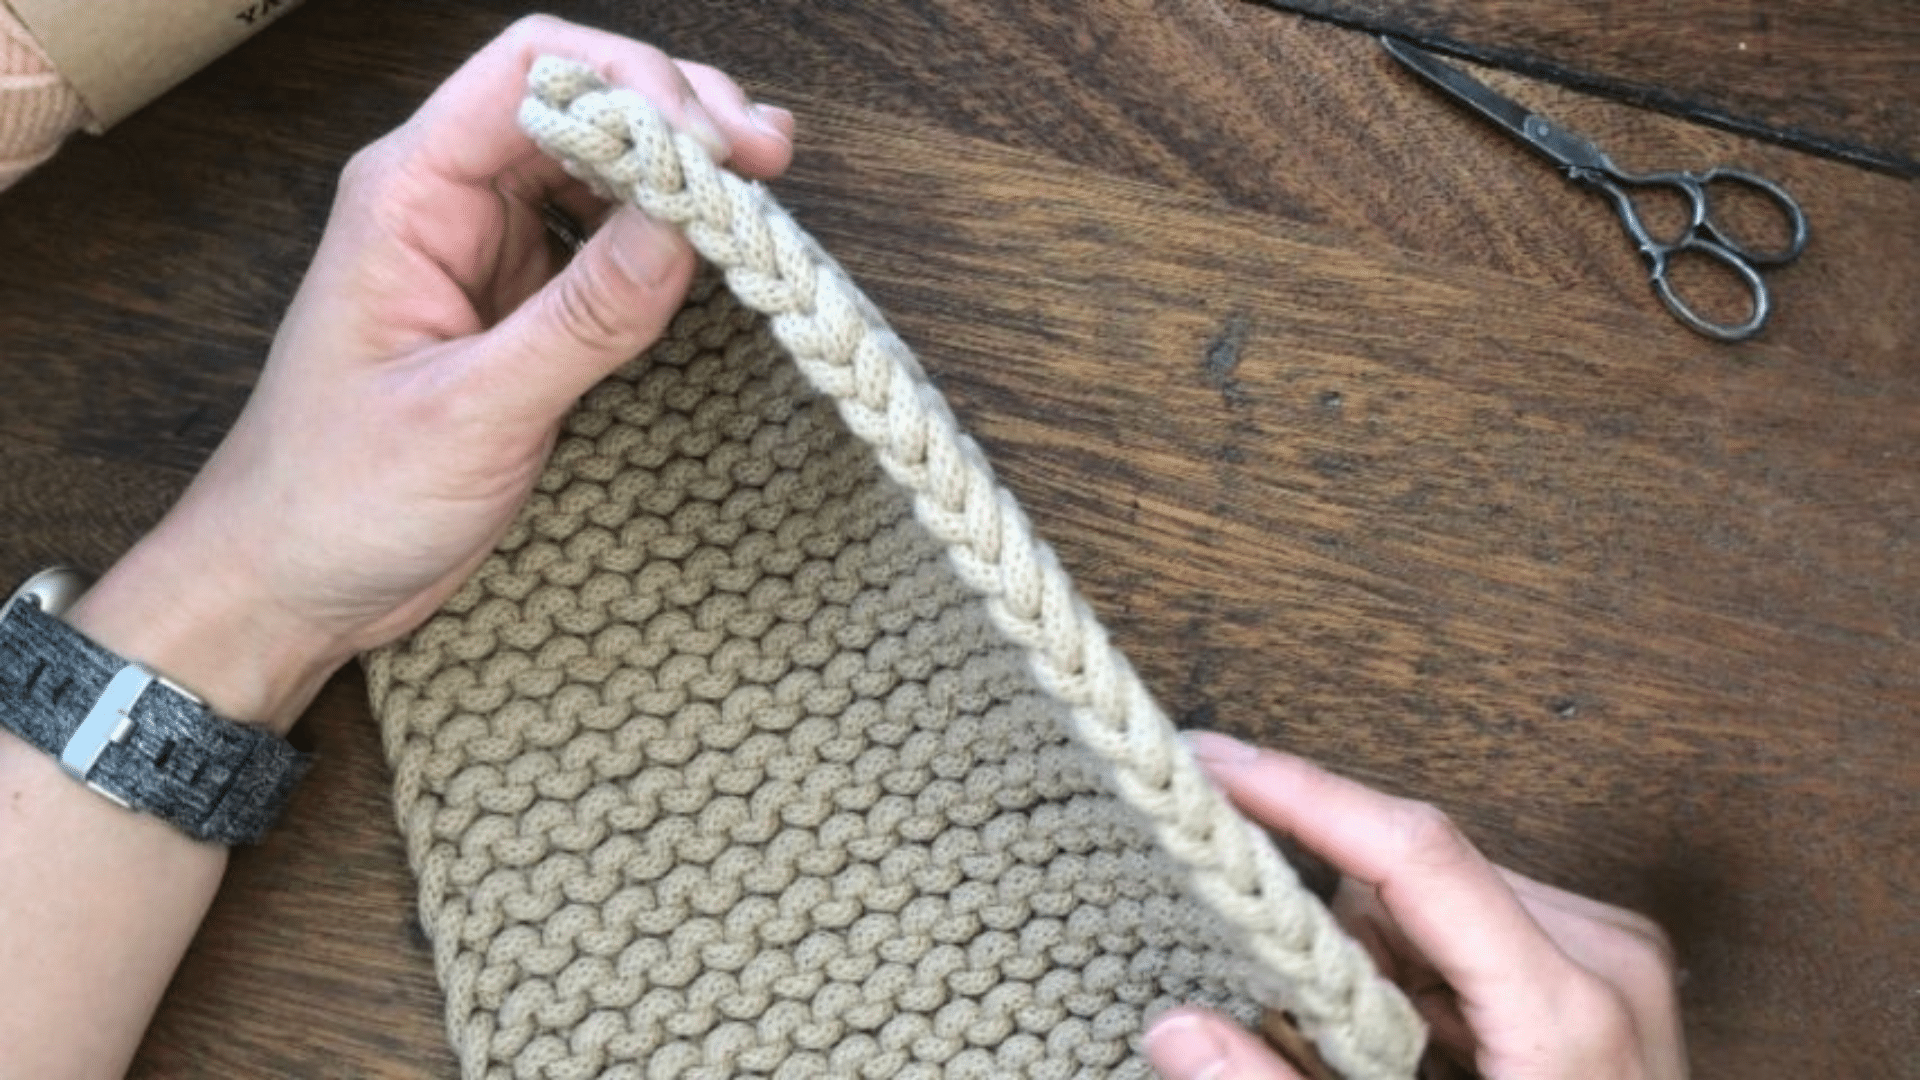
5. Knit an I-Cord Selvedge
The i-cord selvedge is a thick, rounded edge that gives your project a high-end, polished look. It takes a little extra effort but creates a rolled, tube-like border that looks smooth and professional.
Step 1: Cast on 2 extra stitches for the selvedge—these extra stitches will create the i-cord border.
Step 2: At the start of every row, slip the first 2 stitches purlwise—move them from the left needle to the right needle without knitting them.
Step 3: Knit across the row as normal—work the pattern as written.
Step 4: At the end of every row, knit the last 2 stitches—this keeps the rounded edge in place.
The i-cord selvedge gives a sleek, modern finish, making your edges look clean. It also prevents stretching, making it a great choice for projects with lots of wear, like blankets or accessories.
6. Knit a Ribbed Selvedge
A ribbed selvedge is designed to blend smoothly with ribbed knitting patterns, like 1×1 or 2×2 ribbing. Instead of creating a separate decorative border, this selvedge follows the same knit and purl pattern as the main fabric.
Step 1: At the start of each row, work the first stitch as part of the ribbing pattern (
Step 2: Continue working in the ribbing pattern across the row as usual.
Step 3: Work the last stitch according to the pattern (if the last stitch is a knit, knit it; if it’s a purl, purl it).
This helps keep the edges stretchy, neat, and uniform, making it a great choice for cuffs, waistbands, collars, and fitted garments.
For more information on selvedge edges and knitting them, check out this YouTube video by @NimbleNeedles.
Final Touches to Add to Selvedge Edges
Selvedge edges add a neat, finished look to your project, preventing the fabric from unraveling.
Maintain Even Tension
- No matter which selvedge edge you use, try to keep even tension while knitting. If you knit too tightly, the edges may bunch up, and if you knit too loosely, the edge might look sloppy.
- A good way to practice is to knit a small sample swatch before starting your main project. This helps you get comfortable with the selvedge technique.
Finish Off and Block Your Work
- Once you’ve finished knitting, bind off your stitches as usual, making sure not to bind off too tightly so the edges remain flexible. If your project requires blocking (wetting and shaping the fabric), gently stretch the edges to even them out and pin them in place to maintain the shape.
- Blocking helps the selvedge edges look smoother, more polished, and reduces curling or uneven tension. Let the fabric dry completely before removing the pins for the best results.
Tips for Neat and Professional Edges
A clean selvedge edge can make your knitting look polished and well-made. Whether you’re working on a scarf, blanket, or sweater, these simple tips will help you create neat, even edges every time.
1. Keep Your Tension Even: Loose stitches can make the edge look sloppy, while tight stitches can cause it to pucker. Try to keep your tension consistent so the edge stays smooth and even.
2. Use the Right Selvedge Edge: Different projects need different edges. A garter stitch edge is great for stopping fabric from curling, while a slipped stitch edge gives a smooth, decorative finish. Pick the best one for your knitting!
3. Slip the First Stitch for a Smooth Edge: For a clean, chain-like border, slip the first stitch of every row instead of knitting it. This creates a tidy edge that looks great, especially in scarves and shawls.
4. Always Knit the Last Stitch: No matter what selvedge method you use, knitting the last stitch of every row helps keep the edge stable and structured. It also makes seaming easier if you’re joining pieces together.
5. Use a Sharp Needle for Slipped Stitch Edges: If you’re working with a slipped stitch selvedge, using a sharp knitting needle can help keep the stitches from becoming too loose or uneven.
6. Practice on a Small Swatch: Before starting your main project, knit a small practice swatch with your chosen selvedge edge. This helps you get comfortable with the technique and see how it looks with your yarn.
With these simple tips, you’ll get clean, neat edges that make your knitting projects look polished and professional. Happy knitting!
Conclusion
A selvedge edge is a small detail that makes a big difference in your knitting. Whether you want to prevent curling, make seaming easier, or add a decorative touch, using the right selvedge technique can improve the look and feel of your project.
The key to a neat selvedge edge is consistent tension, the right technique, and practice. Even small adjustments, like slipping the first stitch or knitting the last stitch, can make a huge impact.
No matter what you’re making—scarves, blankets, sweaters, or shawls—adding a selvedge edge will give your project a polished finish. Keep practicing, try different methods, and soon you’ll be knitting perfect edges with ease.
Frequently Asked Questions
What is the easiest selvedge edge for beginners?
The garter stitch selvedge is the easiest. Just knit the first and last stitch of every row. It helps stop curling and works well for most projects.
How do I add a selvedge edge to my pattern?
Simply add 1 or 2 extra stitches to your cast-on count for the selvedge. Follow the selvedge technique throughout your knitting for clean edges.
Do I need a selvedge edge for seaming?
Yes! A selvedge edge makes seaming much easier because it provides a clear, even border to sew pieces together neatly.
Can I mix different selvedge edges in one project?
Yes! Some knitters use a different selvedge for each side, depending on their project’s needs. Just make sure the edges match the overall design.
What type of yarn works best for selvedge edges?
Any yarn works, but wool and cotton hold their shape well. Softer yarns may need extra blocking to keep the edges even.