


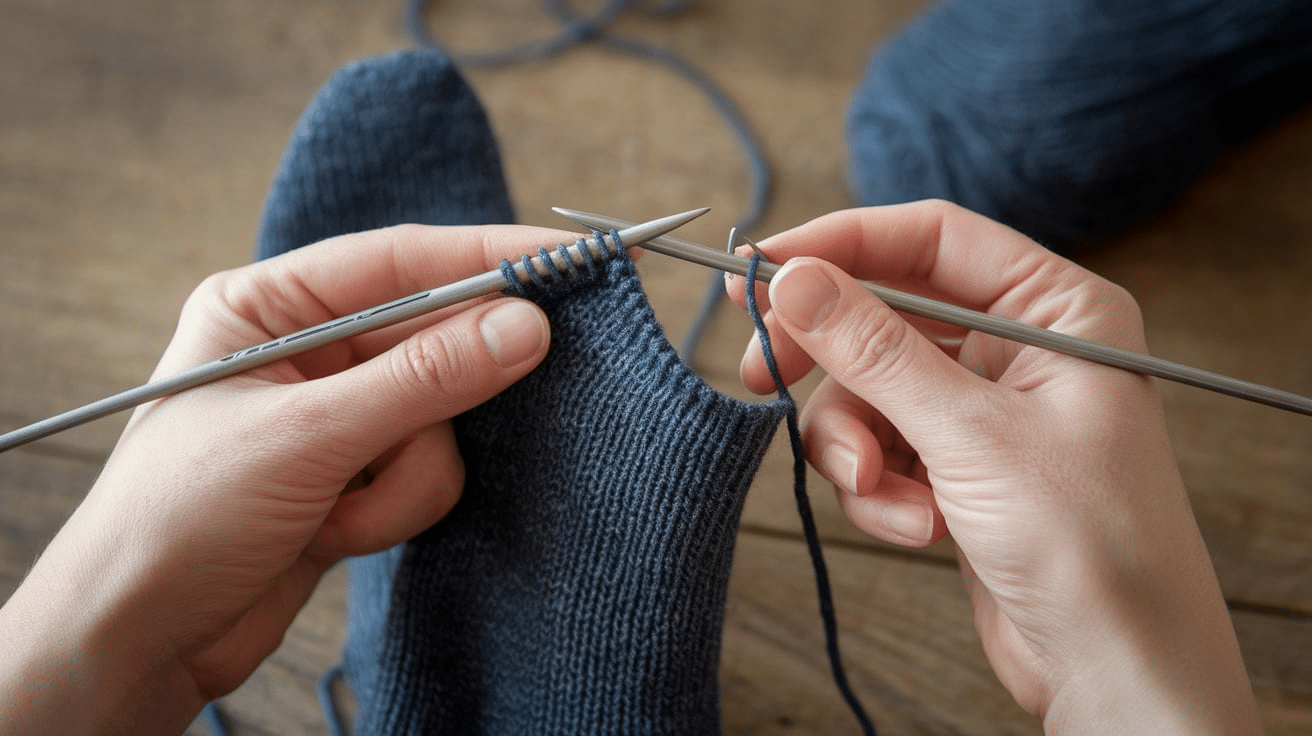
Knitting socks can be challenging, especially when shaping the heel. If the fit isn’t right, the whole sock can feel off.
A heel turn calculator helps you get the right shape without guessing.
I’ve had my share of socks that didn’t fit well. Too loose, too tight, or just not sitting right. Getting the heel turn right is important, and a calculator makes it easier. It helps you find the right stitch count so your sock fits better.
In this guide, I’ll show you how to use a heel turn calculator step by step. No complicated math. No guessing.
These are just simple instructions to help you shape the heel properly. With the right numbers, your socks will look and feel better. Let’s get started and make sock knitting a little easier!
What Is a Heel Turn in Sock Knitting?

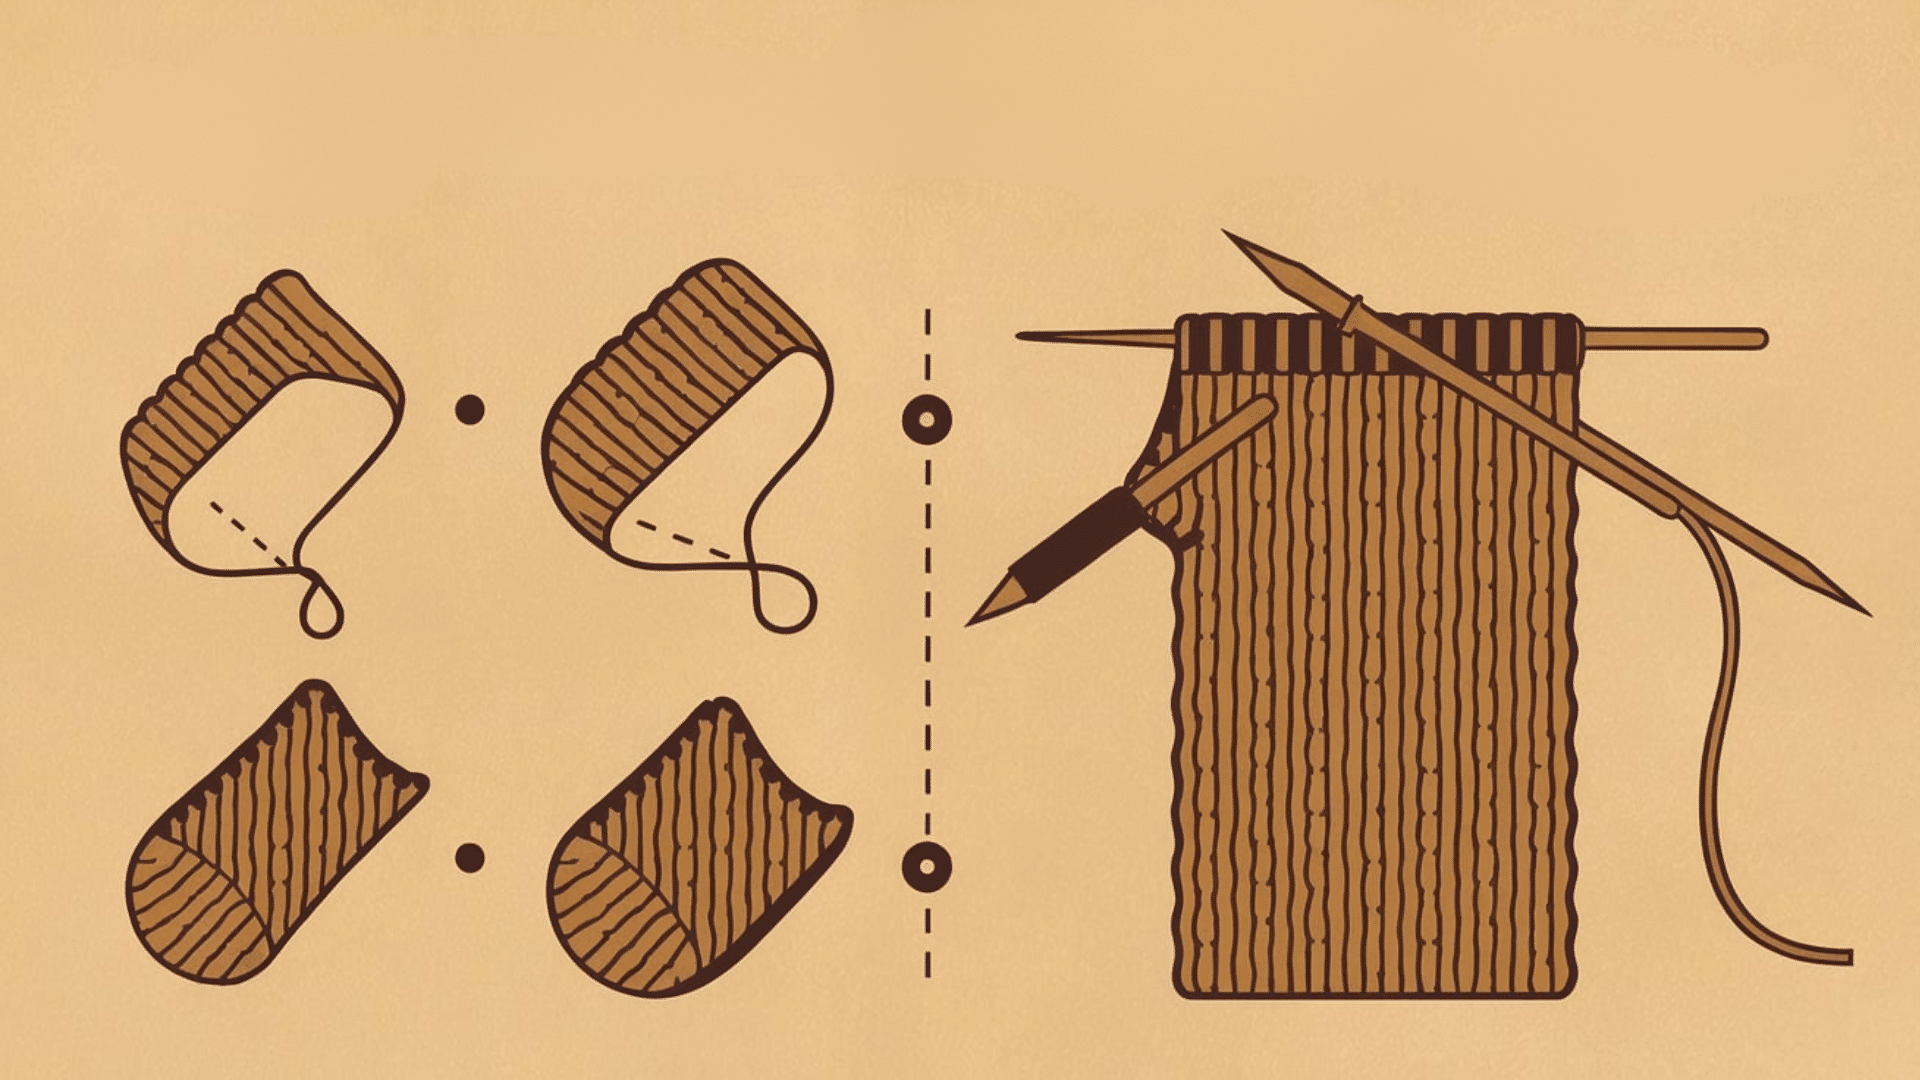
The heel turn is the curved part of the sock heel. It shapes the heel so the sock fits snugly around your foot. This part is important because the sock might feel too tight or loose if the heel isn’t done right.
Heel turns are usually done with short rows. Short rows create a smooth curve in the heel without adding extra bulk.
The number of stitches and rows in the heel turn depends on your sock size, yarn weight, and stitch pattern.
What Is a Heel Turn Calculator?
A heel turn calculator is a tool that helps you figure out how many stitches and rows you need for the heel turn. Instead of guessing, the calculator gives you the right numbers based on your stitch count.
Many sock knitters use a heel turn calculator because it makes the process easier. You don’t have to do any complicated math.
Just enter your stitch count, and the calculator will tell you how many stitches to work in each row.
How to Use a Heel Turn Calculator
Using a heel-turn calculator is simple, but understanding each step can help you get better results. Let’s go through the process in detail so you can use it confidently.
Step 1: Find Your Stitch Count
Before using a heel turn calculator, you need to know how many stitches are on your sock. This is usually called the total stitch count or sock circumference.
How to Find Your Stitch Count:
- If you’re knitting from a pattern, check the stitch count for your size.
- If you’re making your own sock, count the stitches on your needles before starting the heel.
- The stitch count should be an even number in most cases.
For example, if you cast on 64 stitches, this will be your total stitch count.
Step 2: Divide the Stitches for the Heel
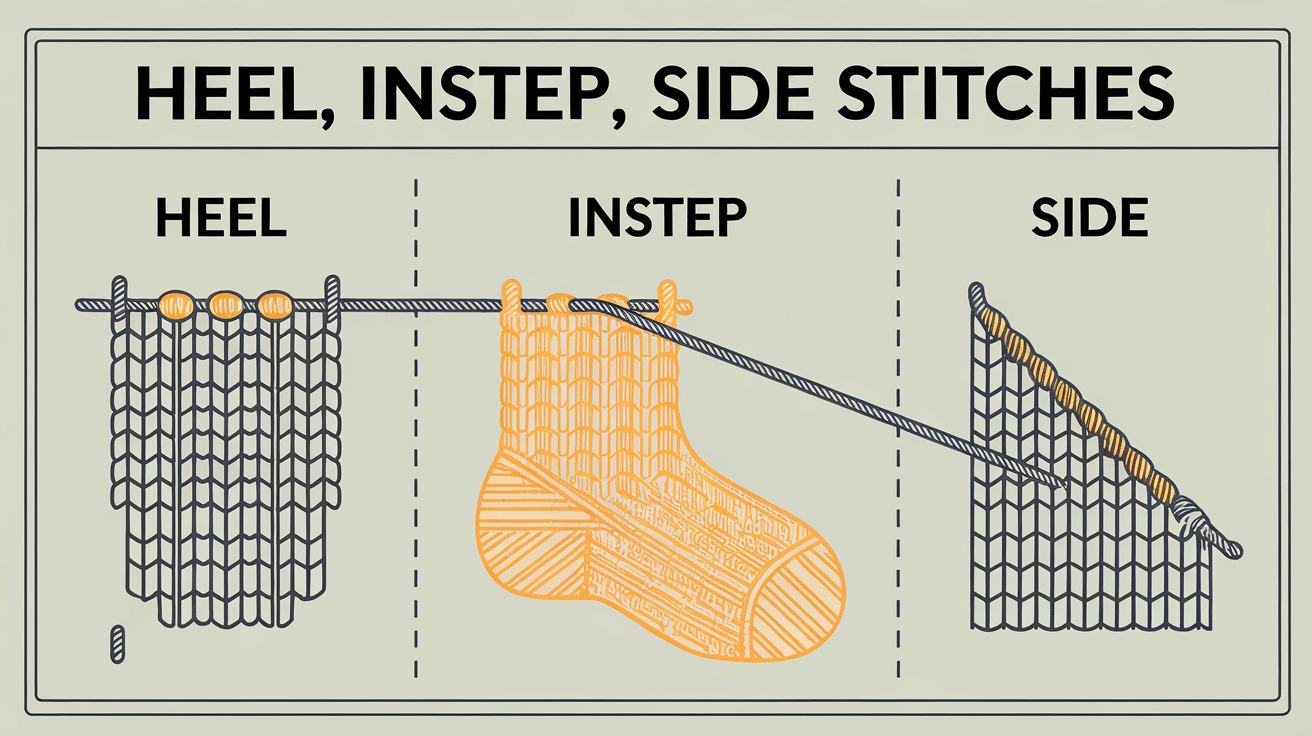
Most sock patterns divide stitches into three sections:
- Heel stitches: Usually half of the total stitches (e.g., 32 stitches if you have 64 total).
- Instep stitches: The other half of the stitches (these are left on hold while working the heel).
- Side stitches (optional): Some heel types use extra stitches on the sides to create a smoother fit.
For a standard heel flap sock, the heel stitches are worked first, while the instep stitches stay on the needle but are ignored until later.
Step 3: Enter Your Stitch Count into the Calculator
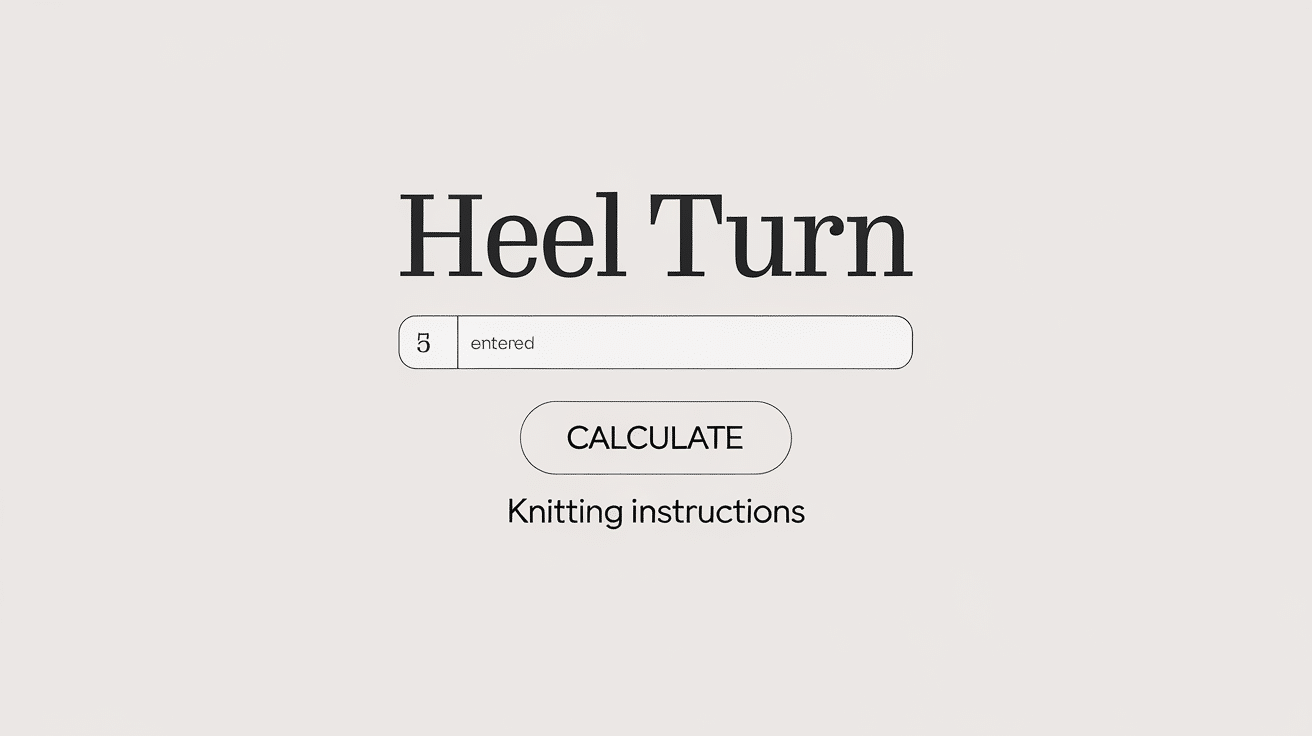
Once you know how many stitches you’ll use for the heel, enter this number into the heel turn calculator.
Some calculators may also ask for:
- Row gauge: How many rows per inch your knitting has. This helps adjust the heel depth.
- Sock size: Some calculators adjust the numbers based on shoe size.
After entering the details, the calculator will give you step-by-step instructions for shaping the heel.
Step 4: Follow the Heel Turn Instructions
The calculator will give you a row-by-row guide on how to turn the heel. These instructions will tell you:
- How many stitches to knit or purl before turning?
- When to slip stitches.
- When to decrease.
Here’s an example of what the calculator might give you for a 64-stitch sock:
- Knit 17 stitches, ssk, knit 1, turn.
- Slip 1, purl 5, p2tog, purl 1, turn.
- Slip 1, knit to 1 stitch before the gap, ssk, knit 1, turn.
- Slip 1, purl to 1 stitch before the gap, p2tog, purl 1, turn.
Repeat until all stitches are worked into the heel turn.
The ssk (slip, slip, knit) and p2tog (purl two together) create the curved shape of the heel.
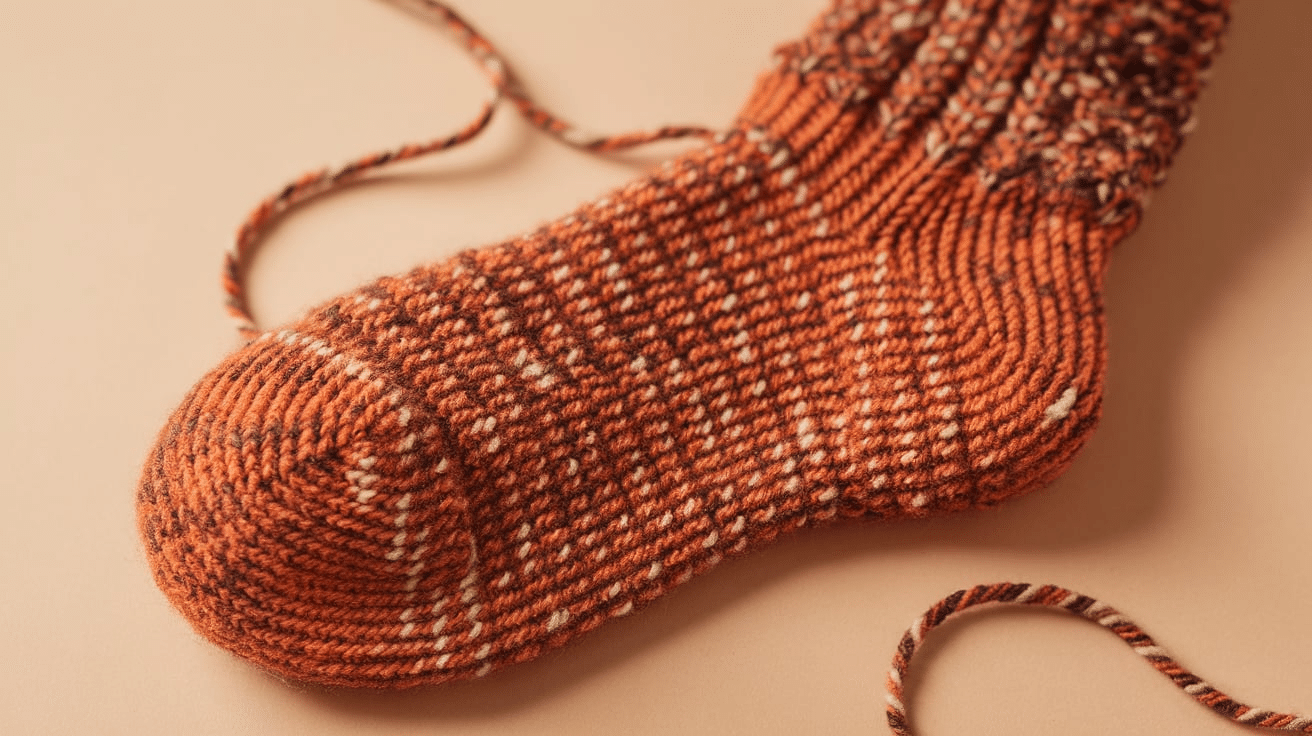
Step 5: Check Your Work
Once you finish following the calculator’s instructions, your heel should have a smooth, curved shape. If it looks off:
- Count your stitches to make sure none were missed.
- Check if you turned in the correct spots.
- Make sure you follow the calculator exactly.
If something is wrong, you can unravel and redo the last few rows instead of starting over.
Step 6: Continue with Your Sock
After finishing the heel turn, you’ll usually move on to:
- Picking up stitches along the heel flap (if using a flap heel).
- Joining back to the instep stitches to continue the foot section.
- Knitting the rest of the sock as per your pattern or design.
Now, your sock heel is properly shaped, and you’re ready to move forward!
Why Use a Heel Turn Calculator?
Using a heel-turn calculator makes sock knitting easier and more accurate.
1. Avoids Guesswork
Without a calculator, you have to figure out the heel turn pattern on your own. This can be confusing, especially if you’re new to sock knitting. A calculator gives you exact numbers, so you don’t have to guess.
2. Ensures a Better Fit
The heel is one of the most important parts of the sock. If it’s too small, the sock will feel tight. If it’s too big, the sock might slip off. A calculator helps you get the right fit.
3. Saves Time
Knitting socks takes time, and mistakes can slow you down. A heel-turn calculator helps you get it right the first time.
4. Works for Any Yarn or Needle Size
Different yarns and needles create different stitch sizes. A calculator adjusts for these differences so that you can use it with any yarn weight or needle size.
Types of Heel Turns
There are different ways to shape a sock heel. The heel turn calculator can help with different styles, including:
- Classic Heel Flap and Gusset: This is the most common type of heel. It has a flap on the back of the heel, and the stitches are picked up along the sides.
- Short-Row Heel: This heel is made with short rows to create a curved shape without a flap. It looks more like a store-bought sock.
- Afterthought Heel: This heel is added after the sock is finished. The heel stitches are held on waste yarn and then knit later.
- Fish Lips Kiss Heel: This is a type of short-row heel that is easy to knit and fits well. It has a smooth curve and is great for toe-up or cuff-down socks.
Common Mistakes When Turning the Heel
Even with a heel-turn calculator, mistakes can happen. Some common ones and how to fix them:
- Not Counting Stitches Correctly: If your stitch count is wrong, the heel turn won’t line up right. Double-check your stitch count before using the calculator.
- Skipping the Short Rows: Short rows create the heel curve. If you forget to turn at the right spots, the shape won’t be right.
- Tight or Loose Stitches: If your tension is too tight, the heel might feel stiff. If it’s too loose, it might not hold its shape. Keep an even tension when knitting the heel turn.
- Misplacing the Heel: Make sure the heel turn is centered on the back of the sock. If it’s off-center, the sock won’t fit right.
Tips for a Perfect Heel Turn
Some tips to make sure your heel turn comes out just right:
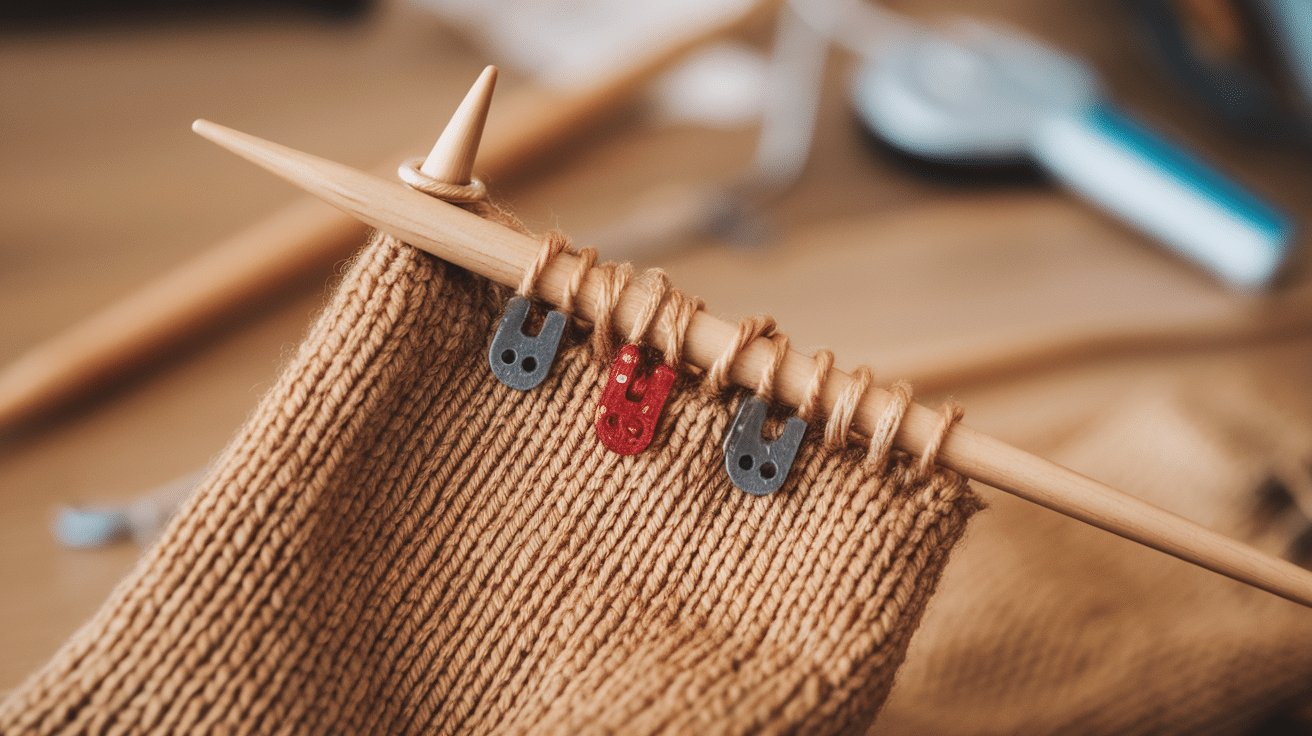
- Use Stitch Markers: Place markers to keep track of the center stitches. This helps you stay on track while shaping the heel.
- Follow the Calculator Closely: Stick to the numbers given by the calculator. If something doesn’t look right, check your stitch count.
- Practice on Scrap Yarn: If you’re new to heel turns, practice on a small swatch before working on your actual sock.
- Try Different Heel Styles: If one type of heel doesn’t fit well, try another. Some people find that short-row heels fit better than flap heels and vice versa.
- Block Your Socks: After finishing your socks, blocking them helps even out stitches and improves the fit.
Where to Find Heel Turn Calculators
There are many free heel-turn calculators online. Some popular ones include:
- Sock Math Heel Turn Calculator (great for heel flap socks)
- Knitty’s Universal Sock Calculator
- Online Short-Row Heel Calculator
These calculators take your stitch count and give you step-by-step instructions for the heel turn.
Conclusion
Knitting socks is fun, but shaping the heel can feel tricky. A heel-turn calculator makes it easier by giving you the right numbers to follow.
Instead of guessing, you get clear instructions for shaping the heel correctly. This helps your socks fit better and look neater.
I know how frustrating it can be when a sock doesn’t fit right. A heel that’s too tight makes it hard to put on. A loose heel can slip off. Getting the right stitch count is important, and a calculator helps with that.
It takes the guesswork out of shaping the heel so you can focus on knitting. Using a calculator also saves time.
You don’t have to redo stitches or fix mistakes as often. It works for different heel styles and any yarn or needle size. If you haven’t tried one yet, give it a shot. It can make a big difference in your sock knitting. Happy knitting!
Frequently Asked Questions
Can I use a heel-turn calculator for any sock pattern?
Yes, most calculators work for different heel styles. Just enter your stitch count, and it will adjust to your pattern.
Does a heel-turn calculator work for all yarn types?
Yes, it works for any yarn weight. You may need to adjust your stitch count based on your gauge, but the calculator helps with shaping.
Do I need to know my row gauge to use a heel-turn calculator?
Some calculators ask for a row gauge, but many only need your stitch count. If a row gauge is required, measure how many rows you knit per inch.
Do I need a different calculator for toe-up and cuff-down socks?
Some calculators work for both methods, but others are designed for specific sock styles. Check the description before using one.


