


Do your students stare at the blank paper, afraid to make a mark? I’ve been there, too.
In this article, you’ll look at 13 strategies for invigorating creativity in your art classroom. These practical techniques will transform reluctant artists into confident creators.
You’ll learn how to:
- Build a safe space for creative risk-taking
- Introduce materials that spark imagination
- Structure lessons that balance freedom with guidance
- Foster genuine artistic expression in every student
I promise that with these strategies, you’ll see breakthrough moments where students discover their unique creative voice. Even your most hesitant artists will surprise you with their innovation.
Let’s solve the creativity crisis together.
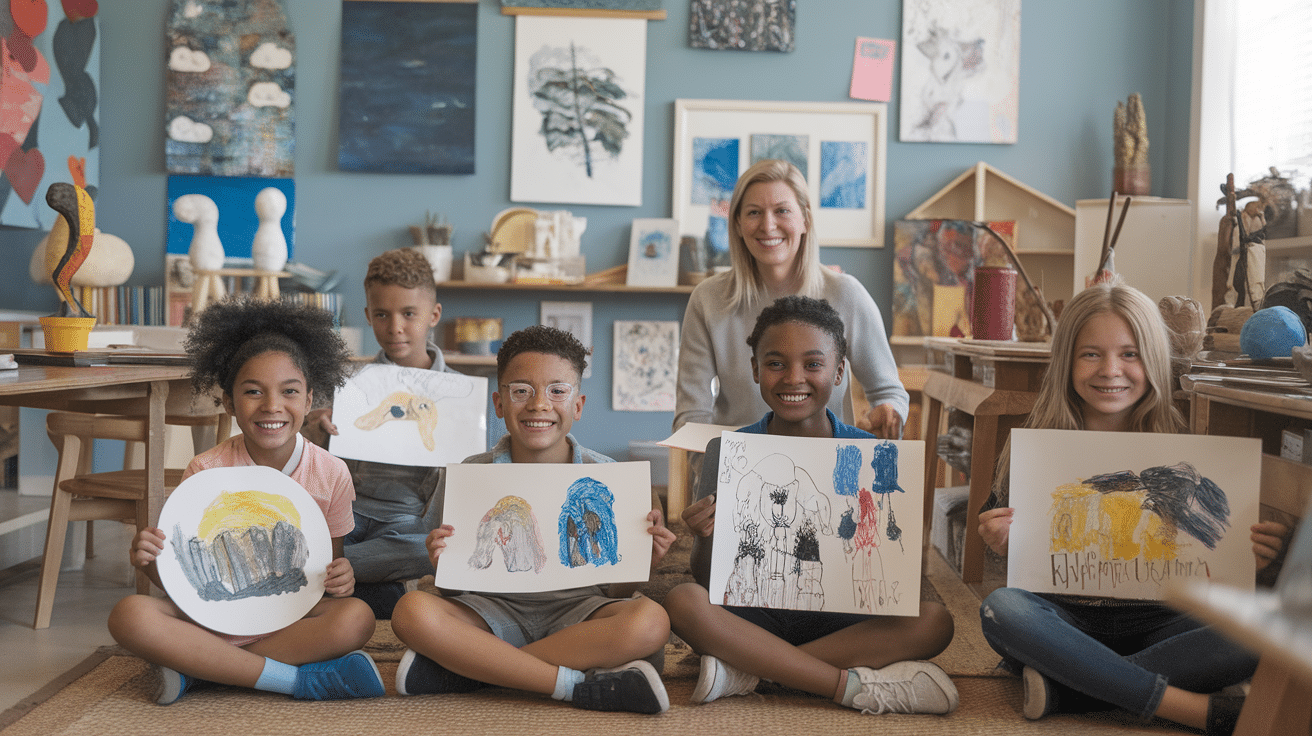
How to Encourage Creativity in Art Class
Creativity in art class isn’t just about making something look good—it’s about thinking in new ways and expressing ideas freely. By creating the right environment and using the right strategies, teachers can help students feel inspired and confident in their artistic journey.
1. Create a Supportive Environment
My classroom transformed when I made one simple rule: no negative talk allowed.
This means:
- No, “I can’t draw.”
- N,o “This looks terrible”
- No comparing work to others
Instead, we practice saying, “I’m still learning,” and “I’ll try a different approach.”
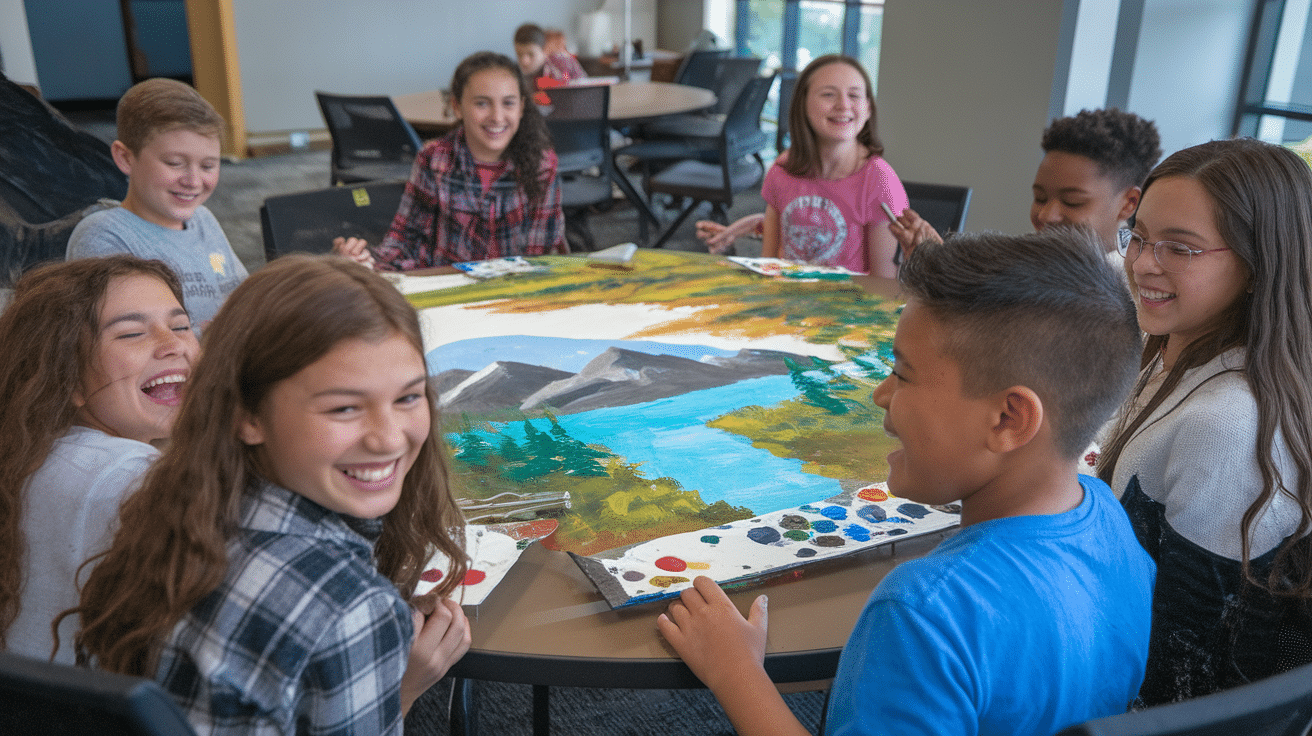
Physical space matters, too. I arrange tables in clusters instead of rows. This setup encourages conversation and collaboration, and students can see multiple approaches to the same prompt.
Lighting changes everything. I use natural light when possible and add lamps with warm bulbs. Harsh fluorescent lighting can make the room feel clinical and uninspiring.
Put up inspiring quotes on your walls, celebrate unique ideas, and make your classroom a safe zone for taking risks.
I also keep a “Beautiful Oops” board where we display art that came from mistakes. This visual reminder shows students that unexpected turns often lead to the most interesting art.
2. Provide a Variety of Materials
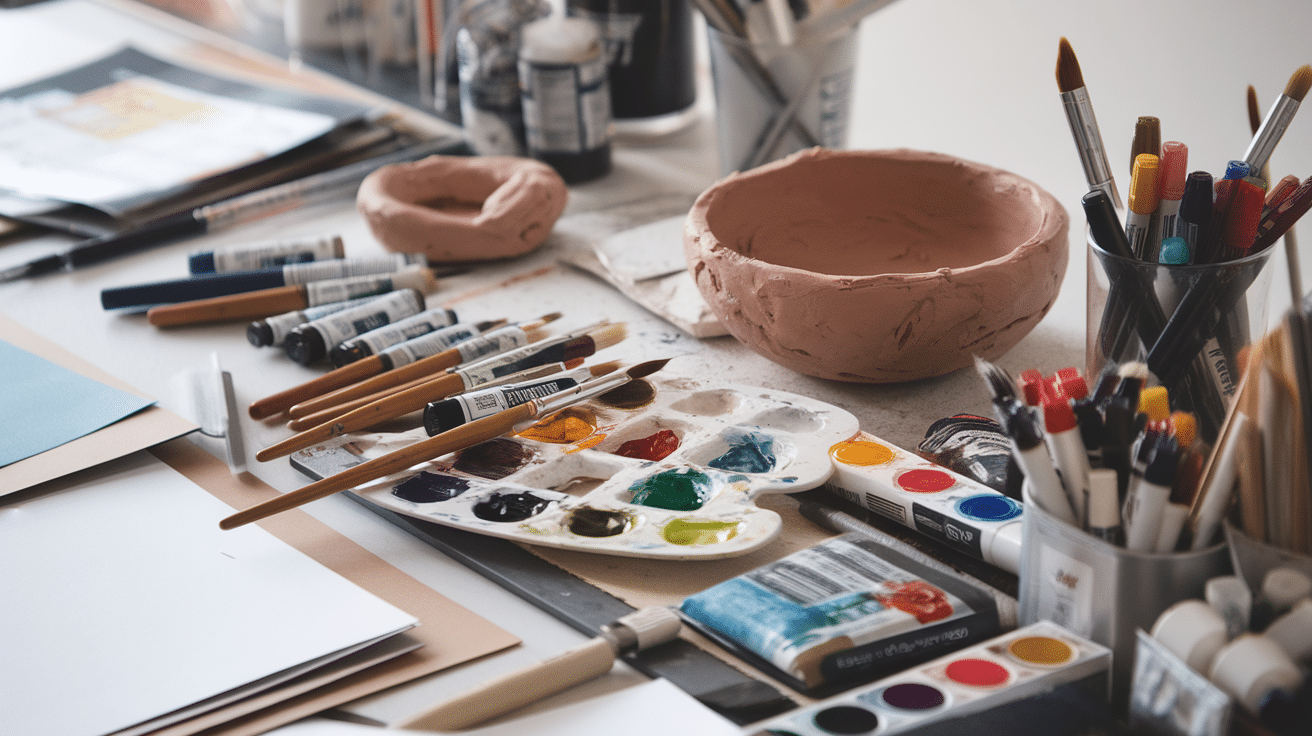
Creativity blooms with options.
I keep these basics on hand:
- Traditional supplies (pencils, paints, clay)
- Unexpected items (bubble wrap, coffee filters, old magazines)
- Natural materials (leaves, sticks, stones)
- Recycled objects (bottle caps, cardboard tubes, fabric scraps)
- Cultural art materials (like henna patterns, origami paper, or batik tools)
I organize materials in clear containers so students can see what’s available. This visual accessibility sparks ideas they might not have if supplies stayed hidden in cabinets.
Material rotation keeps things fresh. Every month, I introduce a new “spotlight material” that students might not typically choose.
I also create “mystery bags” where students must create something using only the random materials inside. This constraint actually boosts creativity by forcing new approaches.
I provide alternatives for students with sensory issues. Clay can be overwhelming for some, so I offer Model Magic or kinetic sand as options with similar sculptural properties.
Mix it up! When students can choose their materials, they take ownership of their art.
3. Encourage Personal Expression
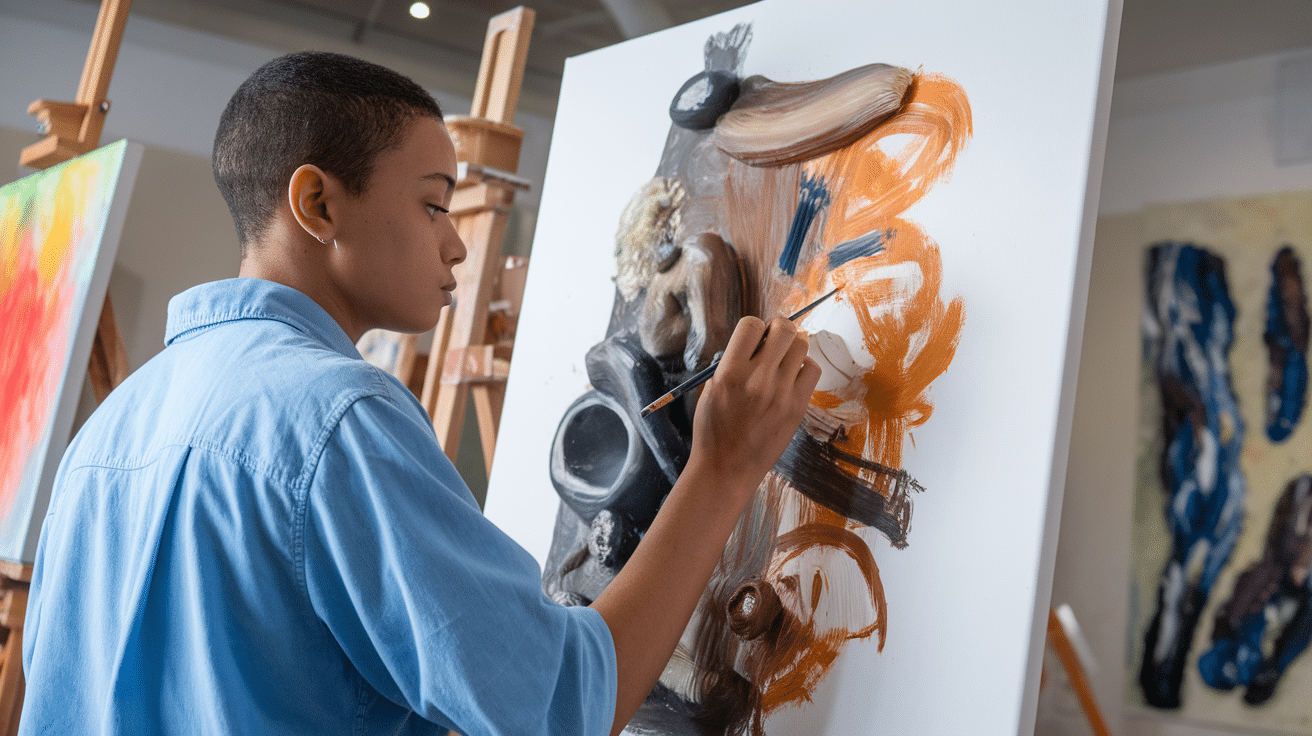
Art is personal. Let it be.
I start by acknowledging that technical skill and personal expression are different things. You can have one without the other, but both are valuable and can be developed.
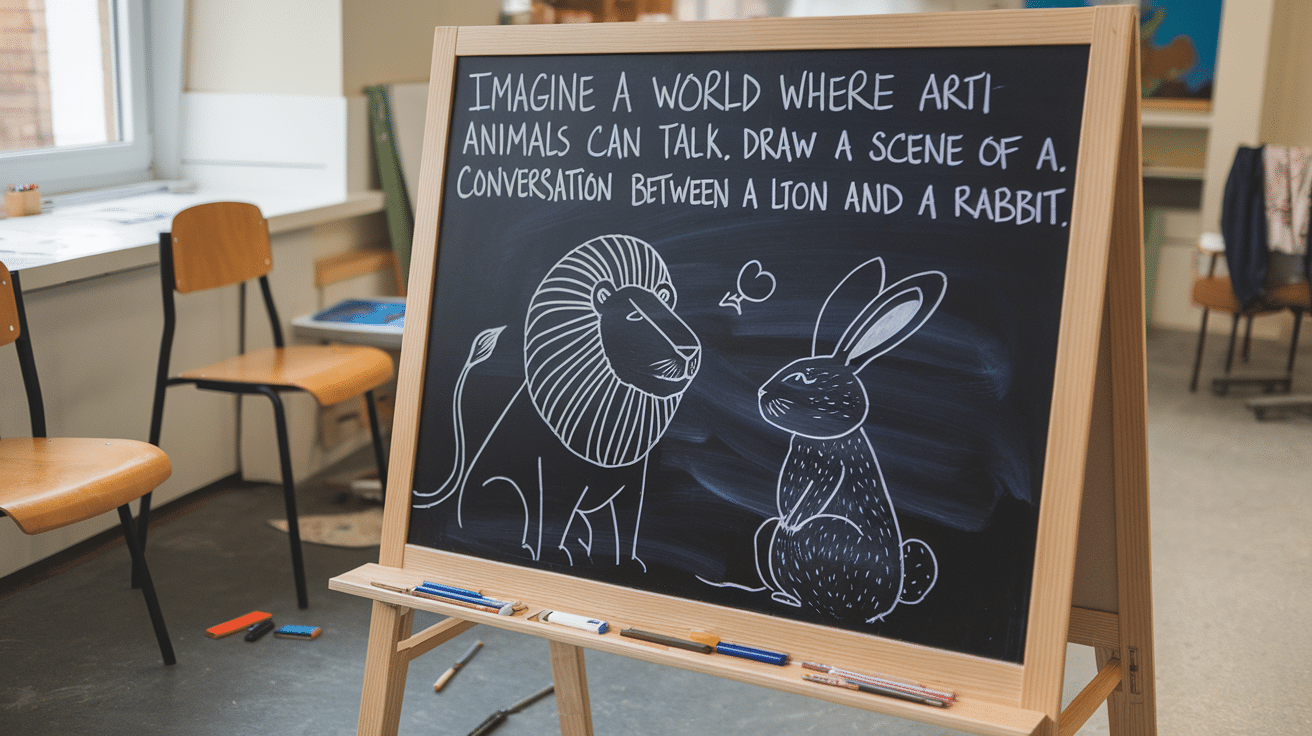
Instead of assigning specific subjects (“draw a house”), I give open-ended prompts (“create a place where you feel safe”). This subtle shift makes room for interpretation and personal connection.
Ask open-ended questions:
- “What story does your art tell?”
- “How does this make you feel?”
- “What inspired you today?”
- “If your artwork could speak, what would it say?”
- “What part of this art makes you most proud?”
When students struggle to express themselves, I use the “emotion color wheel” activity. We discuss which colors represent different feelings for each student. There’s no right answer—blue might mean sadness for one student and calm for another.
I encourage students to incorporate their cultural backgrounds into their work. Art class becomes a space where students can proudly share their heritage and identity. This approach has been especially meaningful for my students from immigrant families.
4. Teach Through Play and Exploration
Sometimes, we need to forget the rules.
I schedule regular “art play days” where the goal isn’t a finished product. The focus is purely on exploration and discovery.
Try these exploration activities:
- Set a 5-minute timer for wild experimentation
- Create art while listening to music
- Draw with your non-dominant hand
- Make art with your eyes closed
- Use only one color in five different ways
- Create a “texture hunt” with paper over objects
- Mix unusual media (like watercolor and oil pastel)
- Draw the same subject in three completely different styles
We’ve had “happy accident days” where I deliberately create situations that seem like mistakes—spilling watercolor, tearing paper, smudging charcoal—then challenge students to transform these “accidents” into intentional art.
Movement-based art gets students out of their seats and comfort zones. We’ve tied markers to string and swung them like pendulums. We’ve taped brushes to yardsticks to paint from a distance. One memorable day, we taped the paper to the bottom of our shoes and “danced” our paintings.
I bring in unusual tools: kitchen gadgets, hardware store finds, natural objects. “What mark does this make?” becomes an exciting investigation rather than a technical lesson.
For older students, I introduce the concept of “productive struggle.” We discuss how feeling temporarily confused or challenged is actually a sign that real learning is happening.
These silly exercises break patterns and spark new ideas. More importantly, they remove the pressure that blocks creativity.
5. Introduce Famous and Unconventional Artists
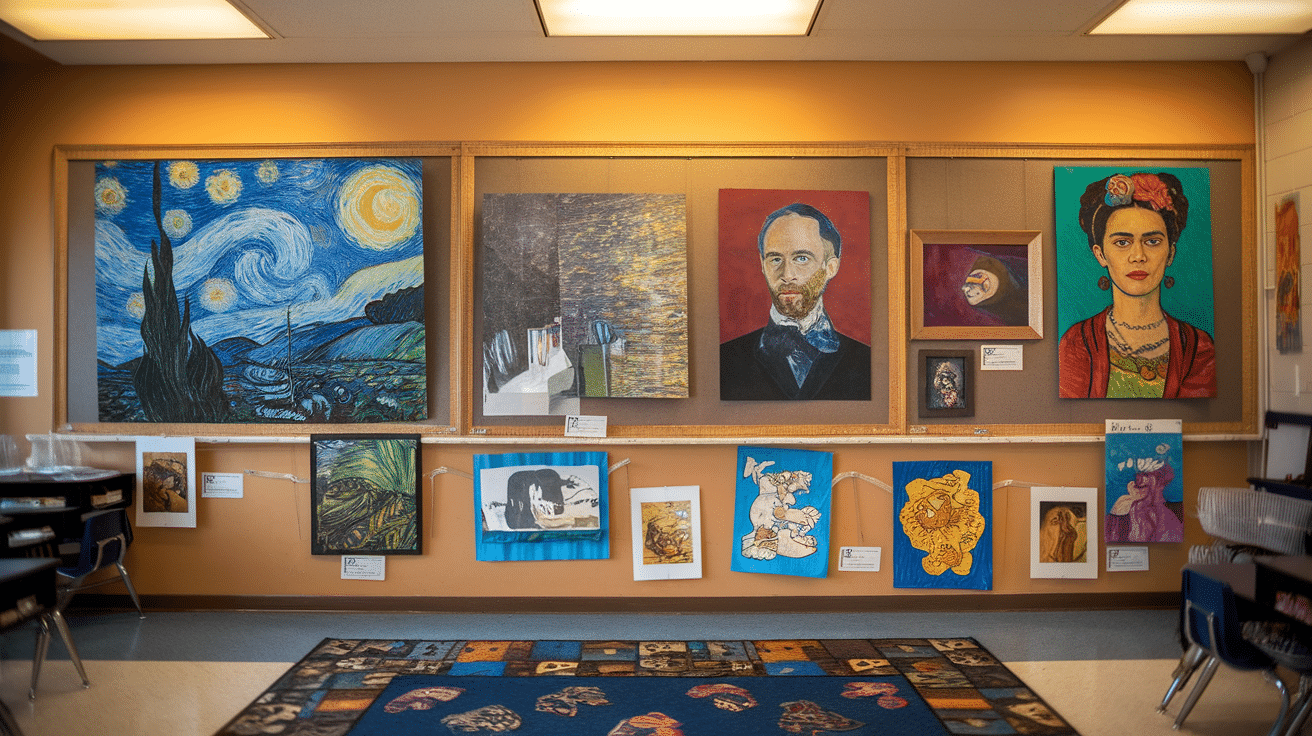
Show students there’s no single “right way” to make art.
I create an “Artist of the Week” spotlight. We spend 10 minutes each Monday learning about someone new. I deliberately choose artists with diverse backgrounds, styles, and approaches.
I introduce artists like:
- Jackson Pollock (who splattered paint)
- Frida Kahlo (who painted her feelings)
- Jean-Michel Basquiat (who broke all the rules)
- Yayoi Kusama (who uses dots to process her mental health)
- Faith Ringgold (who tells stories through quilts)
- El Anatsui (who creates tapestries from bottle caps)
- Tim Burton (who makes “weird” marketable)
- Kehinde Wiley (who places everyday people in classical settings)
I show early works alongside mature pieces so students can see the progression. This visual evidence of growth helps them understand that artists develop over time.
My students were shocked to learn that these famous artists weren’t perfect. Many had no formal training!
I share stories about artists who faced rejection. Did you know Claude Monet’s work was once considered so terrible that critics created a special exhibition to mock him? Now, his paintings sell for millions.
For younger students, I use picture book biographies about artists. Books like The Noisy Paint Box (about Kandinsky) or Radiant Child (about Basquiat) make artists’ lives accessible.
I also spotlight student artists. When a student discovers a unique approach, we study their technique just as seriously as we would a famous artist. This practice elevates student work and reinforces that innovation can come from anyone.
6. Emphasize the Process Over Perfection
The magic happens in the mess.
I tell my students: “Art is a journey, not a destination.”
To make this concrete, I use process portfolios instead of just collecting final pieces. Students document their art journey with photos, sketches, notes about challenges, and reflections on decisions.
I explicitly teach that revision is normal. Professional artists don’t create masterpieces in one sitting—why should students? We practice phrases like “This is my first attempt” instead of “I’m bad at this.”
I model imperfection myself. I create alongside my students, making genuine mistakes and thinking aloud about how to address them.
I introduce the Japanese concept of wabi-sabi—finding beauty in imperfection. We study kintsugi pottery, where broken pieces are repaired with gold, repairing a featured element rather than something to hide.
For projects that naturally invite perfectionism, I might set intentional constraints:
- Limited time (10-minute drawings)
- Limited materials (just one color)
- Physical constraints (drawing with the paper under the table)
These limitations free students from unrealistic expectations.
Celebrate the trying. Honor the effort. The final product matters less than you think.
At our school art show, each piece is displayed with a small note about something the artist learned or overcame. These process stories often become more interesting than the art itself.
7. Foster a Culture of Sharing and Feedback
Create an atmosphere where students learn from each other.
I build “art talks” into our regular schedule. These aren’t formal critiques but casual conversations about ongoing work. Students display in-progress pieces and welcome input before finalizing.
We use a simple feedback method:
- Notice something specific (“I notice you used bold colors”)
- Ask a question (“What inspired your color choice?”)
- Give a positive reflection (“Your art makes me feel happy”)
No critiques. No fixes. Just observation and appreciation.
I explicitly teach this feedback method with practice sessions. We start by giving feedback on my work or famous artwork before peer feedback. This removes the personal risk while students learn appropriate language.
Gallery walks happen weekly. Students place work on their desks and circulate it with sticky notes, leaving positive comments and questions. The excitement is palpable—students genuinely look forward to reading their notes.
For younger students, I use sentence starters:
- “I like how you…”
- “This reminds me of…”
- “I wonder about…”
- “I notice that you…”
Digital portfolios allow students to share beyond our classroom. We maintain a secure class website where students post images and reflections. Parents and other classes can leave comments, expanding our feedback community.
For students who feel nervous about sharing, I offer alternatives: small group sharing instead of the whole class, written reflections instead of verbal, or gradual sharing beginning with just one trusted classmate.
8. Use Real-World Inspiration
Art doesn’t exist in a vacuum.
I schedule monthly “inspiration field trips,” even if we just walk around the school campus. A change of scenery stimulates creative thinking. We bring sketchbooks and practice quick observational drawings.
Take students outside to sketch trees, bring in objects from home, and look at the architecture in your town.
Current events can inspire powerful art. When our community experienced flooding, students created mixed-media pieces expressing their feelings about the disaster. The art became a healing process and raised awareness when displayed at the local library.
I keep an “inspiration station” stocked with:
- Natural objects (pinecones, shells, interesting rocks)
- Cultural artifacts from various traditions
- Mechanical items with interesting shapes (gears, old keys)
- Textile samples with varied textures
- Photographs of local landmarks
- Magazine images of diverse people and places
I reach out to community members for virtual classroom visits. Local artists, architects, graphic designers, and craftspeople share their creative processes. These connections help students see art careers beyond “famous painter.”
Real-world connections make art relevant. When students see art’s connection to their lived experience, engagement soars.
9. Make Art Fun and Interactive
Art should bring joy!
I start some classes with 5-minute art games.
These quick activities build skills while feeling playful:
- “Exquisite corpse” drawings where each student adds to a folded paper
- Speed drawing challenges with a timer
- “Draw-off” competitions with silly themes like “the strangest vegetable”
- Drawing with eyes closed or non-dominant hands
Some crowd favorites:
- Art scavenger hunts (find artwork showing specific elements or principles)
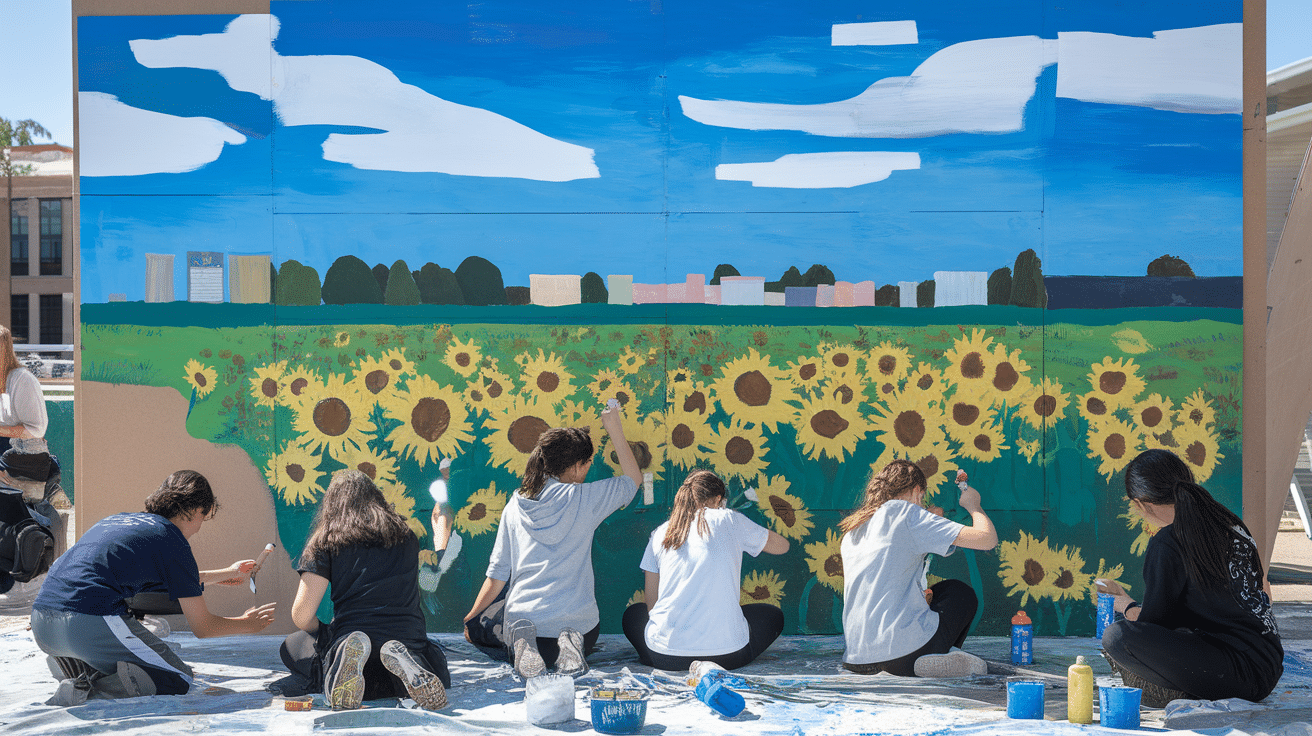
- Collaborative murals where each student contributes a section
- “Art detective” games finding shapes and patterns in famous artwork
- Musical chairs art (switch seats and add to someone else’s work)
- “Surrealist dinner party” where students create impossible food items
- “Rube Goldberg” drawing challenges to create complex machines
- “Minute to Win It” style timed art challenges
Movement-based art gets kids physically engaged.
We’ve created:
- Action paintings inspired by Jackson Pollock
- Dance choreography translated into visual patterns
- Kinetic sculptures that require interaction
- Large-scale chalk art that students can walk through
Art Olympics is our end-of-year tradition. Students rotate through quick, playful stations with challenges like “sculpt with one hand” or “create a costume from newspaper in 3 minutes.”
The laughter during these activities is just as important as the art itself. When students associate art with joy, they’re more likely to continue creative pursuits beyond the classroom.
10. Give Students Creative Freedom
Structure is necessary, but so is freedom.
I use a gradual release approach to creative independence:
- First, I demonstrate techniques and guide choices
- Then, students get partial choice (select from options)
- Eventually, they gain full creative control
I reserve “Free Art Friday” each week. Students choose their project, materials, and approach.
To provide structure without stifling creativity, I might offer:
- A theme (“transformation”) with complete freedom of interpretation
- A material constraint (“must include fabric”) with freedom on everything else
- A technique requirement (“use printmaking”) with freedom on subject matter
Freedom can be overwhelming for some students. I keep an “Idea Jar” filled with optional prompts for those who need a starting point. Students learn it’s okay to seek inspiration without feeling less creative.
Student choice extends to project timelines. Some students need longer to develop ideas, while others work quickly. I build flexibility into our schedule so students can work at their own creative pace when possible.
For group projects, I assign roles that play to different strengths. The visually precise student might handle details, while the conceptual thinker develops the overall plan. This approach honors diverse ways of contributing.
Trust your students with creative choices. Their unique perspectives will surprise and inspire you.
11. Incorporate Technology and Digital Art

Digital tools aren’t cheating—they’re just different canvases.
I approach technology as complementary to traditional art, not a replacement. We discuss how digital and physical techniques can enhance each other.
Even with limited tech, you can:
- Use free drawing apps on tablets
- Take photos and print for mixed media
- Create digital collages from student artwork
- Explore simple animation techniques
- Use augmented reality apps to make art interactive
- Record time-lapse videos of art creation
- Create digital portfolios to document growth
- Design simple graphics for school events
For classrooms with just one computer, establish “digital art stations” where students rotate through. While waiting, they can sketch ideas or work on traditional components of mixed-media projects.
Digital art addresses accessibility needs. Digital tools can reduce physical barriers for students with fine motor challenges. The “undo” button reduces anxiety for perfectionists. Variable brush sizes help students with vision impairments.
We explore ethical questions around digital art: How has AI changed creativity? What constitutes originality? When is digital manipulation appropriate? These discussions develop critical thinking alongside technical skills.
Most importantly, we maintain the same creative mindset regardless of the medium. Whether using charcoal or a stylus, the emphasis remains on expression, exploration, and development of visual communication skills.
How to Keep Students Engaged in Art Class
Keeping students engaged in art class can be challenging, especially when attention spans vary. A creative and interactive approach helps maintain their interest and encourages them to explore new ideas.
By adding structure, collaboration, and fun elements, you can make art class a space where students stay motivated and excited to create.
12. Create a Routine That Encourages Creativity
Consistency and creativity can coexist.
My class follows this pattern:
- 5 minutes: Warm-up activity (quick sketches, creative prompts)
- 10 minutes: Technique or concept introduction
- 25 minutes: Main project work
- 5 minutes: Reflection and sharing
This structure provides safety while allowing space for exploration.
Visual cues signal transitions between activities. I use colored lights: blue for quiet focus time, yellow for collaborative work, and green for cleanup. These non-verbal signals maintain flow without disrupting creative thought.
For younger students, I use visual charts showing each step. For older students, I post QR codes linking to technique demonstrations they can revisit independently.
I build in “pause points” during longer projects. We briefly stop, assess progress, consider alternatives, and then continue. This prevents students from getting stuck in unproductive directions.
Time awareness matters. I use visual timers so students can pace themselves.
Predictable routines create psychological safety. When students know what to expect, they’re more willing to take creative risks within that secure structure.
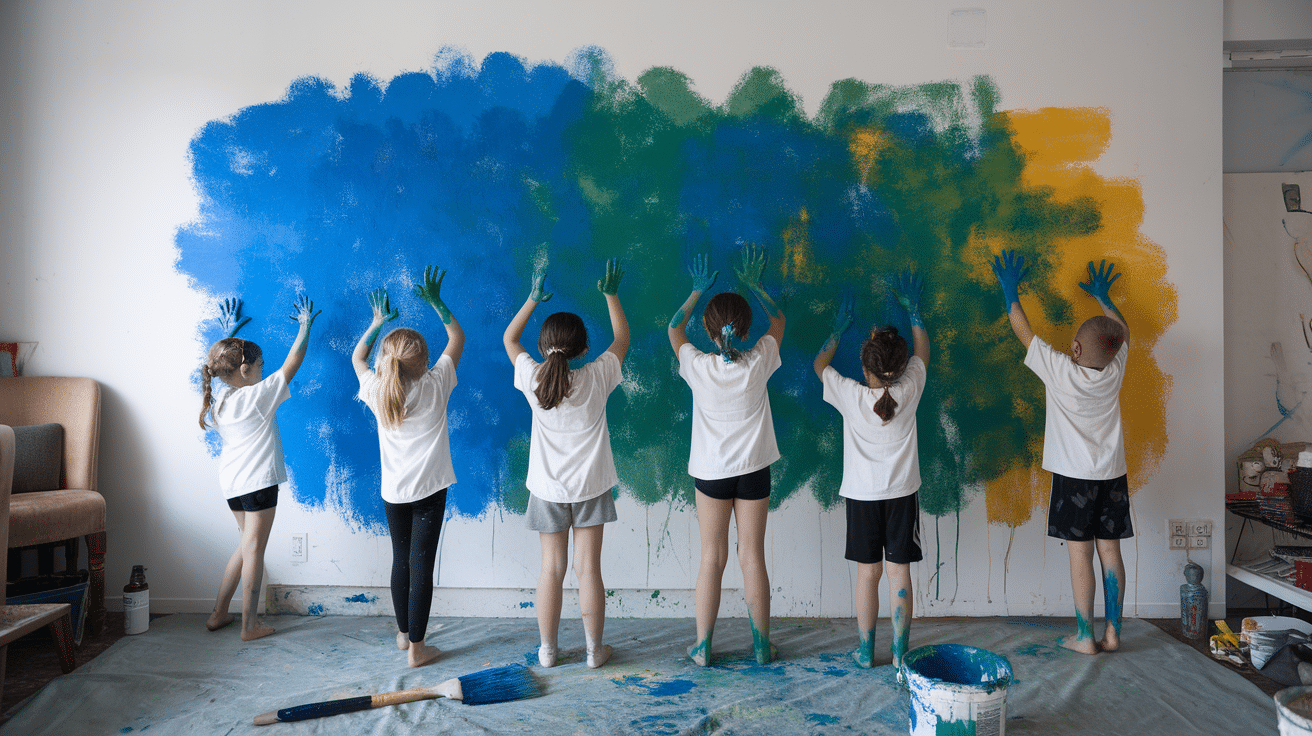
13. Encourage Collaboration and Group Projects
Art doesn’t have to be solitary.
I structure collaborative projects carefully to ensure positive experiences:
Start small with partner activities before moving to larger groups.
Simple collaborations might include:
- One student draws outlines, and another adds color
- Trading papers partway through to add to each other’s work
- Creating puzzle pieces that fit together into a larger image
Group projects teach:
- Compromise
- Communication
- Problem-solving
- Appreciation of different styles
- Division of responsibilities
- Consensus building
- Ownership beyond individual effort
I use role cards to help students understand their responsibilities within groups:
- Materials Manager oversees the supplies
- Time Keeper monitors the progress
- Artistic Director maintains vision consistency
- Technical Advisor suggests specific techniques
- Documentation Specialist records the process
For students who struggle with social skills, I provide structured conversation prompts: “I like your idea because…” or “What if we tried…”
The planning phase is crucial. I build in substantial time for groups to sketch, discuss, and storyboard before touching final materials. This investment prevents conflicts later.
For assessment, I balance group and individual components. Each student submits a reflection on their contribution and what they learned from teammates.
These shared creative experiences often create the strongest memories from art class.
Conclusion
Creativity isn’t mysterious magic. It’s a skill we can nurture with intentional practice.
Start small. Pick just one strategy from this list and implement it next week. You will notice a difference in student engagement and confidence.
Remember that creating a judgment-free zone is your most powerful tool. When fear disappears, innovation naturally follows.
The greatest artists throughout history broke the rules, made messes, and followed their unique vision. Your classroom can be the place where students first discover this freedom.
Your job isn’t to create perfect artists. It’s to provide opportunities for creative thinking that will serve students in every area of life.
Be patient. Creative growth happens gradually, often in unexpected bursts. The seeds you plant today may bloom years later in ways you never anticipated.
Now, go make some beautiful messes with your students!
Frequently Asked Questions
How Do I Grade Creative Work Fairly?
Focus on effort, growth, and process rather than subjective quality. Create clear rubrics that value experimentation and completion just as much as technical skill.
What if Students Rush Through Art Projects to Finish First?
Establish “extension challenges” for early finishers that deepen their work. Emphasize that thoughtful art takes time and rewards careful consideration over speed.
How Can I Help Students Who Say, “I’m Just Not Creative”?
Have them start by imitating styles they admire, then gradually change one element at a time. This stepping-stone approach builds confidence before asking for fully original work.
What’s the Best Way to Handle Parent Expectations of “Pretty” Artwork?
Educate parents about the developmental stages of artistic growth and the value of the process. Host a gallery night where students explain their creative decisions to help parents see beyond surface aesthetics.
How Do I Balance Teaching Techniques with Encouraging Free Expression?
Think of techniques as tools in a toolbox, not rules to follow. Teach a skill, demonstrate its conventional use, and then immediately challenge students to apply it in unexpected ways.


