


If you’re new to knitting or looking to learn new techniques, the PFB (Purl Front and Back) stitch is great! It’s a simple stitch that helps create extra stitches in your project, which is perfect for making patterns like increases or adding texture to your work.
The PFB stitch is easy to do once you get the hang of it. It’s often used in lace, ribbing, or shaping designs. In this blog, I’ll explain the PFB stitch step by step so you can add it to your knitting.
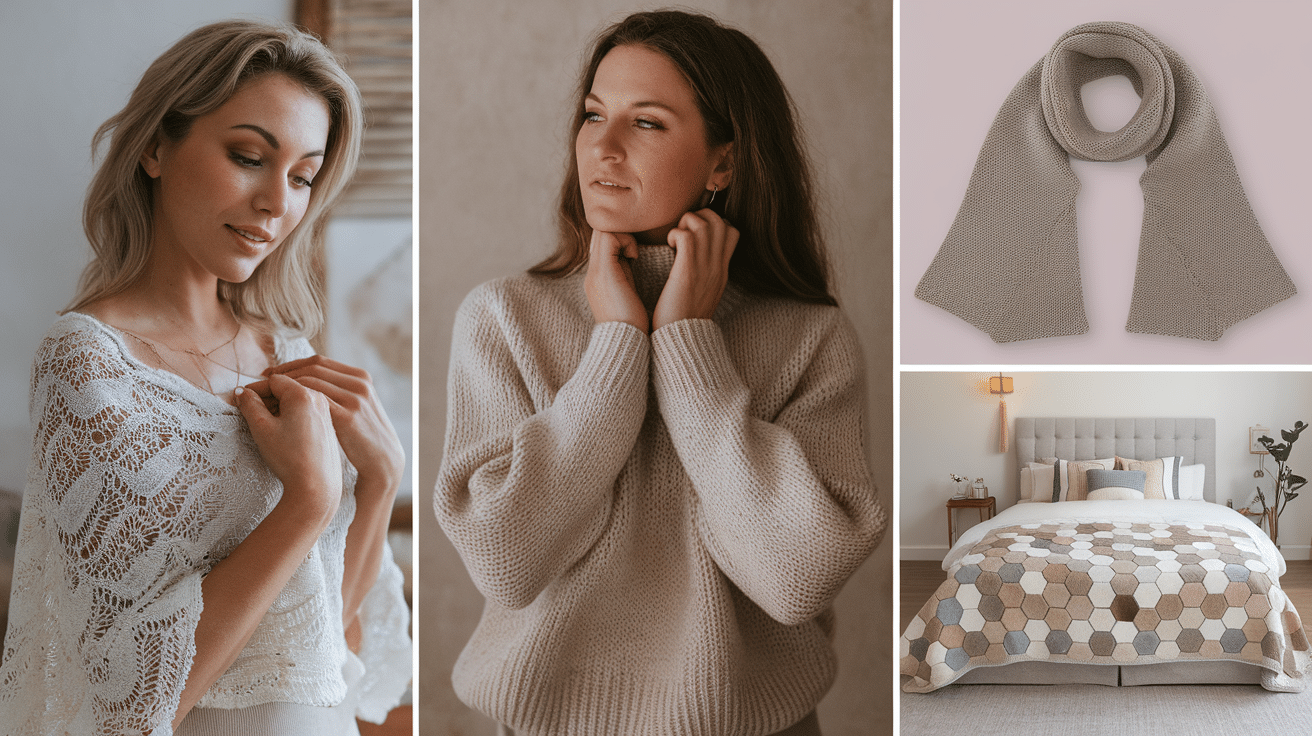
If you’re making a scarf, a sweater, or a blanket, mastering this stitch will give your projects a professional look and help you improve your knitting skills. Let’s get started with learning how to do the PFB stitch!
Understanding the PFB Stitch

The PFB stitch stands for “Purl Front and Back,” a simple knitting technique used to increase the number of stitches in your project. This stitch is great when you want to add width or shape to your knitting, like in lace patterns, or when you need to make your piece wider, such as for a sweater or shawl.
The PFB stitch is worked on the purl side of your knitting, and it involves making two purl stitches in one stitch. Here’s how it works: You first purl the stitch normally, and then, without moving the yarn, you purl into the back part of the same stitch. This creates an extra stitch.
It’s easy to learn and perfect for beginners because it’s just an increase, not a complicated pattern. By practicing PFB, you can add texture and create amazing shapes in your knitting projects!
When to Use the PFB Stitch
The PFB stitch is a great technique to learn, and there are a few common times when it comes in handy. Here are some situations where you might use the PFB stitch:
1. Adding Stitches in Lace Patterns: The PFB stitch is often used in lace knitting. Lace designs need extra stitches to form the open, delicate patterns, and PFB is an easy way to increase stitches while keeping the fabric neat.
2. Shaping Garments: If you’re making a sweater or a hat, you might need to shape the piece to fit better. The PFB stitch helps by adding stitches to the sides, making the garment wider without adding bulk.
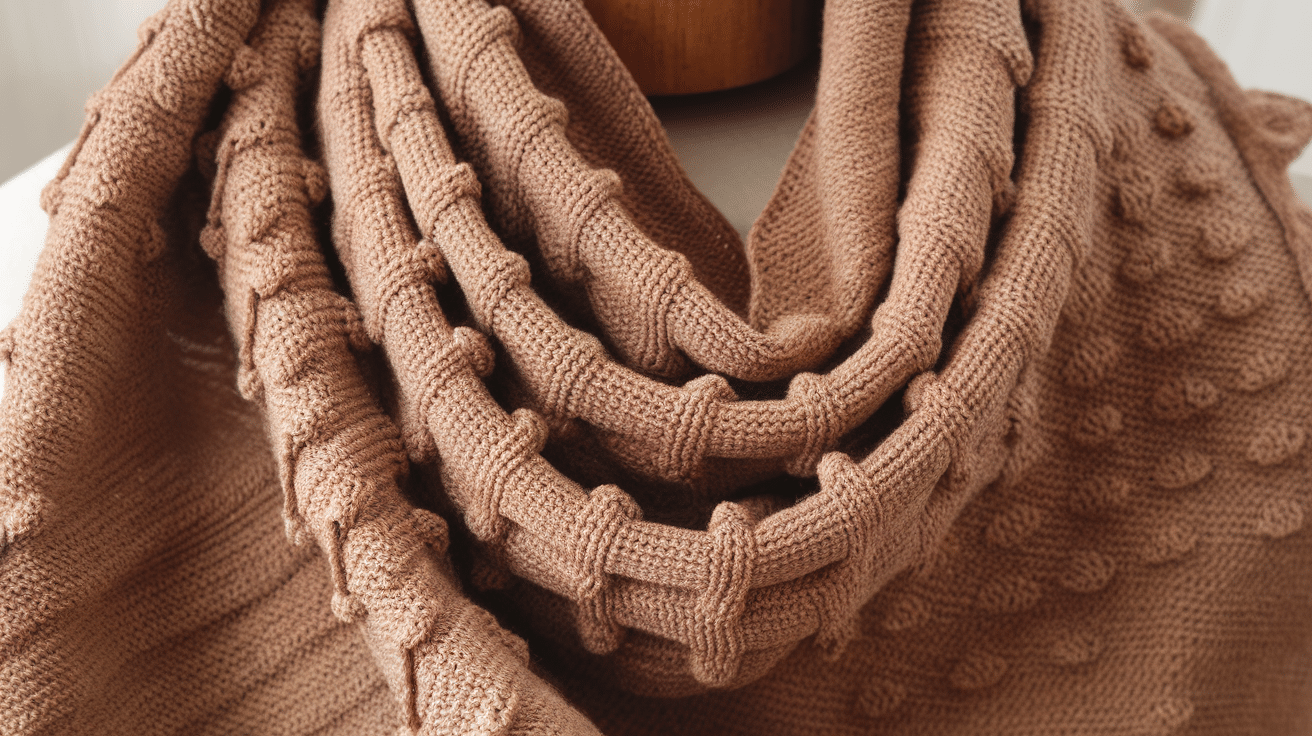
3. Making Ruffles or Textures: When creating a textured effect or ruffles, the PFB stitch can gradually increase the number of stitches. It gives your fabric a subtle texture while expanding the fabric.
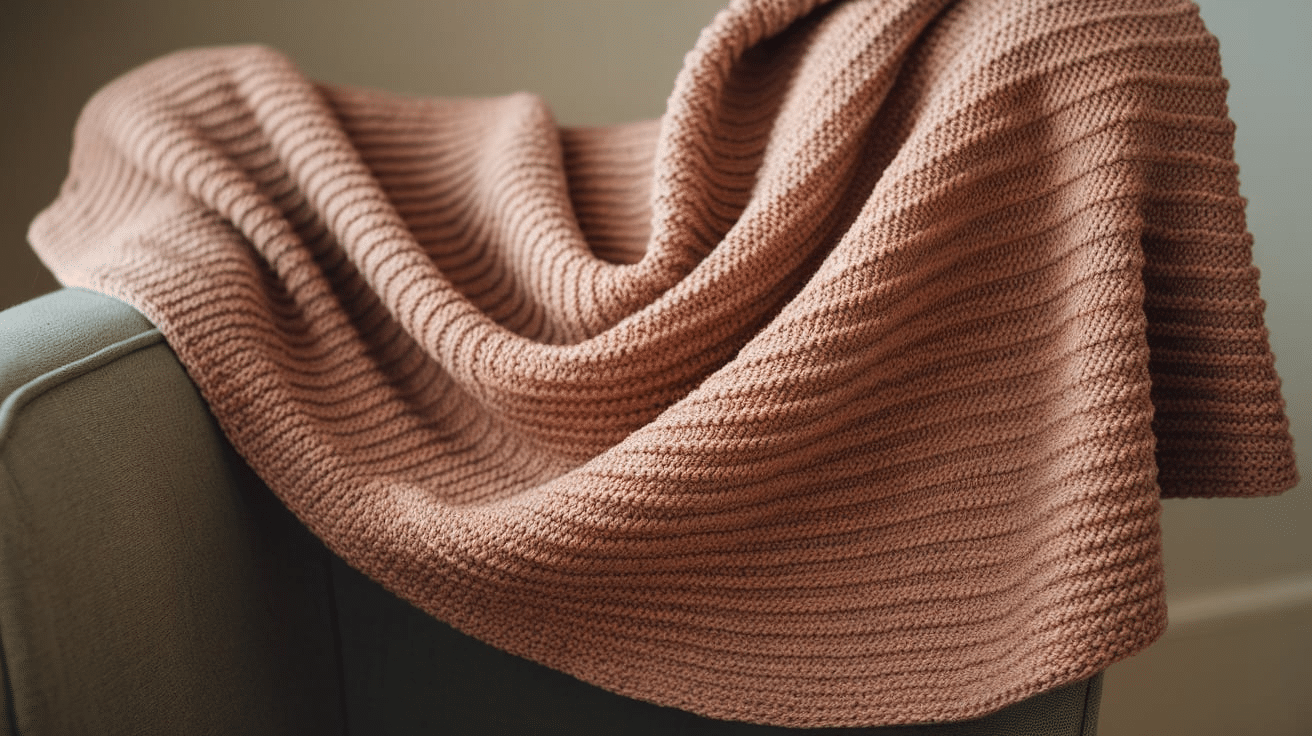
4. Increasing Stitches for a Larger Piece: If your pattern calls for adding more stitches to make the piece larger, the PFB stitch is a quick and easy way. It’s especially useful in projects like shawls or blankets.
In short, use the PFB stitch whenever you need to add extra stitches to your work. It’s simple, effective, and works well in many projects.
Step-by-Step Guide to Knitting the PFB Stitch
The PFB (Purl Front and Back) stitch is an easy technique to increase your knitting stitches. Here’s a detailed, step-by-step guide on how to do the PFB stitch:
Step 1: Prepare Your Needles
Start by casting on the number of stitches required for your pattern. Ensure that you’re on the purl side of your work since the PFB stitch is on the fabric’s wrong side. Keep your yarn at the front of the work as you’ll be purling.
This way, you’ll be in the correct position to begin the PFB stitch, and the yarn will be ready to create the necessary purl stitches.
Step 2: Insert the Needle to Purl the First Time
Insert your right needle into the first stitch on the left needle as if you were going to purl it. The yarn should be in front of the needle.
Hold the working yarn with your left hand and bring your needle from right to left through the stitch, wrapping the yarn around the needle. Pull the yarn through to create a purl stitch, but leave the stitch on the left needle for the next step.
Step 3: Purl Into the Back of the Same Stitch
Now, without moving the yarn or dropping the stitch from the left needle, you’ll purl again into the back loop of the same stitch. Here’s how:
Insert the tip of your right needle into the back leg of the stitch you just purled (the back side of the stitch). Wrap the yarn around the needle again and pull it through the stitch to create another purl stitch.
Step 4: Slide the Stitch Off
You can slide the original stitch off the left needle once you’ve worked both purl stitches into the same stitch. You will have two new stitches on your right needle instead of one, which is how the increase happens.
This creates a smooth and even increase, allowing your fabric to grow while maintaining the stitch pattern. Ensure the stitches are not twisted to look neat and clean.
Step 5: Continue Knitting
Now that you’ve added one stitch, you can continue knitting your pattern. Repeat the PFB stitch whenever your pattern asks for an increase, and keep the tension even so your stitches stay consistent.
For a visual and detailed guide, watch this tutorial by @VeryPinkKnits on YouTube.
Once you get the hang of it, the PFB stitch becomes an easy and quick way to add stitches to your work.
Incorporating PFB into Your Projects
The PFB (Purl Front and Back) stitch is an incredibly versatile technique that can add texture and shape to your knitting projects. Once you’re comfortable with the method, you can use it within various projects. Here are some ways you can use the PFB stitch to improve your work:
1. Creating Shaping in Garments
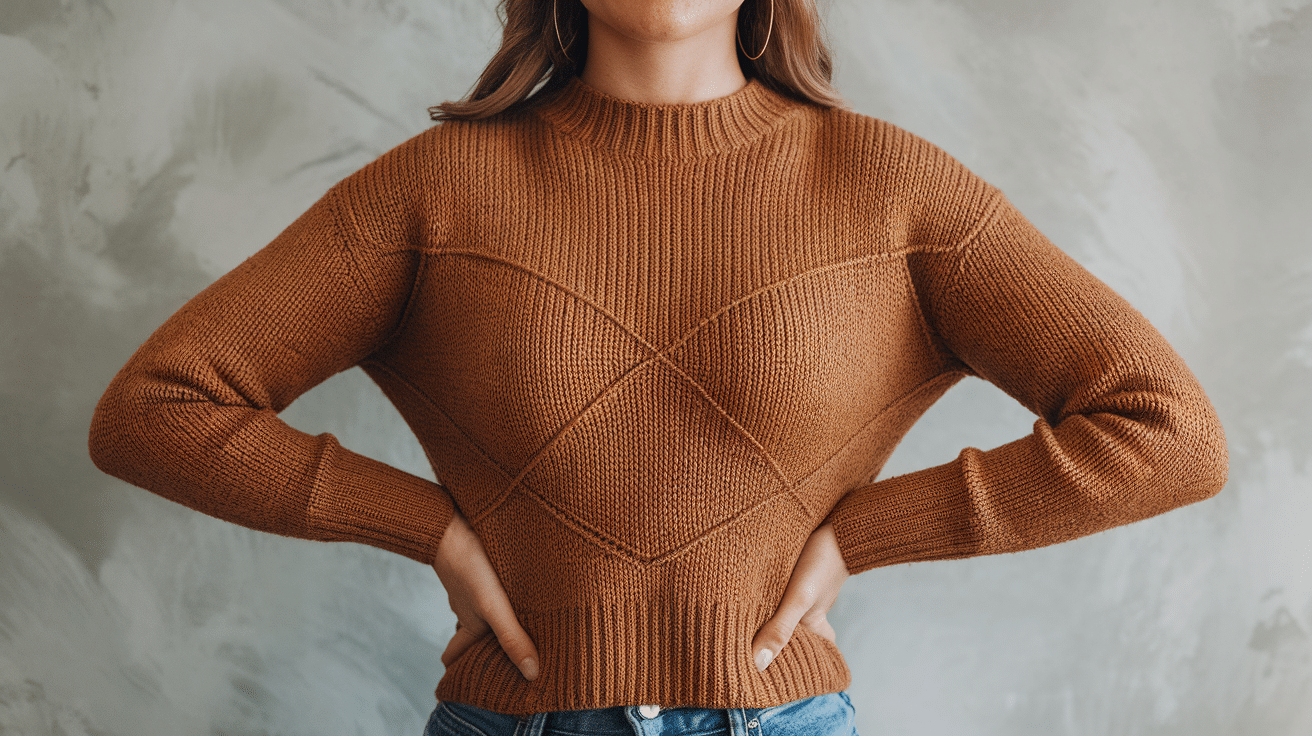
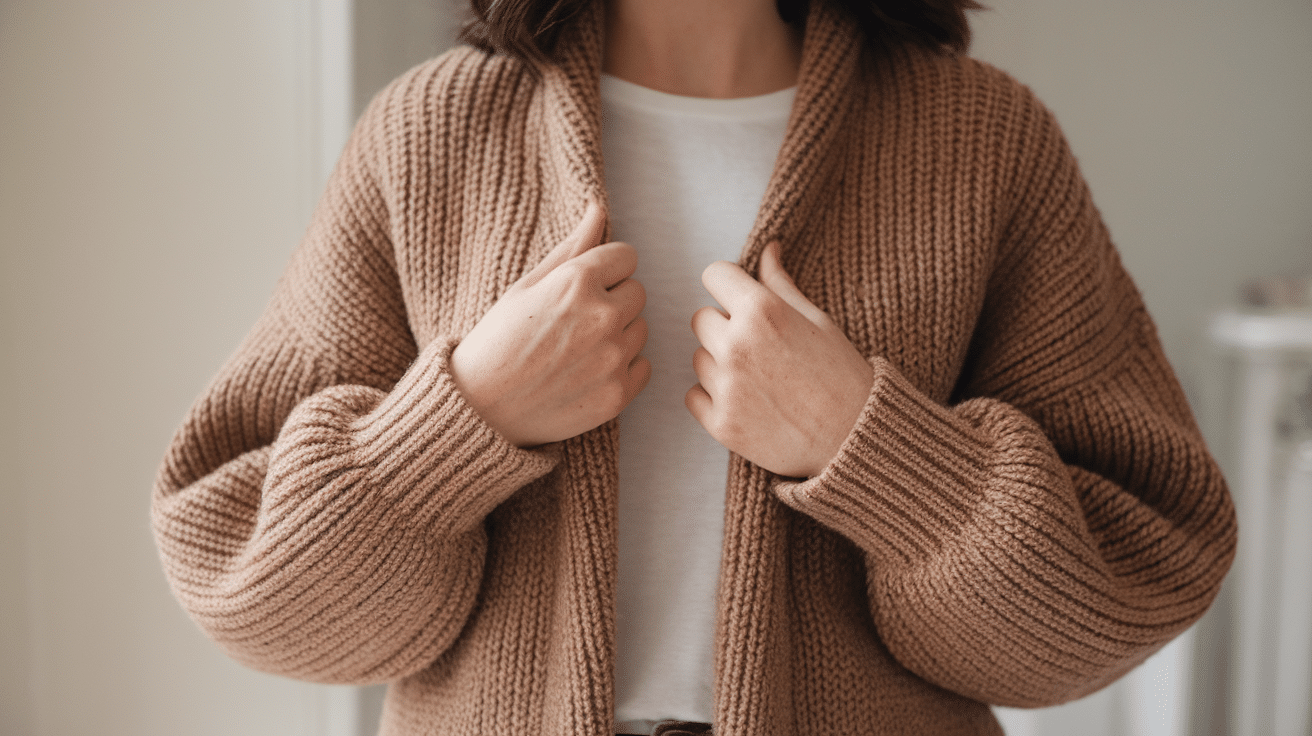
When knitting sweaters, cardigans, or other garments, the PFB stitch is great for shaping the body. You can use it to add width to certain areas, like the bust, hips, or sleeves, without adding extra bulk. It’s commonly used in raglan sleeves or at the waist to create a more fitted, flattering shape.
2. Adding Texture to Your Work
The PFB stitch doesn’t just add stitches; it can also create a subtle texture. This is particularly useful in lace designs, where the increases help form the open, airy patterns. You can use PFB in alternating rows with other techniques, like knit or purl stitches, to create unique and textured fabrics that stand out.
3. Increasing for Shawls and Scarves
When making shawls or scarves, the PFB stitch often creates gradual increases along the edges. This allows the project to grow in size smoothly, giving it a natural, gentle curve. The stitch can help you easily build the width of a shawl or scarf without any noticeable seams.
4. Working with Lace Patterns
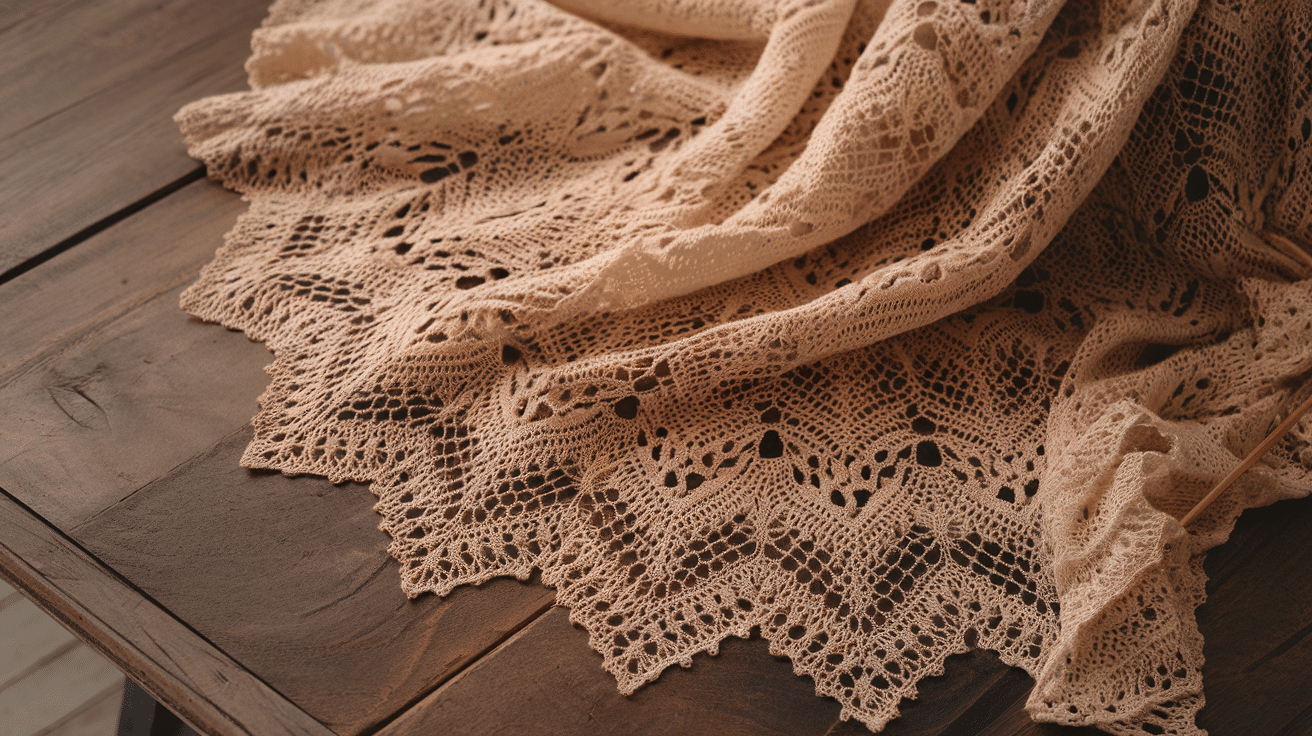
PFB is frequently used in lace patterns to add extra stitches while maintaining the delicacy of the design. By using PFB, you can create holes and openings in lace without disrupting the overall flow of the pattern. It’s ideal for building the increasing sections of a lace shawl, scarf, or other accessories.
5. Using PFB in Ribbing
You can also use the PFB stitch within ribbing patterns to create interesting and unique effects. For example, using PFB in the middle of a purl stitch in a ribbed section adds visual interest while still maintaining the elasticity and structure of ribbing.
6. Creating Evenly Spaced Increases
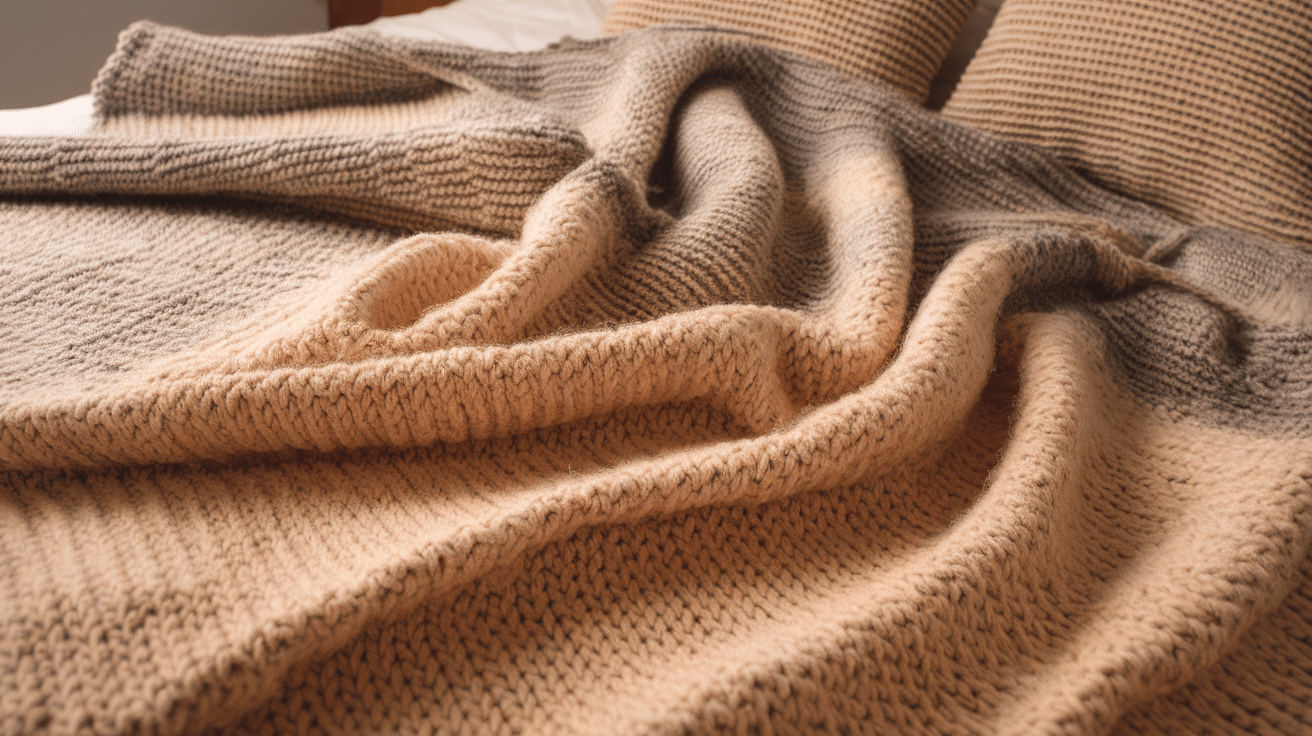
If your project requires multiple increases, like in a circular or hexagonal blanket, using PFB can help evenly distribute the increases. This creates a smooth, consistent shape, whether you’re working in rounds or rows. The stitch helps prevent a sharp increase that could make the fabric look uneven.
7. Adding Decorative Details
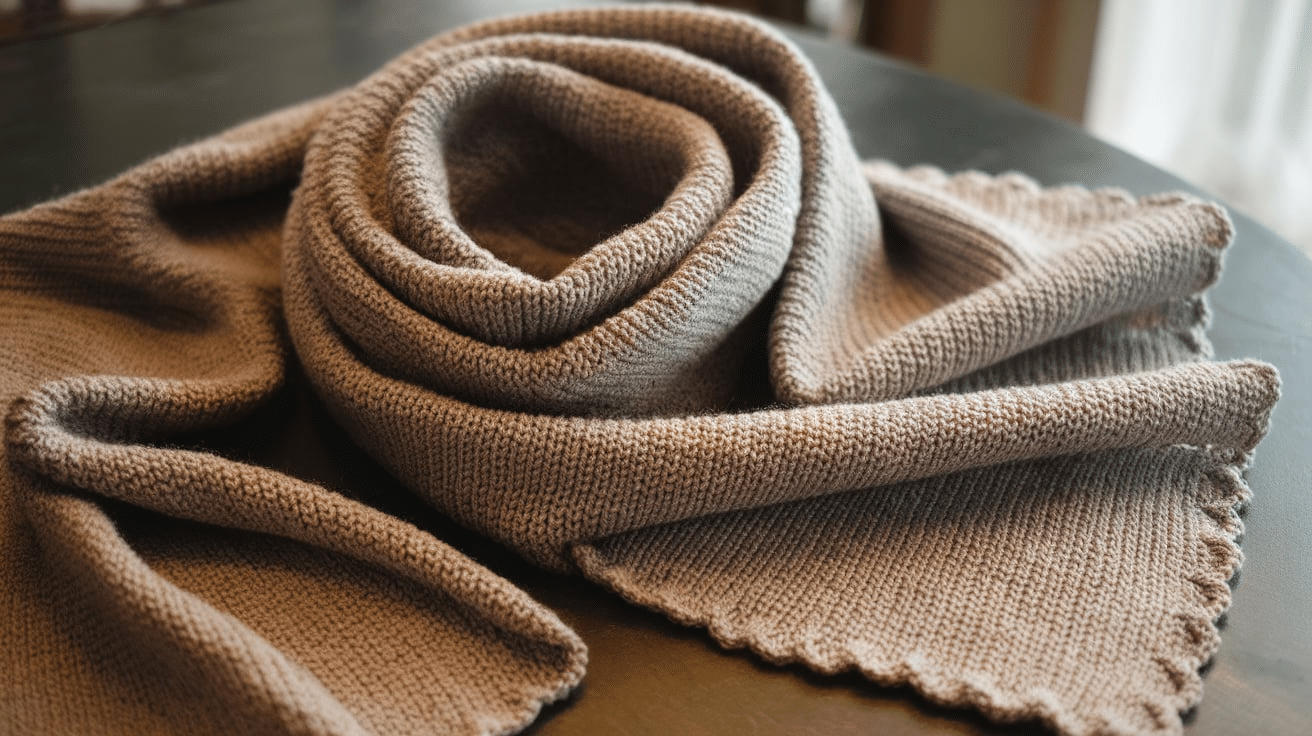
PFB doesn’t always have to be about increasing size or shaping. You can also use it creatively to add decorative elements to your knitting. For example, you can use PFB to form small, subtle increases along the edges of a design, creating a scalloped effect or subtle raised detail.
8. Combining with Other Increase Techniques
While PFB is great for many projects, it can be combined with other increase techniques, like M1 (Make One), to create complex, textured patterns. You can create projects with intricate designs and varied stitch structures by alternating different increases.
Incorporating the PFB stitch into your knitting projects can improve your work’s function and style. Whether you’re shaping a garment, adding texture to a scarf, or creating pretty lace patterns, PFB offers endless possibilities for creativity and improvement in your knitting projects.
PFB vs. Other Increase Techniques
There are several ways to increase stitches in knitting, each with its benefits. A quick comparison between PFB and other common increase methods:
| Increase Method | Abbreviation | Where Used | Creates Hole? | Look/Texture | Difficulty | Best For |
|---|---|---|---|---|---|---|
| Purl Front and Back | PFB | Purl rows | No | Slight bump, visible ridge on RS | Easy | Ribs, purl-side shaping |
| Knit Front and Back | KFB | Knit rows | No | Small bar or bump | Easy | Sweaters, sleeves, simple shaping |
| Make One Left | M1L | Between stitches | No | Virtually invisible if done well | Moderate | Symmetrical shaping, garments |
| Make One Right | M1R | Between stitches | No | Like M1L, it leans opposite direction | Moderate | Symmetrical shaping, garments |
| Yarn Over | YO | Between stitches | Yes | Decorative hole, lace effect | Easy | Lace, eyelets, decorative increases |
| Lifted Increase (Left) | LLinc | From the left stitch below | No | Very discreet | Moderate | Smooth shaping, subtle increases |
| Lifted Increase (Right) | RLinc | From right stitch below | No | Very discreet | Moderate | Smooth shaping, subtle increases |
Each method serves a different purpose, so choose the one that fits the look and texture you want in your project!
Tips for Mastering the PFB Stitch
The PFB (Purl Front and Back) stitch is a great tool for adding stitches to your knitting projects, but like any new technique, it takes some practice. Here are some helpful tips to make sure you master the PFB stitch and use it with confidence:
1. Keep Your Yarn Tension Even: Pulling the needle through the fabric can be difficult if the yarn is too tight. If it’s too loose, your stitches might end up uneven. Practice maintaining an even tension as you work.
2. Practice on a Swatch: This will allow you to get used to purling into the front and back of the same stitch. It will also help you make sure you’re not twisting the stitch or creating an uneven increase.
3. Focus on Needle Placement: When inserting your needle to purl the back of the stitch, make sure you’re going through the back leg of the stitch in the correct direction. If you don’t do this properly, it can lead to twisted stitches.
4. Practice with Different Fabrics: Try using different types of yarn to see how the PFB stitch behaves with various fibers, such as wool, cotton, or acrylic. This will help you understand how to adjust the stitch.
5. Troubleshoot Regularly: If you notice uneven stitches or feel like you’re not getting the right result, stop and check your work. Sometimes, the issue might be with yarn tension or needle placement.
These tips will make you feel confident using the PFB stitch in your knitting projects. With practice, you’ll master this simple yet powerful increase technique and be able to use it to add texture and create professional-looking pieces!
Conclusion
The PFB (Purl Front and Back) stitch is a simple yet powerful technique for increasing stitches in knitting. It works well for projects that require increases on the purl side, like lace patterns or shaping.
While other increase methods like M1, KFB, and YO have specific uses, PFB offers a smooth, subtle way to add stitches without disrupting the texture of your work.
If you’re knitting a sweater, scarf, or shawl, knowing when and how to use the PFB stitch will help you achieve the right fit and design.
By practicing this technique and understanding when to use it, you can improve your knitting projects and create more complex designs. So, keep experimenting, and don’t be afraid to incorporate PFB into your future knitting projects.
Frequently Asked Questions
Can I use PFB in circular knitting?
Yes, you can use PFB in circular knitting. It’s especially helpful for increases when working on projects like hats or shawls.
What yarn types work best with PFB?
PFB works well with most yarns, but smooth, medium-weight yarns like wool, cotton, or acrylic are great for beginners since they make the stitch easier to handle.
What projects can I use PFB for?
PFB is great for various projects, including sweaters, shawls, scarves, and lace designs. It’s useful for increasing stitch count without affecting the overall texture.
What is the best way to practice the PFB stitch?
Start by knitting a swatch and practicing PFB along a row. This will help you get comfortable with the stitch and improve your technique.


