


Crochet is a fun and creative craft, but sometimes, projects don’t turn out as expected. One common issue is unwanted curving, where the edges of a project bend instead of lying flat. This can happen to beginners and experienced crocheters alike.
Curving can affect blankets, scarves, and other flat projects, making them look uneven. It can also make wearables, like sweaters and hats, feel too tight or too loose in certain areas.
The good news is that curving is usually caused by simple mistakes, such as uneven tension, incorrect stitch counts, or the wrong hook and yarn combination.
This guide will explain why crochet projects curve and how to fix the issue. With a few adjustments, you can achieve smooth, even stitches and better results.
Why Is My Crochet Curving?
Crochet is a fun and creative craft, but sometimes projects don’t turn out as expected. One common issue that many crocheters face is curving, where the edges of the work start to bend instead of lying flat.
This can happen in different types of crochet projects, such as blankets, scarves, hats, or sweaters.
Curving can be frustrating, especially when you’re following a pattern carefully. It may cause uneven edges, wavy fabric, or an unwanted curling effect that affects the final look of the project.
The good news is that crochet curving has clear causes and simple solutions that can help fix the problem.
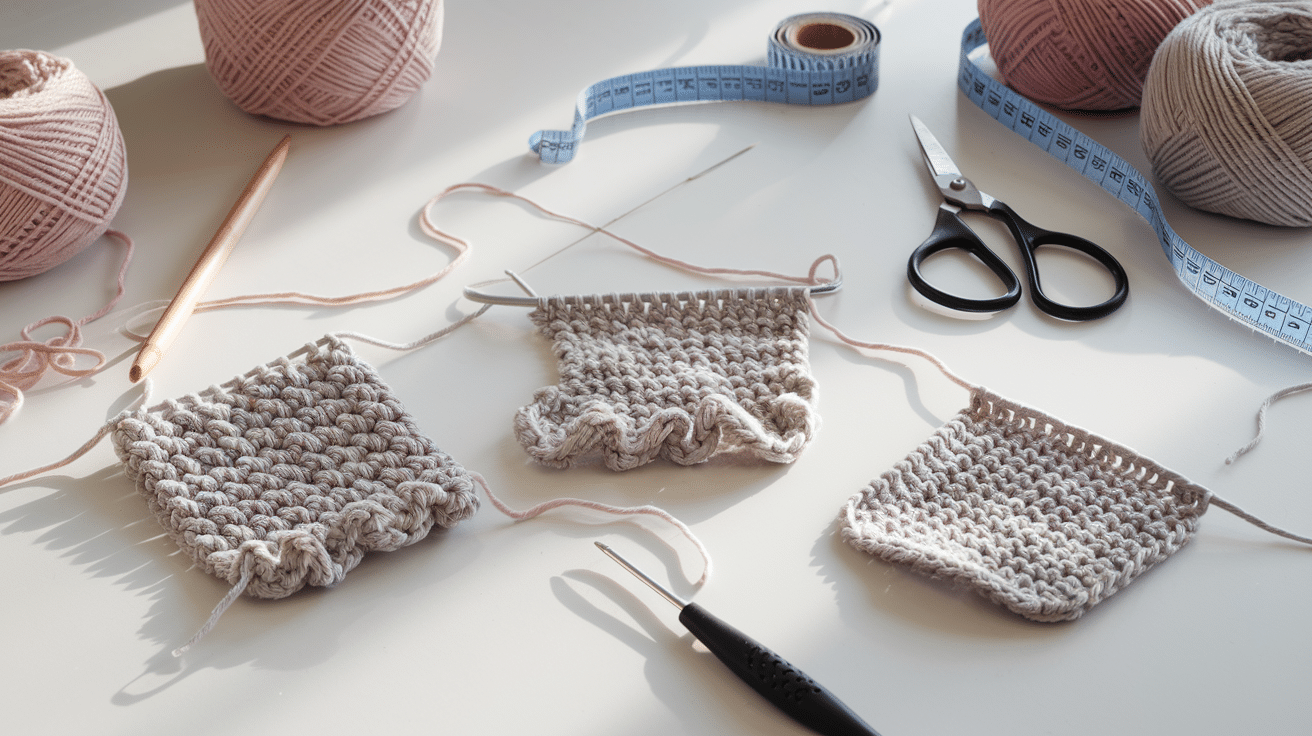
- Tension problems: Holding the yarn too tightly or too loosely can cause stitches to curl or stretch.
- Uneven stitch count: Skipping or adding stitches can lead to edges that are not straight.
- Hook and yarn mismatch: Using the wrong hook size for the yarn weight can create uneven fabric.
- Certain stitches curl naturally: Some stitches, such as single crochet and Tunisian crochet, tend to curl more than others.
- Pattern design issues: Some patterns may have stitch combinations that pull the fabric in different directions.
By understanding these causes, you can take simple steps to prevent curving and keep your crochet projects smooth and well-shaped.
Primary Causes of Crochet Curving
Understanding why crochet curves is the first step to fixing the issue. Below are some of the most common reasons why this happens.
Tension Issues
Tension refers to how tightly or loosely you hold the yarn while crocheting. If your tension is too tight, the fabric may curl inward. If your tension is too loose, the fabric may become wavy or uneven.
Holding the yarn too tightly can make your stitches small and stiff, pulling the fabric inward and creating a curling effect. This often happens to beginners who are still learning to control their yarn.
Loose stitches, on the other hand, can make the fabric uneven and floppy. The project may stretch too much and develop waves instead of staying smooth.
Keeping your tension even is the best way to avoid curving. Regular practice and a relaxed grip on your hook and yarn can help.
Inconsistent Stitch Count

Keeping a consistent stitch count is key to maintaining a flat crochet piece. If the number of stitches changes from row to row, the edges may become uneven, causing the fabric to curve.
Skipping stitches can happen when working quickly or not paying attention to the placement of each stitch. A missing stitch can pull one side inward, making the fabric shrink on that side.
Adding extra stitches is another common issue. If you accidentally add an extra stitch at the end of a row, the fabric may start to widen, creating an uneven shape.
The best way to avoid this is to count your stitches after each row. Using stitch markers can also help you identify the beginning and end of rows more easily.
Hook and Yarn Mismatch
For the best results, the size of the hook and the weight of the yarn should match. If they don’t, it can affect the shape and texture of your project.
Using a hook that is too small can make your stitches too tight, causing curling. If your hook is too large, your stitches may become too loose, making the fabric stretch out unevenly.
Mixing different types of yarn in one project can also lead to curving. Some yarns stretch more than others, and switching between different yarn weights can create an uneven texture.
To prevent this, always check the yarn label for the recommended hook size. Making a small swatch before starting a big project can also help you see if your yarn and hook are a good match.
Pattern and Stitch Selection
Some stitch patterns naturally curl more than others. Knowing which stitches tend to curl can help you adjust your technique.
Tunisian crochet, for example, often curls at the edges due to the way the stitches are formed. Some single crochet stitches can also cause curling, especially when working in tight rows.
Certain patterns may also cause curving if the stitch density is not balanced. If one section of the pattern is tighter than another, the fabric may start to bend or ripple.
If you’re working with a stitch that tends to curl, try adding a border or mixing it with other stitches to create a more even texture.
Solutions and Preventive Measures
Once you understand why crochet curves, you can take steps to fix and prevent it. Some solutions to keep your projects flat and even are:
Maintain Consistent Tension
Tension is one of the biggest factors in preventing curving. If you keep your stitches even, your project is less likely to curl or warp.
Practicing regularly will help improve your control over yarn tension. If you find yourself pulling the yarn too tightly, try relaxing your grip on the hook. Holding the yarn too loosely can also cause issues, so aim for a balance between firm and flexible.
Some crocheters use a tension ring or guide to help maintain even stitches. If you’re struggling with tension control, using one of these tools may help.
Count Stitches Carefully
Keeping track of your stitch count helps prevent uneven edges and unexpected curves. It’s easy to lose track, especially when working on large projects or complex patterns.
Using stitch markers at the beginning and end of each row makes it easier to count stitches. Checking your count after every few rows can also help catch mistakes before they become too big to fix.
If you notice that your stitch count keeps changing, take a closer look at where you place your stitches. Make sure you’re inserting your hook into the correct spot for each new stitch.
Choose the Right Hook and Yarn
Using the correct hook size for your yarn weight helps create smooth, even stitches. A hook that is too small makes stitches tight and stiff, causing curling. A hook that is too large creates loose stitches, leading to a wavy texture.
Most yarn labels provide a recommended hook size. Starting with the suggested size and adjusting as needed helps prevent tension issues.
Before starting a large project, crochet a small test swatch. This allows you to check the stitch formation and make changes if needed. A larger hook can loosen tight stitches, while a smaller hook can provide better structure. Taking time to test materials can prevent mistakes later.
Adjust Your Pattern for Balance
Some stitches naturally curl, but small adjustments can help. Tight, dense stitches are more likely to curl, while open stitches lay flatter.
Adding a border creates a structured edge that stabilizes the fabric and prevents curling. A row of looser stitches at the edges can also help relax the fabric.
Mixing stitch heights can improve balance. If single-crochet stitches cause curling, alternating with taller stitches like half double crochet or double crochet can even out tension. A mix of stitch types helps the fabric lay naturally and improves the overall shape.
Advanced Techniques to Prevent Crochet Curving
If basic adjustments don’t fix the problem, advanced techniques can help create a smooth, even finish.
These methods improve stitch balance, add structure, and prevent edges from curling. By applying these techniques, you can ensure your projects look more polished and professional.
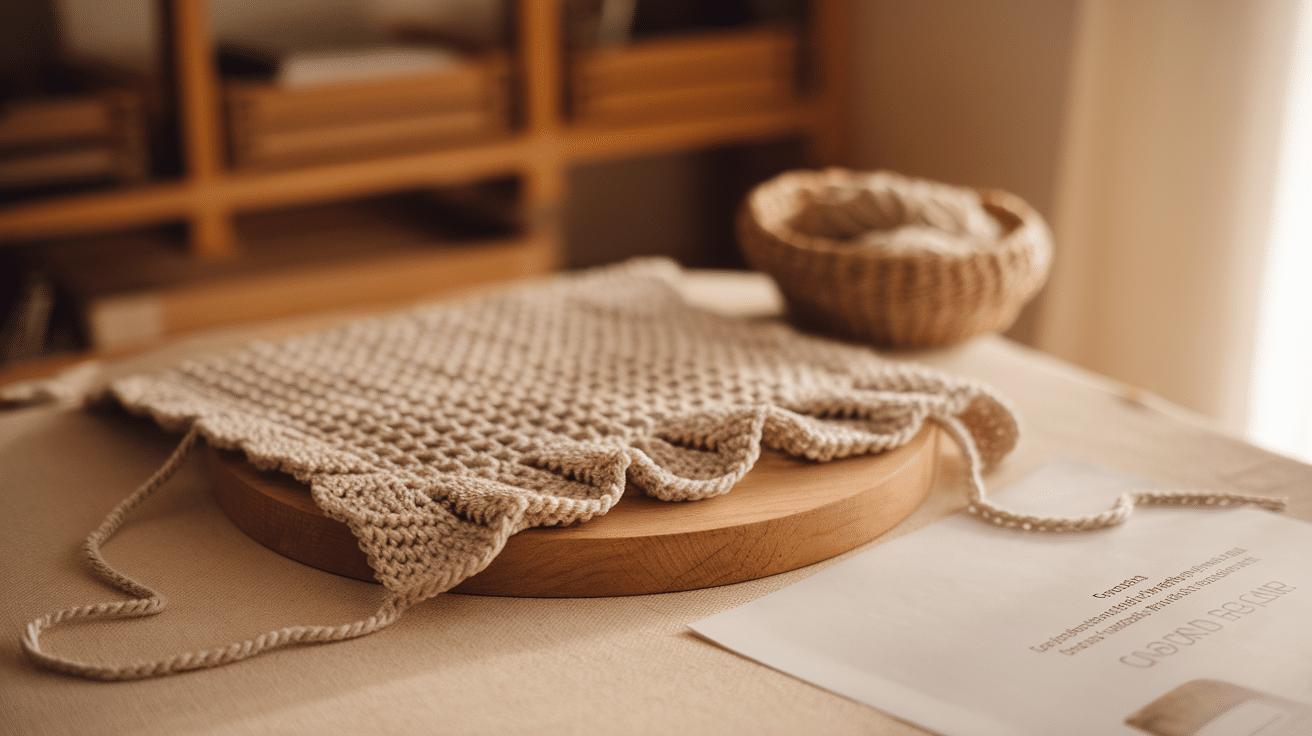
Blocking
Blocking is a process that helps shape crochet pieces and keep them flat. It is especially useful for blankets, scarves, garments, and lacework that need a polished look.
- Wet Blocking: Soak the crochet piece in water, gently squeeze out excess moisture, and pin it into shape on a blocking mat. Let it dry completely before removing the pins. This works best for wool, cotton, and bamboo.
- Steam Blocking: Pin the piece into shape and use steam from an iron or garment steamer to relax the fibers. Keep the steam at a safe distance to avoid damaging the yarn, especially acrylic, which can melt under high heat.
Blocking helps set stitches, improves drape, and ensures the project lies flat.
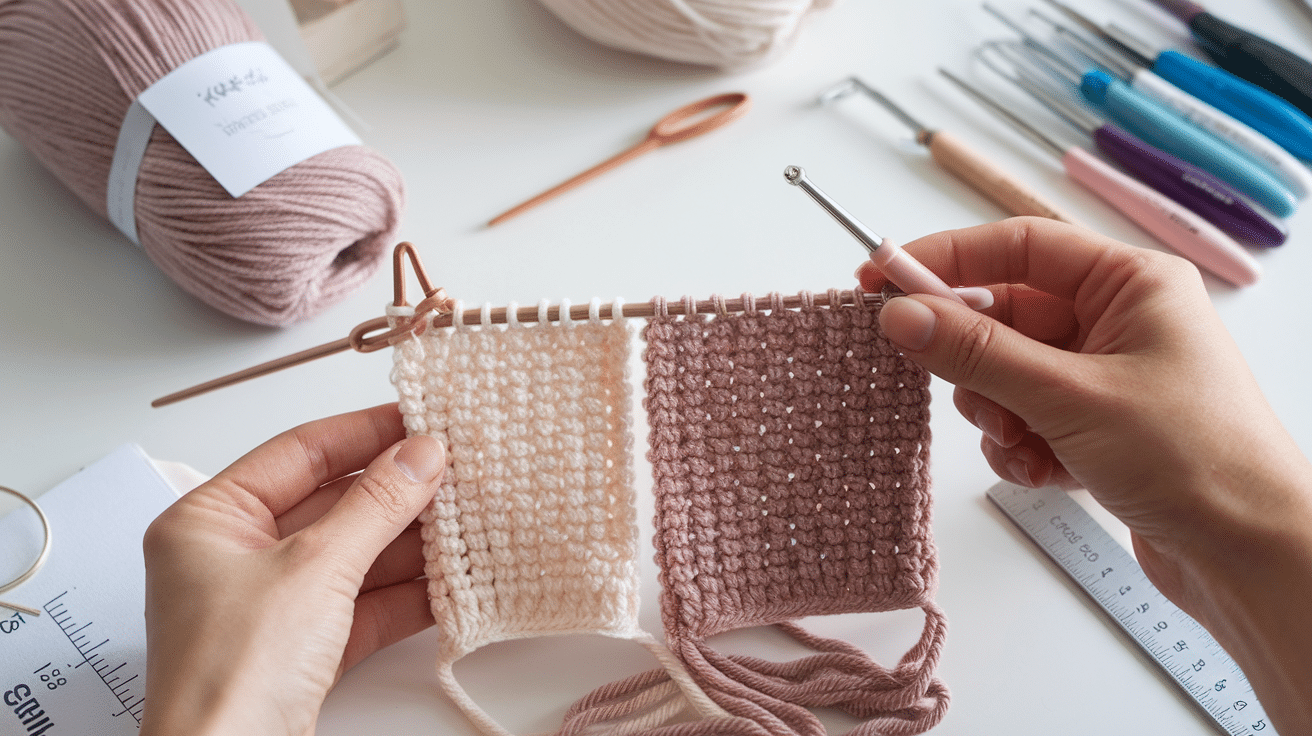
Gauge Swatching
A gauge swatch is a small test piece that helps prevent curving by checking stitch size and tension before starting a project.
- Adjusting Hook Size: A larger hook can loosen tight stitches, while a smaller hook can firm up loose ones.
- Checking Tension: Uneven tension can cause curving. A swatch lets you adjust before starting a large project.
- Avoiding Size Issues: Testing your stitches in advance prevents surprises like the project turning out too big, too small, or misshapen.
Making a swatch takes only a few minutes but can save time and effort in the long run.
Using Edging Techniques
Adding a border helps stabilize edges and prevents curling. A well-placed edging technique adds structure, reinforces the fabric, and gives the project a clean, finished look.
- Reverse Single Crochet: This creates a firm, raised edge that keeps the fabric from curling.
- Slip-Stitch Borders: A row of slip stitches along the edge adds weight and reinforcement without extra bulk.
- Single Crochet Borders: A simple border that smooths out wavy edges and gives a neat, finished frame.
By using blocking, swatching, and edging techniques, you can effectively prevent curving and achieve better-shaped, professional-looking crochet projects.
Conclusion
Curving in crochet can be frustrating, but it is often easy to fix. Small changes, like adjusting tension, counting stitches carefully, and using the right hook size, can make a big difference.
Checking your work as you go and blocking your finished project can also help keep your stitches even.
Every crocheter experiences curving at some point, and with practice, you’ll learn how to avoid it. Making a small test swatch before starting a big project can help catch issues early.
By using the tips in this guide, you can prevent curving and create projects that look neat and professional. Keep practicing, and soon, you’ll have smooth, well-shaped crochet pieces every time.
Frequently Asked Questions
Why Does My Crochet Project Curve Instead of Laying Flat?
Curving happens when the tension is too tight or too loose, the stitch count is uneven, or the hook size doesn’t match the yarn. Certain stitches, like Tunisian crochet, also naturally curl. Adjusting tension, using the right hook size, and adding a border can help.
How Do I Stop My Crochet Edges from Curling?
You can stop curling by maintaining even tension, counting stitches carefully, and using a larger hook if stitches are too tight. Adding a border or blocking the finished piece can also help straighten edges.
Can Certain Stitches Cause Curving in Crochet?
Yes, some stitches naturally curl more than others. Single crochet and Tunisian crochet often curl due to tight loops. Mixing stitch heights or adding looser stitches at the edges can help.
Will Changing My Hook Size Help Prevent Curving?
Yes, using a larger hook can loosen tight stitches and reduce curling. If the fabric is too loose and wavy, switching to a smaller hook may improve structure and keep edges straight.
How Can I Prevent My Crochet from Curving Before Starting a Project?
Making a small gauge swatch allows you to test stitch tension and adjust the hook size before starting. Choosing the right yarn, using stitch markers, and checking the pattern for stitch balance can also help prevent curving.


