genericviagra

buy cheap cialis pill online lloyds pharmacy viagra cheapest without prescription farmacia online alprostadil

viagra no prescription required

cheap without prescription Cialis Super Active online meds where can i buy viagra cheap without prescription brand viagra online sildenafil online

canadian discount pharmacy

cheap without prescription Generic Levitra purchase tadalafil amoxicillin no prescription cheap without prescription pill online buy cheap generic viagra

yohimbe

Generic Viagra buy cheap cheap cialis impotence treatment cheapest without prescription buy viagra online stamina rx

buy prescriptions

buy cheap Viagra Super Active sildenafil citrate tablets soma pharmacy buy online cheap pharmacy cialis online

next day cialis

Zithromax cheap without prescription viagra sale online abortion pill online cheapest without prescription brooks pharmacy no prescription required

online pharma

buy cheap Viagra Soft viagra price comparison can i buy viagra online buy online order kamagra net pharmacy

viagra herbal

cheap without prescription Xenical discount viagra online lowest price viagra cheapest without prescription get viagra prescription online doctor

cialis generic

Levitra cheapest without prescription canadian rx canadian viagra online buy cheap canadian prescription drugs buy amoxil

Archive for October, 2007

Quick Costumes

Monday, October 29th, 2007

For those of you parents who are thinking of this last minute (and I’m assuming that you are if you are reading this on Oct. 30!) I have a few ideas that are quick and also cheap! Mostly made from clothes my son already had or stuff found around the house and best of all not wasteful!

Here are just a few on my favorite model:

First, using overalls, bandana, kids’ cowboy hat, and a party favor badge- the Cowboy!
j-as-cowboy.gif

Repeating with the overalls and bandana, a train bucket and whistle, and striped hat and jacket (that I got second hand for $1!) – the Train engineer!

j-as-train-eng.gif

Camo pants, vest, fisherman hat, toy fishing pole that came with a puzzle, a small camo backpack of mine, and I cut fish out of felt and strung through twine – the Lucky Sportsman!

j-as-fisher.gif

Why not borrow from another holiday? Green sweatpants, a red shirt inside out with felt cut out collar (also good on green for Kermit), a red gift bag or stocking for candy, green shoes, and a dollar store elf hat (which I would pin smaller) – the Cutest Little Elf!

j-as-elf.gif

Or try getting use out of that suit bought just for a wedding or Easter – carry a Bible and go as a Preacher, put on a campaign button and be a Politician, a bow tie, beard, and book as a Professor, a little suitcase as a salesman!

I saw a few other inspiring ideas on the Today show last week like a:
Train Conductor costume - a dark 3-piece suit with a pocket watch chain and piece of gold braiding glued on a hat with toy train in hand.
Cheerleader or Football player - with mop heads for pom pons and colorful electrical tape for uniform stripes and numbers.

Remember it just needs to be fun, cute, and easy for the child to wear. I like to dress my child up as something he can be when he grows up since he wants to copy his dad so much anyway. I like cute and simple better than scary! So look through the kid’s dresser and pair things together you wouldn’t normally. It will be fun to dig together and get their imagination going too!

Any other ideas you want to share?

Swap Time!

Thursday, October 25th, 2007

untitled.jpg

Thank you so much to everyone who signed up – the sign ups are now closed :) I will be working on matching everyone up this weekend and I’ll email you your swap partner’s information by the end of the weekend!

We’ve decided it is time for another swap! This time, its a bookmark swap :)

In this swap, you will make a bookmark, and send it to one of our other readers. The bookmarks can be knit or crochet, made of paper, quilted, embroidered…whatever you would like to do! Ideally, the bookmarks will be able to fit in a regular sized envelope, and be mailed off with a single stamp, so this will be an expensive swap! The sign ups will start today, October 25 and run until November 1. I will contact everyone with your sending address by November 5. Your bookmark needs to be sent by November 15. If you cannot send by this date, please contact the swap admin.

To sign up, send an email to [email protected] to let us know if you will be participating in the swap. Please include your full name, web or blog address (if you have one), shipping information, and if you would ship internationally (remember, an international stamp is only a few pennies more than a domestic one :) )

If you sign up you must complete the swap or you will not be eligible for participation in future swaps. If you are unable to send your bookmark, for whatever reason, you must contact the swap admin (Heather) as soon as possible. Please be mindful that this needs to be reciprocal – if you sign up, please follow through. In the same regards, we will try and accommodate everyone, however we at Crafty Daisies will not be responsible for items not shipped.

And last but certainly not least – have fun!!!!

Kid’s Paper Table Cover

Tuesday, October 23rd, 2007

kids-table-with-judah.gif

To make eating at the “kids table” seem like a more fun idea, I wanted to create a special spot decorated just for them. This would be great for Thanksgiving or family meals and if it’s messy when they are done, just throw it away! It would also be fun to stamp the child’s name at their place, or let them color in the stamps or draw on the paper if the meal is done and you want them to stick around a little longer with the family.

Supplies needed:
Craft paper, brown or white traditionally, but any color
Rubber stamps
Stamp ink
Tape

kids-table-1.gif

I went ahead and taped the runner to the bottom of the table to make it easier to stamp. Then I created a pattern around the paper with the pumpkin, leaf, acorn, and swirl of wind stamps in different colors. Obviously my boy couldn’t stay away from my display.

kids-table-detail.gif

Pumpkin Coffee Canister

Friday, October 19th, 2007
pumpkincan7.jpg

Don’t know what to do with those empty coffee canisters? Turn them into pumpkins! My mom used to do this and they make great fall decorations and you can fill them with just about anything, or give them to the kids to use for trick-or-treating. Even if you’re not a crafty person, this project is easy and quick and virtually fool-proof.
Supplies needed:

Empty metal cans
Two different shades of acrylic orange paint
Black acrylic paint
Pencil
Sponge or sponge brush
Small paint brush or small sponge
Paper plate
nail and hammer, or electric drill and bit
Craft wire or a wire coat hangar

1) You’ll first peel the packaging off the can, and wash with soapy water to remove any residue; dry completely.

2) Drill two holes (or use the nail and hammer) about an inch below the rim on opposite sides of each other to place the handle. Be careful handling the can afterwards – the holes will be sharp on the inside, so you may want to file them down a bit.

pumpkincan1.jpg

3) Take the darker color orange paint and pour a little into the paper plate, then sponge the paint over the outer surface of the can. You can brush it on first if you like and them dab it to create texture. Let the paint dry completely.

pumpkincan2.jpg

4) Take the lighter color orange paint, pour a little into the paper place, and then using the sponge dab it into both colors and sponge onto the can, creating more texture and a more saturated color. Let the paint dry completely.

pumpkincan3.jpg
 
pumpkincan4.jpg

5) Using your pencil, draw on the eyes, nose, and mouth, using whatever template you already have or whatever’s in your minds eye. Then fill in with the black paint (in the same manner – sponging it on or dabbing it with a paint brush). You may need to do two coats so no orange shoes through.

pumpkincan5.jpg

6) The final step is attaching your handle. If you have a wire coat hangar around you may certainly use this, but you must also have pliers or a big, strong man to help twist the wire. Since I had a coat hangar, I decided to use one, but using craft wire may be the easiest to work with. You’ll stick one end through one of the holes, and twist it at the sides to keep it in the hole. Then you’ll do it from the other side.

pumpkincan6.jpg
 
pumpkincan8.jpg

To protect yourself from being poked by the sharp ends, you may want to sand them down a smidge. Then place on a mantle or table and voila! A pumpkin coffee canister that can hold cookies, candies, potpourri or even your art supplies.

Knit Bits for a Great Cause

Thursday, October 18th, 2007

pink-ribbon.jpg In honor of Breast Cancer Awareness Month, I wanted to pass along some opportunities to use your crafty skills to support those who are battling or have survived breast cancer.

I found this pattern on knitty.com for knitted breast prothesis. I contacted our local yarn shop owner and she directed me toward this pattern. I know for our area she collects them and takes them to a treatment clinic to be given to breast cancer patients and hope that you can find a similar opportunity in your area. See what you can find if you want to get involved! (She suggested a soft, breathable wool yarn for this. Check out her shop if you are in VA!)

I have also heard of knitting or crocheting scarves that they give women whenever they find out the devastating news, but have been unable to find a direct link or pattern online. If you do know of a reliable pattern or contact please share in the comments for I am sure that there are many that would be interested in helping in this way.

The third way that you can help is through the purchase of a product that I could write a whole post on by itself- Denise Interchangeable Knitting Needles in pink! These will be the last needles you will ever need to buy and money from each purchase goes toward breast cancer research. So get those needles and start knitting!

Crochet Row Markers

Tuesday, October 16th, 2007

You asked what I do with the leftover part of my toggle clasps after I make stitch markers? Well, I make crochet row markers!!

ccb2d46b.jpg

I was getting frustrated because the only crochet row markers I could find were ones with clasps on them, and those always seemed to snag on my yarn. But not these ones! You simply slip the bar in between the stitches you are marking, the beads hang in the front marking your stitch

dsc_0609.jpg
and the bar extends across the back of your project:

dsc_0610.jpg

I have been so pleased with how these work, and you have no waste when you make stitch markers. I have a couple of sets in my store, Baby Blossoms, if you’d like to check out the different styles and looks that can be made :D

Make Your own Fabric Buttons

Sunday, October 14th, 2007

I know I may be way behind the times but I still keep finding gadgets and ideas at the craft store that amaze me. This week I tried out the fabric button makers I had bought 6 months ago. They were very simple to make and now I want to look around the house and see what keepsakes I could make buttons out of. I am considering: an old, favorite shirt or baby shirt, vintage towel or handkerchief, old ties, prom dress, etc. to make a button for a bag or pillow that would be better used there than thrown out. What a sweet memory to carry a bag with a peice of baby’s first clothing! I can’t wait!

So, first, using the pattern on back of package cut out pattern. I cut my circle out of the paper so you can perfectly center and choose the picture that you want.

fabric-buttons-4.gif

Cut out fabric circle and center around button half with teeth. Press around the circle, catching the fabric on the teeth all the way around.

fabric-buttons-1.gif

Next, put the flat button half down on top of your fabric button and press into place by pressing down with a spool. Be sure to put the side down that sticks out farther.

fabric-buttons-2.gif

All done! 2 minutes! And now you have a button that perfectly matches what you have sewn!

fabric-buttons-5.gif

This was my favorite example of this- a bag I received in our Summer swap. LOVE it!

fabric-button-example.gif

A few tips:
Be careful, you can hurt your fingers on those teeth!
If you fabric is too thin, use iron-on interfacing so that the silver button cannot be seen through the fabric.

On the Craft Fair Circuit

Monday, October 8th, 2007

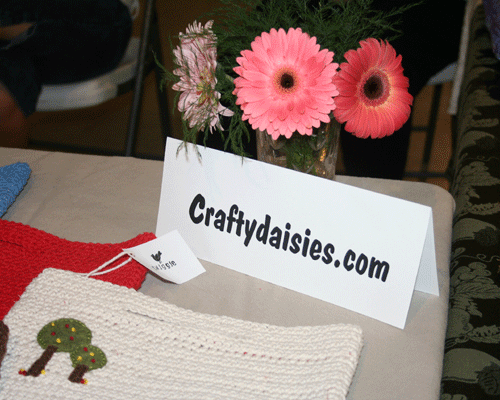
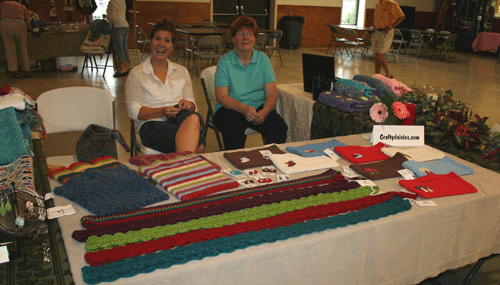
Candace and I participated in another craft show this weekend, a small, local show in connection with a church. There seem to be so many this time of year. With only a month to prepare we have spent every spare minute with a needle in hand or adding the finishing touches and wanted to show you the fruits of our labor!

cd-table-1.gif

Here Candace is sitting with my mom. We all brought our yarn to help the time pass by. You would think with the blisters that we came with we wouldn’t be eager to pick our needles up but 5 straight hours with no baby seemed like an opportunity too rare to pass up. It also helps too to not stare down those who are slowly perusing our stuff or not to wait for their facial affirmation.

cd-table-3.gif

And yes, though we had some adorable stuff it did not all get bought, so if anything catches your eye you of course can check out our shops and make it your own! Candaces‘ crocheted clutches with felt embellishment are so yummy and her large felted totes! Her polymer clay earrings are definitely worth checking out too!

cd-table-2.gif

And I had an assortment of new felted bags and totes that I have been working on for fall, trying to have patience to make larger bags since so many people have wanted bags that hold everything! I’ve gotten back in to making jewelry too which is fun but hard not to keep them all for myself.

cd-table-4.gif

We even had the opportunity to advertise the craft show and Craftydaisies on a local tv show. Four minutes of fame that has come and gone but will definitely not be forgotten, at least for Candace and I. If you have had any great experiences or funny stories from doing shows please share! I can’t believe it but we are already entertaining the thought of doing another one!

Beaded Stitch Markers

Friday, October 5th, 2007

Beaded stitch markers are quick and easy, and they are great for marking your stitches while knitting! They can be easily modified to suit your style, and you can make a set in under an hour!

All you need are a toggle clasp, head pin (looks like a straight pin without a point), beads and pliers.

stitch-markers.jpg

For the stitch markers, you will use the round part of the toggle clasp. This gives you a seamless circle that wont snag on your yarn. You can get the toggle clasps in a variety of sizes, most will fit up to a 10.5 US needle.

Thread your beads onto the head pin, making sure the bottom bead is small enough that they wont slip off.

stitch-markers2.jpg

I don’t have a picture for the next step, but you simply thread the head pin through the bottom of the toggle clasp part, and you will bend the head pin around to secure it. You then trim the head pin so that you don’t have a long piece of metal sticking out :D

Here are a set of finished ones that I made to show that:

stitch-markers-2.jpg

I like to tuck the end of the head pin into the top of the bead, or as close as I can get it, then you don’t get any snagging on your yarn.

There you have it – beautiful and unique stitch markers in no time at all!

Embroidery wrap-up

Tuesday, October 2nd, 2007

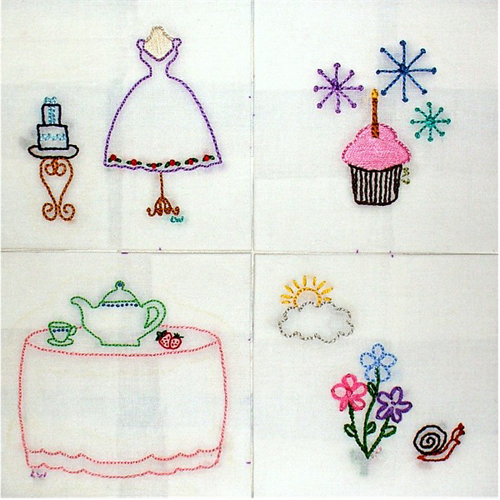
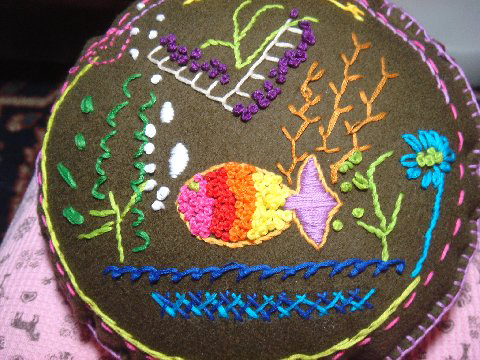
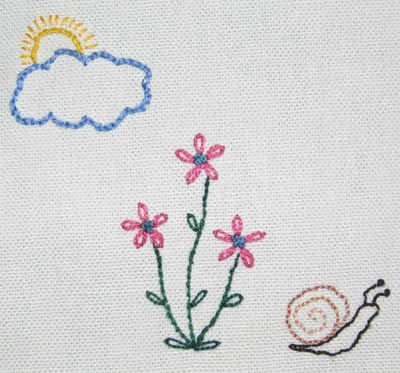
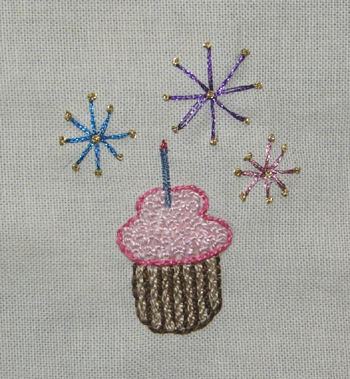
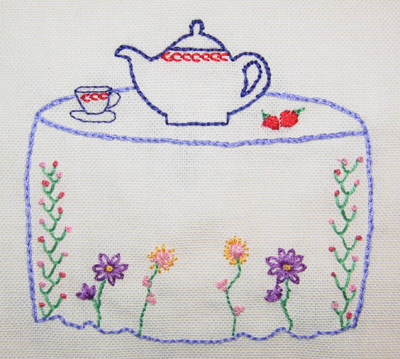
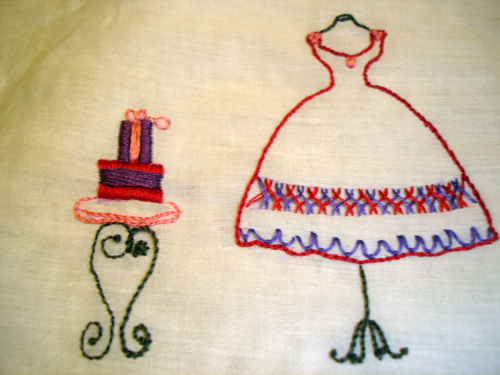
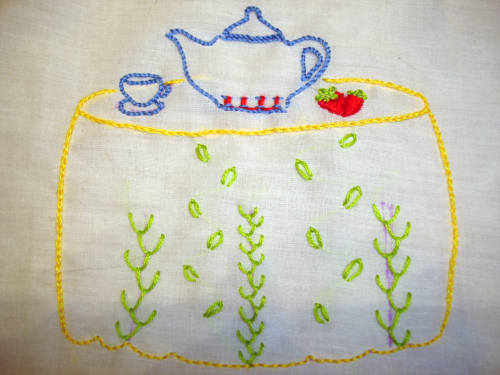
Can I just say how not having a computer has stunk? Ugh, I’m so spoiled. Our new computer is ordered and we’re just waiting for them to put it together and send it to us (and oh what a day that will be!). So I do apologize for the delay in posting the final homework pics and the winner of the embroidery goodie-bag. I just wanted to say thank you so much to those who followed along on the embroidery lesson – those who completed the homework and those who didn’t – your support and kind words were such an encouragement!

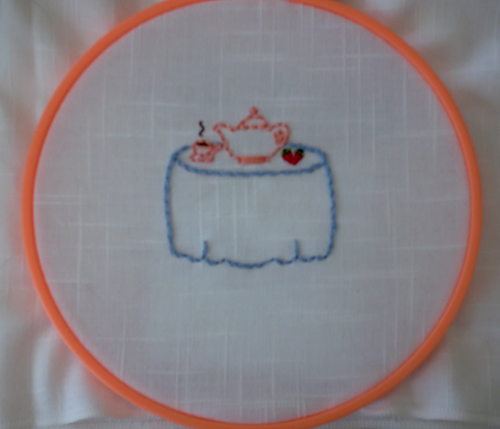
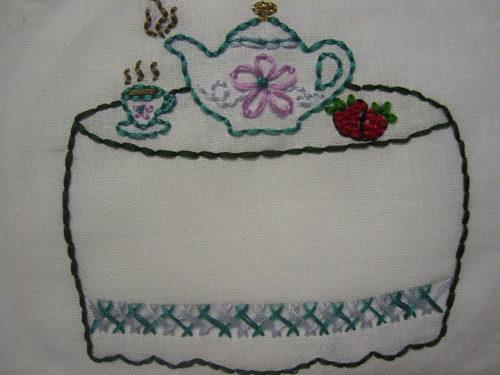
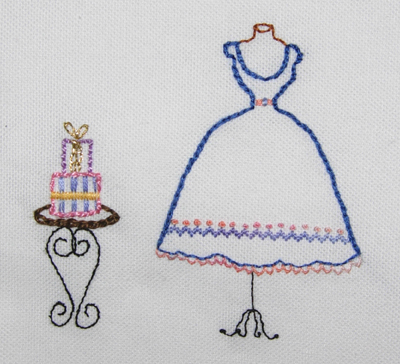
Below are more finished homework assignments that I wanted to share. Everyone did such a fantastic job, and I truly hope you continue practicing and learning the art of embroidery.

from Melissa

melissa.jpg

from Caley

caley.jpg

from Lauren

lauren.jpg

from Jessica

jessica.jpg

from Emily

emily1.jpg

emily2.jpg

emily3.jpg

emly4.jpg

from Marte

marte.jpg

marte2.jpg

from Meg

meg.jpg

And the lucky winner of the random drawing is Chelle – congrats, Chelle! I will be emailing you shortly to get your mailing info. Thanks again to everyone who participated in the embroidery school!