genericviagra

buy cheap cialis pill online lloyds pharmacy viagra cheapest without prescription farmacia online alprostadil

viagra no prescription required

cheap without prescription Cialis Super Active online meds where can i buy viagra cheap without prescription brand viagra online sildenafil online

canadian discount pharmacy

cheap without prescription Generic Levitra purchase tadalafil amoxicillin no prescription cheap without prescription pill online buy cheap generic viagra

yohimbe

Generic Viagra buy cheap cheap cialis impotence treatment cheapest without prescription buy viagra online stamina rx

buy prescriptions

buy cheap Viagra Super Active sildenafil citrate tablets soma pharmacy buy online cheap pharmacy cialis online

next day cialis

Zithromax cheap without prescription viagra sale online abortion pill online cheapest without prescription brooks pharmacy no prescription required

online pharma

buy cheap Viagra Soft viagra price comparison can i buy viagra online buy online order kamagra net pharmacy

viagra herbal

cheap without prescription Xenical discount viagra online lowest price viagra cheapest without prescription get viagra prescription online doctor

cialis generic

Levitra cheapest without prescription canadian rx canadian viagra online buy cheap canadian prescription drugs buy amoxil

Archive for the 'Simone' Category

School Lunches

Wednesday, August 20th, 2008

img_9785_500.jpg

I’ve discovered a craft that is new to me, comes with all kinds of tools; because in the end it’s all about the toys; and is very pertinent to the beginning of the new school year, in short: the Bento Box.

It all started when I was looking for a Pokemon lunch box for my daughter. There are only about three things she likes to eat and one of them is rice. I thought that if I could make her lunch experience a little more fun, she’d actually eat her lunch and so on and so forth.  In the course of this quest I was surfing the Web and stumbled upon this:

Piplup Bento

Two Piplups and they are so cute. I showed this picture to my friend Megumi. Her comment was:”When do people get up in the morning to make this?!” (Dear Reader: Meg doth protest too much. She has a timer on her rice cooker and makes a proper bento box for her son’s school lunch.) She then forwarded me a link to this blog in which a mother chronicles her bento creations that she prepares for her seventeen-year-old son. According to my friend, this boy has begged his mother to restrain her need to express herself artistically as part of his lunch break. He even went so far as to call her loving creations abusive. This is her hysterical English response to his accusation.

In any event, I’m hooked. My daughter is now the proud owner of a two-tier bento box. I have since invested in little pig-shaped sauce containers for her soy sauce, heart- and flower-shaped rice shapers and silicon baking cups that separate the different foods from another. I’ve acquired the Nori, or seaweed, for dramatic decorating purposes, but I still need to feel inspired before I try that. Until then, I will peruse Flickr for ideas.

1. Opera House and Sydney Harbour, 2. Children’s Day bento lunch for preschooler, 3. Parasite pals, 4. Lunch, 5. Hello kitty & panda bento, 6. Charaben – my first time, 7. Sakura bento2, 8. DSCN3466, 9. three bears bento, 10. Halloween bento, 11. 2 rats bento, 12. Pluto Close-up, 13. Jack Skellington Lunch, 14. Kodama, 15. Cat Bento, 16. Brown Bear Bento

If you are inspired to look into the art of bento, check out these blogs:


Book Club: The Big-Ass Book of Crafts

Wednesday, August 13th, 2008

 book_club-_banner.jpg

So I thought we could have a virtual book club since I seem to have developed this craft book addiction.

How it Works

Every 4-6 weeks we “discuss” a craft book as follows:

  • Make one project out of the book that is due for the next book club meet-up
  • Explain why you chose that project
  • Discuss the clarity of the instructions, the layout of the book, the illustrations, other projects in the book, and whether you liked the book or not
  • Suggest one book for the next book club

You can submit your discussion either as a comment the day of the book club meet-up or by email (craftydaisies(at)gmail(dot)com). If you have pictures of your projects that you would like to share, email them to me or submit them to the Crafty Daisies Book Club Flickr group.

Finding the Book

As with any book club, this is not an endorsement of the featured book (of the ten or so books I read for my fiction book club I only liked three). If you already own the book under discussion, great, take a picture of your project and send me an email. If you think you want to join this endeavor, here are some ways to shop around for the book:

  • See if a friend already owns it and lets you borrow the book
  • Check with your local library (mine had three copies of this month’s book across the borough)
  • Compare prices (I bought this month’s book at list price, but have since seen it significantly cheaper online)

In other words, I don’t want you to get mad at me in case you buy the book and take an extreme dislike to it.

First Meet-Up: 9/3/08

So, after all this preamble this is this month’s book:

big-ass-book-of-crafts.jpg

The Big-Ass Book of Crafts by Mark Montano, ISBN-13:978-1-4169-3785-2, ISBN-10: 1-4169-3785-4. I selected it to kick off the club because it has a lot of different projects, it weighs in at 2 lbs 6 oz, and I figured it would appeal to a broad group of people.

The Crafty Daisies Book Club will virtually meet on

Wednesday, September 3rd

I’m looking forward to all of your discussions.

Last Day on the Cape

Friday, August 8th, 2008

img_0447edit.jpg

First of all, I owe a huge apology to My Big Mouth at mucky-fingers.blogspot.com. She generously gave me the Brilliante Weblog award. I think I had too many tabs open and got my blogs mixed up. At My Big Mouth you can find all kinds of interesting little tidbits covering the crafty life in California. The author has a penchant for vintage things and currently is discovering the fine art of cake decorating.

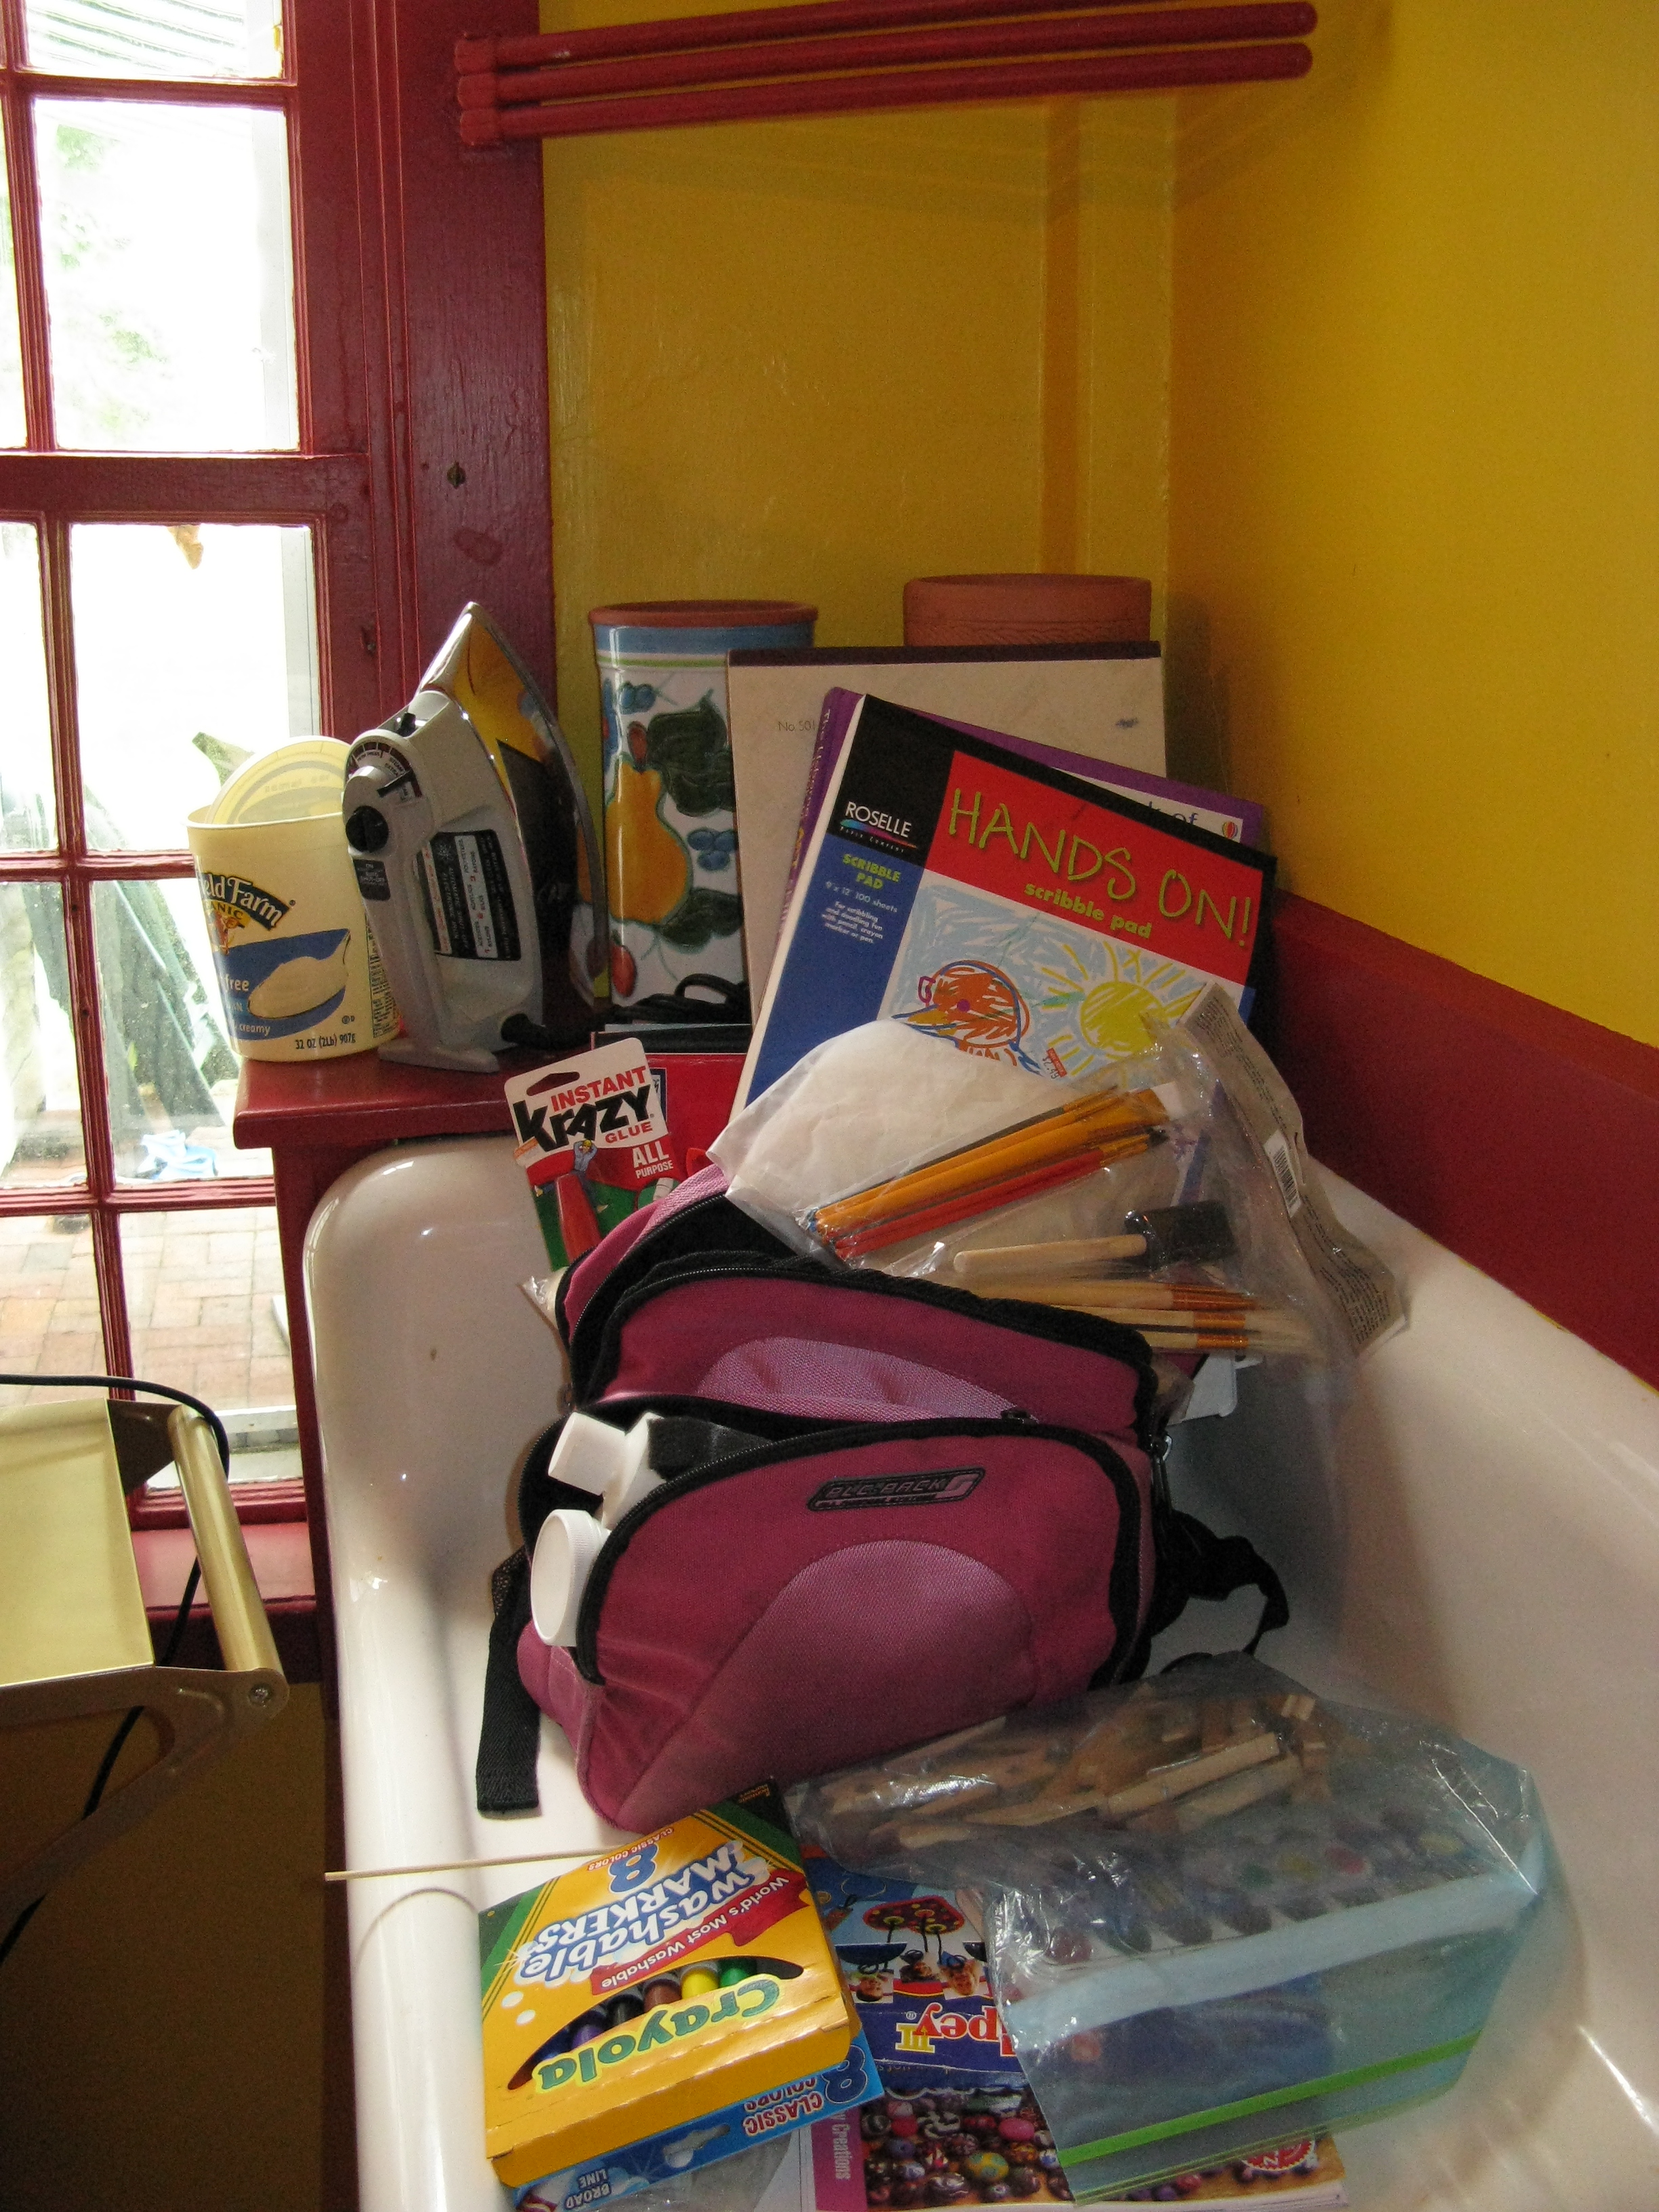
Today is my last full day on Cape Cod and it looks like it will actually be a beach day. My husband’s family gets together every year on Cape Cod. We generally average 22 people at dinner.  For these reunions I always pack a project bag with supplies for early morning crafting. My intent is to distract the kids from the seductive television set in the next room with a fun and creative alternative.

img_0439.jpg

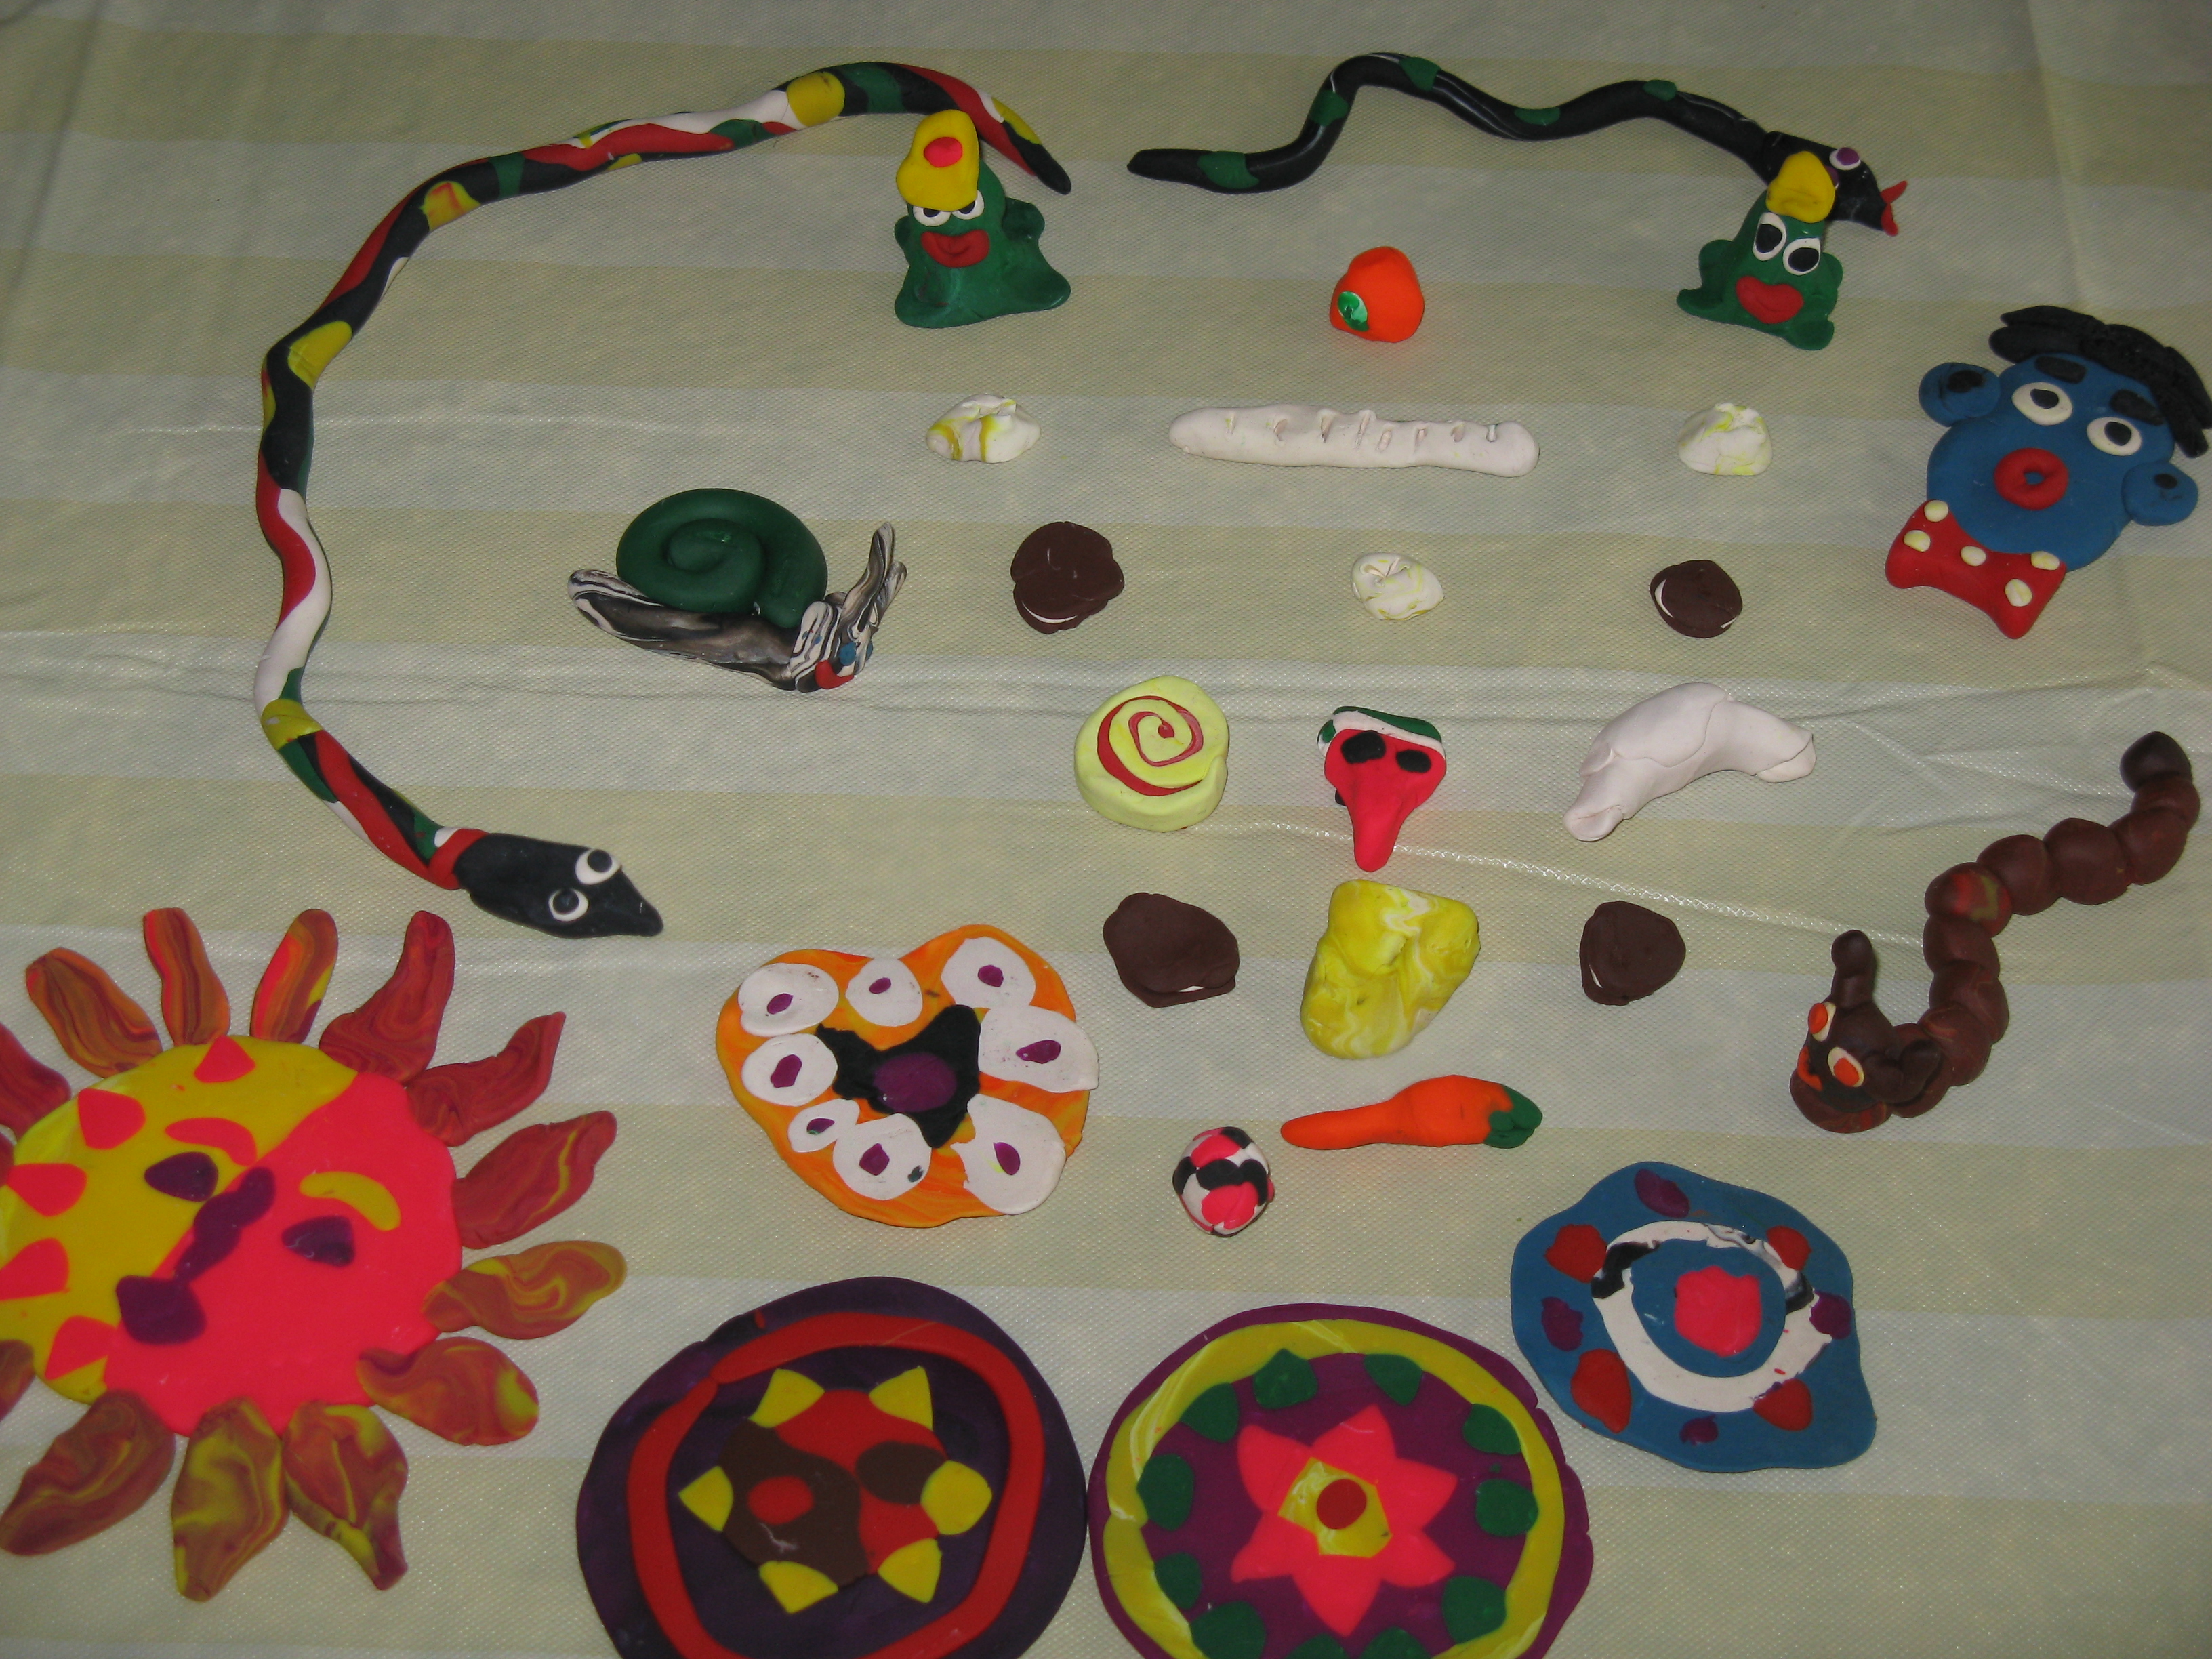
This year the bag was filled with: watercolors, markers, pencils, acrylics, oil pastels, crayons, drawing paper, construction paper, one sheet of watercolor paper, Mod Podge, Sculpey, Ed Emberley’s Drawing Book, the Usborne Book of Art Skills, clothespins, tape and other sundry things. And here are some of our works:

Invasion of the Sculpey Creatures and their accessories

img_0422.jpg

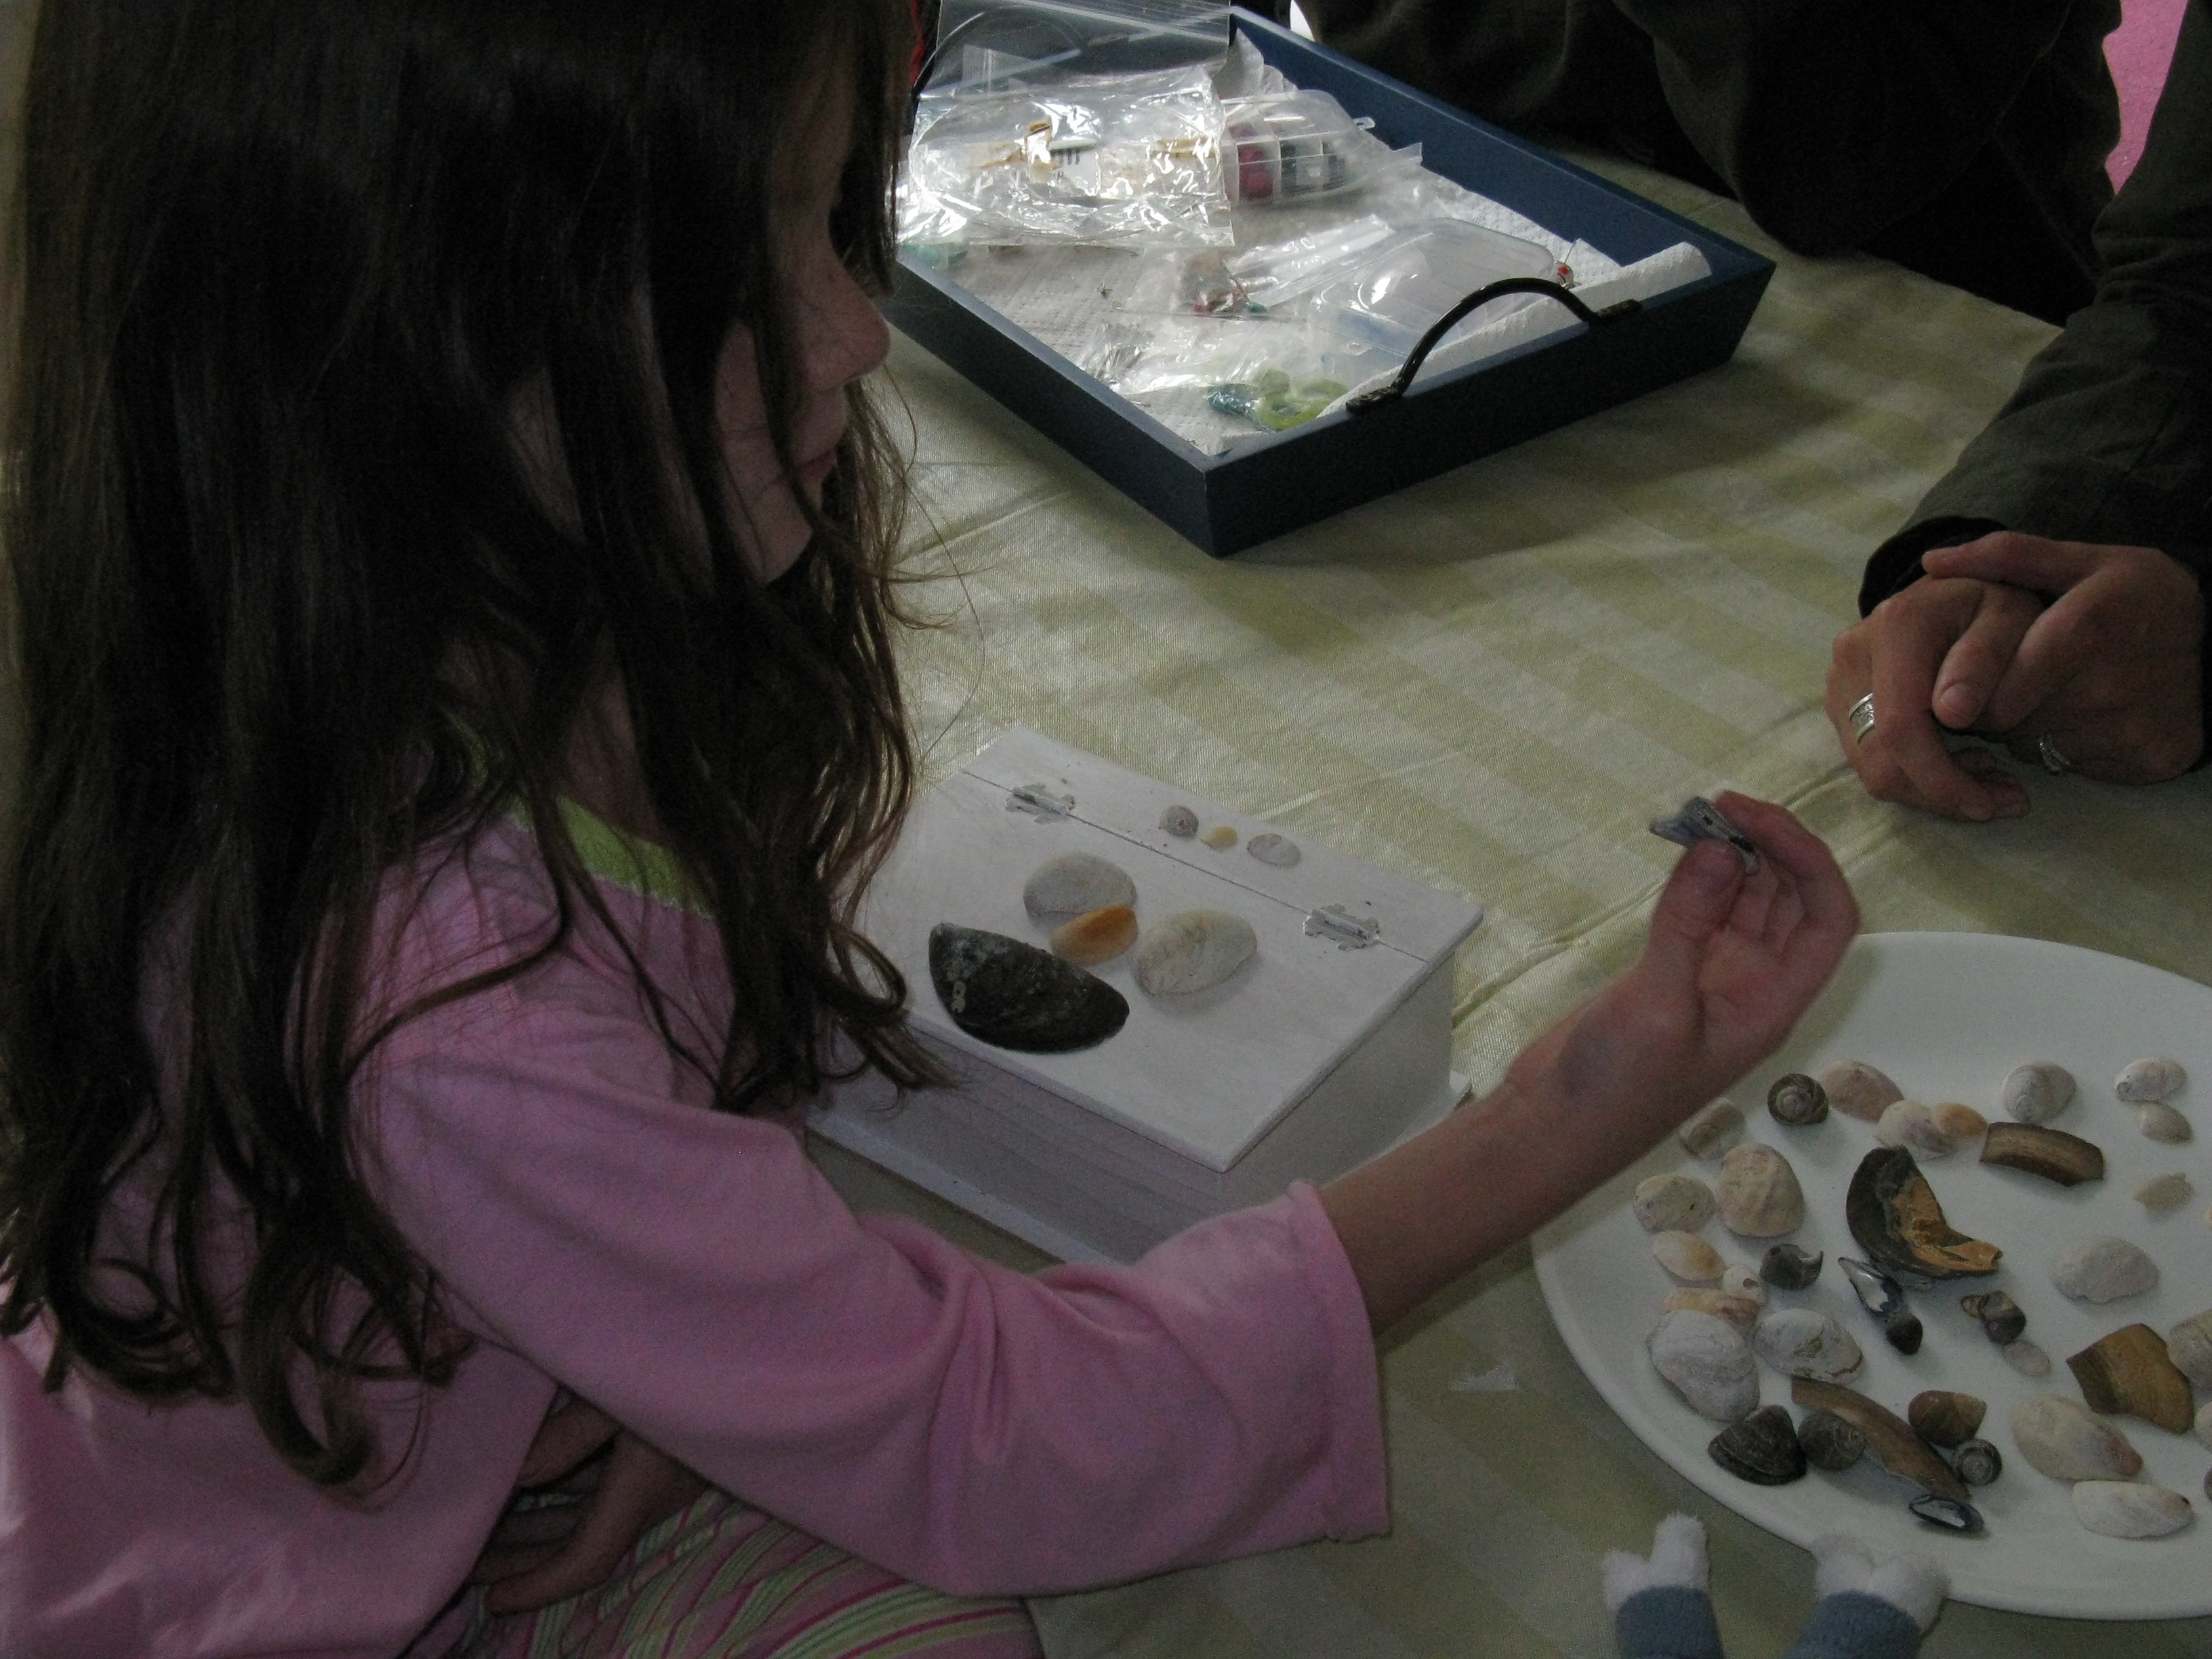
A shell box to store the creatures

img_0419.jpg

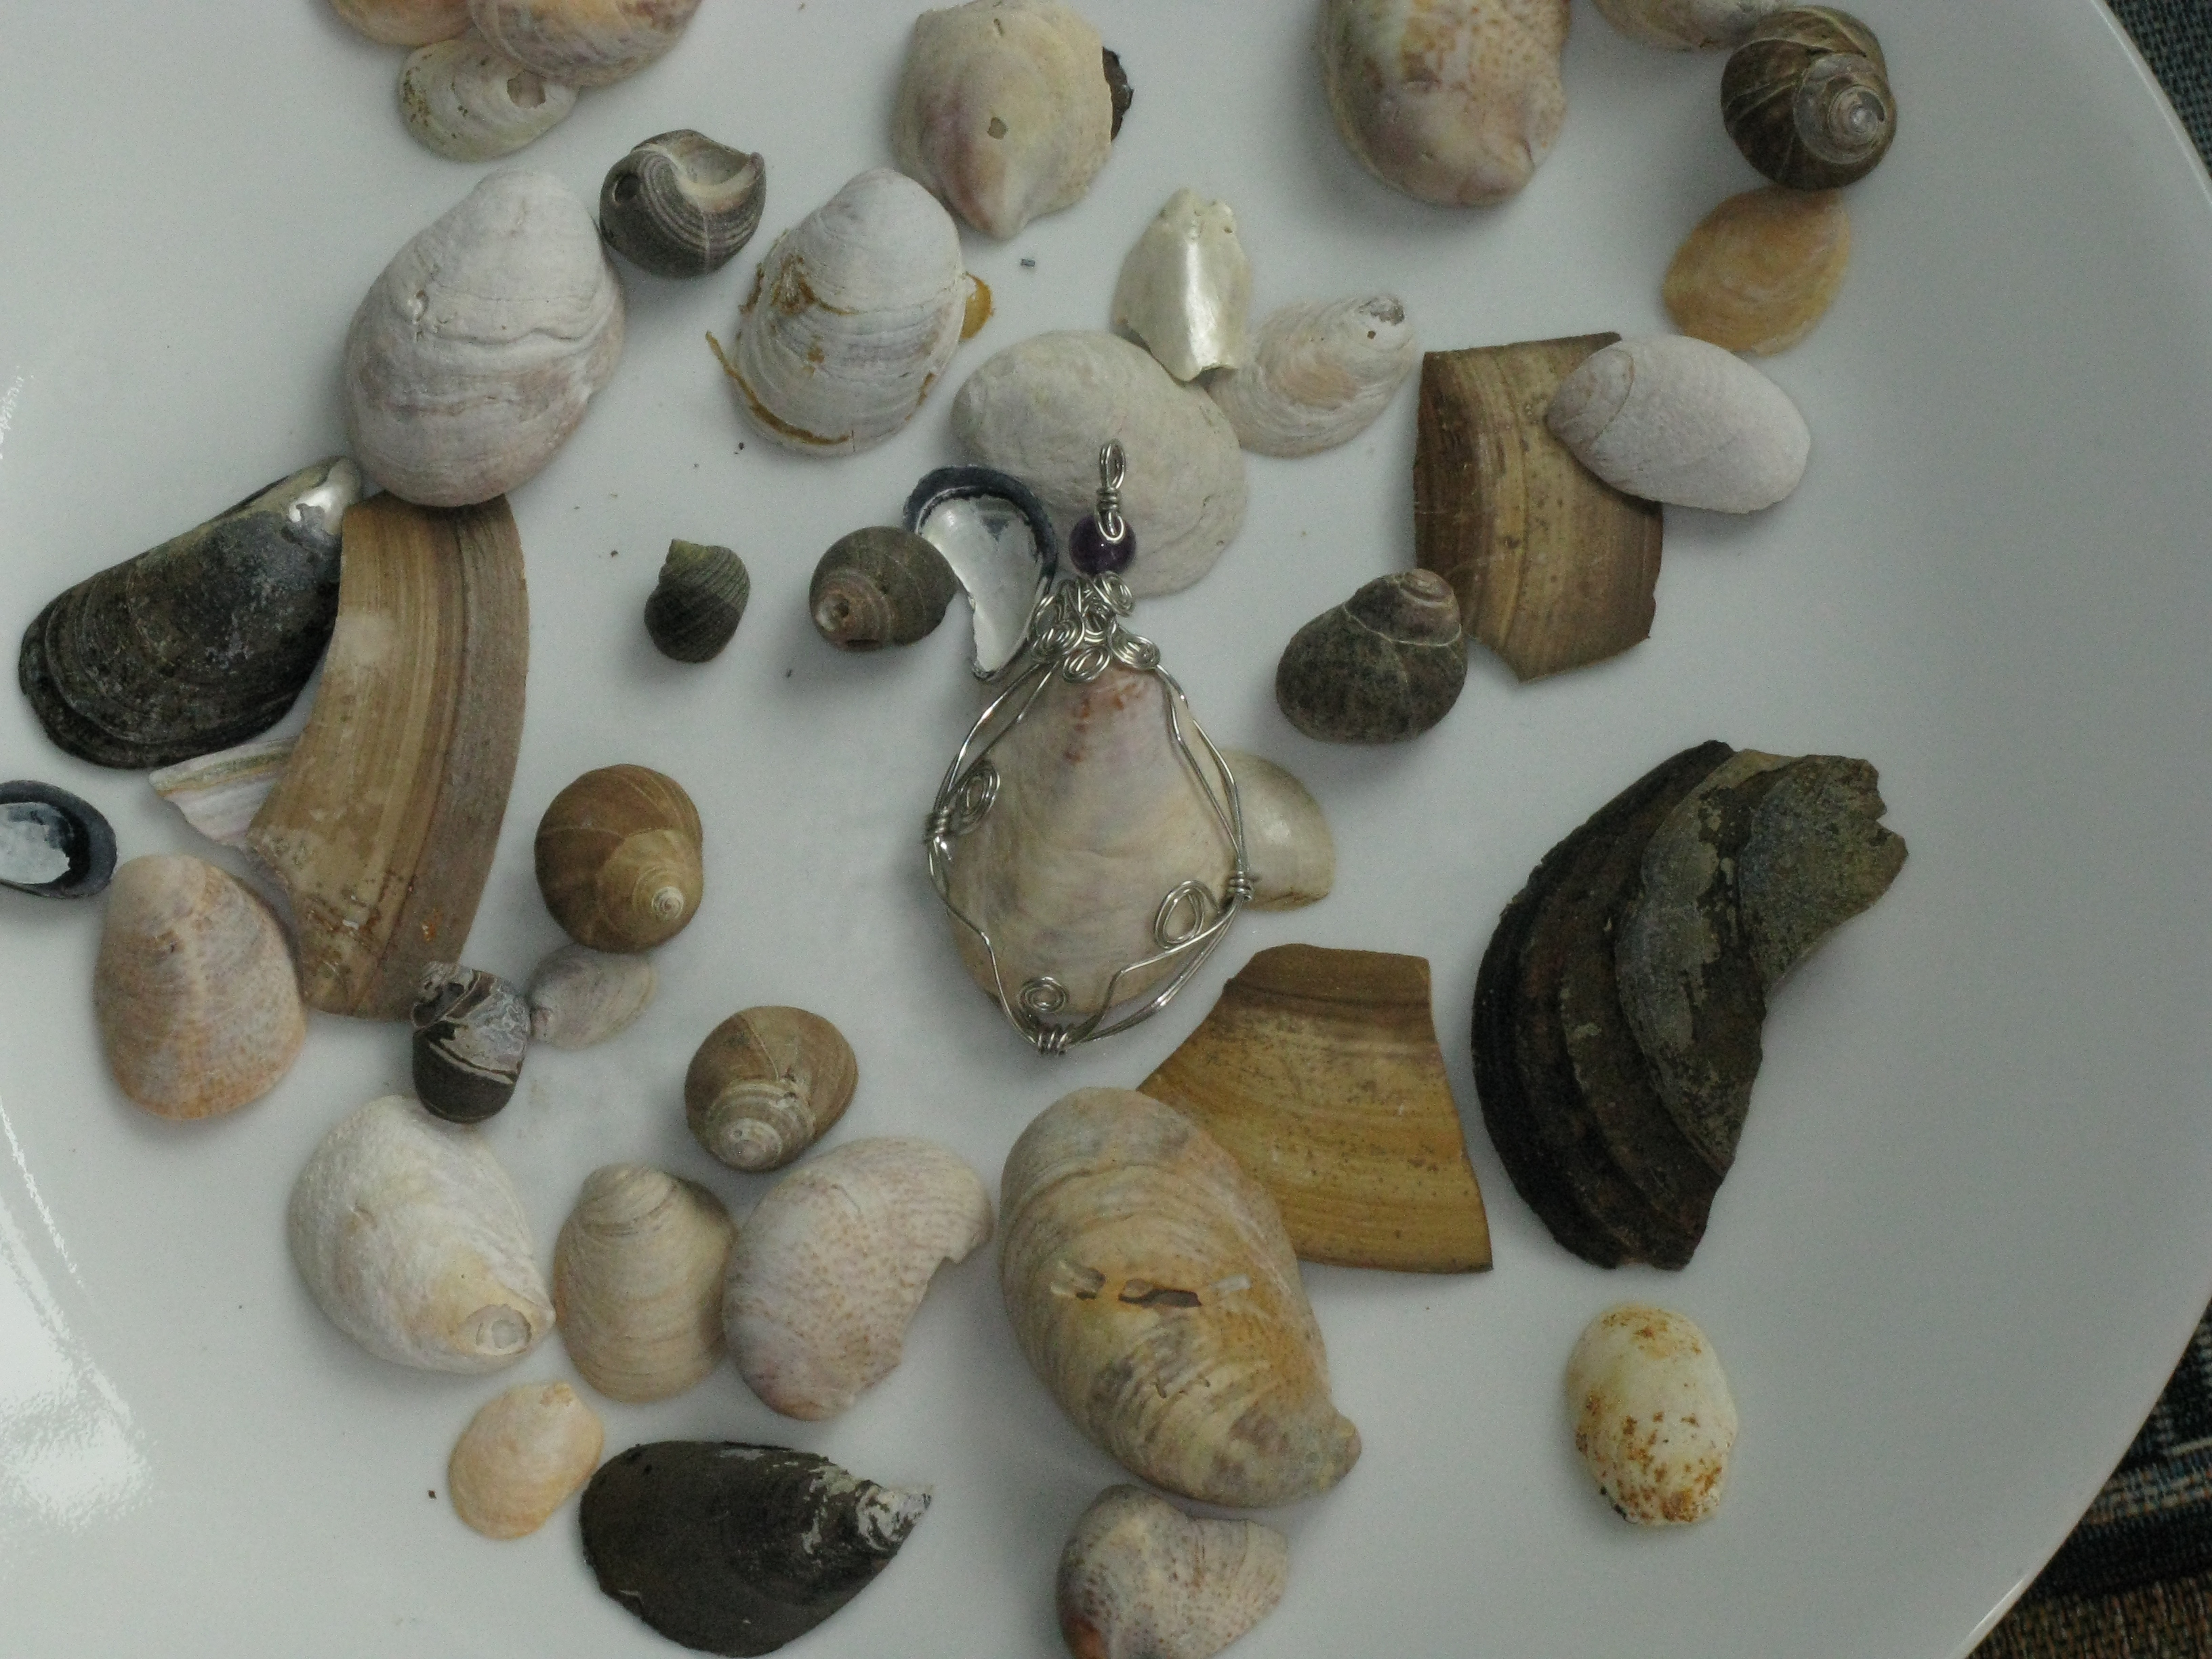
A shell pendant featuring this year’s beach find. To capture a shell, use the technique described here.

img_0438.jpg

Our gallery

img_0440.jpg

I’m definitely not ready to return yet. . .

Award Time

Thursday, July 31st, 2008

award.jpg

Barbara of Mainely Stitching bestowed the Brilliante Weblog award on the Daisies. She is an expat from Maine who has settled in the Netherlands with her family. Go visit her site and check out her awesome cross-stitch work and interesting kid-friendly craft ideas.

The acceptance of this award is contingent on some requirements. You have to:

1. Put the logo on your blog.
2. Add a link to the person who awarded you.
3. Nominate at least 7 other blogs.
4. Add links to those blogs on yours.
5. Leave a message for your nominees on their blog

And here are my nominees:

gratzindustries.blogspot.com
Alan and Wendi of Gratz Industries are the authors of a blog that covers topics as diverse as a Project Runway Barbie design competition, comic books, craft tutorials, and solstice projects.

blazedanielle.wordpress.com
Blaze Danielle is “a Tree Climber, Dress Wearer, Tea Drinker, Berry Picker, Story Teller, Flower Presser, Picture Taker, Porch Swinger, Seed Planter, Puddle Jumper, and Art Maker. She loves windowsills, swimming holes, and old maps. You will most always find her picnicking on a grassy knoll.” Her blog filled with her beautiful illustrations is as serene as her description.

www.ihanna.nu/blog
Hanna from Sweden maintains a wonderful blog full of creative ideas and interesting observations. Most recently she’s been hard at work helping her friend organize her wedding complete with cake, favors, decorations, and wedding photography.

myzoebug.blogspot.com
Amy of My Zoe Bug writes about her daily adventures. She is a papercrafter, knitter, etsy shop owner, tutorial writer and all around interesting blogger.

craftyways.wordpress.com
Under a Tree is a blog from Japan. The author is a fantastic beader and a member of the Thoughtful Friday Flickr group. Check out her projects and Friday observations.

tomandjasmine.wordpress.com
Bobbi-lee of Tom and Jasmine is one of my favorite new bloggers. An illustrator and graphic designer, she recently submitted a wonderful story booklet tutorial to Crafty Daisies. Visit her blog for free, beautiful scrapbook papers, interesting craft projects, and links to fun projects.

whatthehay.wordpress.com
What the Hay is a blog by a self-proclaimed “small town farm kid living in the bigger noisier” world. While this blog has recently been on hiatus (life does tend to take over sometimes), I’ve been informed that new postings will be up in the next weeks. Until then do check out past projects and tutorials such as the Altoid Box Needle Holder, and the environmentally friendly rag sponge.

Now, what I would really like to know is who originated this particular award in the first place. Any ideas?

Travel Musings

Friday, July 18th, 2008

 img_0200.jpg

I am in Missouri right now. My grandmother passed away in the Spring and the clan has gathered to sort through her treasures. My grandmother was an avid collector of many interesting things and a constant presence at the local auctions. I’m sure she’s having a grand time listening to all the laughter and stories in her house right now.

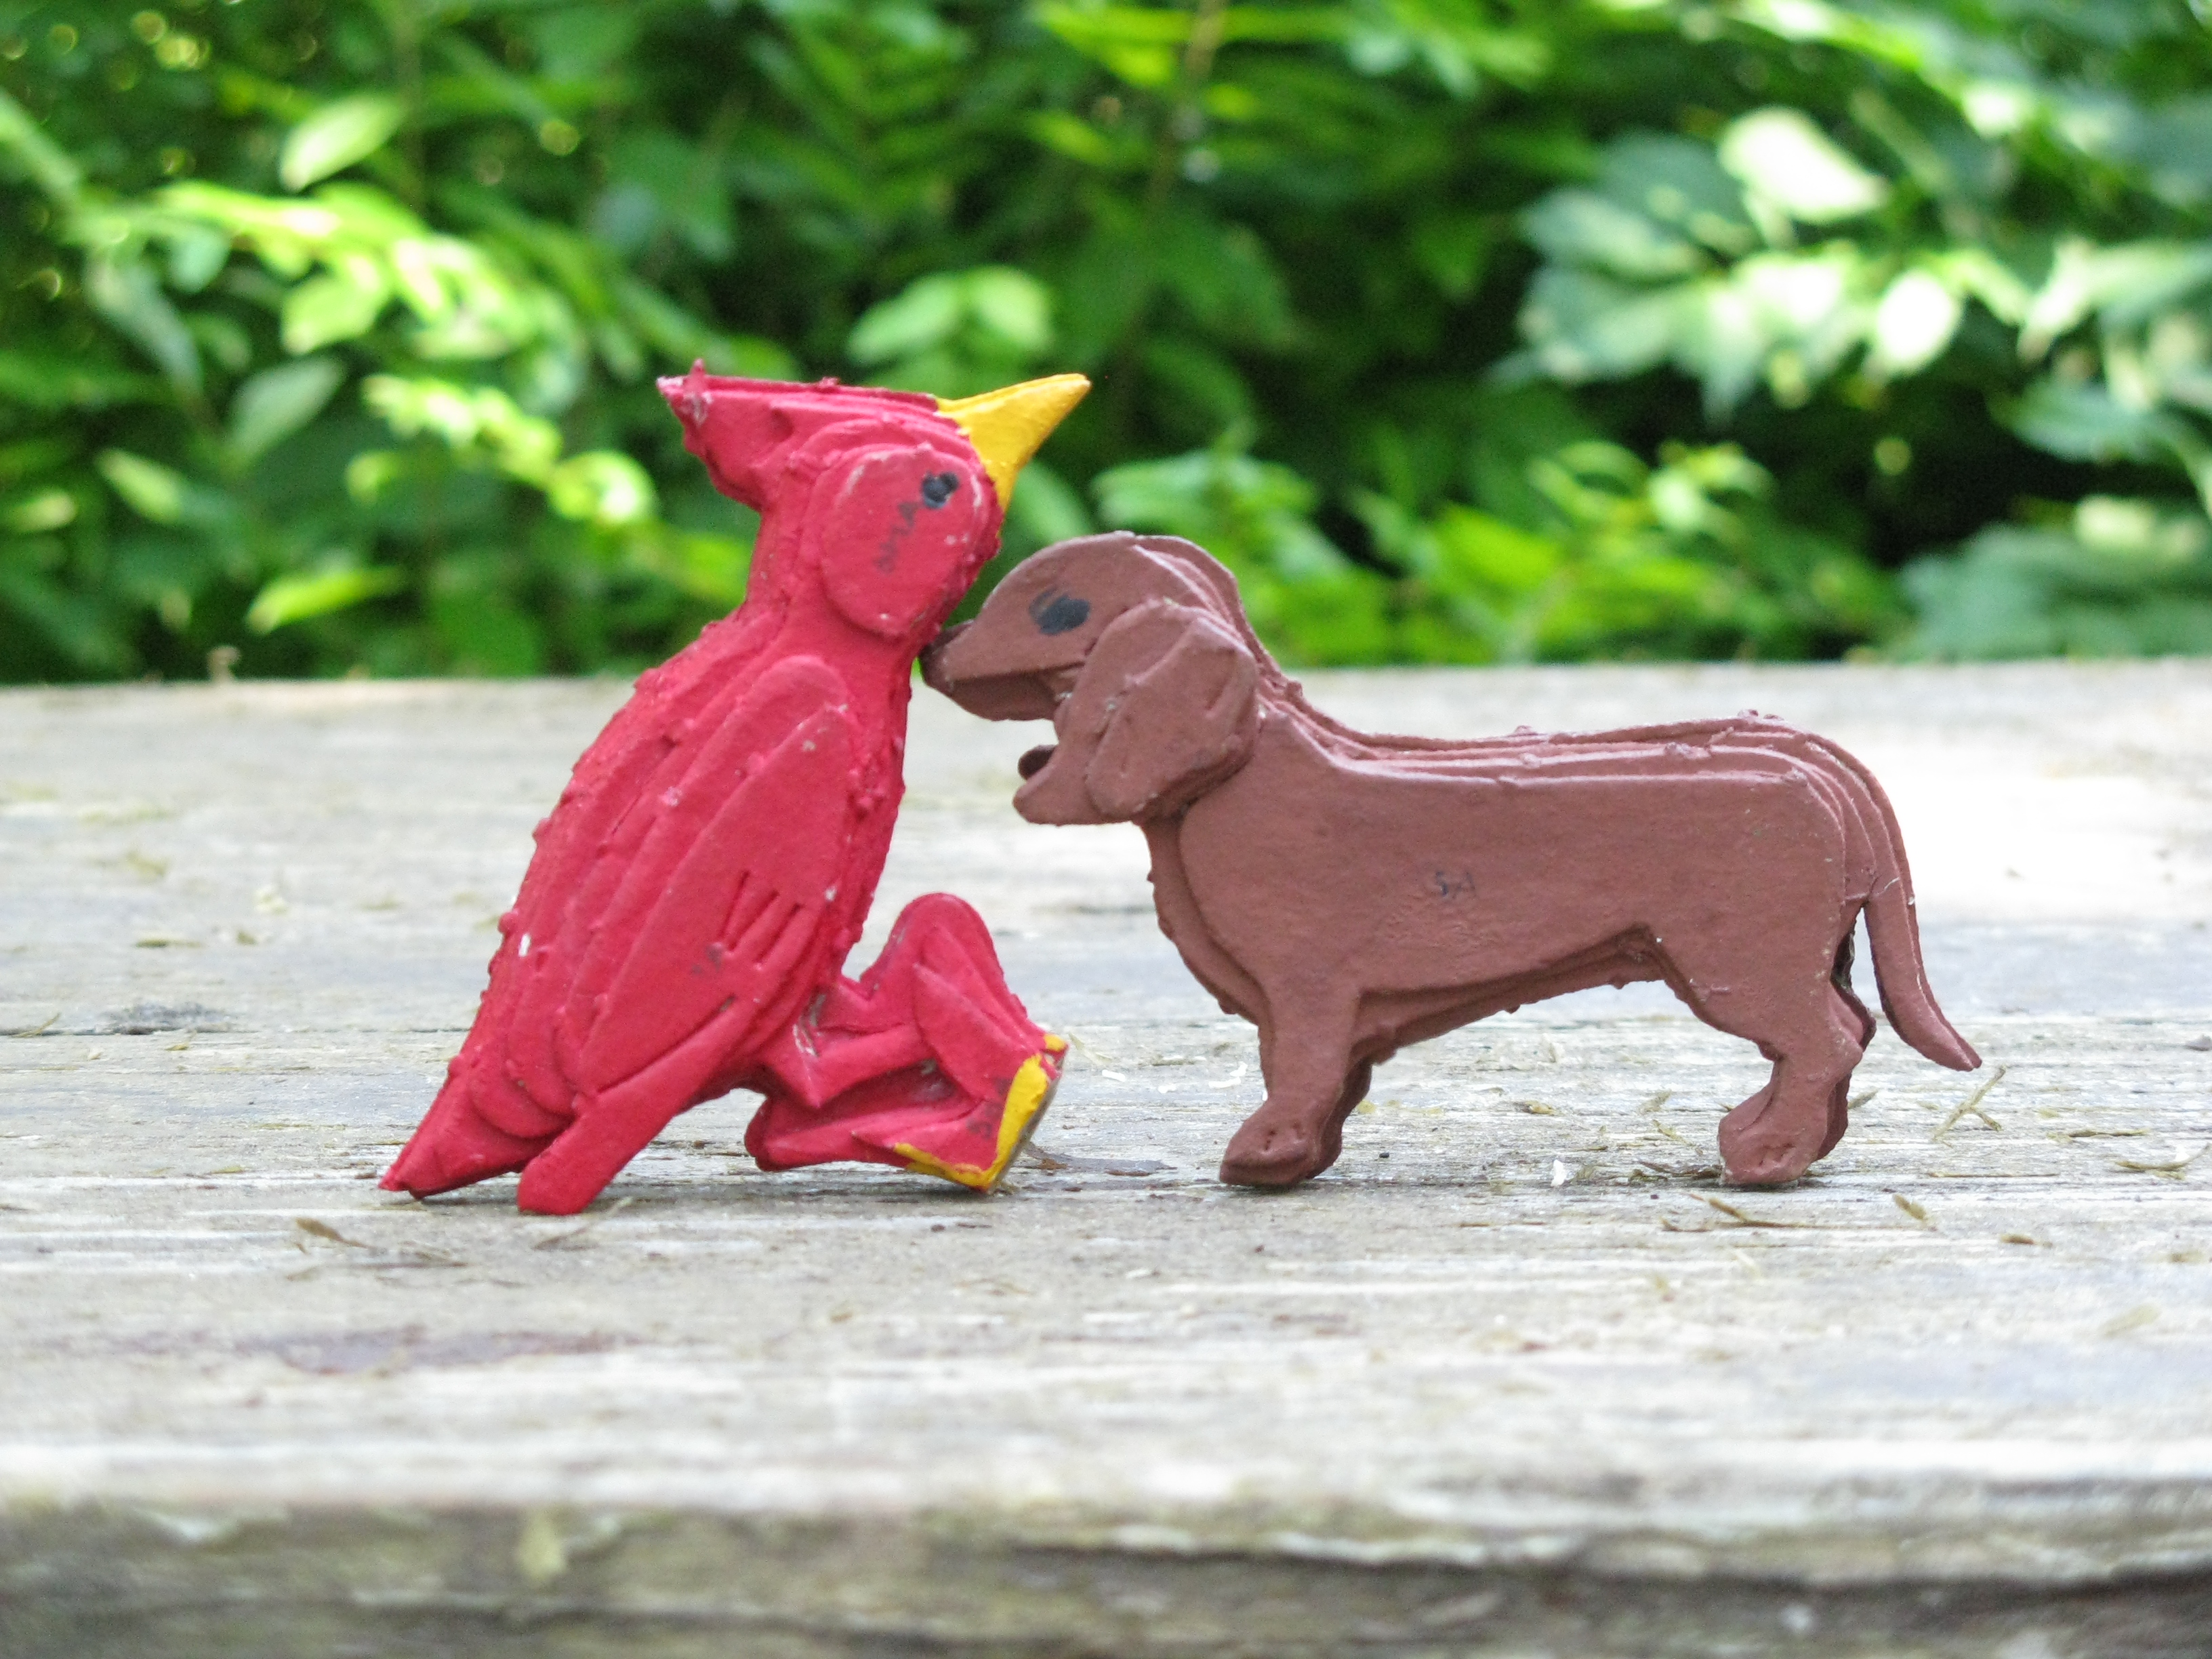
Here are some impressions of my stay. The cardinal and the puppy above are made out of cardboard. Did my uncles make them when they were boy scouts? Were they part of a kit?

img_0194.jpg

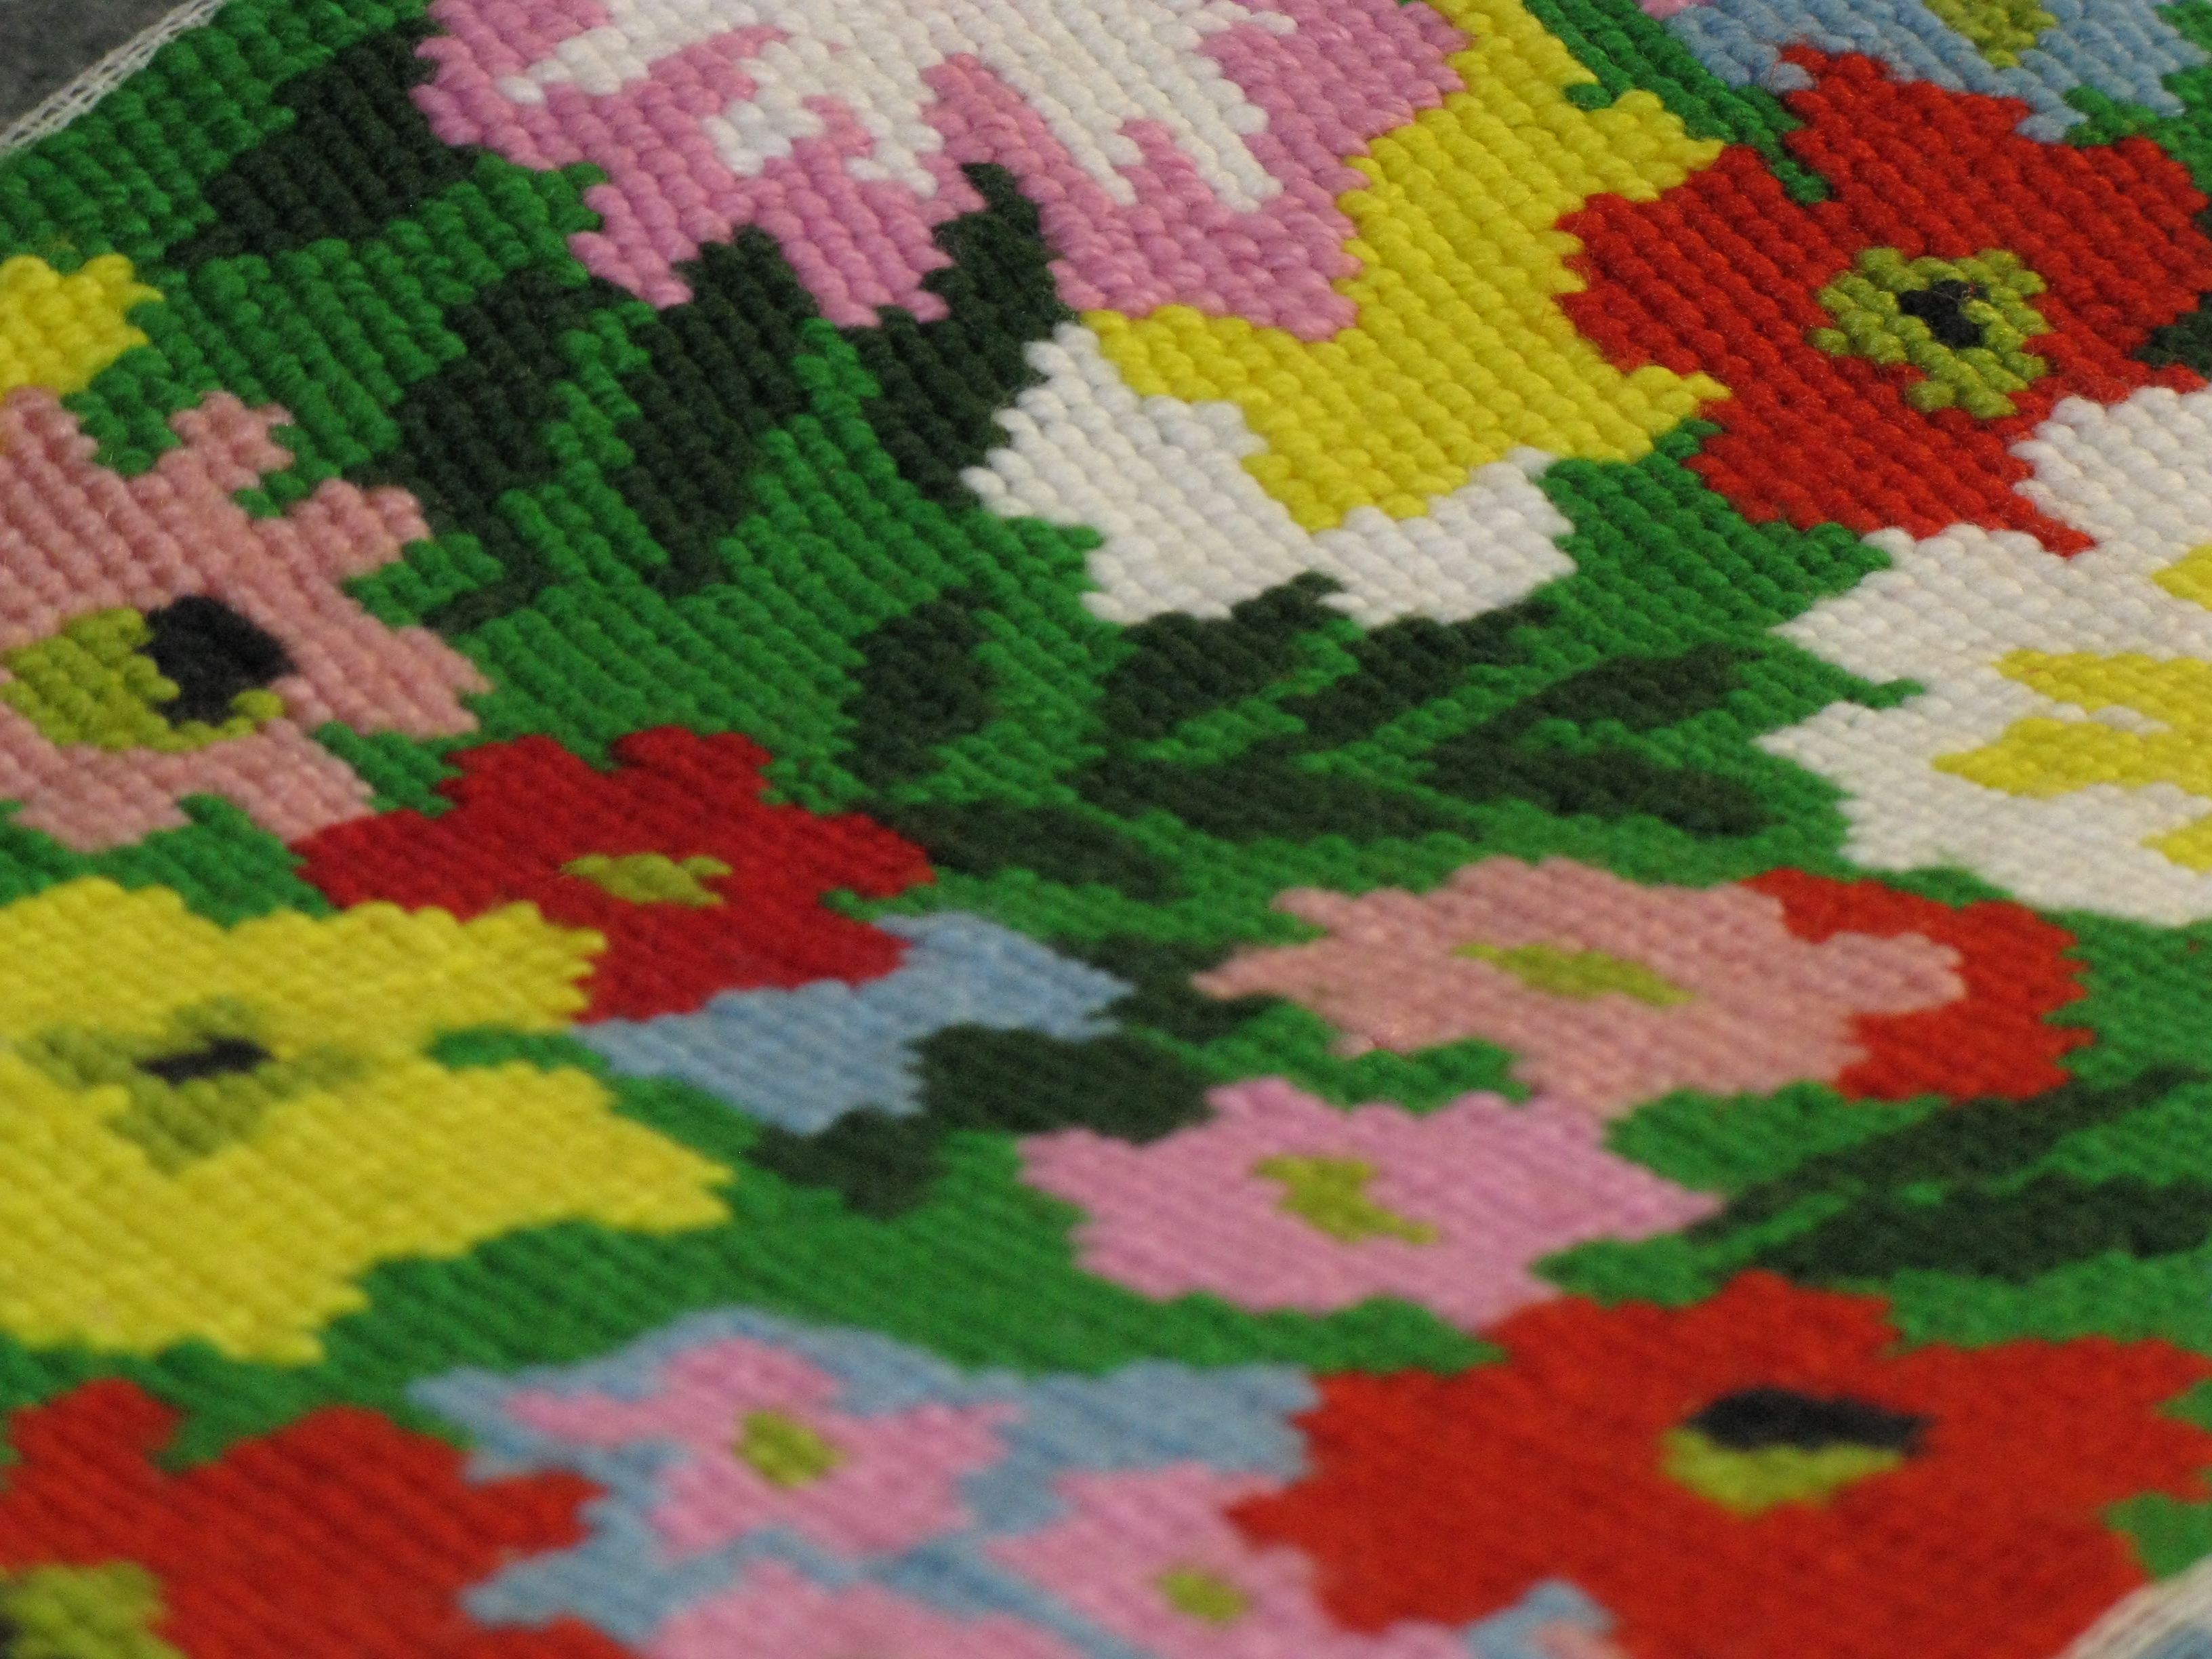
Someone spent a lot of time on this embroidery. I think it was purchased as part of a lot at an auction. It’s amazing how much time we spend to create something that is eventually passed on to family or strangers.

img_0214.jpg

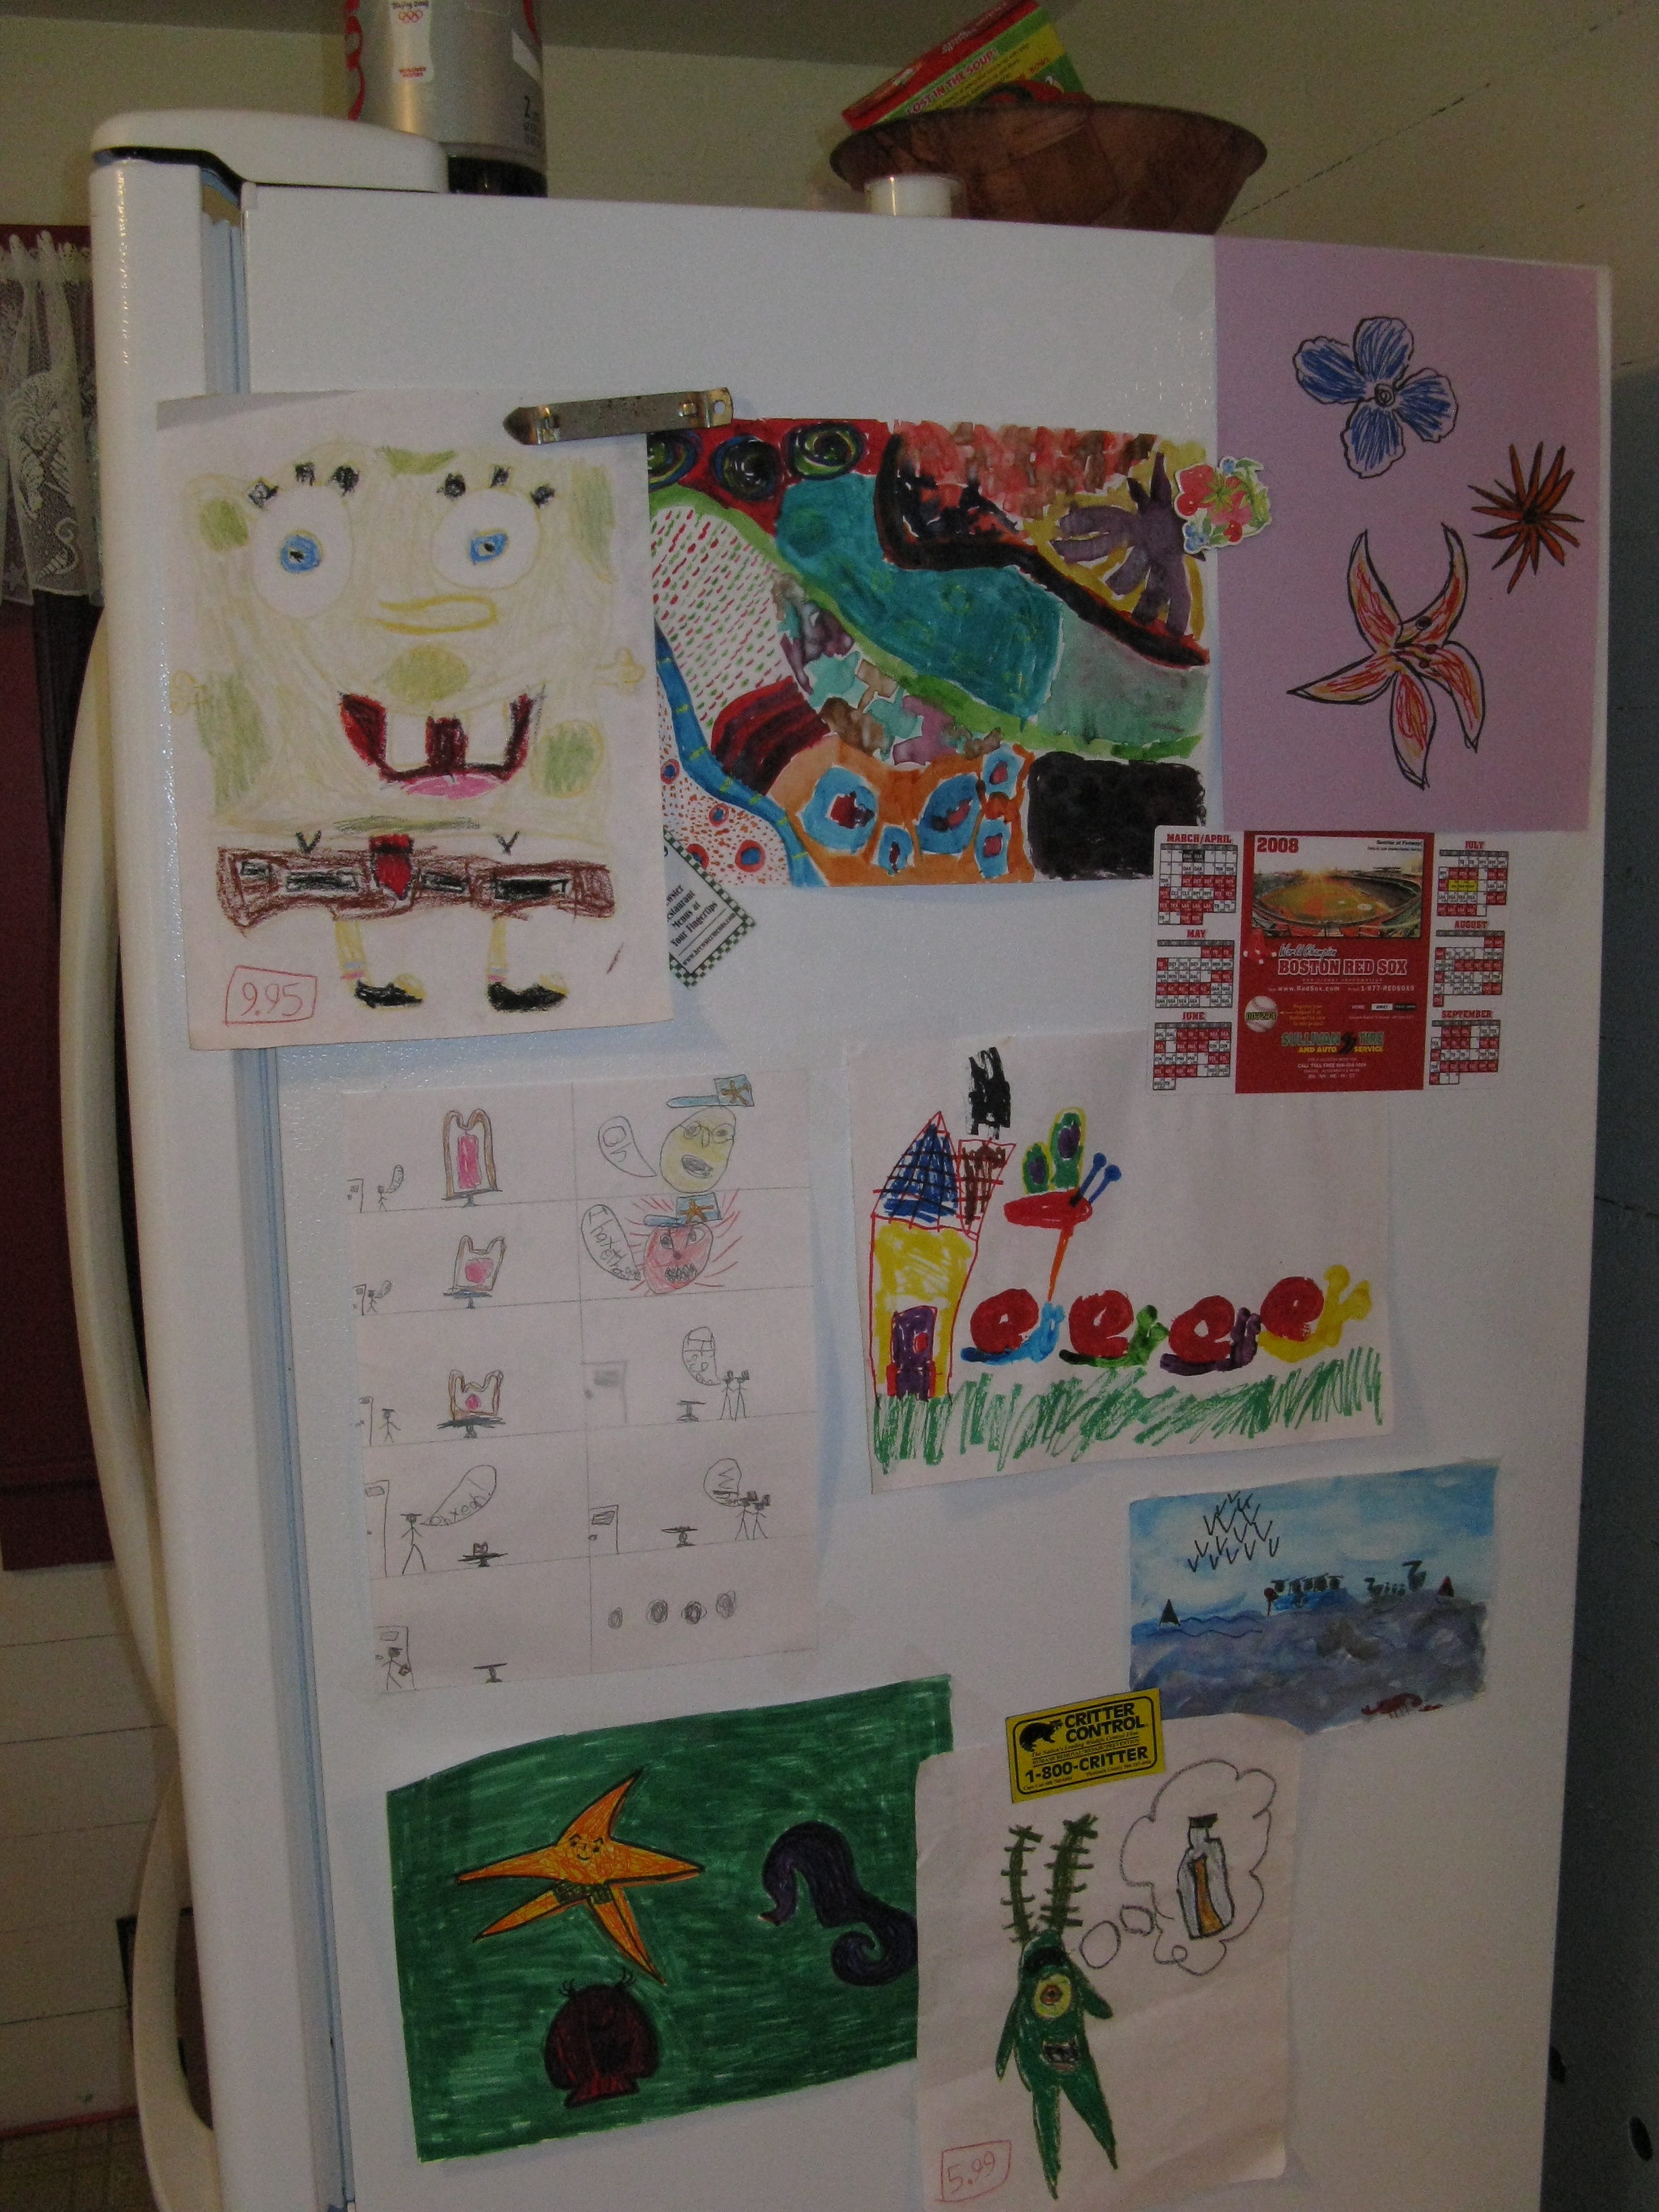
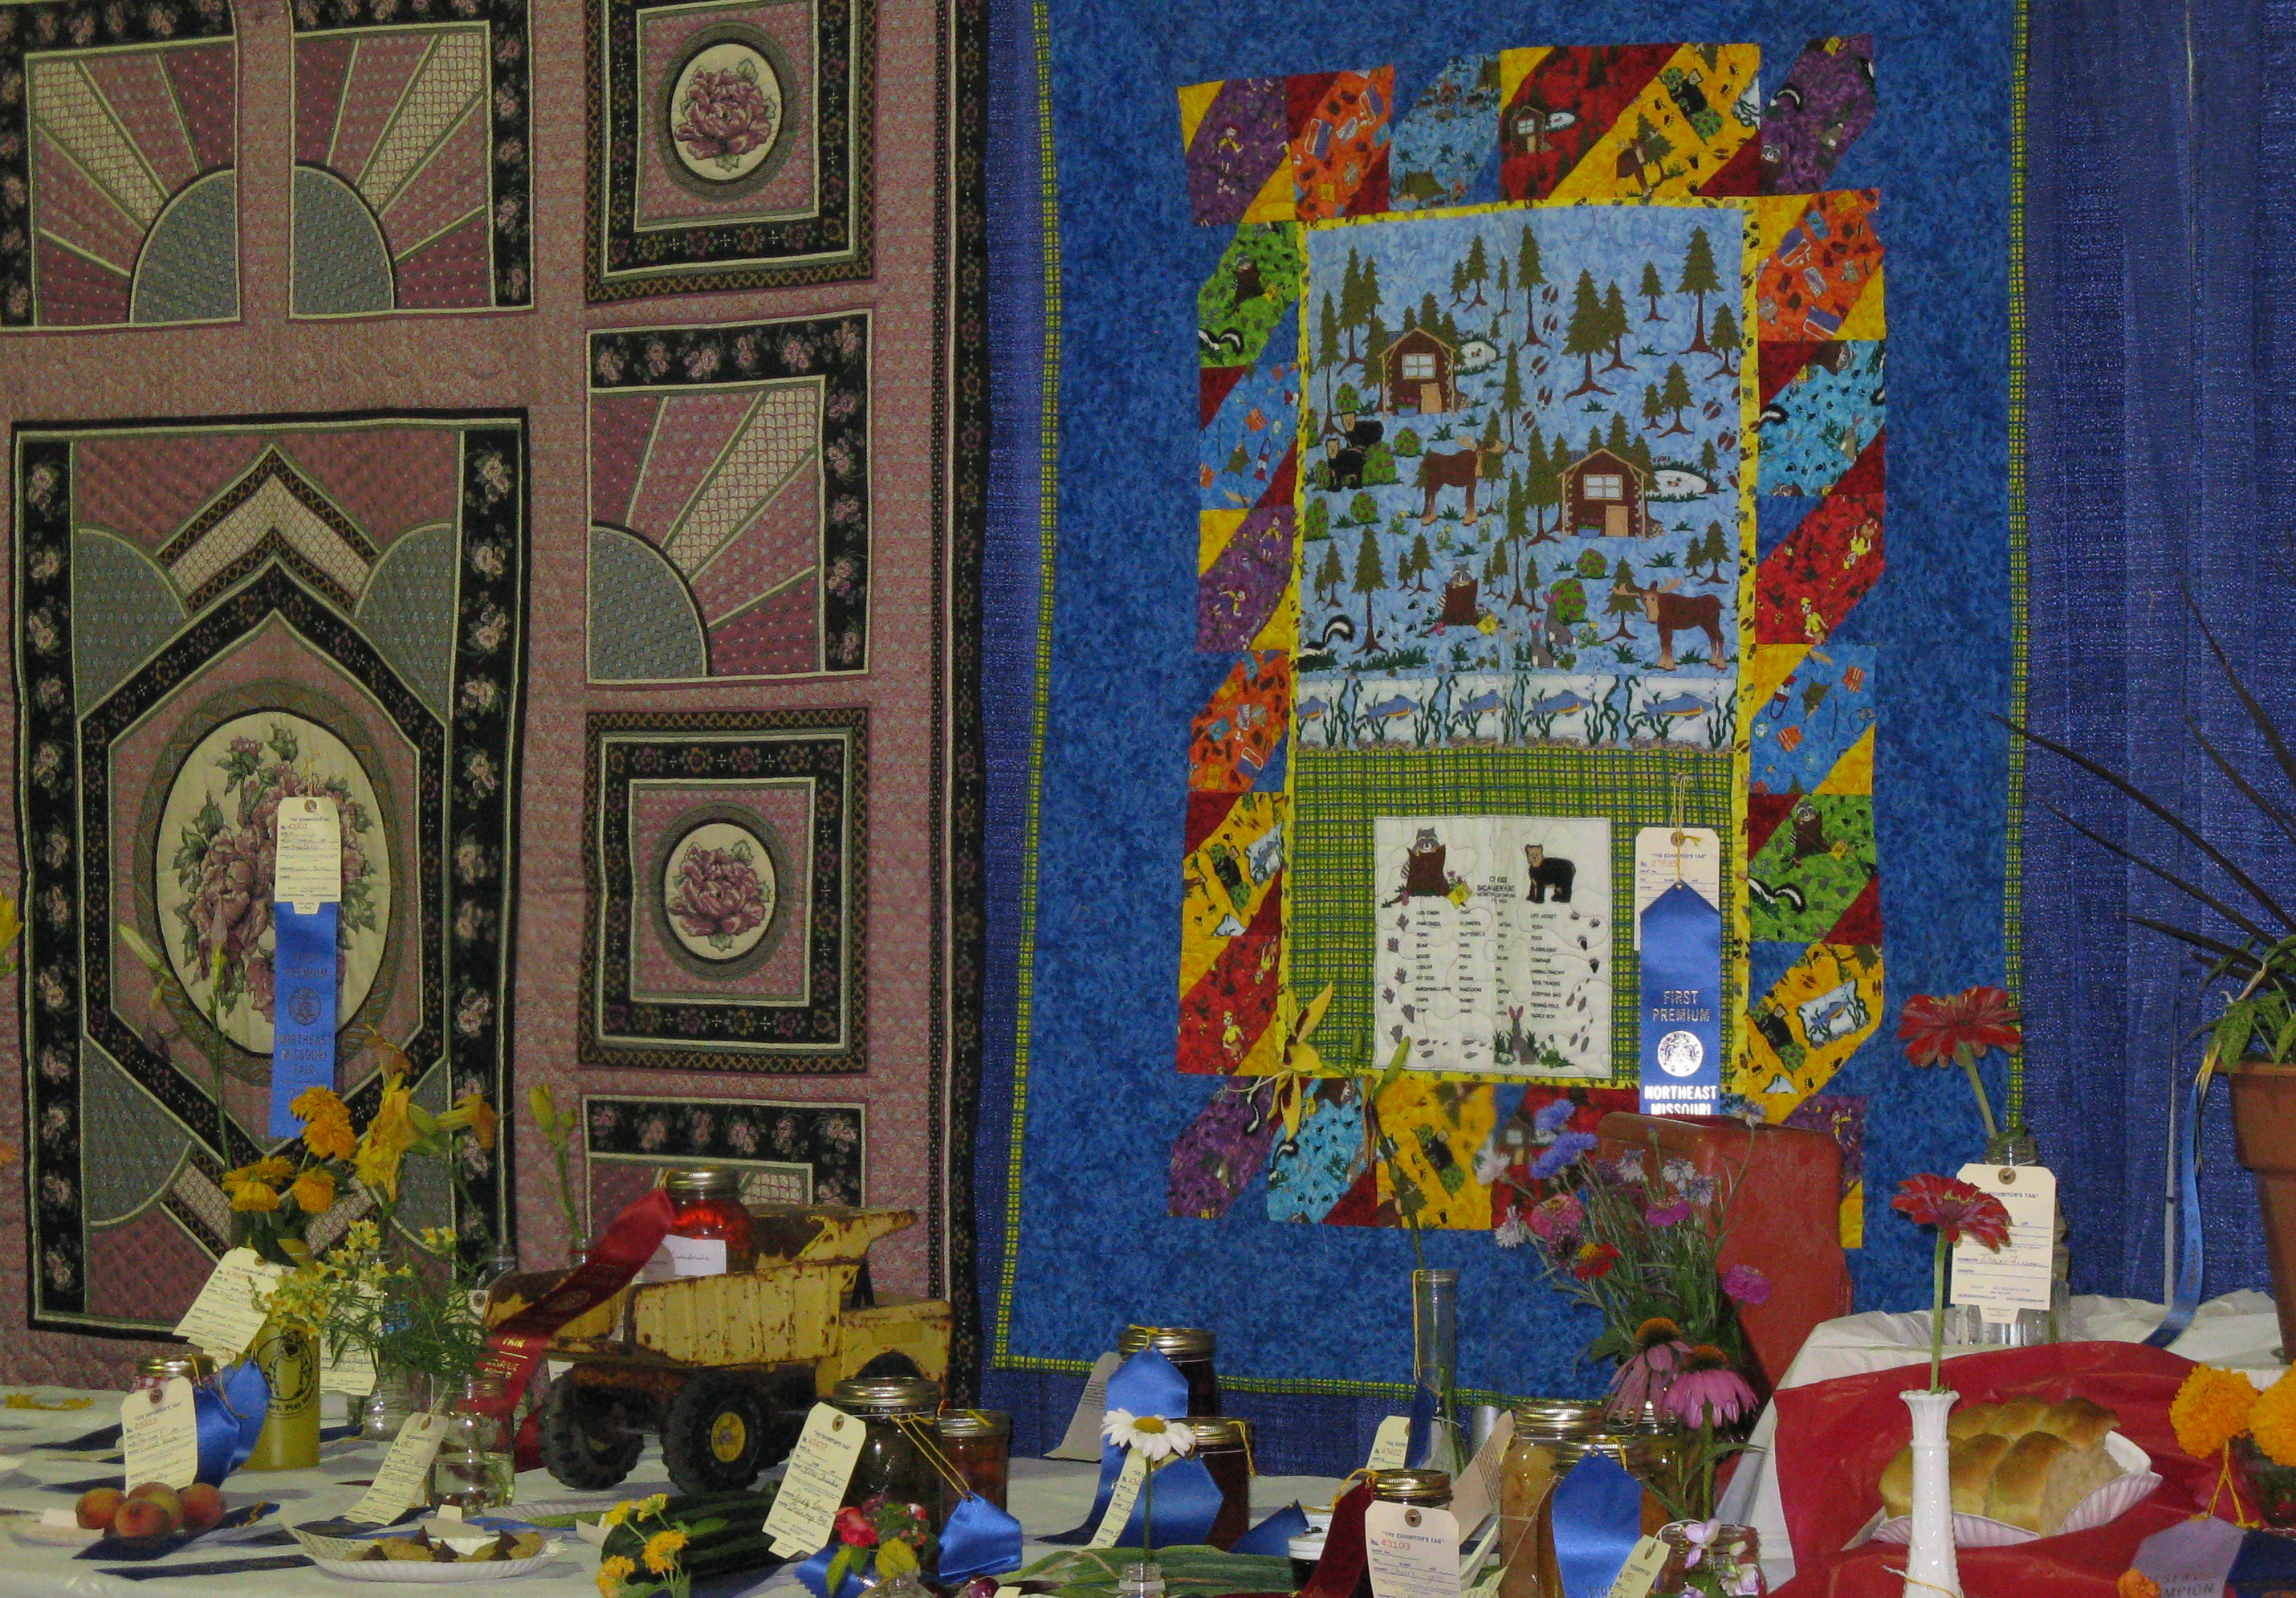
An exhibit at the fair that is taking place this week.

img_0211.jpg

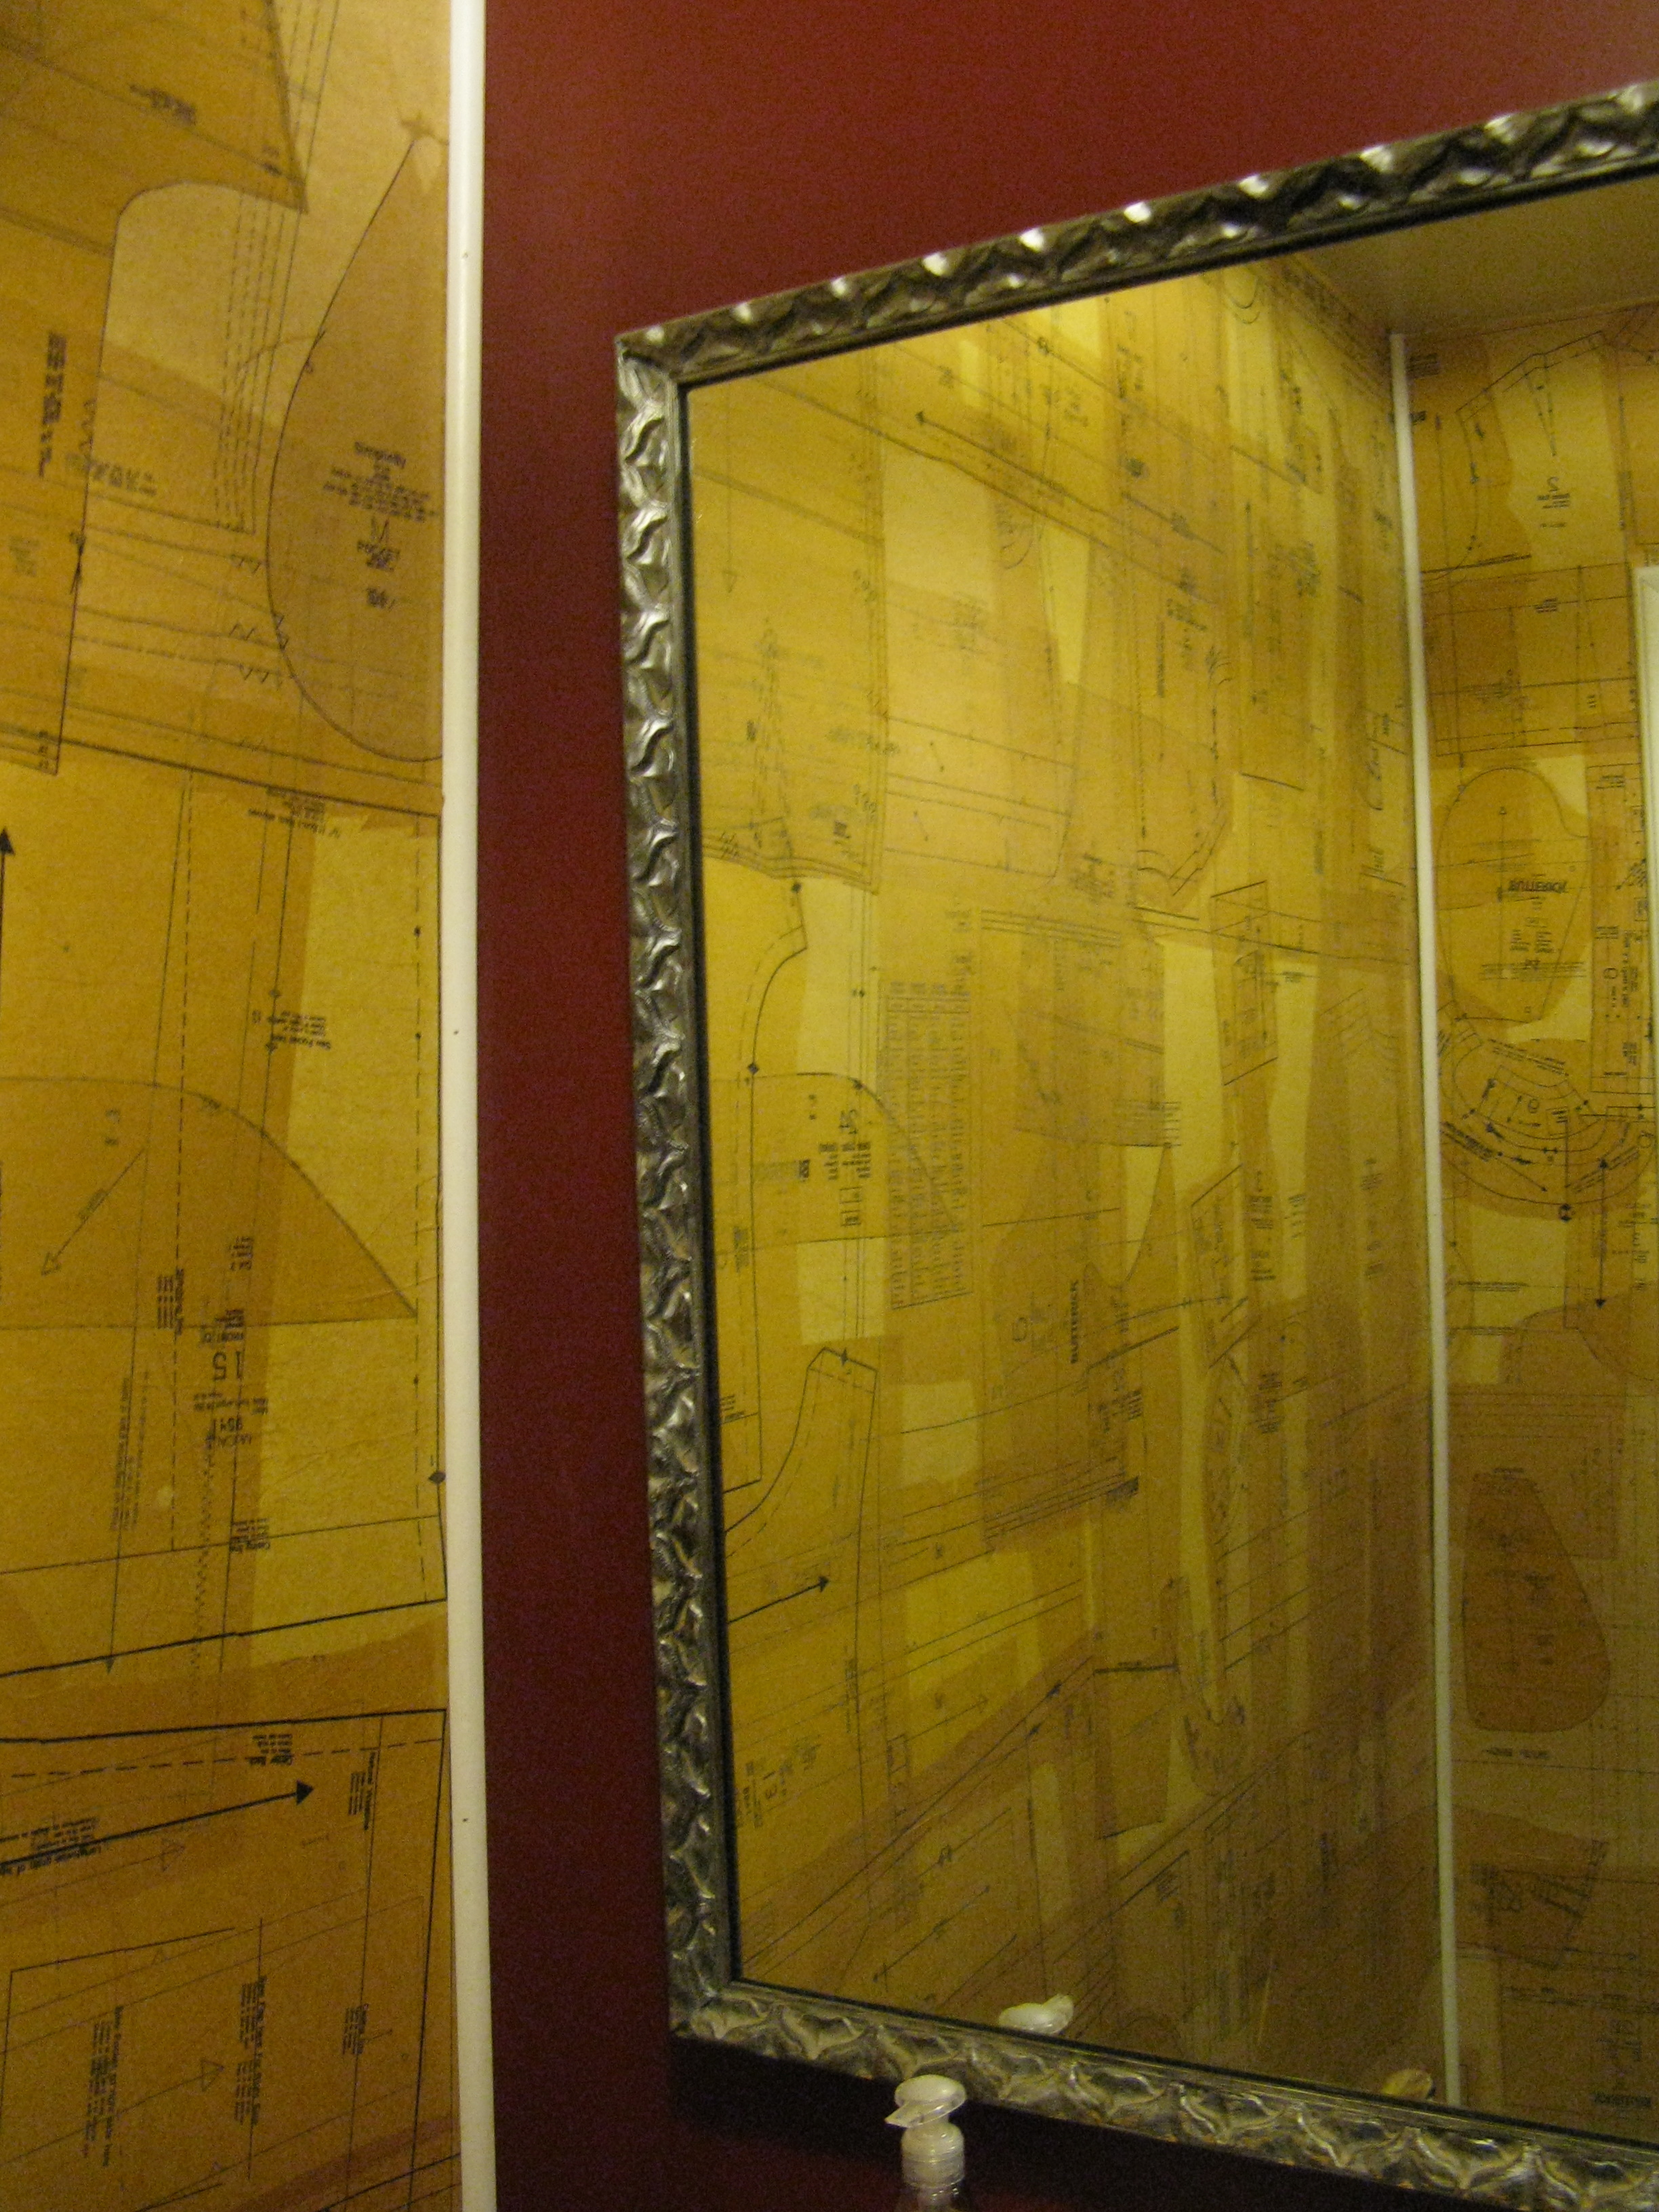
What to do with leftover patterns? Paper the walls. This is the bathroom at the local coffee shop. My grandmother used patterns to wrap glassware. I’m sure there are many other decoupage ideas for this material.

July YouTube Craft Tutorial Roundup

Wednesday, July 9th, 2008

YouTube is a wonderful resource for all kinds of tutorials. Here’s a roundup of some tutorials I found interesting:

1. Napkin Decoupage describes different projects you can embark on using napkins and glue. It is produced by Crafts Beautiful, a U.K. based website that features a ton of different craft tutorials.

2. The second video is an introduction to working with polymer clay produced by Polymer Clay TV. You can view all their tutorials on their YouTube channel PolymerClayTV.

3. Of course, I had to include a wire wrapping tutorial. This one is by Auntie’s Beads and explains how to make a wire wrapped ring with crafting wire and some buttons. Auntie’s Beads’ website and YouTube channel currently feature 85 jewelry making related video tutorials.

4. Threadbanger produces my favorite crafting webcasts. This installment shows how to upcycle towels into a bathmat.

5. If you are looking for a craft project to complete with your kids on a rainy day, Vicki Bodwell of the Warm Biscuit Bedding Co. shows you how to make tissue paper flowers.

6. The final piece is by Crafty Daisies’ alumna Joy. I completely forgot about this video and stumbled on it on YouTube, so I thought I should include it. Here you can learn how to make polymer clay buttons.

Do you have some favorite YouTube tutorials you’d like to share?

Charmed: Wine Charm Tutorial and Giveaway

Wednesday, July 2nd, 2008

img_9416small.jpg

During one of your recent summer festivities, did you pick up “your” glass and, about to take a sip, discovered that the shade of lipstick on the glass rim didn’t match yours? To avoid such a shocking social faux pas consider spending 10 minutes making some wine charms.

img_9390small.jpg

Materials

  • 4 inch length of copper wire per wine charm
  • Dowel with the same circumference you want the charm to have. I used a broomstick
  • Chain-nose pliers
  • Wire cutters
  • Anything you want to use to embellish the charms (beads, buttons, small hardware)

img_9395small.jpg

With the chain-nose pliers, make a P-shaped loop at the end of the wire.

img_9397small.jpg

Wrap the wire around the dowel to shape a hoop.

img_9400small.jpg

String the embellishments on the wire. These are plastic faceted beads.

img_9401small.jpg

Using the pliers, first bend up the P-loop by 90 degrees. If you hold up the hoop, the loop should be parallel to the table top. Then bend the straight end of the wire up to shape a right angle.

img_9405small.jpg

Trim the end of the straight wire so you can comfortably close the hoop by pushing the end through the P-loop. The whole thing will look like an earring hoop.

charmcollage.jpg

Here are some ideas to decorate the charms. Plunder the hardware store, or your jar of lose bolts and nuts for a more edgy look, or find some cool buttons and string them on wire or thread to attach them to the hoop.

The Giveaway

img_9423small.jpg

Here I used ink jet shrink film to print and bake different shapes decorated with these digital papers designed by the talented Bobbi-lee. Check out her blog at tomandjasmine.wordpress.com.

You can become the proud owner of these charms by leaving a comment at the end of the tutorial. I will draw the winner on Monday, July 7.

Have a fun holiday!


Jiggety Jig

Wednesday, June 25th, 2008

img_9372small.jpg

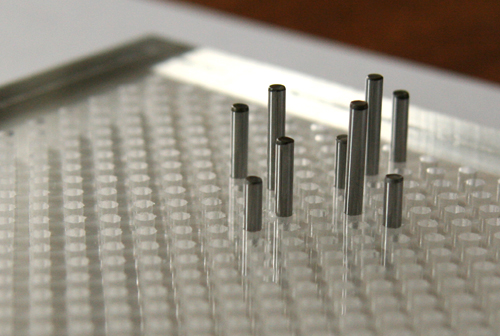
I have a new toy. It’s called a jig and you use it to shape wire into pretty, fun things. It’s essentially just a peg board with pegs.

img_9377small.jpg

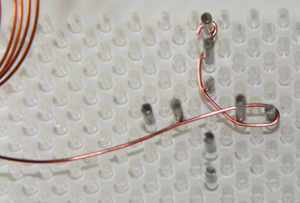
You kind of guide the wire around the pegs. This one is going to be. . .

img_9378small.jpg

… an “interesting” bookmark.

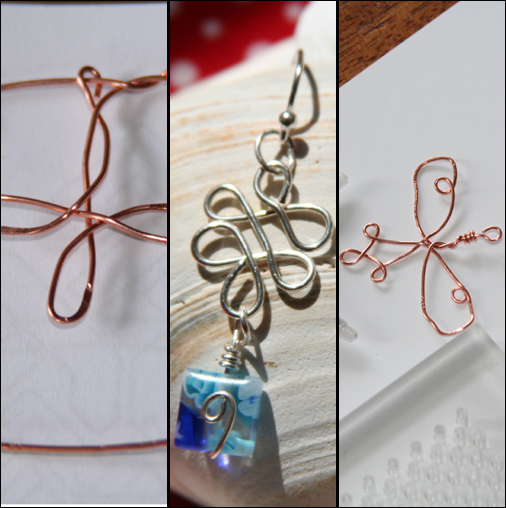
So far I like my earrings best (note to self: buy more wire).

jig-collage-copy.jpg

If you are interested in learning more about this tool, check out these links:

Jewelry Making Using a WigJig Jewelry Tool

Jewelry Making about.com: Wire Snake Jewelry Jig Component
There are other jig related articles at the end of that tutorial.

The WigJig company appears to have cornered the market on jig tutorials. Here is a collection of their videos on YouTube.


Recycled Denim Fiesta Skirt: A Tutorial

Friday, June 13th, 2008

img_9289small.jpg

It’s 90 plus degrees and I could be sorting out summer clothes and putting winter stuff away, however, I’d rather be sewing! While attempting to deal with such mundane chores, I found a pair of Elizabeth’s jeans. While they are way to short for her, the waist still fits perfectly for my skinny child so they became the object of another refashioning exercise.

Part 1: Cutting up the Jeans

img_9316small.jpg

  1. Lay out the jeans and cut off the legs right below the crotch. This will be the top tier of the skirt.

    img_9318small.jpg

  2. Open up the seam between the legs.
  3. Look at the top part of the jeans and measure the distance from the waist to about one inch below the zipper of the jeans. In my case that was 6.5 inches/16.5 cm.
  4. img_9321small.jpg

  5. Mark this distance all around the tier.
  6. img_9322small.jpg

  7. Even out the bottom of the tier by cutting along your mark.

Part 2: The Math

Calculate the Width of the Ruffles

  1. Decide how long you want the skirt to be and subtract the length of the jeans top tier from this number.
  2. skirta.jpg

  3. Divide the remainder by the number of ruffles you wish to add for ruffles of equal width. This skirt is 16.5 inches long. 16.5 – 6.5 inches for the top tier = 10 inches. 10 inches divided by 2 ruffles = 5 inch width per ruffle.

Calculate the Length of the Ruffles

  1. Measure the circumference of the bottom edge of the top tier and multiply this number by two. This is the length of the second tier ruffle.
  2. Multiply the length of the second tier ruffle by two. This is the length of the third tier ruffle.

These calculations will give you two fairly full tiers of ruffles. If you want the skirt two be less full, make the ruffles a little shorter.

Part 3: Cut the Fabric

With these measurements, cut your ruffles. You may have to join one or more strips of fabric to get the requisite length. For example, my first ruffle had to be 50 inches long and the fabric was 45 inches wide, so I had to cut another 5 inch strip to make up the 50 inches.

Part 4: Ruffle the Ruffles

  1. For each ruffle, join the lengths of fabric you cut out to make a long strip.
  2. Use your preferred method to finish the raw edges of the strips. I sewed a zigzag stitch along the edges.
  3. For each ruffle, sew the long strip together to make a loop.
  4. Ruffle the second tier ruffle by sewing long basting stitches along the top edge of the fabric.
  5. Mark each quarter of the top jeans tier, e.g., front middle, left side, back middle, right side.
  6. img_9327small-copy.jpg

  7. Repeat this for the second tier ruffle.
  8. With right sides together, pin the second tier ruffle to the top jeans tier matching the quarter markings.
  9. img_9326small.jpg

  10. Gather the fabric between the markings by pulling the top thread of the basting stitch.
  11. Evenly distribute the gathers.
  12. Sew the second tier ruffle to the top jeans tier. Repeat this process for the next ruffle(s).

Part 5: Finish the Skirt

At this point you should have attached all the ruffles.

  1. Hem the bottom tier.

I’m currently infatuated with bias tape hems. This skirt features homemade tape made out of matching fabric. For instructions on making this tape check out Step Four of the cashmere blanket tutorial. You could also just make a traditional double fold hem. (Fold the bottom edge to the inside and press, fold again, press and stitch.)

Dance the night away. This is the perfect party skirt.

Book Review: Cute Dolls & Softie Swap Pictures

Wednesday, June 4th, 2008

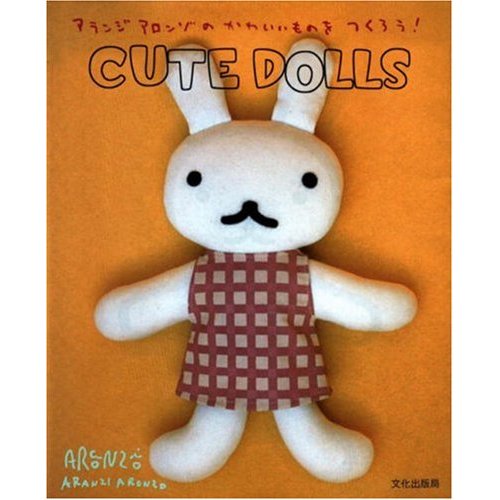
aranzi.jpg

This post continues the series of book reviews with Cute Dolls by Aranzi Aronzo. At the end of this entry you’ll find a slide show of a selection of softies exchanged during the course of last month’s softie swap.

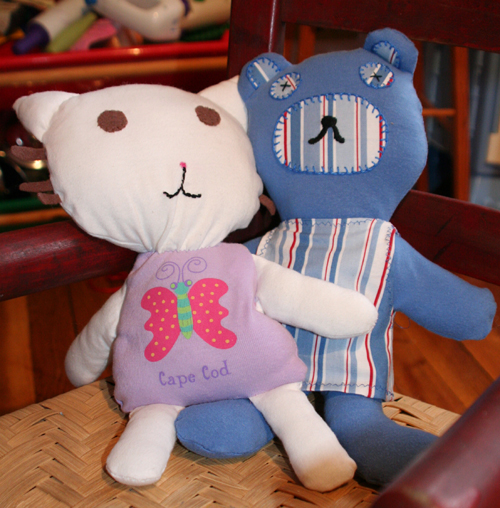
aronzo.jpg

This book provides instructions for 21 different cute dolls. The instructions are very simple and entertaining with comments such as

Bear is a slacker.
He’s always looking spaced out.
But it’s strange how relaxing his spaced-out, slacker look is.
It’s also strange how someone like him is actually an Aranzi Aronzo store manager.

Most of the patterns need to be enlarged by 125% to 150% for ultimate sizing. I scanned the pattern and enlarged it with Photoshop. You could also take the book to your local copy shop and enlarge the patterns there.

Each doll is made out of felt scraps and jersey fabric. “Jersey? Ugh, I don’t want to buy more fabric,” was my initial reaction. But then my glance fell on my Goodwill bag filled to the brim with ultra soft t-shirts from last year. So, if you have a special shirt you’d like to recycle, like Elizabeth’s Cape Cod t-shirt on the cat doll, take some shears to your clothing and create a softie. Speaking of softies, check out the softies made by the participants in our softie swap:

You can also read about them at the Flickr Crafty Daisies Softie Swap Group