Zippered Pouch Tutorial, or If You Take A Pokemon to School…
Wednesday, August 27th, 2008
As you may have noticed by now, we are a Pokemon household. So when my daughter’s teacher specified a zippered, soft pencil case as part of the school supply list, we obviously couldn’t just buy one. What do you think about our cooperative effort?
Materials
To make this pencil case you need:

For the applique:
- an Image
- Transfer Paper
- White Fabric
- Fusible Web
- Fabric Markers
For the pouch:
- 2 10″x 6″ pieces of fabric, I used denim remnants from another upcycling project
- a Zipper
- optional: 2 9″x 5″ pieces of heavyweight fusible interfacing, 2 10″x6″ pieces of lining fabric.
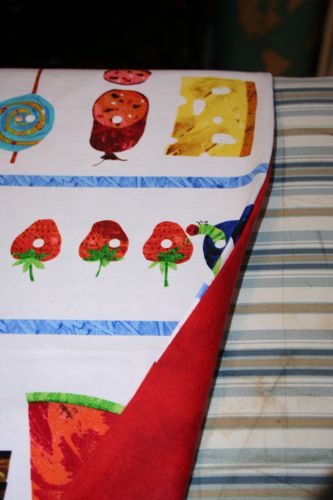
Because the denim felt a little floppy, I used fusible interfacing to give it more body and added a lining.
Creating the Applique

To do it the right way, i.e. not the way I ended up doing it, cut the fusible web to approximately the size of the applique you want to make. Iron it to the left side of the white fabric. Leave the second backing of the fusible web on for now. Then transfer your image to the right side of the fabric and color it with fabric markers. Cut out your applique and set it aside.
Preparing the Fabric

If you are using fusible interfacing, follow the manufacturers instructions and iron it onto the left sides of the outer shell fabric.

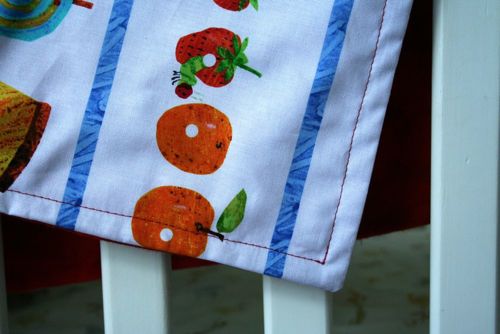
Turn the fabric around. Remove the paper backing from your applique and iron it onto the right side of the fabric. Using the zigzag setting on your sewing machine, stitch all around the image. I set the width to 0.5 and the length to 2, but play around with it until you get the effect you like.
Inserting the Zipper

If you are not using a lining, switch to your zipper foot, align the right side of the zipper with the right side of the top of one of the fabric pieces and sew it together on the left side. Repeat this with the other side of the zipper and the second piece of fabric. If your zipper is longer than your fabric, just let the bottom end stick out. On the right side of the fabric sew a top stitch along both sides of the zipper.
If you are using a lining and have never done this before, take a look at Lisa’s Sewing zippers in bags tutorial at U-Handblog starting with Step 4. She has great instructions and is my crafting hero.
Here it goes:

As Lisa puts it, you make a sandwich. This is the order when the right side of your outer fabric faces up: right side up outer fabric–wrong side up zipper–wrong side up lining. (My picture ended up being the reverse of Lisa’s, so if you are looking at both tutorials, you are thoroughly confused by now.) Put the sandwich together and sew along the top edge through the lining, zipper, and outer shell fabric. If you unfold the whole thing, it should look like this:

Repeat with the other side.
Sew a top stitch alongside the zipper on the right side of the outer fabric through the fabric, zipper and lining. Repeat on the other side.
Putting It All Together
Very Important: Open the zipper at least halfway.
If you are not using a lining, put the right sides of the fabric together and on the left side of the fabric, sew the sides and the bottom of the pouch together. If you wish, you can square the bottom of the pouch using these instructions. Turn the whole thing right side out. Phew, you are done.

If you are using a lining, remember to open the zipper at least halfway. Put the right sides of the lining together and the right sides of the outer fabric. Pin the whole contraption together and leave an opening at the bottom of the lining. Start at the beginning of the opening in the lining and sew all around the side of the lining, outer fabric, other side of the lining, ending at the other end of the opening in the lining. Again, if you want to square the bottom of the fabric and lining, you can do that now following these instructions.
Then, turn the whole thing right side out through the opening in the lining. (By the way, if you didn’t keep the zipper open, you are now saying some not so very nice words.) With everything turned right side out, close the opening in the lining, stuff the lining inside the pouch, close the zipper, and you are done. Yay!