
Crochet pumpkins are one of the cutest and coziest fall projects you can make. They’re small, soft, and full of charm—perfect for decorating your home as the weather cools down.
You can place them on your dining table, a bookshelf, or even your work desk to add a warm, handmade touch. These little pumpkins also make thoughtful gifts, and they’re a fun way to use up leftover yarn from other projects.
The best part? They’re super beginner-friendly. You don’t need to know any fancy stitches or techniques. With just some yarn, stuffing, and a crochet hook, you can make your very own pumpkin in no time. Plus, you can get creative with the colors—classic orange, warm neutrals, or even fun shades like teal or mustard.
In this blog, we’ll show you exactly how to crochet your own adorable pumpkin.
What Are Crochet Pumpkins?
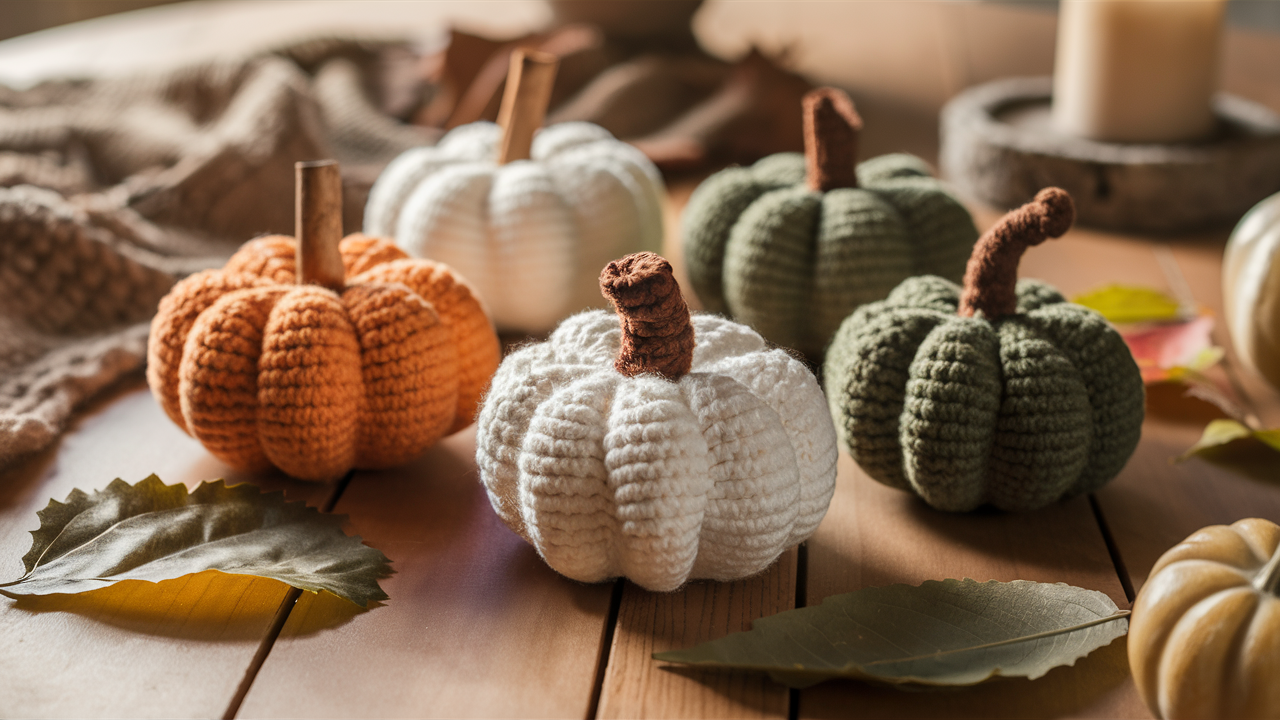
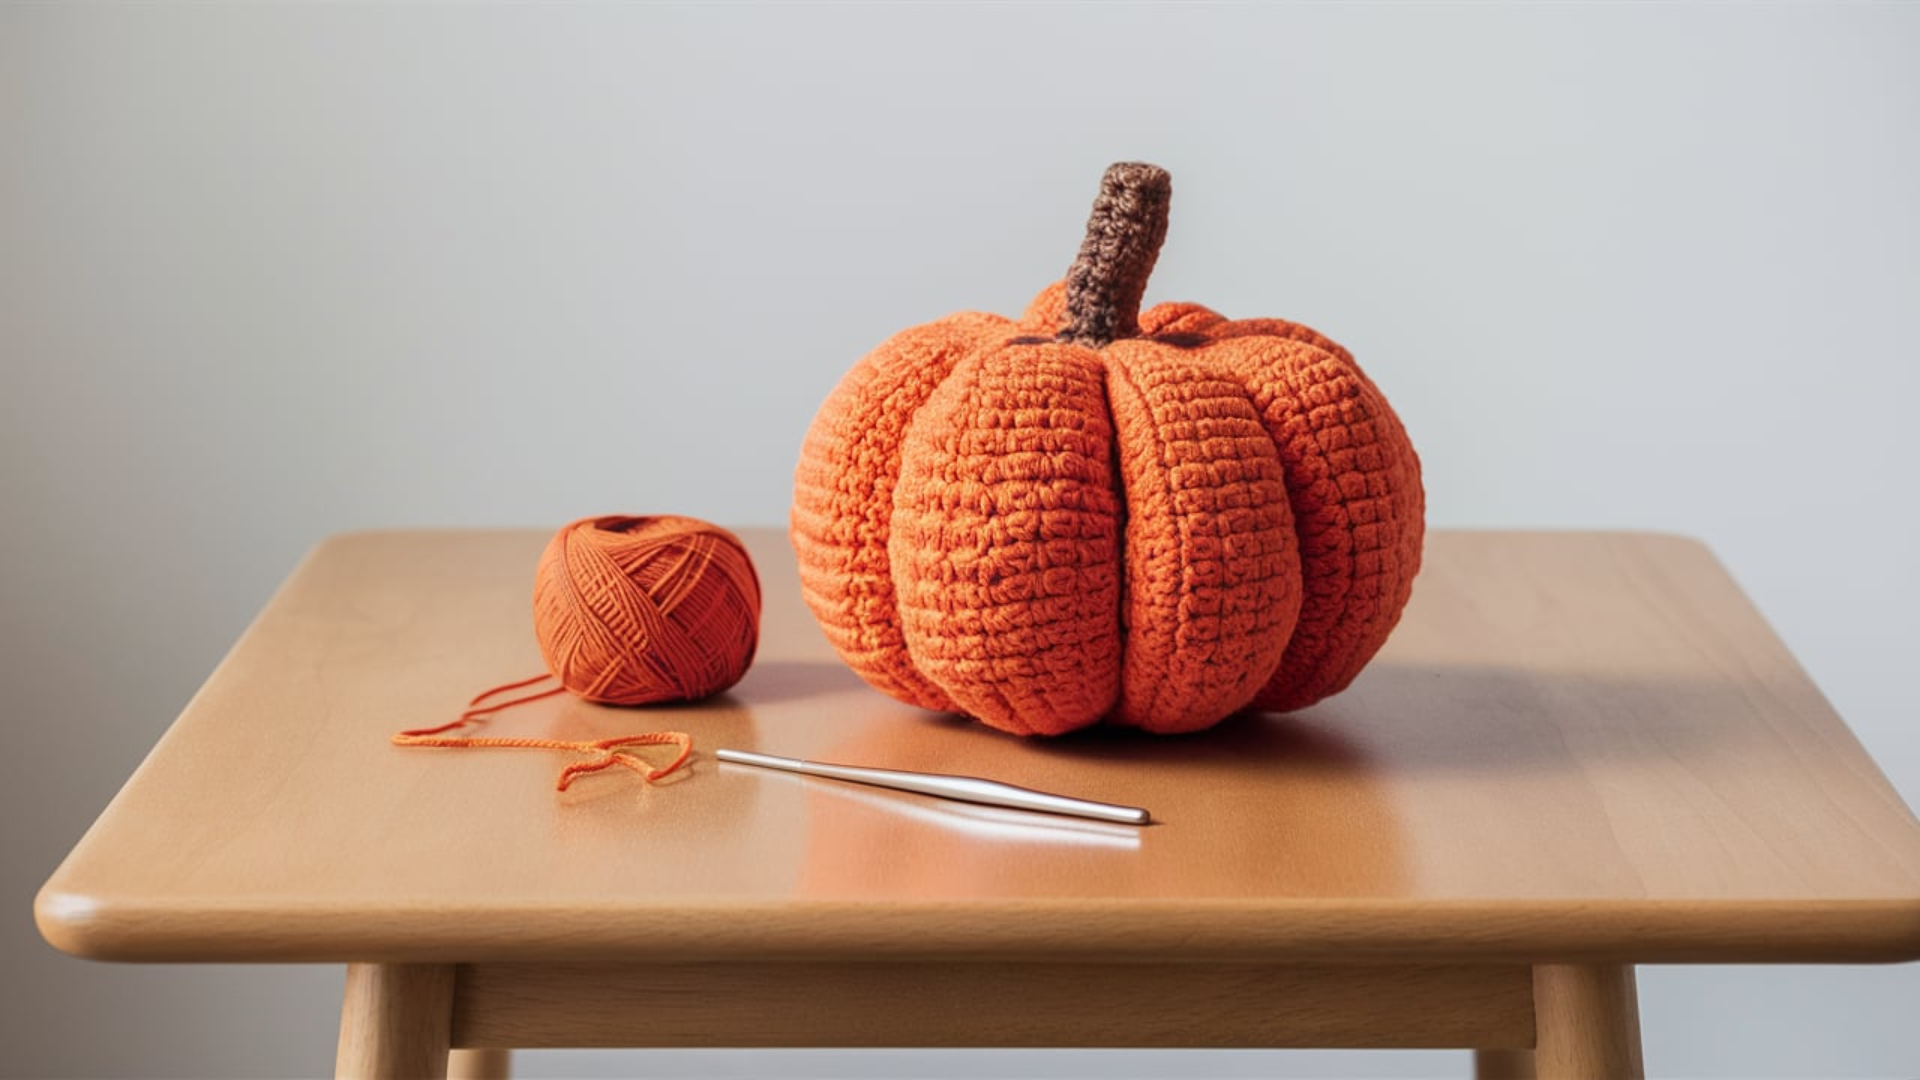
A small crochet pumpkin is a soft, handmade pumpkin made using yarn, a crochet hook, and a little stuffing. It’s shaped like a real pumpkin, but instead of being carved or picked from a farm, it’s stitched together with simple crochet steps. These pumpkins are small, cute, and perfect for decorating your home during the fall.
You can make small crochet pumpkins in any color, like orange, white, brown, or even fun colors like pink or green. Some are tiny enough to fit in your hand, while others are just big enough to sit on a table or shelf.
They’re great for fall displays, Thanksgiving decorations, or as gifts for friends. Small crochet pumpkins are also great for beginners. They use easy stitches and don’t take much time.
What You’ll Need to Make Crochet Pumpkins?
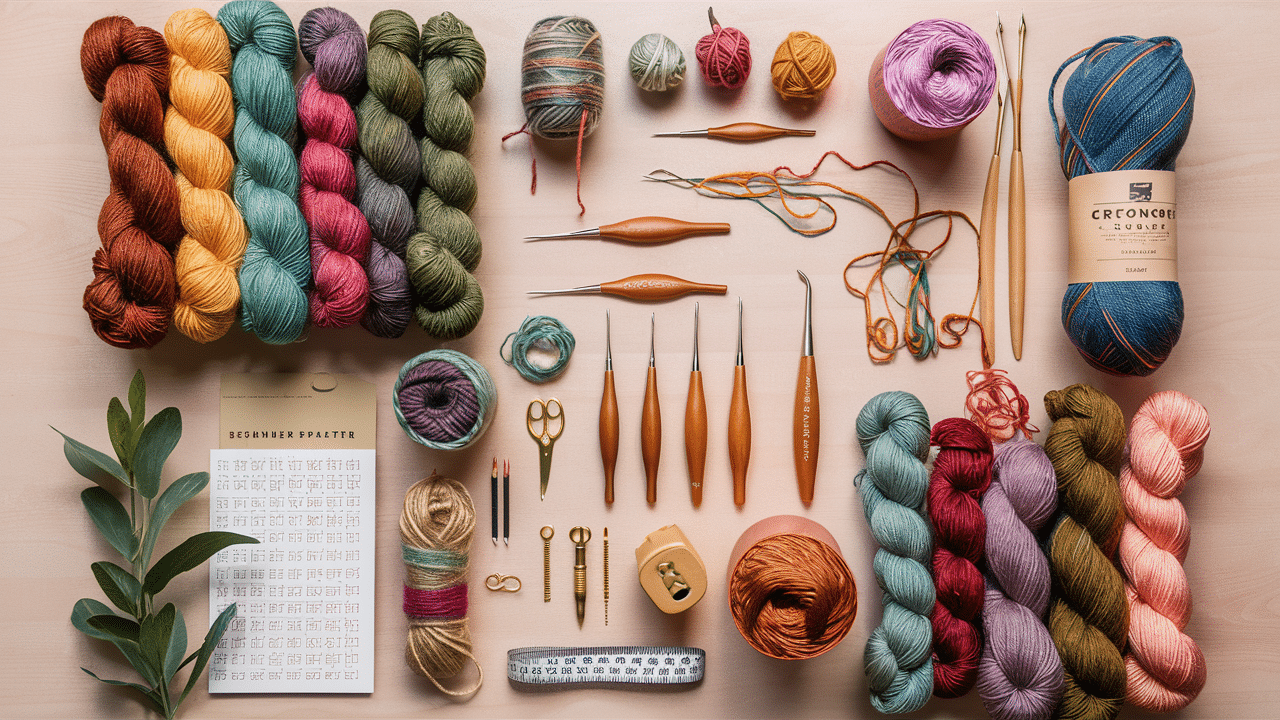
To make a small crochet pumpkin, you only need a few basic supplies. Most of these are easy to find at a craft store, or you may already have them at home.
- Yarn: Cotton or acrylic yarn works best. Orange is classic, but you can use any color you like.
- Crochet Hook: Use the size that matches your yarn. Most small pumpkins use a 4mm or 5mm hook.
- Stuffing: You can use fiberfill, yarn scraps, or even cotton balls to fill your pumpkin and give it a squishy texture.
- Yarn Needle: This is used to sew parts together and hide loose ends.
- Scissors: To cut the yarn when you’re done.
- Cinnamon Stick or Small Twig (optional): This can be used as a cute stem on top of your pumpkin.
Step-by-Step Pumpkin Pattern
Follow these easy steps to make your own small crochet pumpkin—it’s quick, fun, and great for beginners.
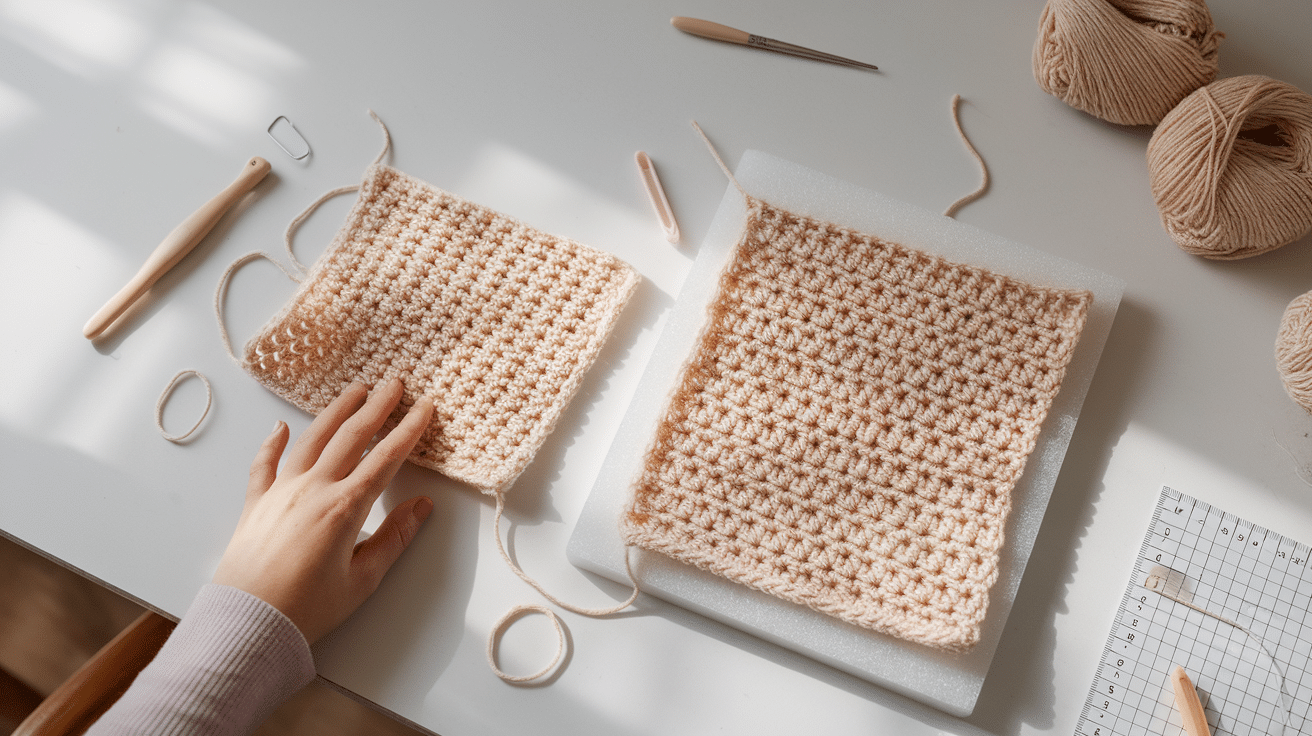
1. Make a Crochet Rectangle
- Start by chaining about 21 stitches.
- Do single crochet (sc) in each chain across.
- At the end of the row, chain 1 and turn.
- Keep making rows until your rectangle is about twice as long as it is wide.
- Your piece should look like a small rectangle. This will be the body of your pumpkin.
2. Fold and Sew the Sides
- Fold your rectangle in half, so the short sides meet.
- Use a yarn needle and yarn to sew the short sides together.
- Now you’ve made a tube!
3. Close the Bottom
- Thread a long piece of yarn on your needle.
- Weave the yarn in and out around the bottom opening.
- Pull the yarn tight to close the bottom like a drawstring.
- Tie a knot to hold it closed.
4. Fill the Pumpkin
- Turn the tube right side out (so the seam is inside).
- Stuff it with fiberfill, yarn scraps, or cotton balls.
- Add just enough to make it full but still soft.
5. Close the Top
- Weave yarn around the top opening like you did with the bottom.
- Pull it tight to close the top.
- Tie a knot to keep it shut and tuck in the yarn end.
Shaping the Pumpkin
Now it’s time to give your pumpkin its classic shape!
- Cut a long piece of yarn and thread it onto your yarn needle.
- Start from the top center of the pumpkin and push the needle down through the middle to the bottom.
- Wrap the yarn around the outside of the pumpkin and bring the needle back up through the center.
- Pull the yarn tight to make a dip in the pumpkin—this creates the sections.
- Repeat this step 4 to 6 times, spacing the yarn evenly around the pumpkin. Each time you pull, it will form a ridge like a real pumpkin.
- Once you’re done, tie a small knot at the top and tuck the yarn end inside.
Adding The Stem
-
Choose a Stem Piece: Select a small, sturdy piece that is approximately 1 to 2 inches long. A dried stick, cinnamon stick, or even a piece of driftwood can work beautifully as a faux stem.
-
Position the Stem: Gently press the chosen piece into the top center of the pumpkin. If your pumpkin is made of foam or fabric, apply slight pressure so it sinks in securely. For natural pumpkins, make a shallow indentation to help the stem sit nicely.
-
Secure with Glue: Once you’ve found the perfect position, add a small dab of hot glue to the bottom of the stem. Press it into place firmly and hold it for a few seconds until the glue sets. Hot glue works best because it dries quickly and holds tightly.
-
Let it Dry: Allow the glue to fully cool and dry before handling the pumpkin further. This ensures the stem stays firmly in place.
-
Optional Finishing Touches: For a decorative touch, you can wrap some twine around the base of the stem or add a few faux leaves or berries for extra charm.
If you’re not sure how to do the stitches or want to see how the pumpkin comes together, this video will help.I added a short and simple YouTube video by @jenoellecreates that shows you how to make a small crochet pumpkin step-by-step.
Types of Crochet Stitches Used for a Small Pumpkin
To make a small crochet pumpkin, you only need a few easy stitches. These are great for beginners and help create a strong and squishy pumpkin shape.
1. Chain Stitch (ch)
The chain stitch is usually the first stitch in any crochet project. It’s how you start your work and build the first row.
How to do it: Make a slip knot on your hook. Yarn over (wrap the yarn over your hook). Pull the yarn through the loop on your hook. That’s one chain! Keep repeating to make a chain as long as you need (like 21 chains for a small pumpkin).
2. Single Crochet (sc)
The single crochet stitch is short and tight. It makes a strong fabric that holds stuffing well, which is perfect for pumpkins.
How to do it: Insert your hook into the next stitch. Yarn over and pull up a loop (now you have 2 loops on your hook). Yarn over again and pull through both loops.
3. Slip Stitch (sl st)
The slip stitch is a small, flat stitch. It’s not used to build the body of the pumpkin, but it’s very helpful for joining pieces or finishing your work.
How to do it: Insert your hook into a stitch. Yarn over and pull through both the stitch and the loop on your hook (all in one motion).
4. Magic Ring
The magic ring (also known as a magic circle) is a clever way to begin a round crochet shape without leaving a hole in the center.
How to do it: Wrap the yarn around two fingers to make a loop. Put your hook through the loop and pull up a loop of yarn. Chain 1 to lock the ring. Then crochet your stitches into the loop. When done, pull the yarn tail to close the ring tightly.
Conclusion
Pumpkin coasters are a fun and easy fall project. They’re great for beginners and don’t take much time or yarn. You can use them to hold warm drinks, decorate your table, or give them as cute gifts.
You can also get creative with them. Try different colors like orange, white, or even pink. Add little touches like a green leaf or swirl to make each one special. If you want, make a full set for your home or a fall party.
Crocheting pumpkin coasters is a great way to practice your skills and enjoy a relaxing hobby. Once you make one, you’ll probably want to make more.
Finished your crochet pumpkins? Try our easy step-by-step pumpkin knitting pattern next. It’s full of tips, ideas, and perfect for fall decorating.