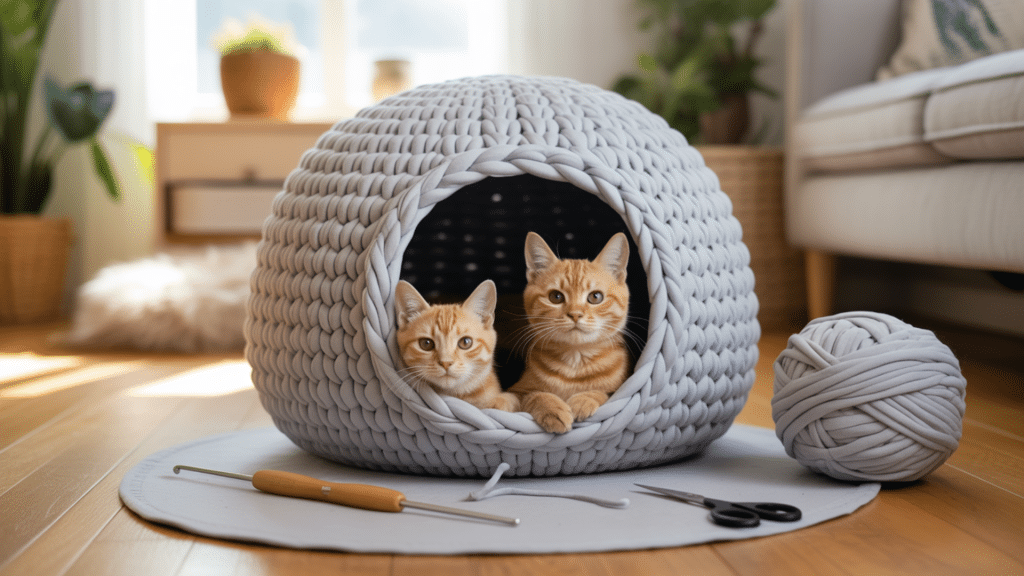
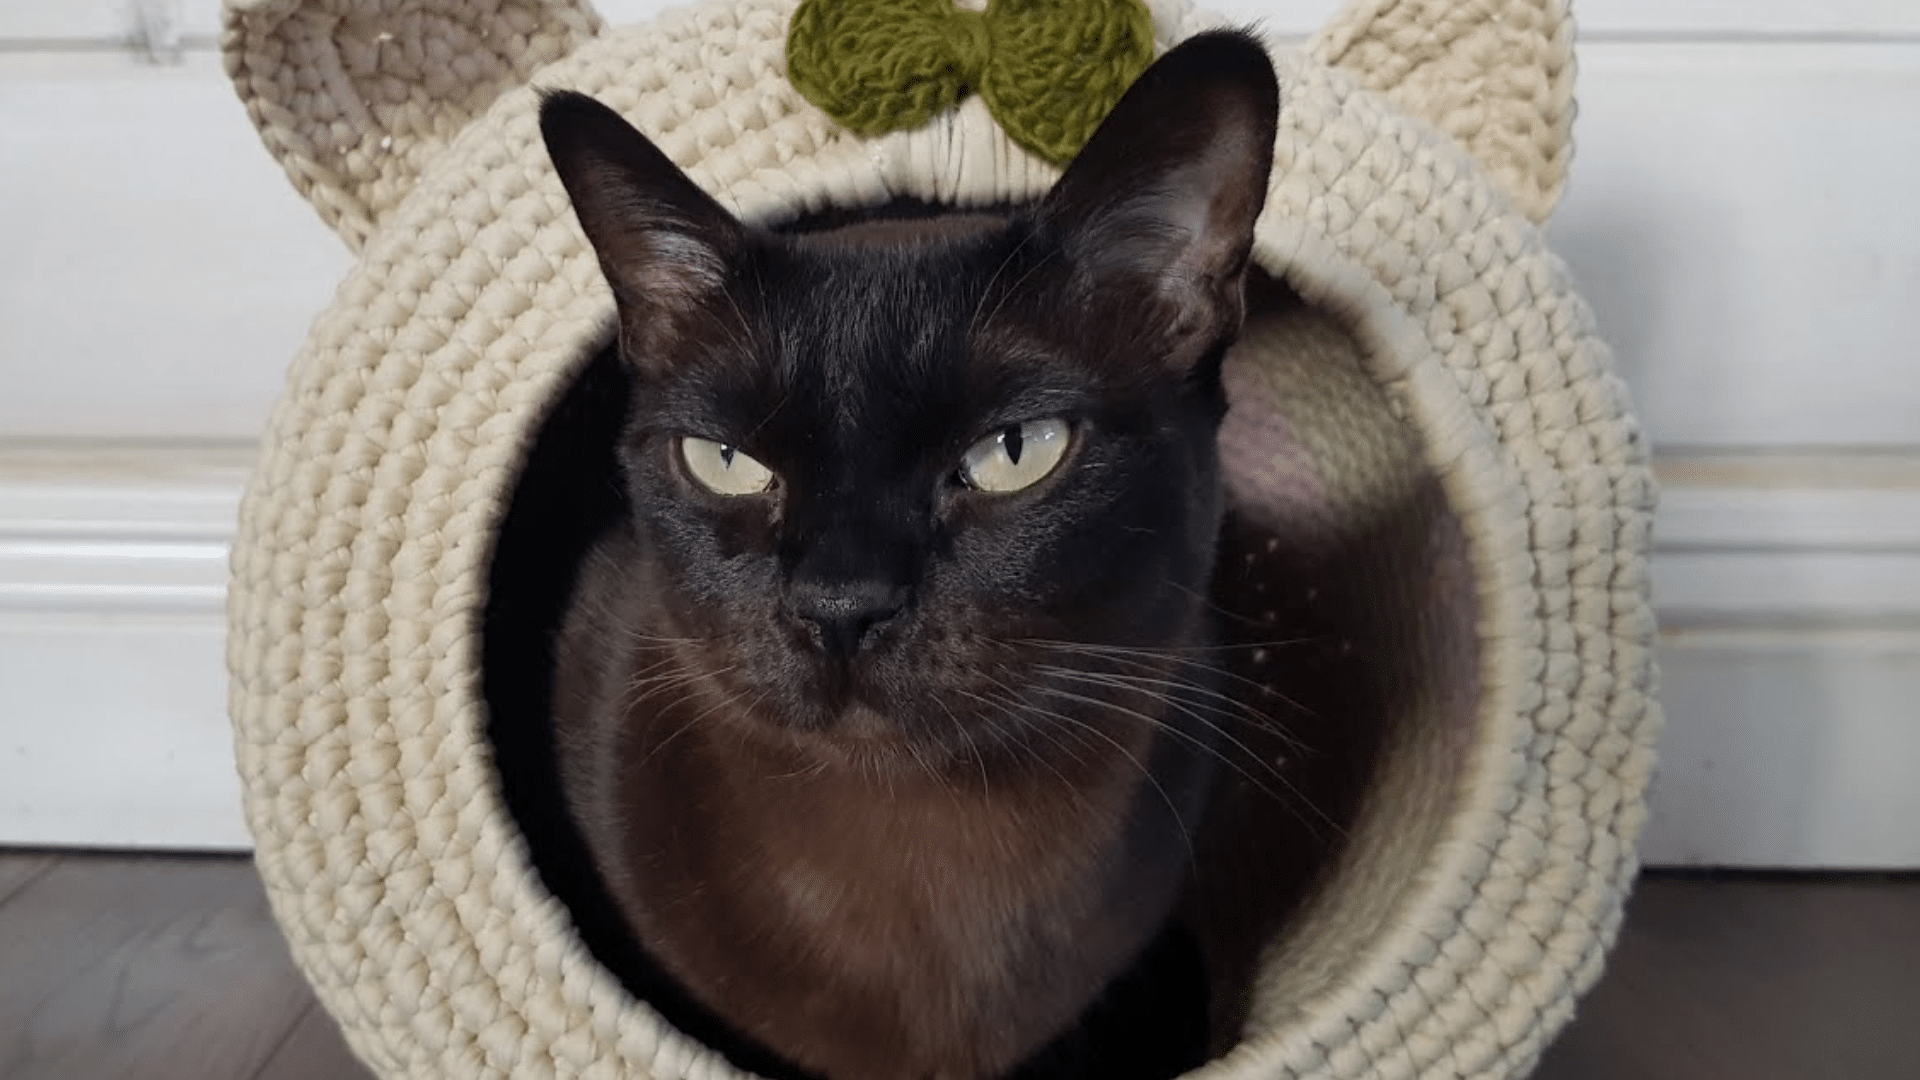
A crochet cat cave is a cozy little hideaway your cat will love. It gives them a soft, safe place to curl up and feel secure, like their own private den.
Most cats enjoy quiet, enclosed spots, and a handmade cave is just right for that.
You don’t have to spend a lot or be an expert to make one. With some thick yarn and basic tools, you can create something warm and special for your cat.
I’ll walk you through the basics, share tips, and point you to easy-to-follow free patterns.
If you want to make something your cat will actually use, you’re in the right place.
I’ll keep it simple and beginner-friendly. Starting a new project can feel tricky, but you’ll learn what to do, what to expect, and how to make it a success.
What is a Crochet Cat Cave Pattern?
A crochet cat cave pattern is a set of simple steps for making a soft, round shelter for your cat using yarn and a crochet hook.
It resembles a small dome or pod. The pattern tells you how to start the base, build the walls, shape the top, and add an entrance.
You follow rows of stitches. Most use single crochet and basic shaping techniques. Some patterns use thick yarn and a large hook so the cave stays firm. Others may suggest t-shirt yarn for extra strength and style.
The pattern also tells you what materials you need, like hook size, yarn type, and tools. It gives you the finished size and tips for making it bigger or smaller. Many cat caves can also be left open to use as a cat bed.
Crochet cat cave patterns are made for comfort and structure. They help your cat feel safe, warm, and tucked in. Most patterns are beginner-friendly, as long as you know a few basic stitches.
Step-by-Step Guide for Crochet Cat Cave Pattern Free
Using thick yarn and straightforward stitches, this project is ideal even if you’re just getting started with crochet.
Materials Needed
To make a sturdy and cozy crochet cat cave, you’ll need a few basic supplies. You don’t have to buy anything fancy, but using the right materials will help your cave hold its shape and last longer.
- Chunky cord or t-shirt yarn
- Crochet hook (appropriate size for your yarn)
- Stitch markers
- Yarn needle
- Scissors
1. Start the Base
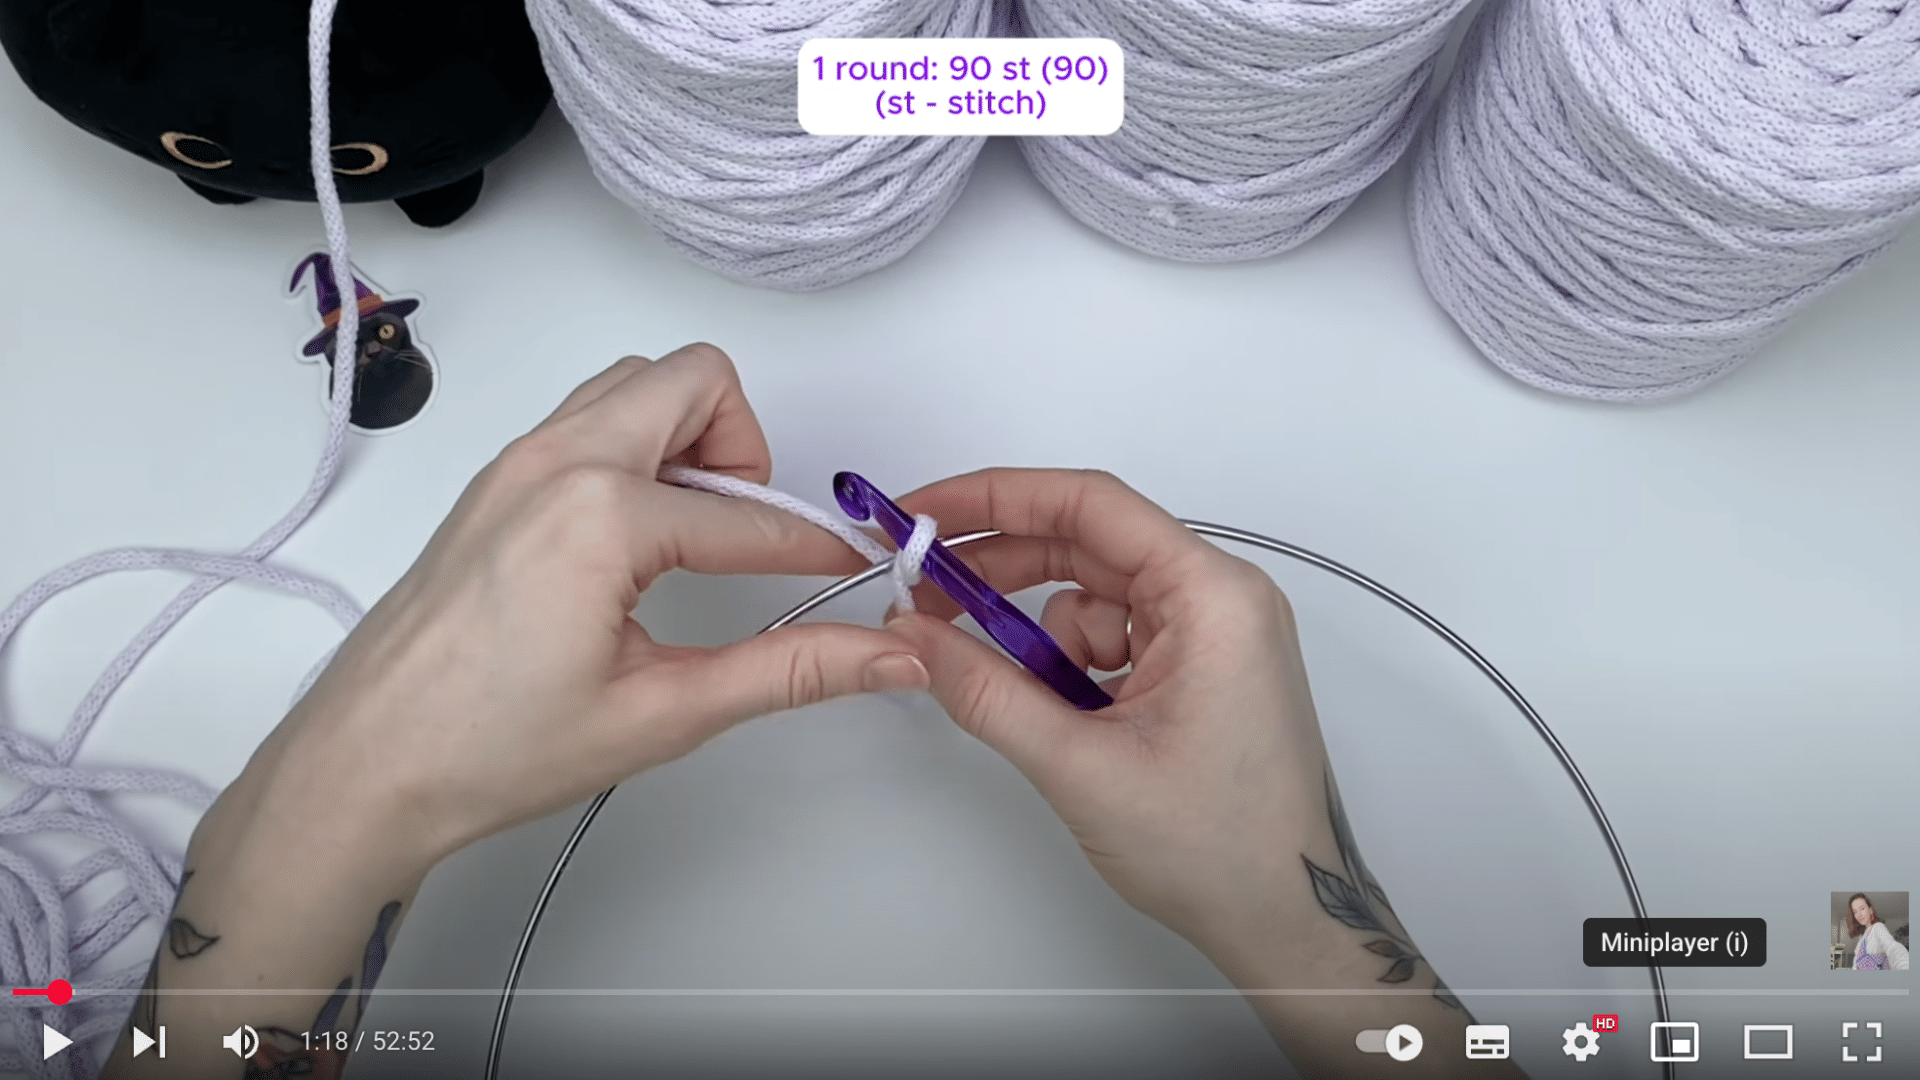
Begin by attaching your yarn to the ring (metal or embroidery hoop).
Fold the yarn, hold it under the ring, and pull a loop through with your hook. Tighten the loop slightly, then crochet over the tail to avoid weaving it in later.
To form the base of your cat cave, you’ll make 90 single crochet stitches around the ring. Place a stitch marker in the first stitch to track your rounds as you work.
2. Crochet in the Round
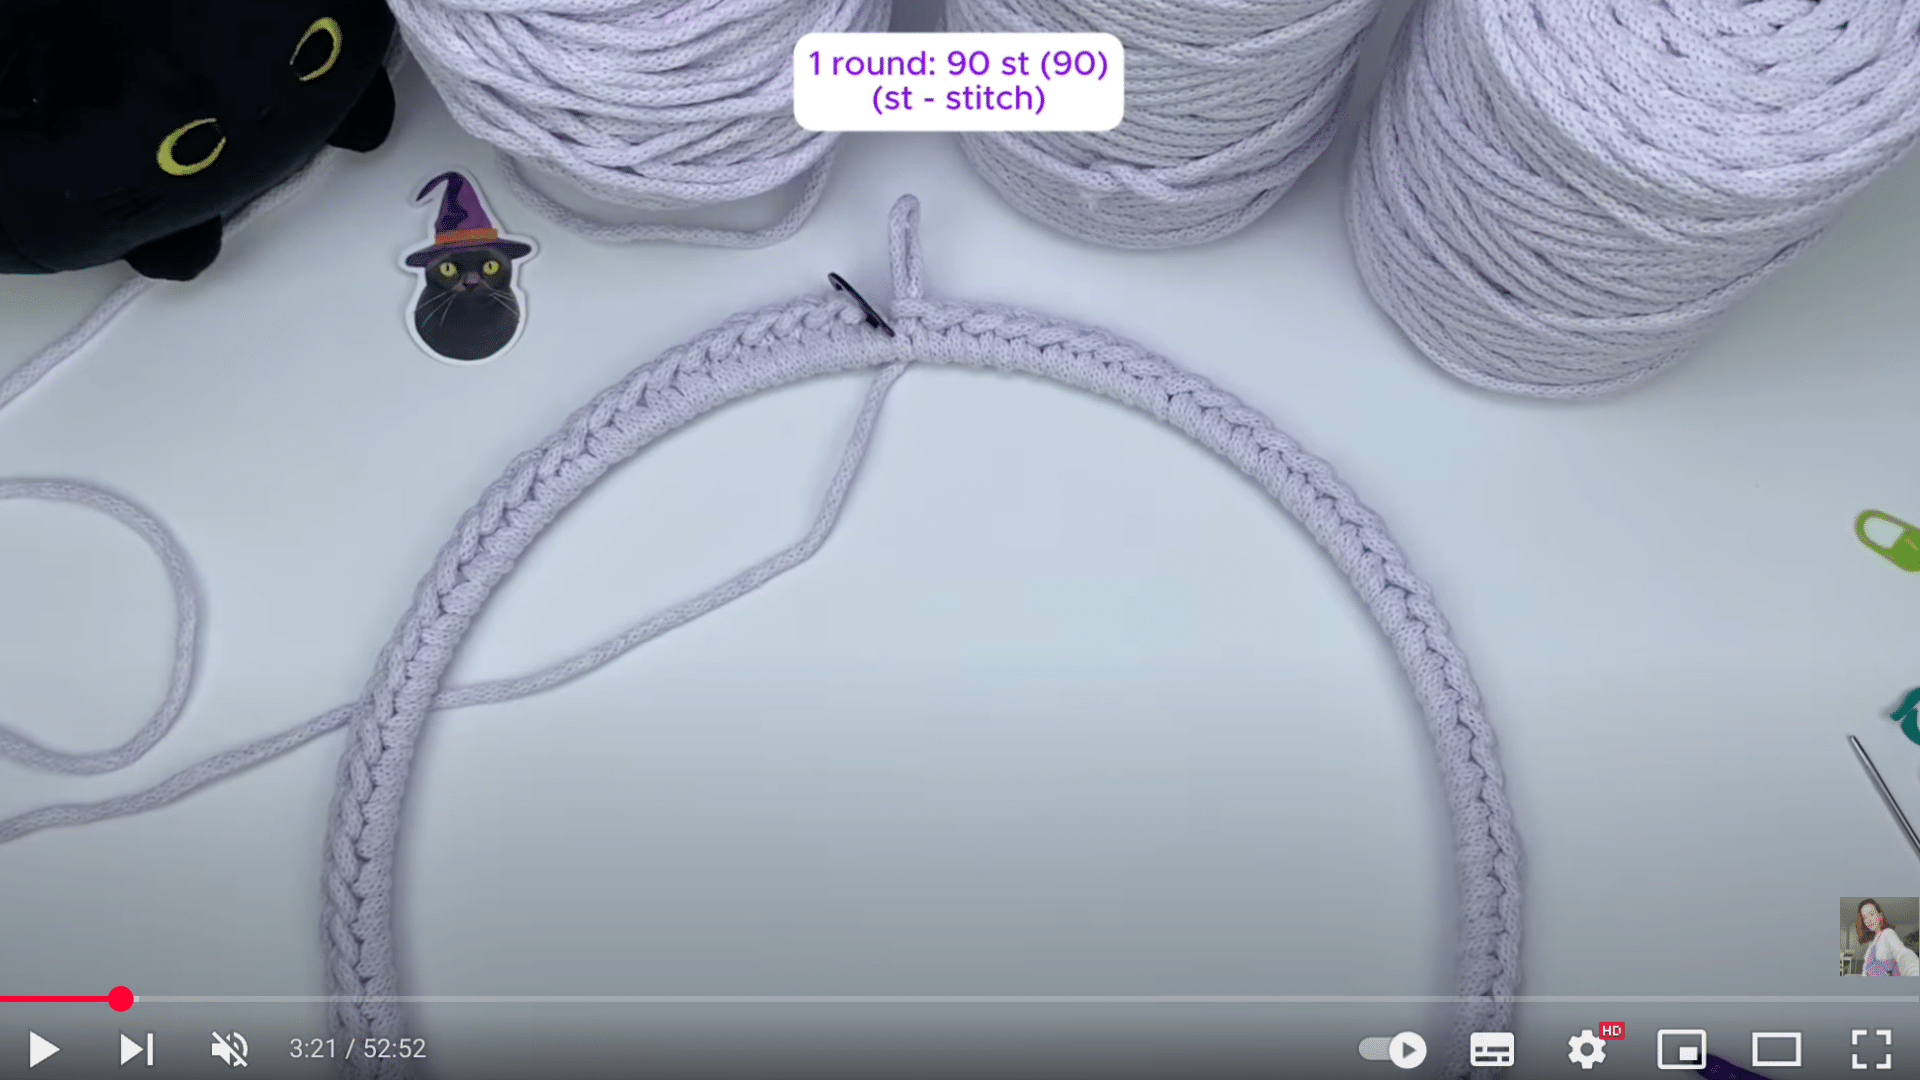
Instead of joining each round with a slip stitch, you’ll work continuously in a spiral. Keep your stitch marker on the first stitch of each round to help you stay on track.
For Round 2, make one single crochet into each stitch from the previous round.
From Round 3 onward, switch to split single crochet (SSC), where the hook is inserted into the middle of the “V” of each stitch. This gives a knit-like look and a sturdy fabric.
3. Add Increases for Shape
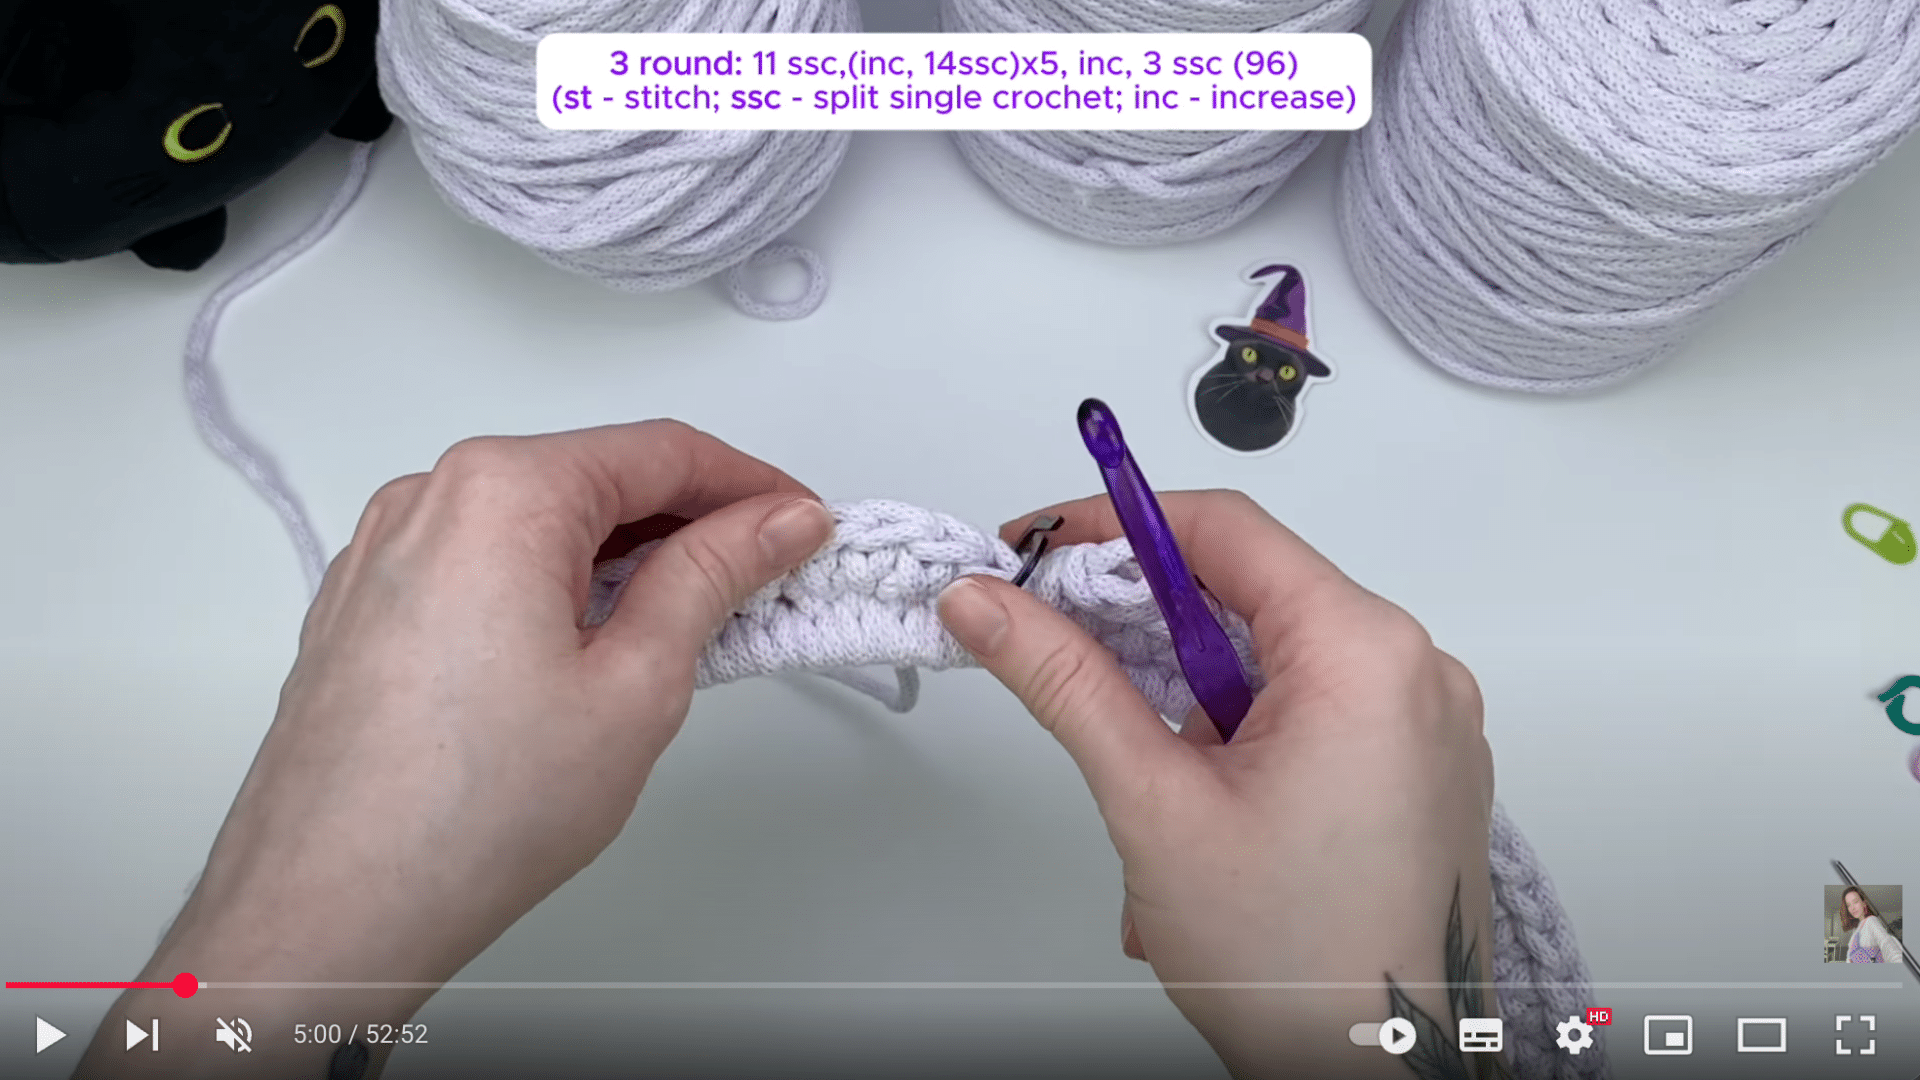
To give your cave its rounded shape, you’ll add increases evenly spaced around the circle. Place six stitch markers around your work to mark where to increase.
In Round 3, make six increases – one at each marked point – to bring your stitch total to 96.
Alternate rounds with rounds of no increases to keep the structure balanced. For instance, Round 4 has no increases, while Round 5 adds six more. Continue until Round 7, ending with 108 stitches total.
4. Join a New Cord (if needed)
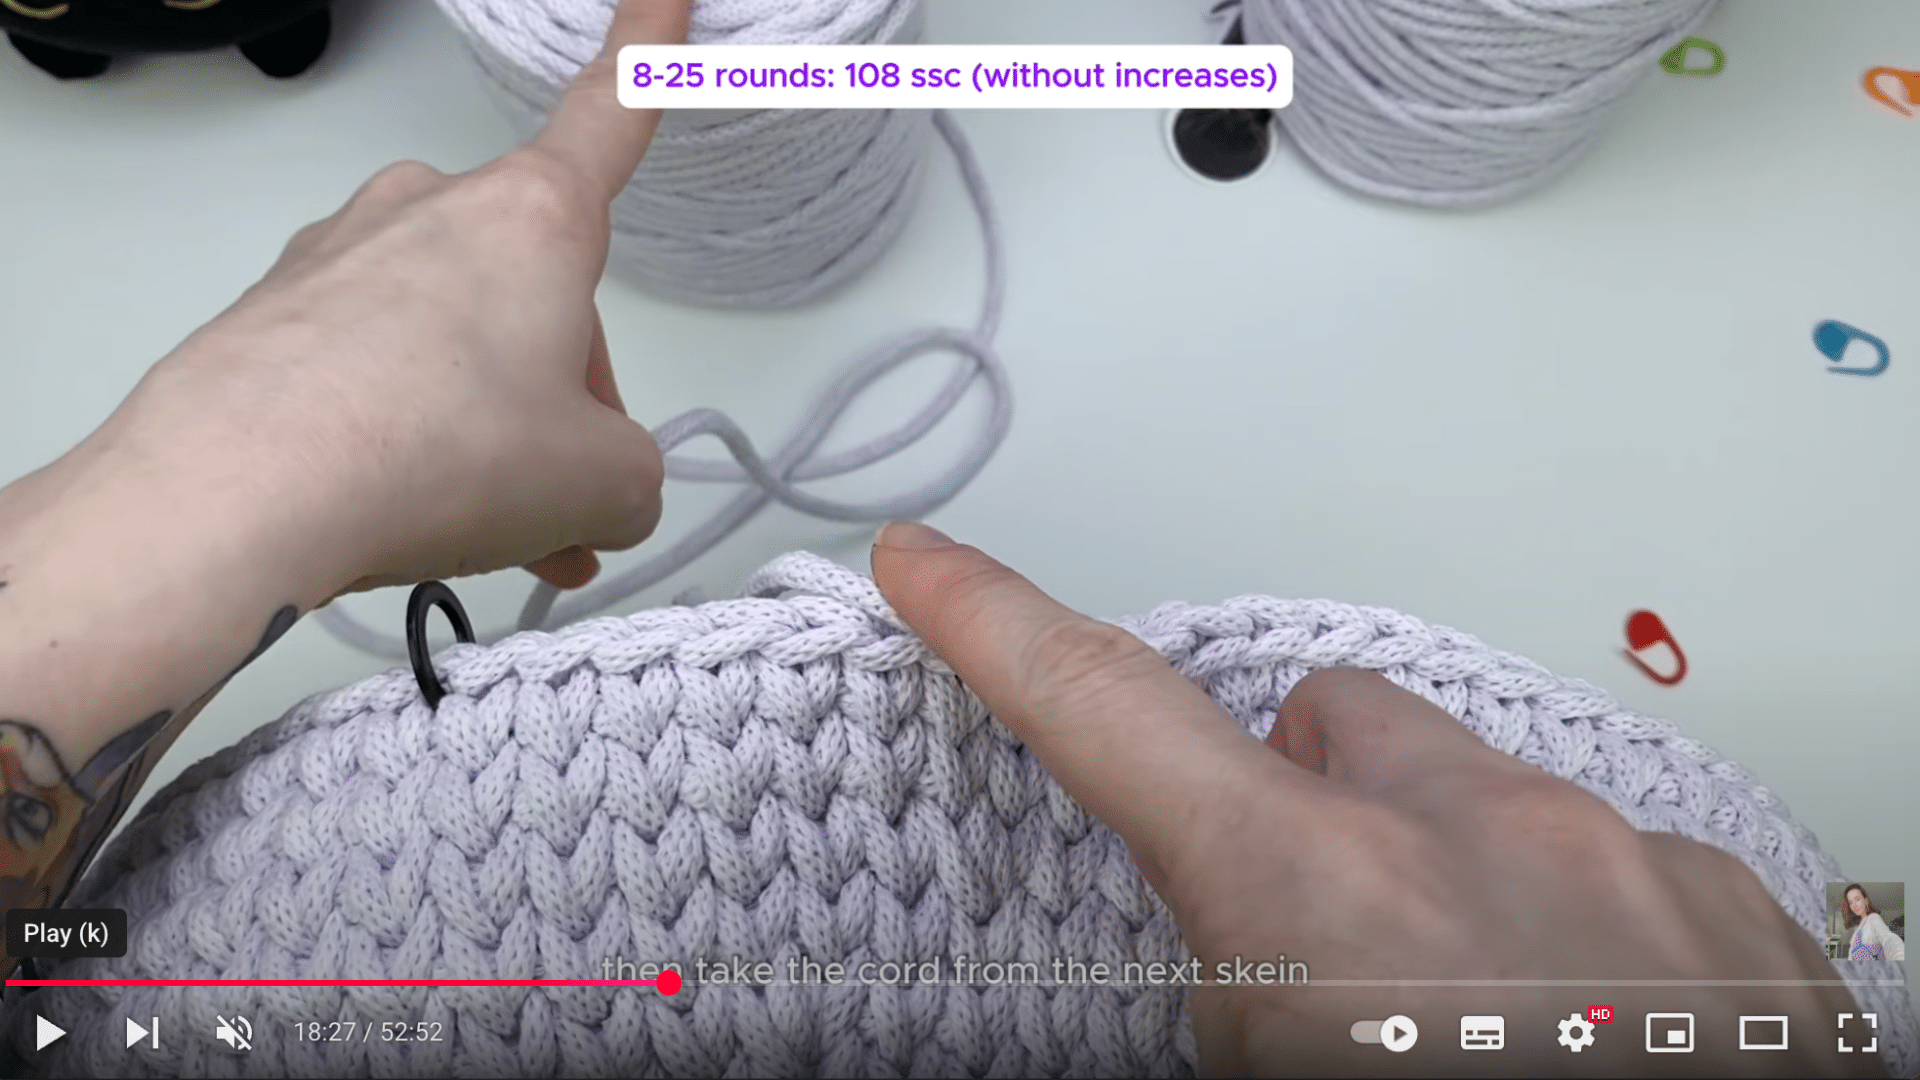
Are you running out of yarn? No worries. Insert your hook as usual, then grab the new cord and pull it through. Tie the tails securely and crochet over them to hide the join.
This method smooths the transition and keeps your work looking clean. It’s a handy trick that prevents you from having to sew in too many ends later.
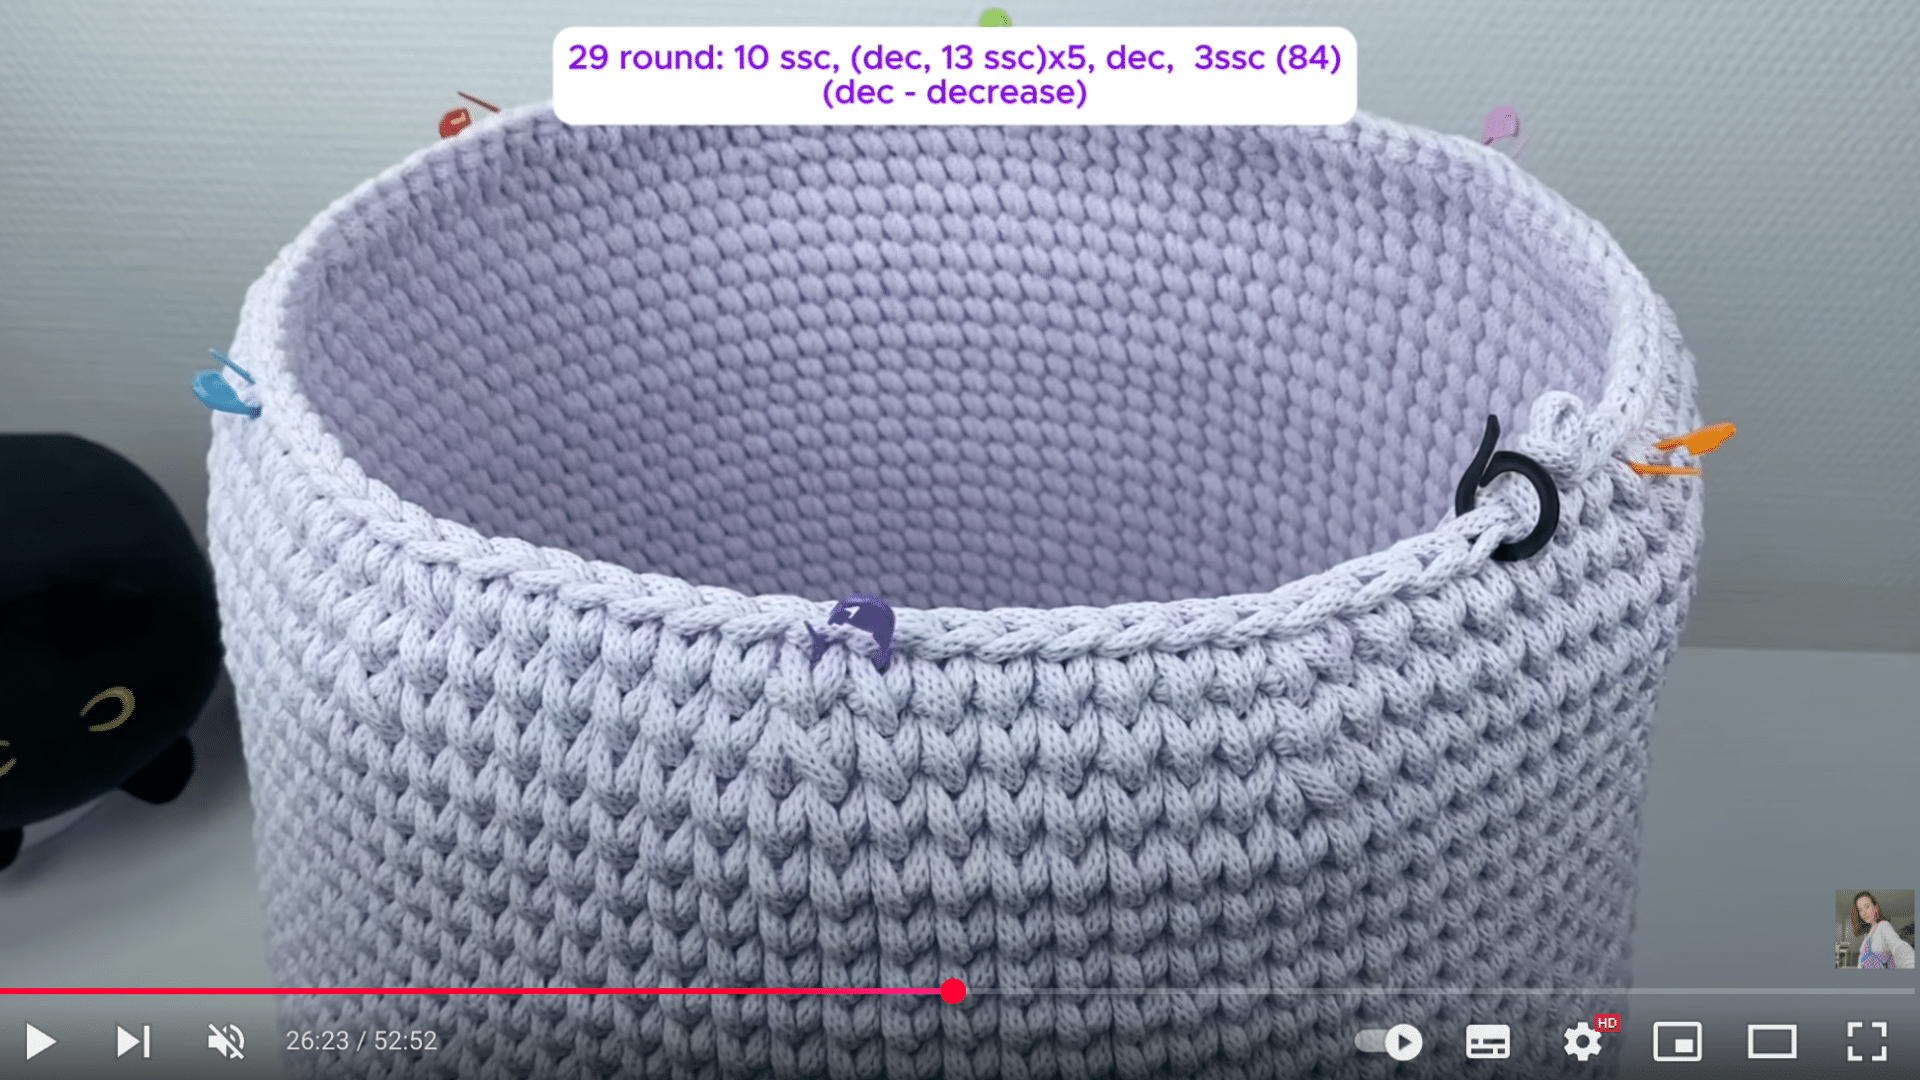
5. Begin Decreasing

Once your cave is tall enough, it’s time to shape the top by decreasing. Start placing markers in pairs around the round where you’ll be making your decreases.
You’ll crochet several stitches (starting with 16) between each decrease.
To decrease, insert your hook into two stitches, pull up a loop in both, and then pull through all loops on the hook. Repeat this pattern around to create a dome shape.
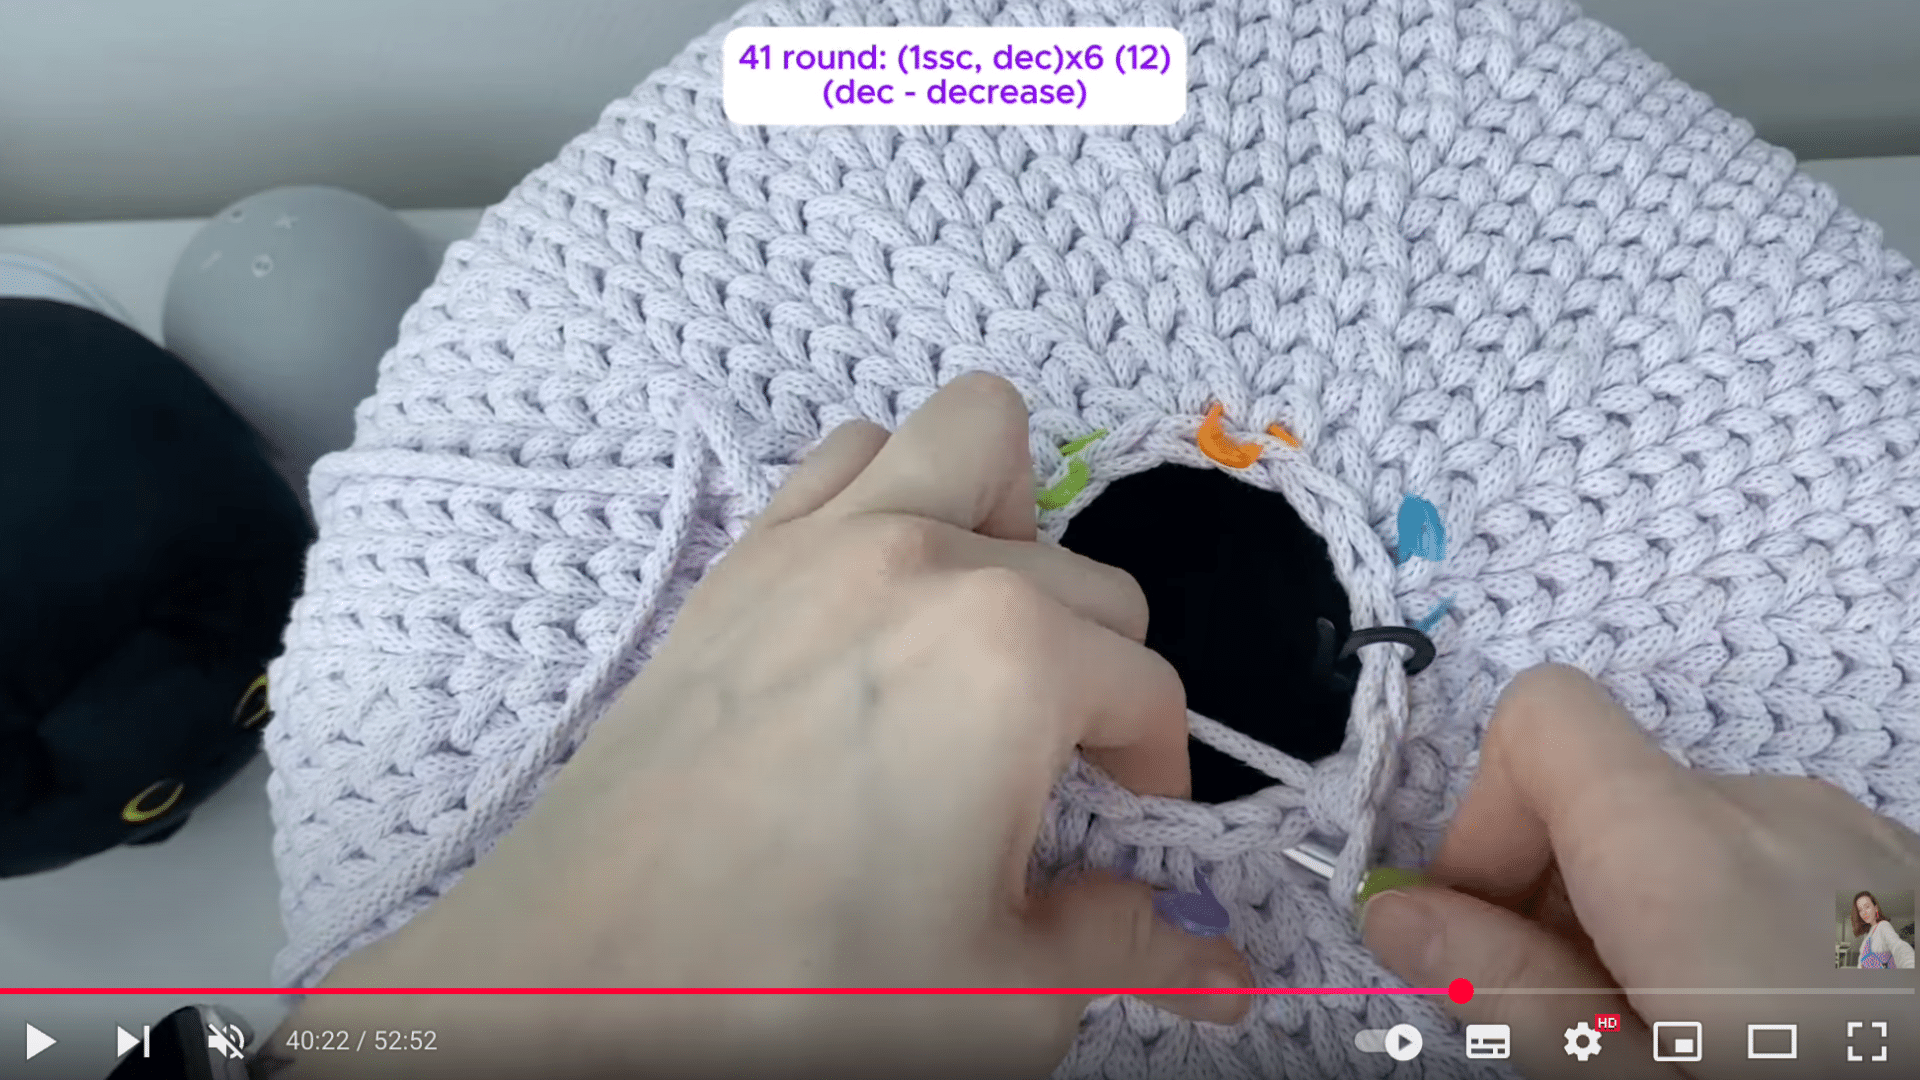
6. Repeat Decrease Rounds
With each new round, reduce the number of stitches between your decreases, going from 16 down to just 1. This gradual tapering is what closes the top of your cat cave and gives it that snug, enclosed feel.
Be sure to re-position your markers in every round so you always know exactly where each decrease should go. The result is a clean and smooth narrowing that still feels roomy for your pet.
7. Final Decrease Round
When you’re down to just one stitch between each marked decrease, it’s time to close up the top.
Do six decreases evenly spaced around the round, one right after the other. Leave a long tail, pull it through the last loop, and secure it tightly.
This locks everything in place and marks the end of the main structure. Weave the tail through the back loops to create a neat finish and hide the end.
8. Finish the Edge
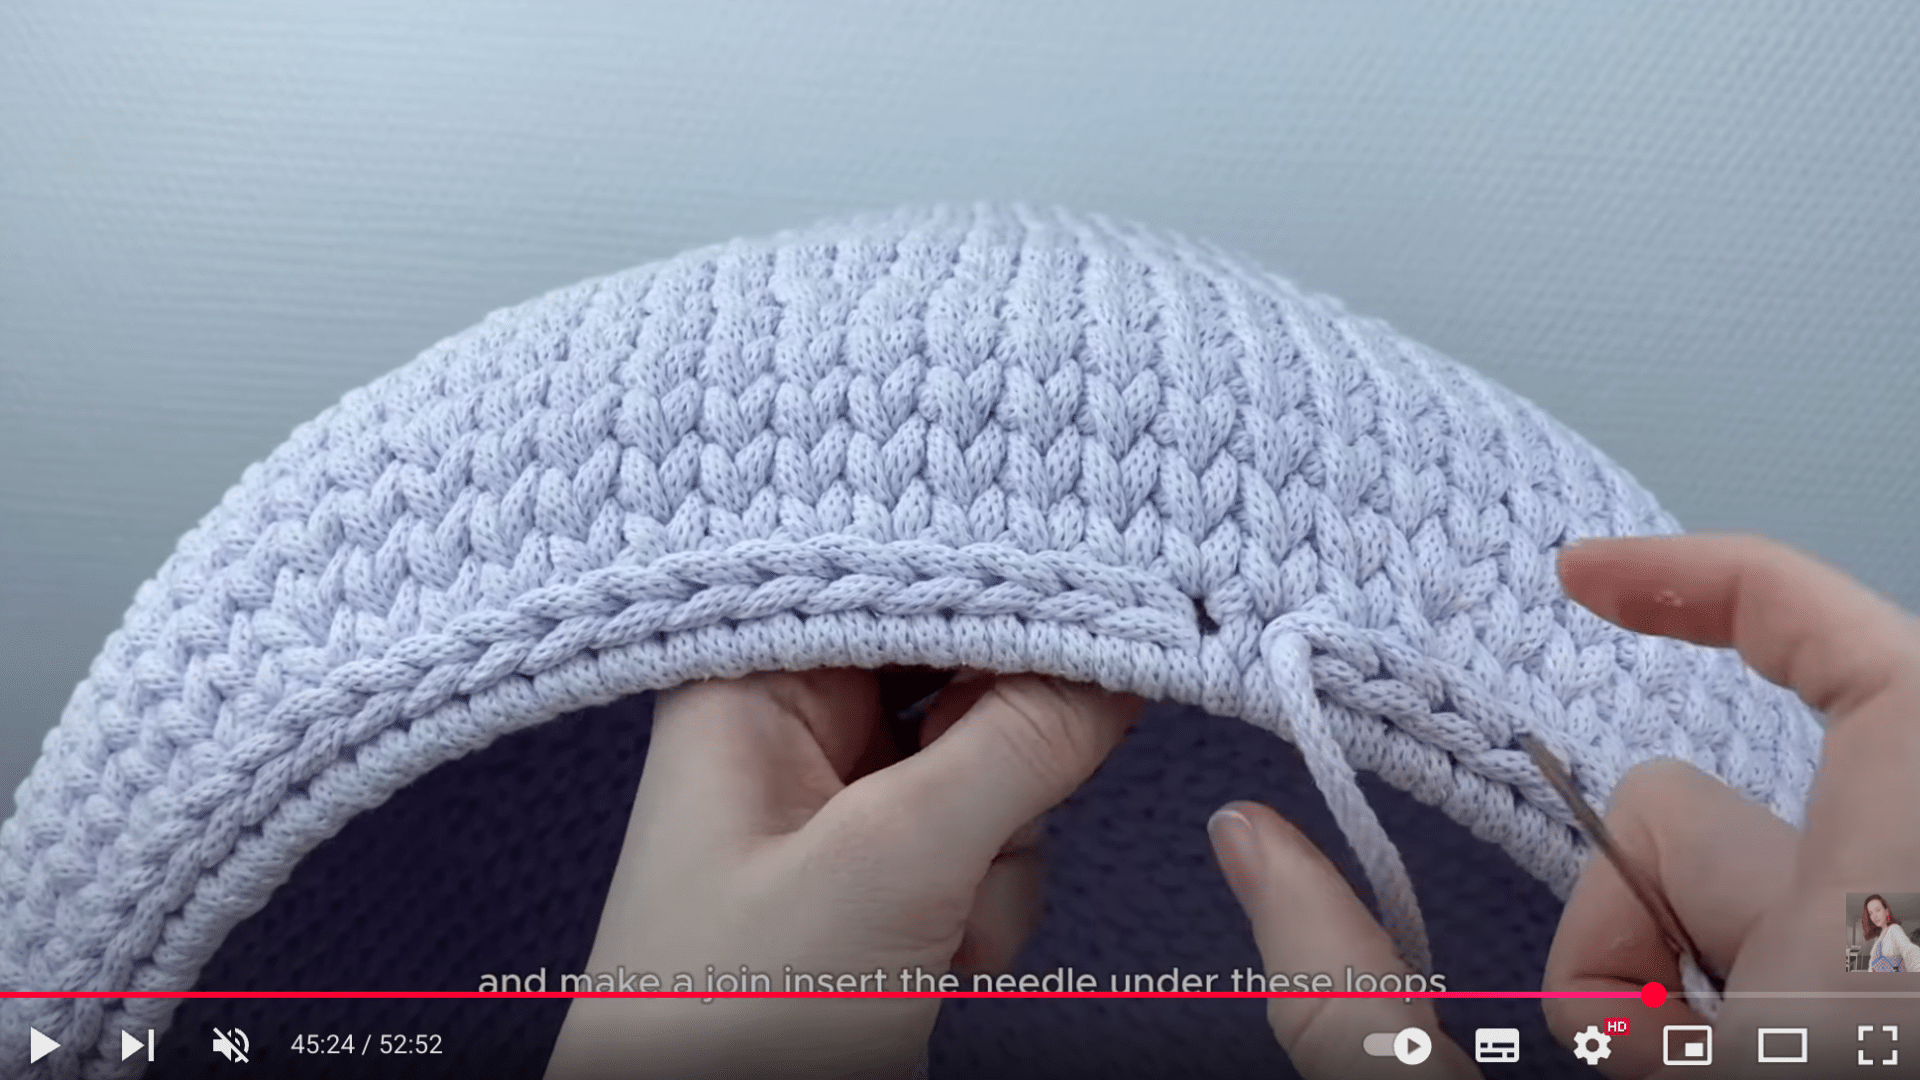
To neaten the final edge of your work, crochet a round of slip stitches. Insert the hook into the next stitch, yarn over, and pull through both loops on the hook.
This decorative edging adds polish and structure to your finished cave.
When you reach the end, fasten off and use a yarn needle to join the final stitch seamlessly with the previous round. Weave in all remaining tails to secure your work.
9. Crochet the Ears
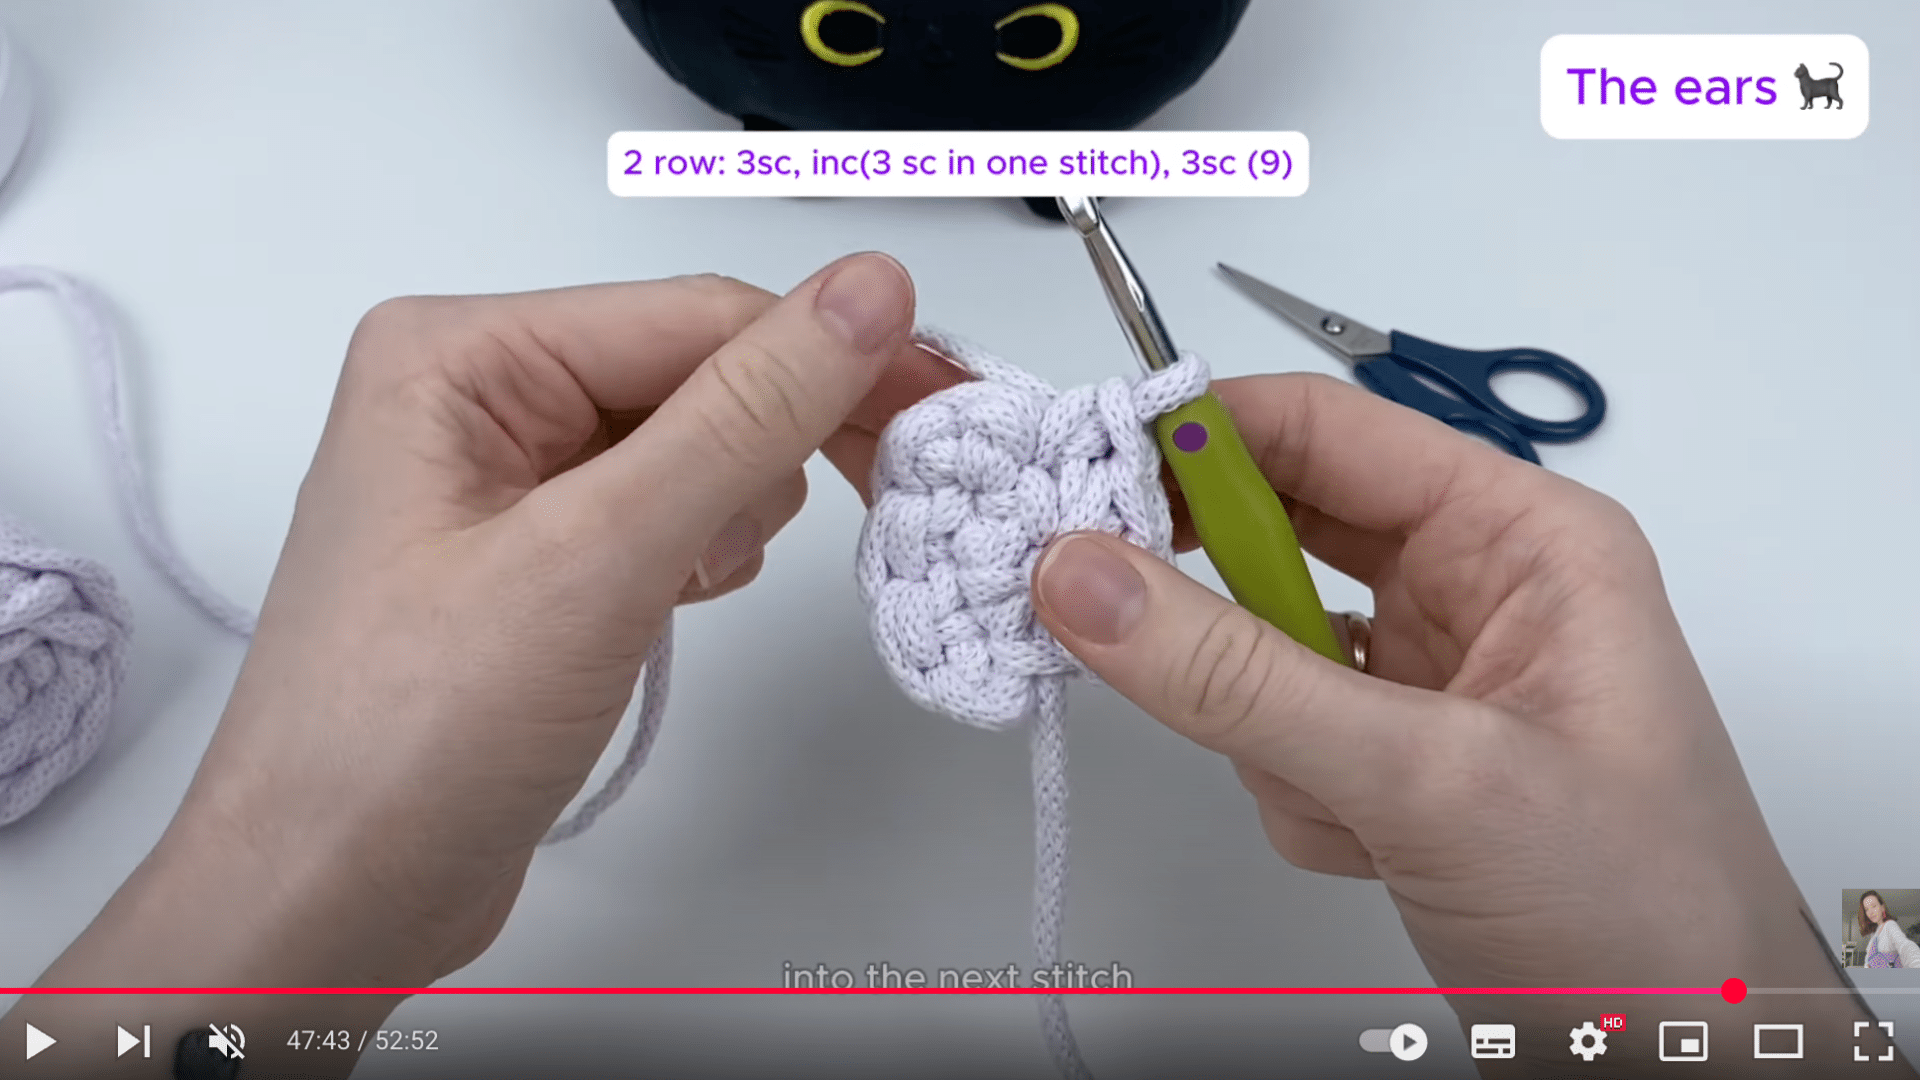
The ears add a playful, cat-like touch. Start by chaining 4, then crochet into the back bumps starting from the second chain.
Work your way through 5 increasing rows, adding a stitch or two each time to shape the ear. For example, in Row 5, you’ll make an increase by adding three single crochets in one stitch.
When finished, leave a long tail for sewing and pull it through the final loop to fasten off.
10. Attach the Ears
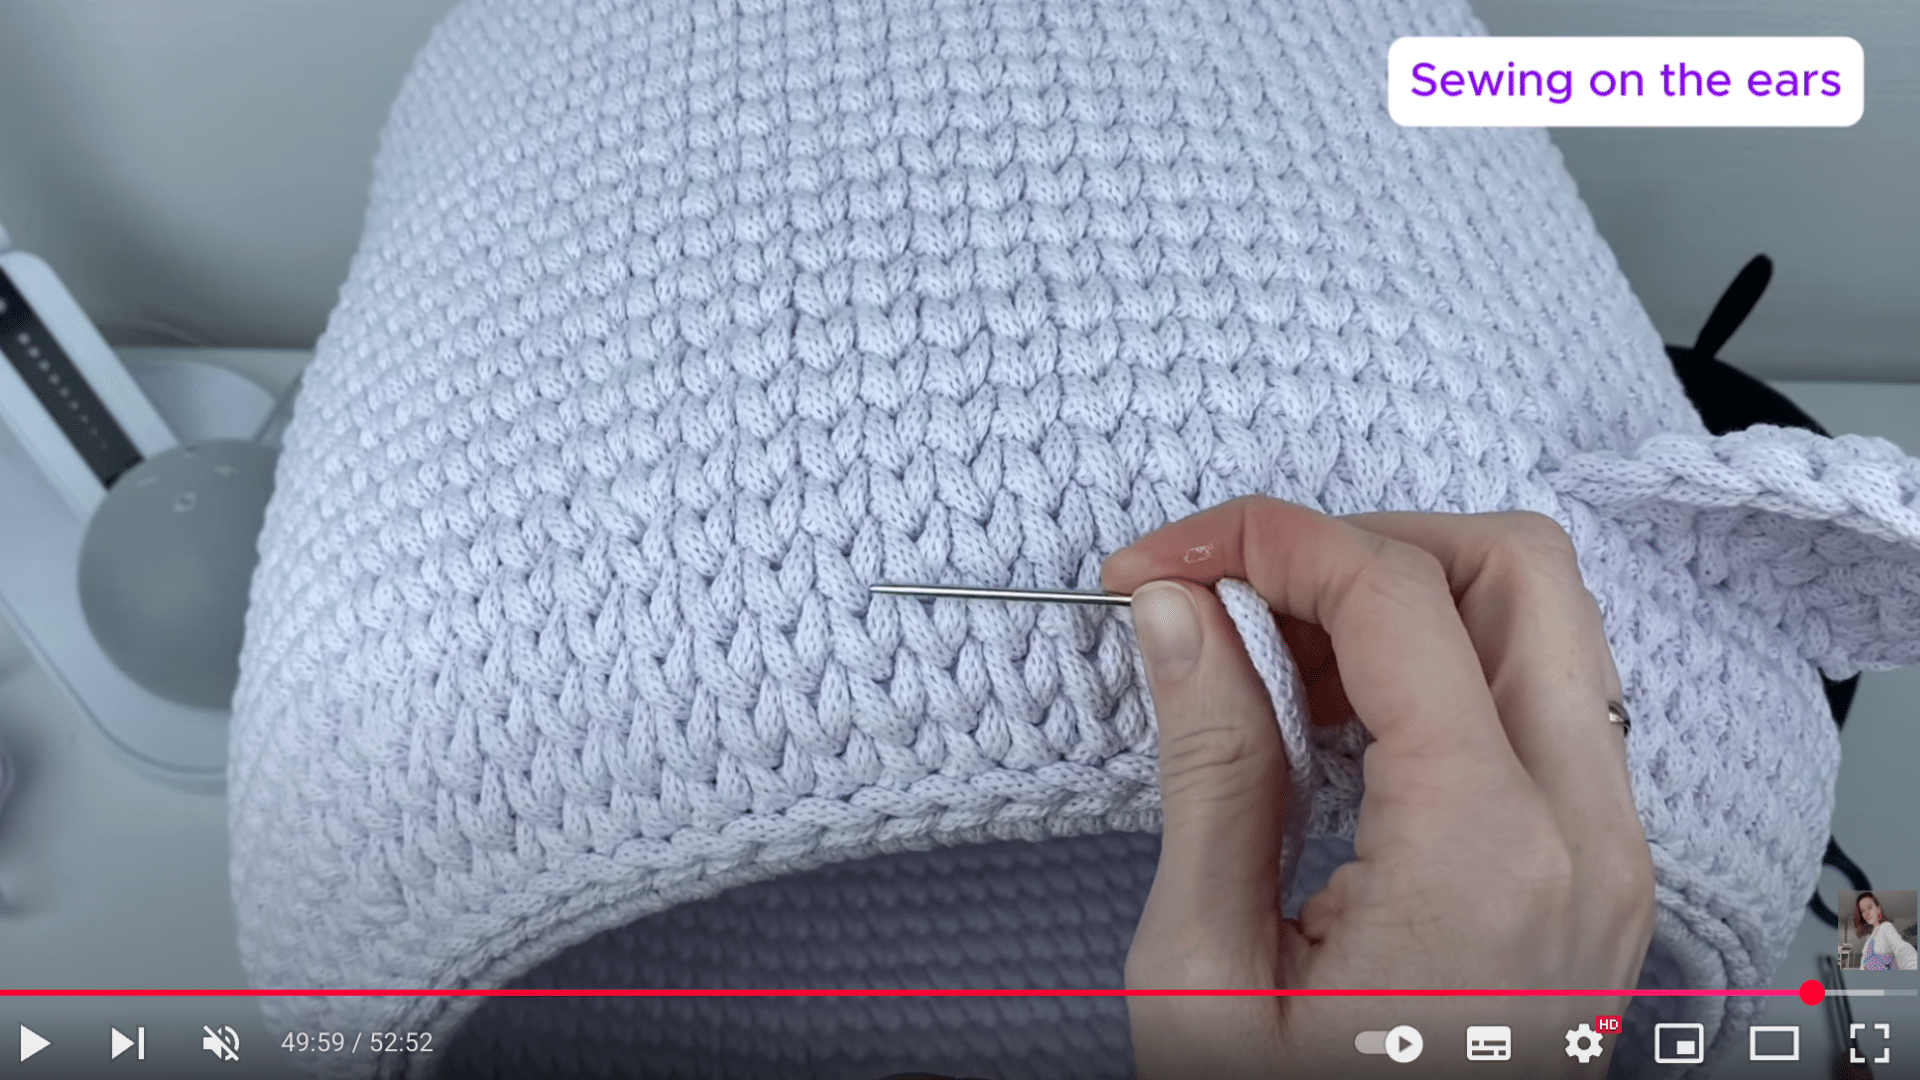
Find the top of your cat cave and count about five rounds down. That’s where you’ll sew the ears. Attach them between rounds 5 and 6, using a yarn needle and the tail you left earlier.
Make small, tight stitches to secure each ear firmly. After the second ear is attached, weave in all the ends and give your cave one final shape-up – your cozy cat home is ready!
If you prefer learning through visuals or are curious about more of Julia’s crochet patterns.
If you’re beginning a new project or looking for fresh ideas, her videos provide clear instructions and a creative touch to keep you engaged. You can watch the original video here.
Tips for Crocheting a Cat Cave
Making a crochet cat cave is fun, but a few smart tips can help it turn out just right. These small details make a big difference in comfort, shape, and appearance.
- Gauge Matters: Before starting the full pattern, make a small test swatch to check your gauge. This helps ensure your finished cave isn’t too small or too loose. If your stitches are too tight or too loose, try changing your hook size until it matches the pattern’s gauge.
- Maintain Structure: A cat cave needs to stand up and hold its shape, especially if your cat loves to climb in and out often. Use stiff yarn, such as t-shirt yarn or bulky wool blends. You can also add support materials.
- Customize: Personalize your cave by adding fun features like ears, a tail, or even a little pom-pom. Pick yarn colors that go with your home so the cave blends in with your space. A little detail goes a long way in making the cave both cute and functional.
Conclusion
Crocheting a cat cave is a rewarding project that combines creativity with care for your pet.
With just a few materials and simple stitches, you can create a cozy, durable space your cat will love.
This handmade hideaway not only adds charm to your home but also gives your cat a sense of comfort and security.
I’ve found that taking the time to follow each step carefully, especially the shaping and finishing, makes a big difference in how the final cave turns out.
If you’re a beginner or just looking for a fun weekend project, making a crochet cat cave is both doable and deeply satisfying.