Knitting a baby hat is one of my favorite small projects. It’s quick, simple, and makes a thoughtful gift.
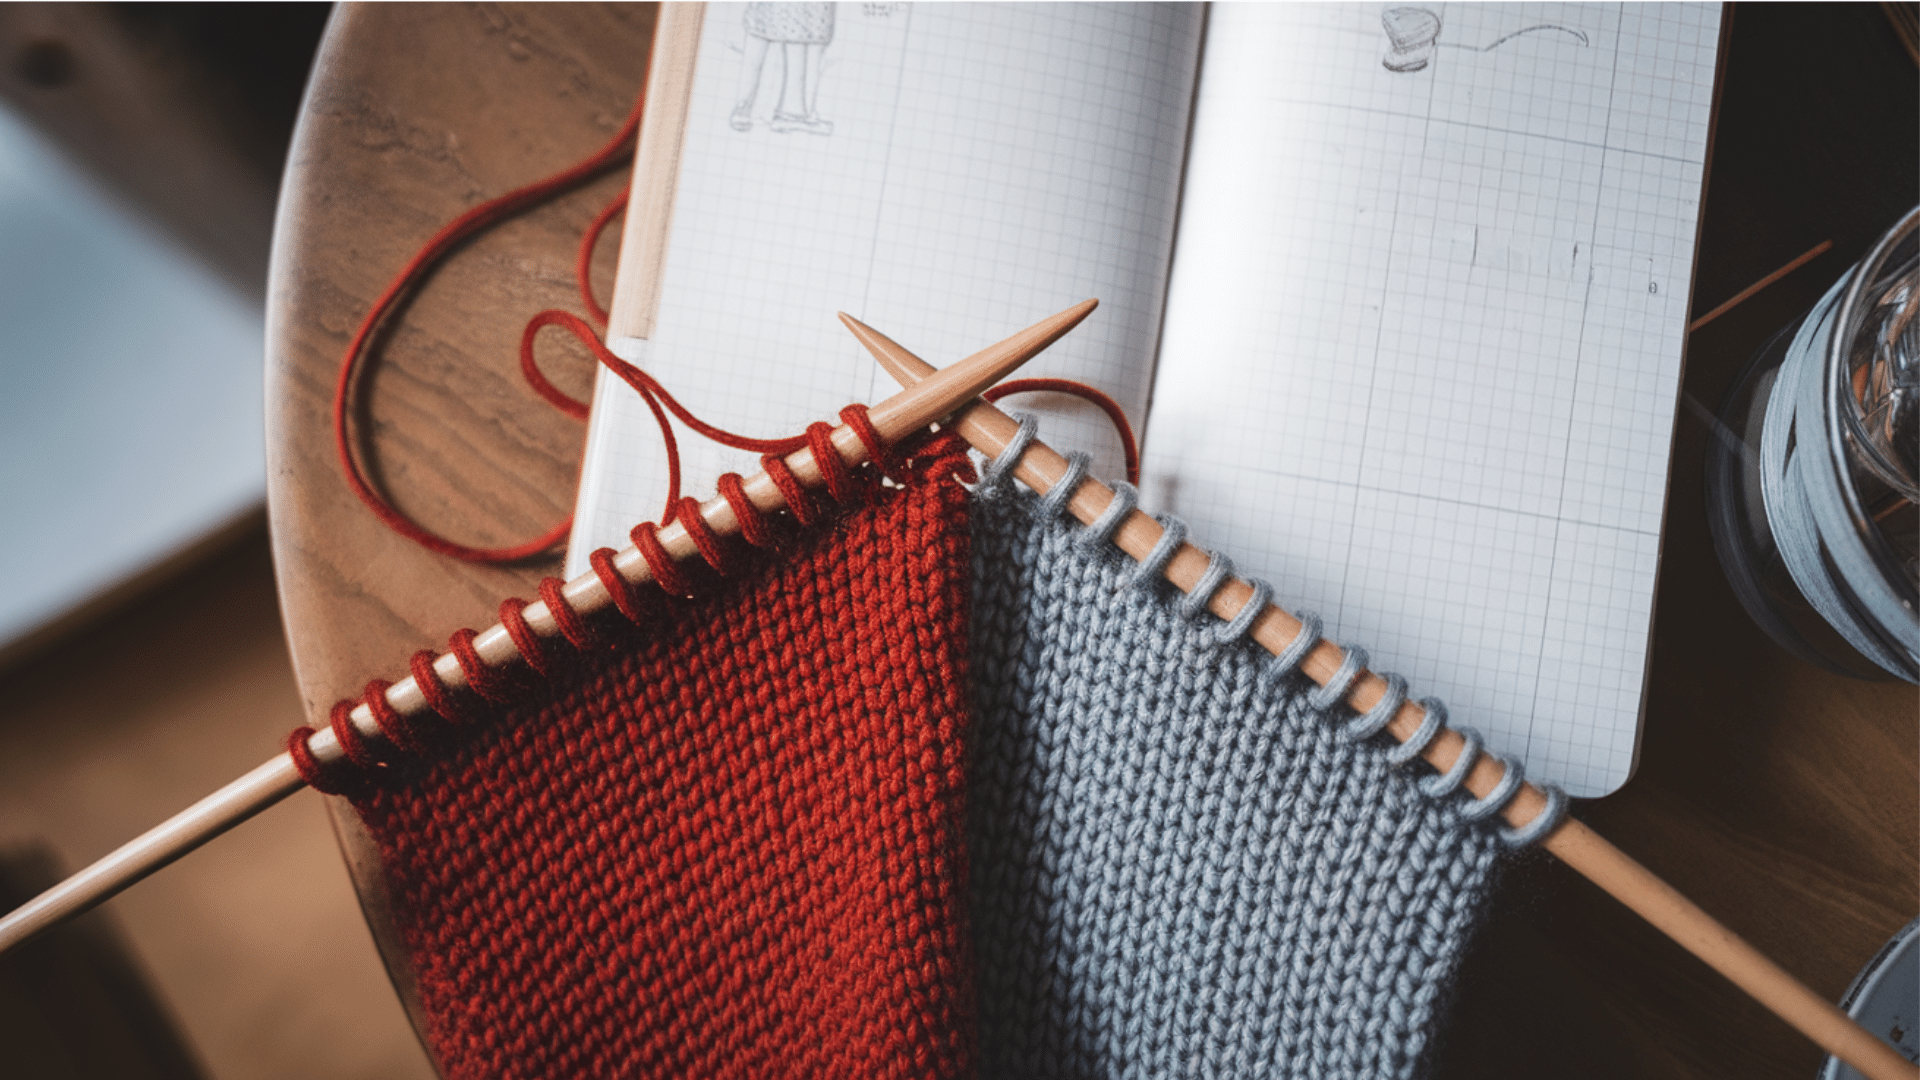
If you have 4mm needles and some soft yarn, you’re already off to a great start. I love using this size because it creates a cozy texture without being too tight or too loose.
In this guide, I’ll walk you through each step to make a basic baby hat. You don’t need any fancy tools or advanced skills, just a little time and a few easy stitches.
I’ll also go over casting on, knitting the body, shaping the crown, and finishing it off.
By the end, you’ll have a warm, handmade hat that’s perfect for little heads. Let’s get started and make something sweet and special.
Why 4mm Needles are Ideal?
4mm knitting needles are ideal for baby hats because they offer a nice balance between flexibility and firmness. When I use 4mm needles with DK or light worsted yarn, the fabric comes out soft but still holds its shape.
This size lets you create a snug, gentle stretch that’s perfect for a baby’s delicate head.
The stitches look neat and even, and the hat feels cozy without being bulky.
It’s also a great size for beginners; it’s easy to handle and gives predictable results. If you’re starting a baby project, 4mm needles are a reliable and versatile choice.
I’ve found that hats made with 4mm needles fit comfortably and don’t lose shape after washing. It’s my go-to size for most baby patterns.
Understanding Pattern Abbreviations
Before you begin, it helps to know the abbreviations used in patterns:
- K = Knit
- P = Purl
- K2tog = Knit two together (a decrease)
- CO = Cast on
- BO = Bind off
These terms are common and appear often, so it’s helpful to review them as you knit.
Essential Tools and Supplies
To knit one baby hat, you’ll need the following:
- 4mm knitting needles (circular, double-pointed, or straight)
- Baby yarn (around 50g; DK or light worsted weight)
- Yarn or tapestry needle for weaving in ends
- Stitch markers to help with evenly decreasing
- Scissors
- Measuring tape
These tools will support you through every part of the process and can be used again for future projects.
How to Knit a Baby Hat
Learn to knit a cozy, adorable baby hat step-by-step, perfect for beginners and heartfelt handmade gifts.
Step 1: Cast On and Gather Materials
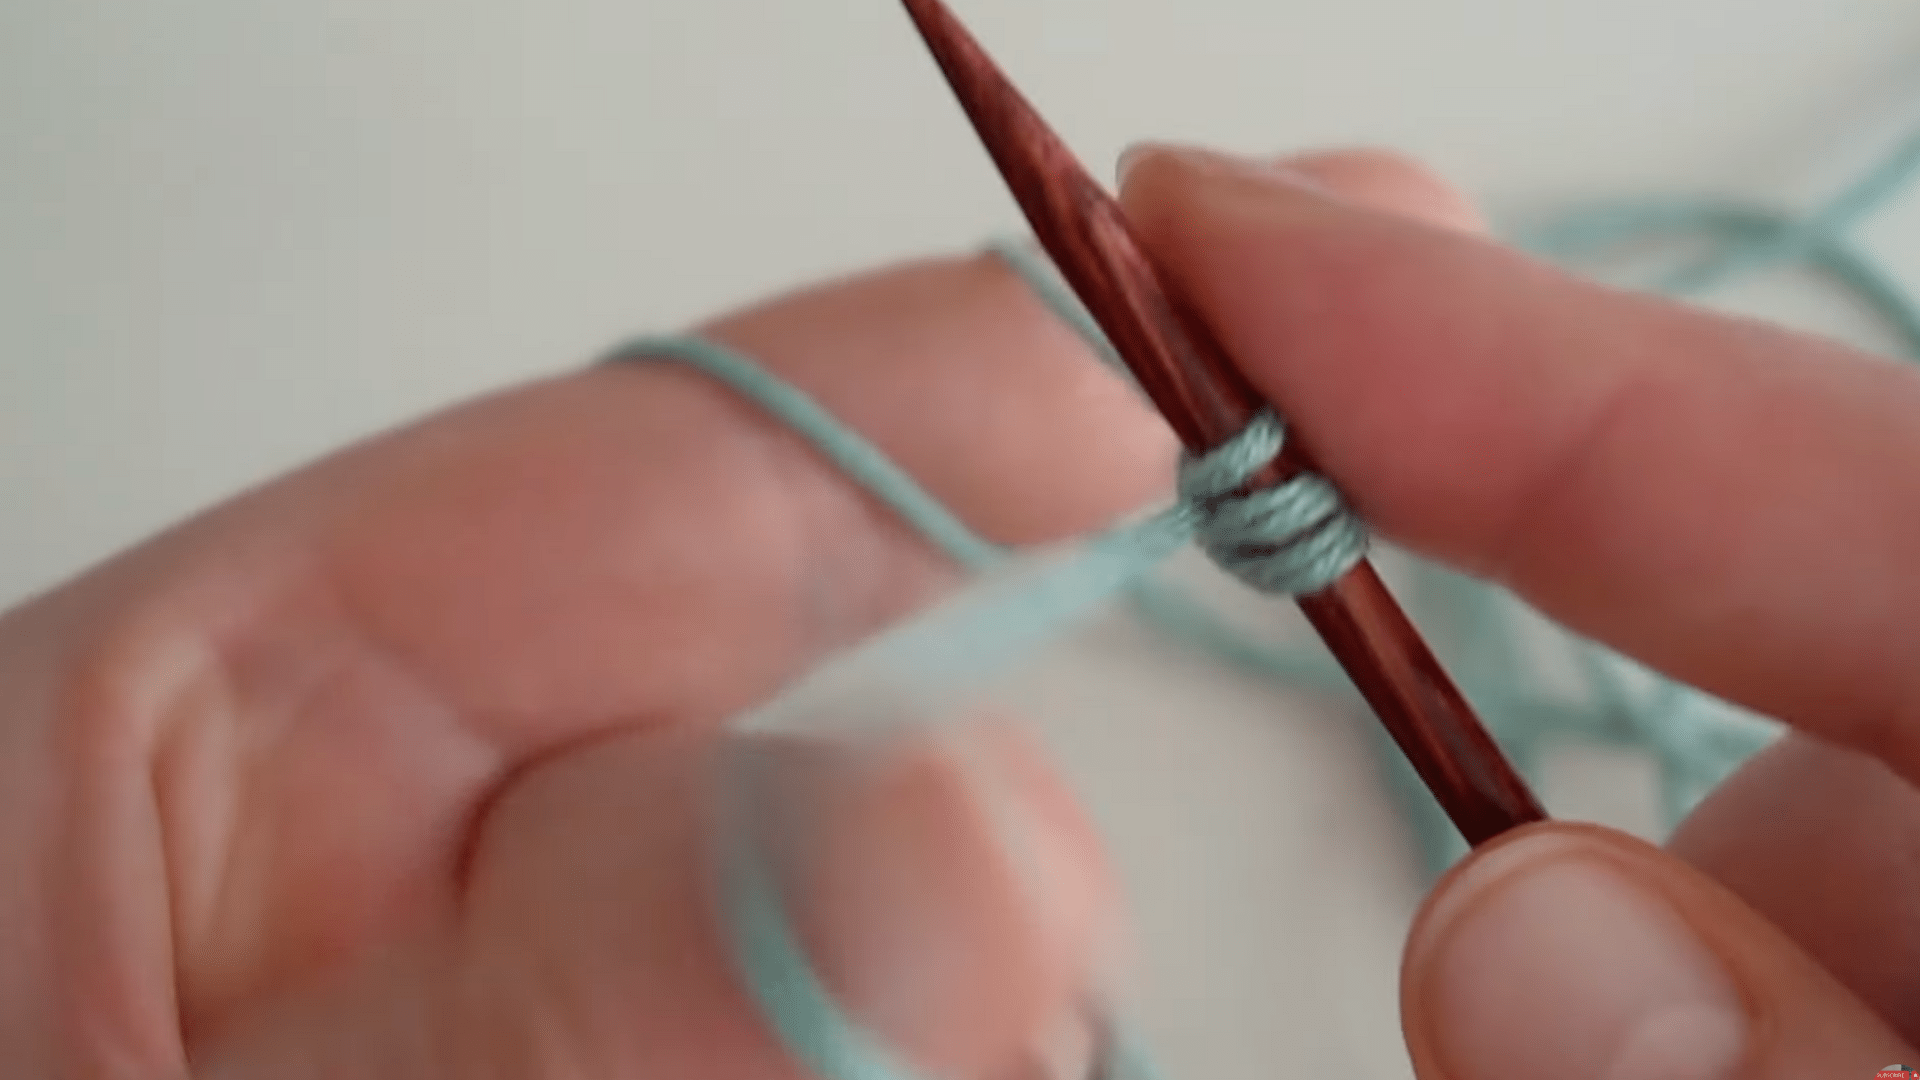
To begin, gather your materials: soft baby yarn, 4mm straight needles (US size 8), and scissors for a 3–6-month-old baby. Cast on 42 stitches using the long-tail cast-on method.
This cast-on creates a stretchy, flexible edge that’s perfect for little heads.
Once you have your stitches on the needle, you’re ready to start knitting your rectangle. It’s a comforting, beginner-friendly setup that sets the stage for a cozy handmade hat.
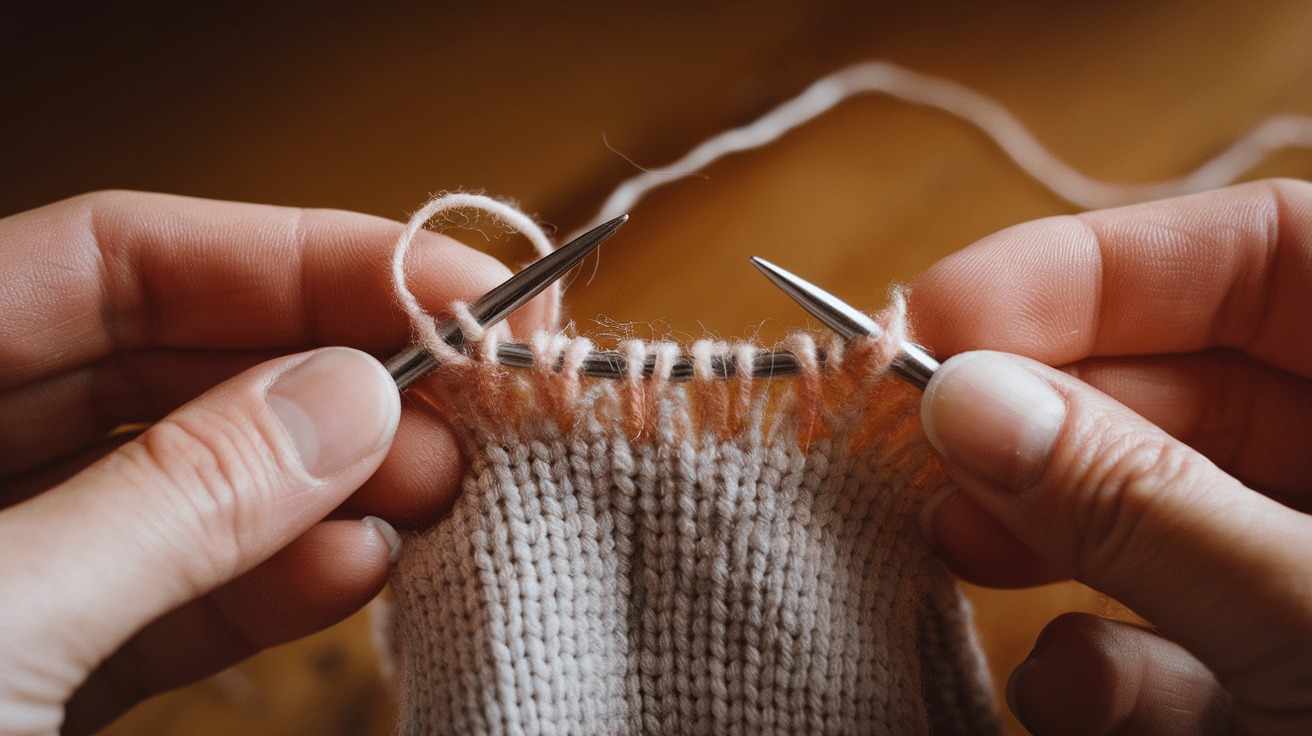
Step 2: Knit the Rectangle
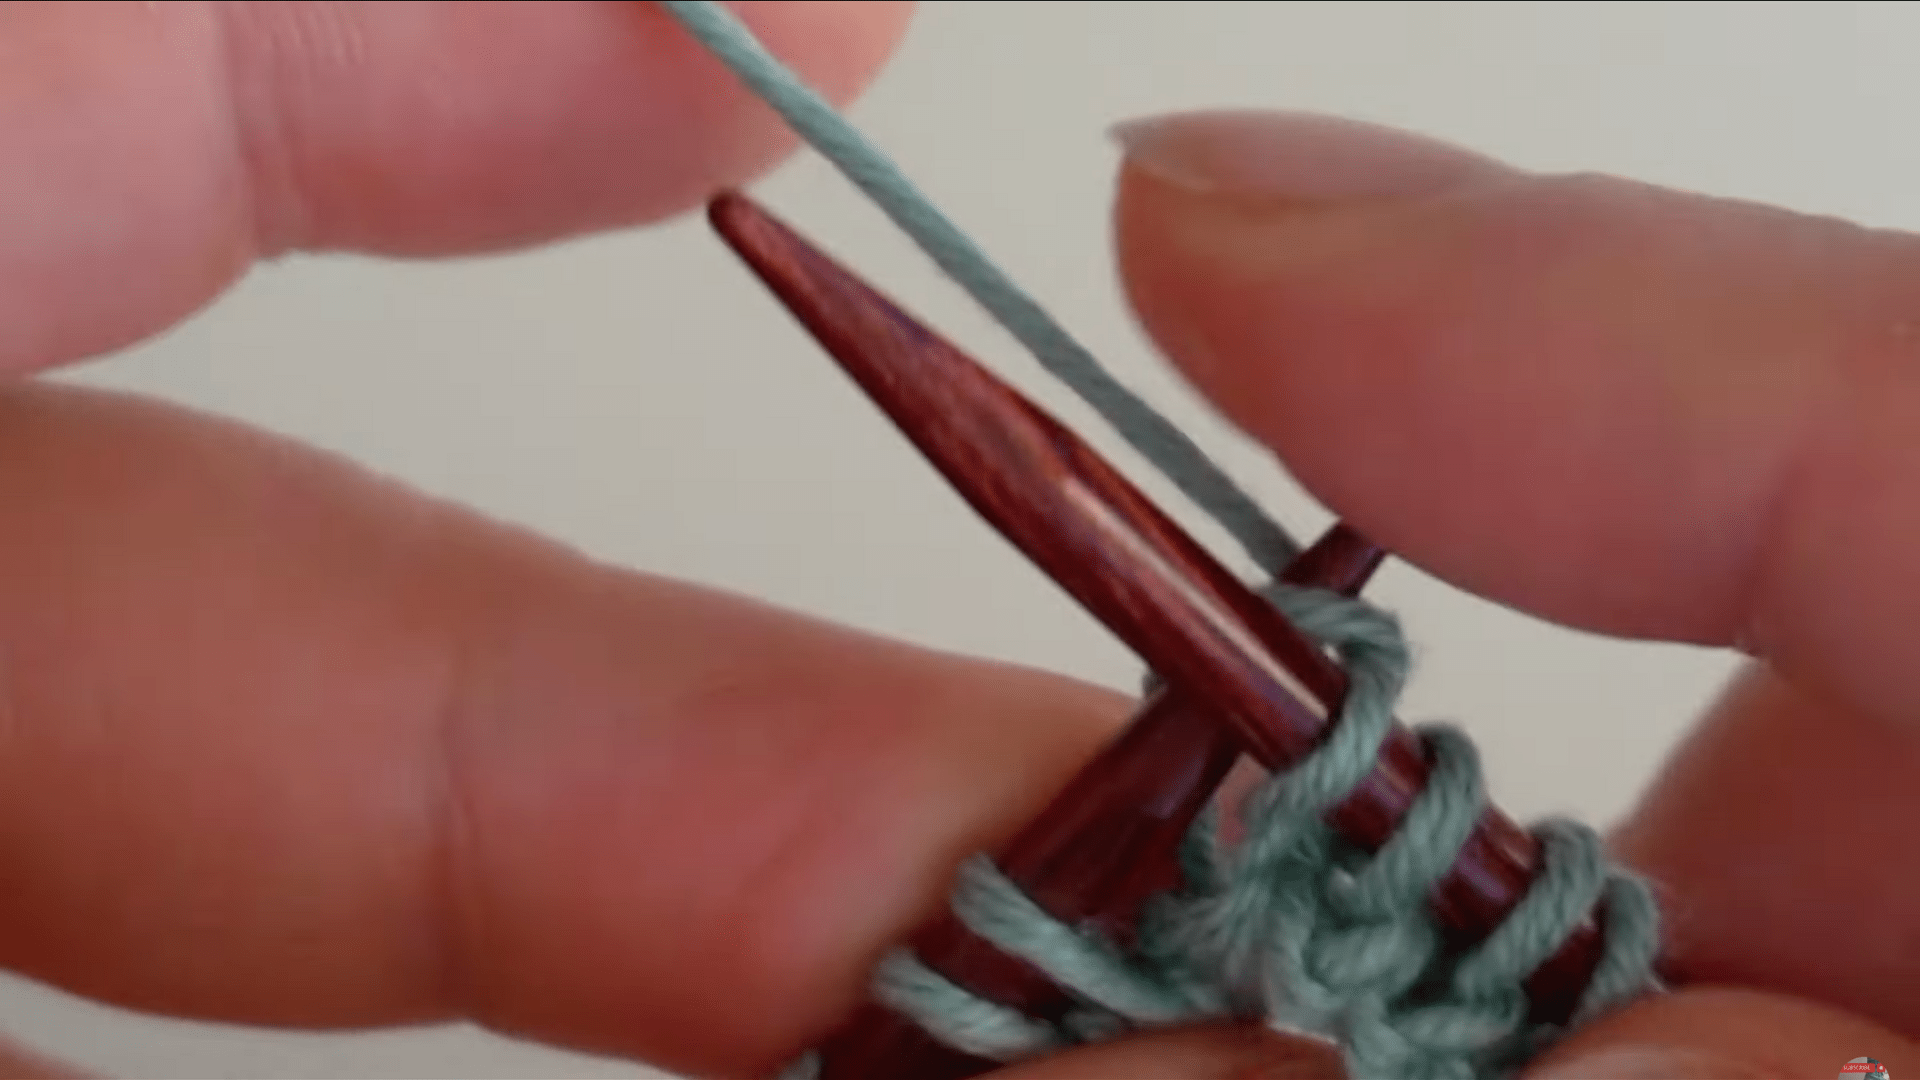
Now, simply knit every row to create garter stitch. No purling is needed, just smooth, even knit stitches the whole way through. This creates a bouncy, stretchy fabric that hugs a baby’s head comfortably.
Continue knitting until your rectangle measures 38 cm (15 inches) in length. It’s essential not to exceed this, as wearing it for too long may cause the hat to become loose.
The garter stitch pattern is ideal for beginners; it’s easy to memorize, forgiving of little mistakes, and creates a lovely texture. You’ll see your work grow quickly, and with each row, you’re one step closer to something special.
Step 3: Bind Off and Sew the Seam
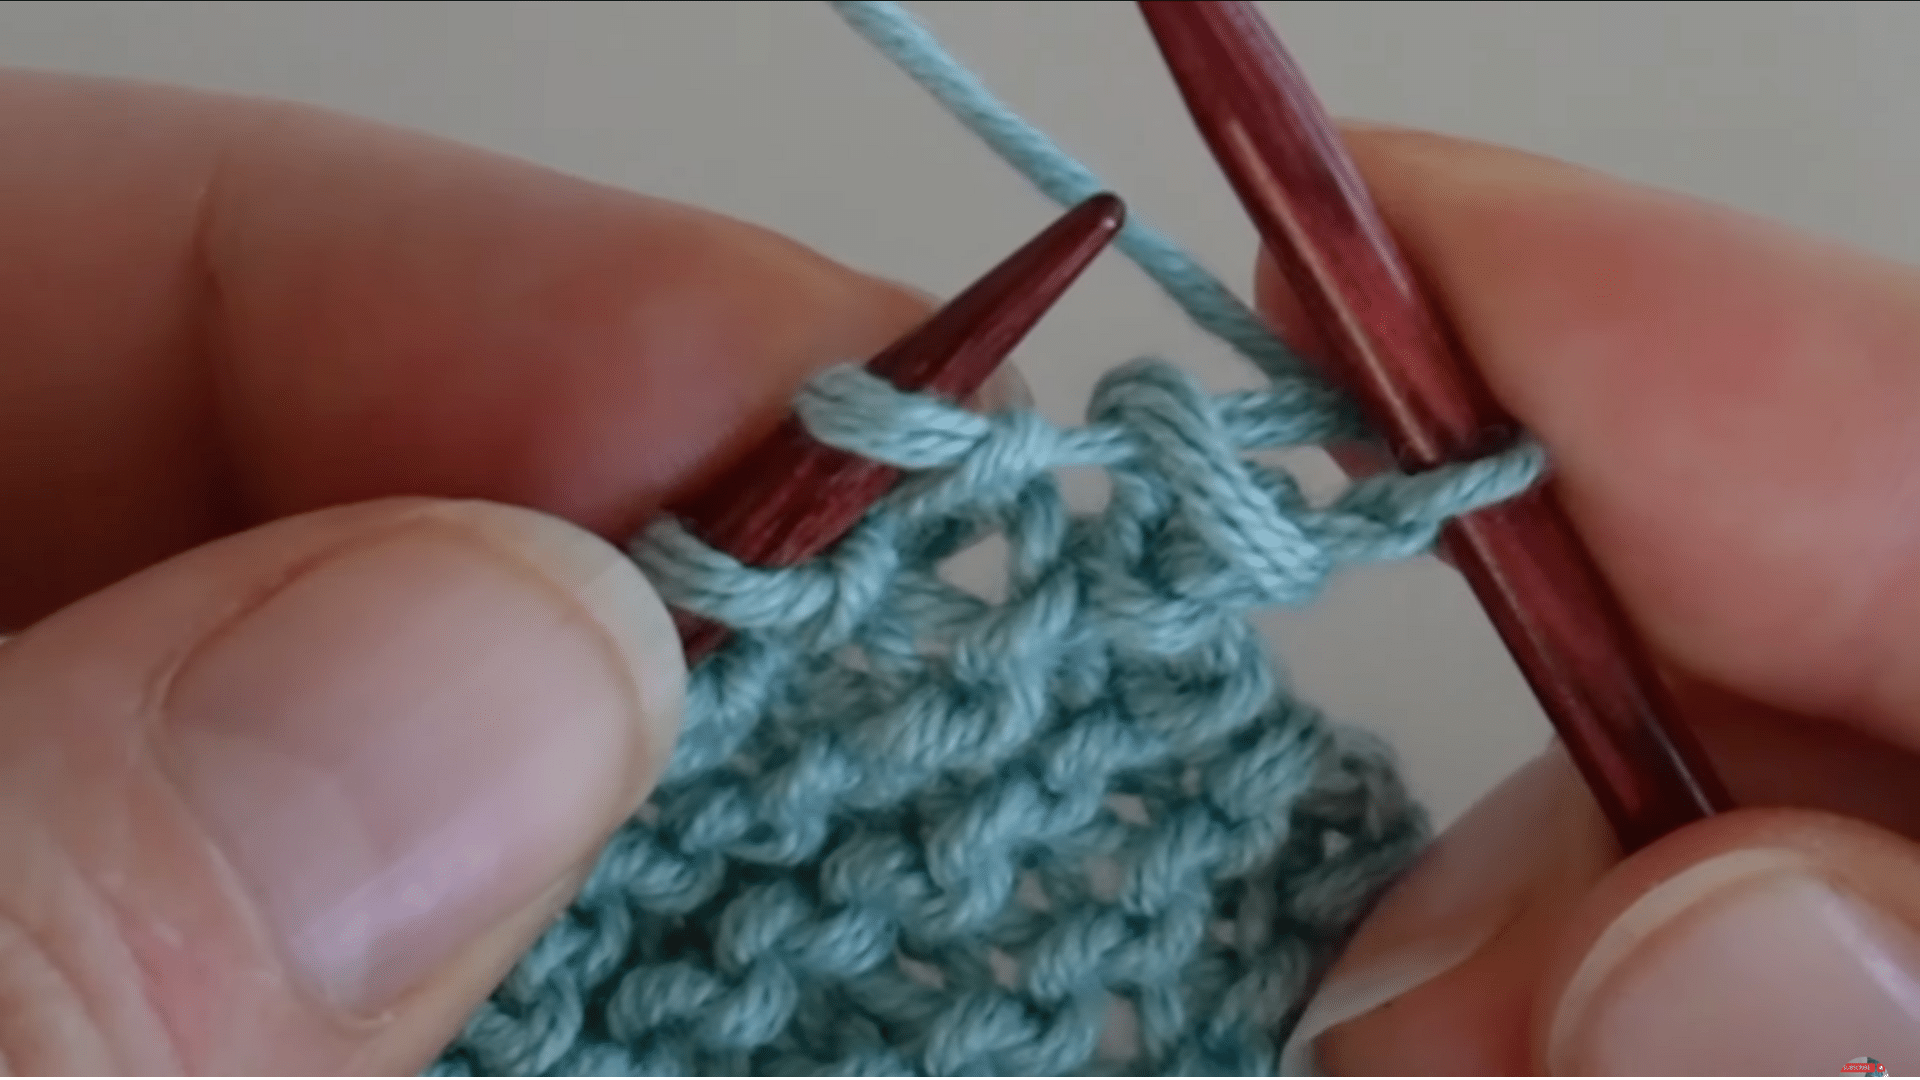
Once your rectangle reaches the correct length, it’s time to bind off. Knit two stitches, then lift the first stitch over the second. Repeat this until the row is finished, then cut your yarn and pull it through the last stitch.
Next, fold the rectangle in half so the short edges align.
Sew along this edge using a simple seam to form a tube. This begins shaping the hat.
Tie a small knot at the top of the seam to secure everything. The piece will now look more like a hat, and your hands have officially created its structure.
Step 4: Cinch the Top and Finish
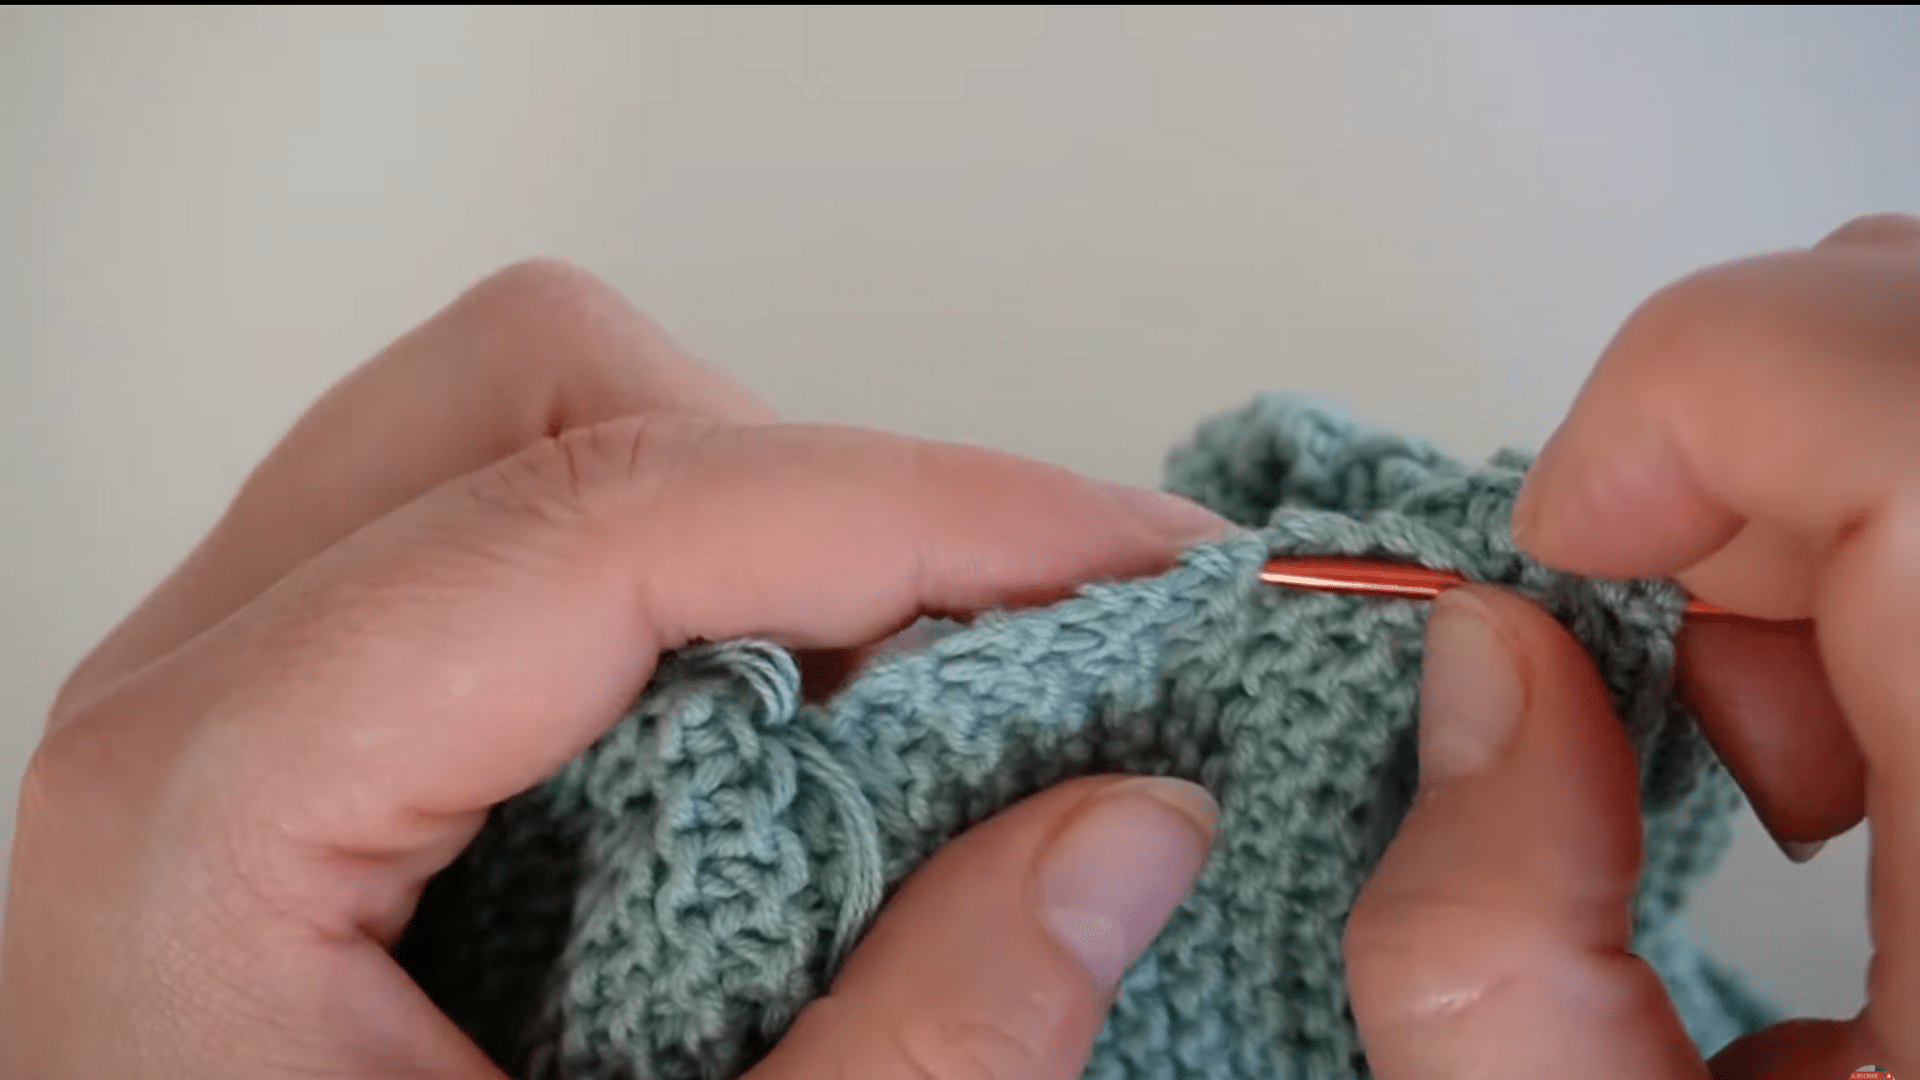
To form the crown of the hat, take a yarn needle and thread a new length of yarn around the top opening. Weave it in and out along the edge evenly. Then pull the yarn gently but firmly to cinch the top closed.
Knot it securely so it stays tight. Be careful not to yank too hard; gentle tension avoids snapping the yarn.
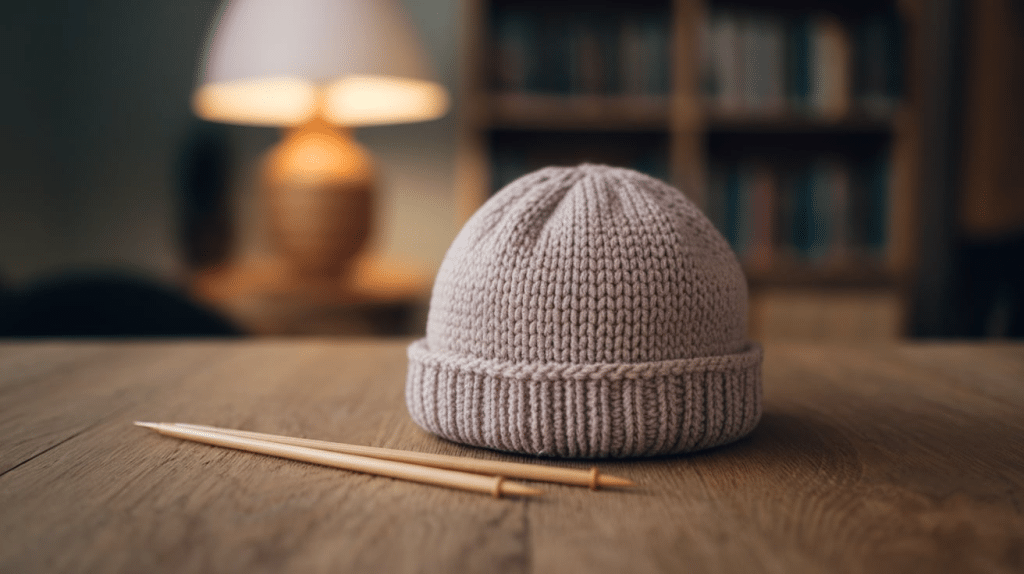
This gives your hat its rounded, snug shape. If you’d like, you can add a small pom-pom or keep it simple.
Either way, your handmade baby hat is now complete, soft, warm, and made with your heart in every stitch.
For a more detailed description, watch “Knitting a Baby Hat” by @Andrea’s Loops:
Simple Steps to Resize the Hat
With time, as your baby grows, so should the hat. Follow the steps to learn how to resize your baby’s hat.
Adjusting for Different Ages
- Newborn hats usually need 64 stitches and are about 4–5 inches tall
- For babies 6–12 months, cast on 72–80 stitches and knit to about 6 inches tall
- Always check a baby’s head size chart to match the age with the hat size
- Use stretchy yarn or ribbing if you want the hat to fit a little longer
Changing Width and Height
- To make the hat wider, add stitches in multiples that match your pattern (like 4 for K2, P2 ribbing).
- To make the hat taller, add more rows of stockinette before shaping the crown.
- Small changes help the hat fit better without changing the overall pattern.
- Try wrapping the ribbing around your wrist to see if it stretches comfortably; this gives you a quick fit check.
Gauge and Fit Tips
- On 4mm needles with baby yarn, the average gauge is 22 stitches per 4 inches
- Knit a small test swatch to check your tension before starting the full hat.
- If your stitches are too tight, try knitting looser or use slightly larger needles.
- A well-fitted hat should stretch gently and stay in place without squeezing the baby’s head.
Safety Tips for Babywearing
Safety should be the utmost priority! With safety and comfort, your baby will love their hat.
- Skip Small Decorations: Avoid adding buttons, beads, or charms. These can become loose and pose choking hazards. Stick to soft, securely attached yarn-only elements.
- Choose Baby-Safe Yarn: Pick yarn that’s gentle on skin, cotton blends, baby acrylics, or soft wool labeled safe for infants. Avoid rough textures and chemically treated fibers.
- Finish Neatly and Smoothly: Weave in all yarn ends securely. Close the crown fully and keep seams flat and soft to avoid pressure on the baby’s head. A tidy finish ensures both comfort and safety.
Optional Customization Ideas
Below are some ideas to make the hats more fun:
- Pom-Poms and Tassels: Add a small yarn pom-pom or tassel to the top of the hat. Use soft, lightweight yarn and secure it well so it doesn’t come loose. Keep it light so it’s safe for babies.
- Color Changes and Patterns: Use leftover yarn for stripes or color blocks. Try pastels for a gentle look or bold colors for fun contrast. You can also add an initial with embroidery or simple colorwork.
- Brim Styles and Earflaps: Choose a rolled brim for a casual feel or fold it up for added warmth. Add earflaps and ties for winter hats to help them stay on and keep ears warm.
- Personalized Tags and Details: Sew in a fabric tag with the baby’s name or a short note like “Made with love.” This turns a simple hat into a thoughtful keepsake.
Conclusion
Knitting a baby hat might seem like a small task, but it holds a lot of heart. You’re creating more than just a piece of clothing; you’re stitching in warmth, care, and love with every loop.
I always feel a quiet sense of pride when I shape that final row and see it come together. Each hat is a soft reminder of time and effort well spent.
If it’s for a family member, a gift, or a donation, your handmade hat will bring comfort to a little one.
That simple piece of yarn turns into something meaningful, something lasting. It’s a cozy act of kindness that you hold in your hands, and that’s what makes it so special every time.
It doesn’t have to be perfect to be loved; babies won’t notice missed stitches, but they’ll feel the warmth. What matters most is that you made it with care, one stitch at a time.