


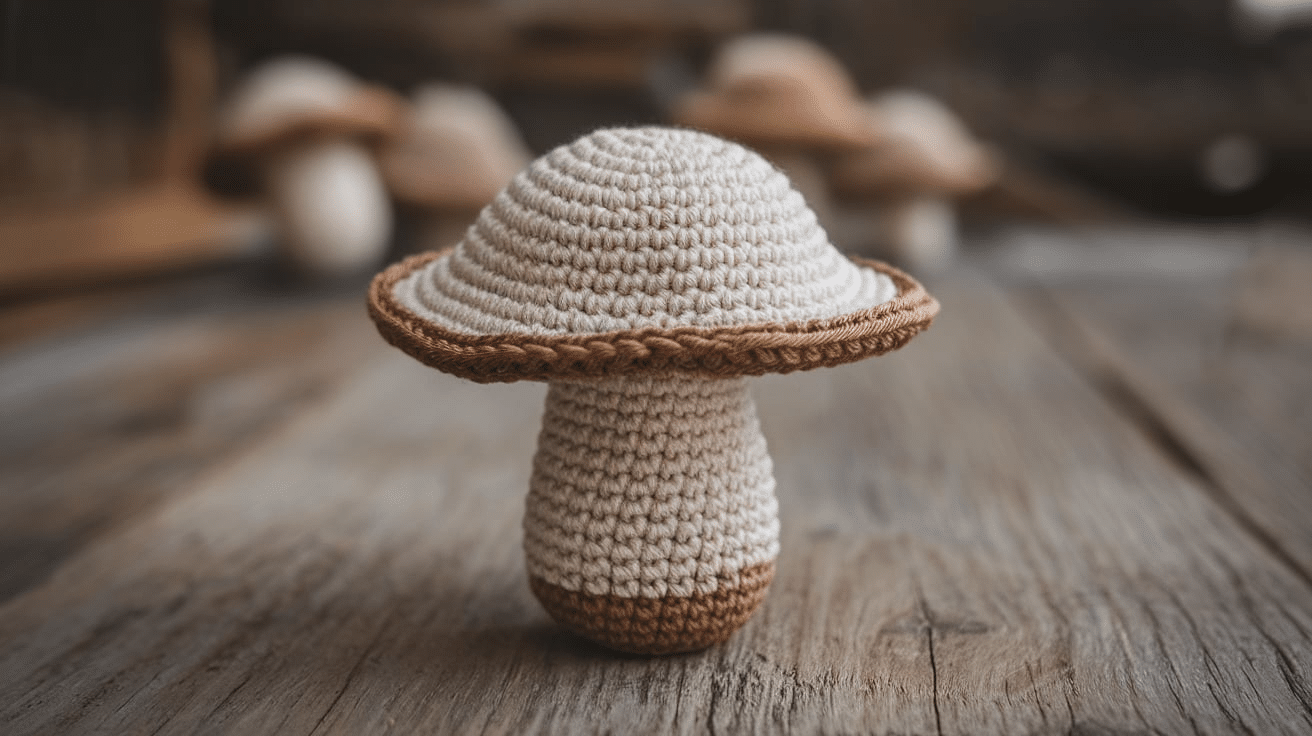
If you love crochet and want to make something cute and simple, a crochet flat mushroom is the perfect project to try!
These little mushrooms are easy to make, don’t use a lot of yarn, and can be used for so many things, like keychains or decorations. This project is fun and quick to finish for anyone who’s a beginner or even an experienced crocheter.
In this guide, we’ll go over everything you need to know to crochet a flat mushroom. You’ll learn what materials to use, step-by-step instructions, and some creative ideas for using your finished mushroom.
So, let’s get started with the adorable mushroom crochet project!
Different Types of Crochet Flat Mushroom Patterns
Crochet flat mushrooms come in many styles. You can keep it super simple if you’re a beginner, or add details to make it unique. Some fun types of crochet flat mushrooms you can try are:
1. Basic Flat Mushroom Pattern: This is the easiest and quickest type of mushroom to make. It’s made using simple stitches and has a round cap with a short stem, making it the perfect choice for beginners.
2. Textured or 3D-Look Flat Mushrooms: If you want to add a little extra detail, some patterns use textures like raised stitches or layers. This gives the mushroom a slightly puffy or 3D effect while still being flat.
3. Mini Mushrooms: These are small, cute and great for tiny projects like jewelry or tiny keychains.
4. Large Mushrooms: Large mushrooms are more detailed and better for coasters, wall art or blankets and clothes.
There are so many ways to crochet a flat mushroom, so you can easily pick your favorite style and get started!
Materials Required
Before you start crocheting your flat mushroom, make sure you have all the right supplies. Here’s what you’ll need:
1. Yarn Types and Recommended Colors
You can use any yarn, but cotton or acrylic yarn works best for a neat finish. A lightweight yarn (like DK or worsted weight yarn) is great for this project because it keeps the mushroom small and adds a nice finish. Here are some color ideas:
- Red and white for a classic toadstool look
- Brown and beige for a more natural mushroom
- Pastels or bright colors for a fun and creative twist
2. Hook Size Recommendations
- 3.5mm to 4.5mm hook is best for DK or worsted yarn
- If you are using thinner yarn, then go for a smaller hook (2.5mm-3mm)
- A smaller hook gives tighter stitches, while a bigger one makes a looser and softer look.
3. Additional Tools
- Scissors
- Tapestry needle
- Stitch markers
- Fabric glue or sewing thread
That’s all you need! Once you’ve gathered all the materials, let’s start with the crocheting.
Stitches and Abbreviations Used in This Guide
Before you start crocheting your flat mushroom, let’s go over some basic stitches you’ll need. These are easy to learn and will be helpful in crocheting any project, not just flat mushrooms.
- Chain (ch): The starting stitch for many projects. It looks like a simple looped chain.
- Single Crochet (sc): A small, tight stitch that gives a neat and firm look.
- Slip Stitch (sl st): A quick stitch used for joining or finishing a round.
- Increase (inc): Making two single crochet stitches in the same stitch to grow the pattern.
- Magic Ring (MR): A way to start a round project neatly without a big hole in the center.
Step-by-Step Guide to Crochet a Flat Mushroom
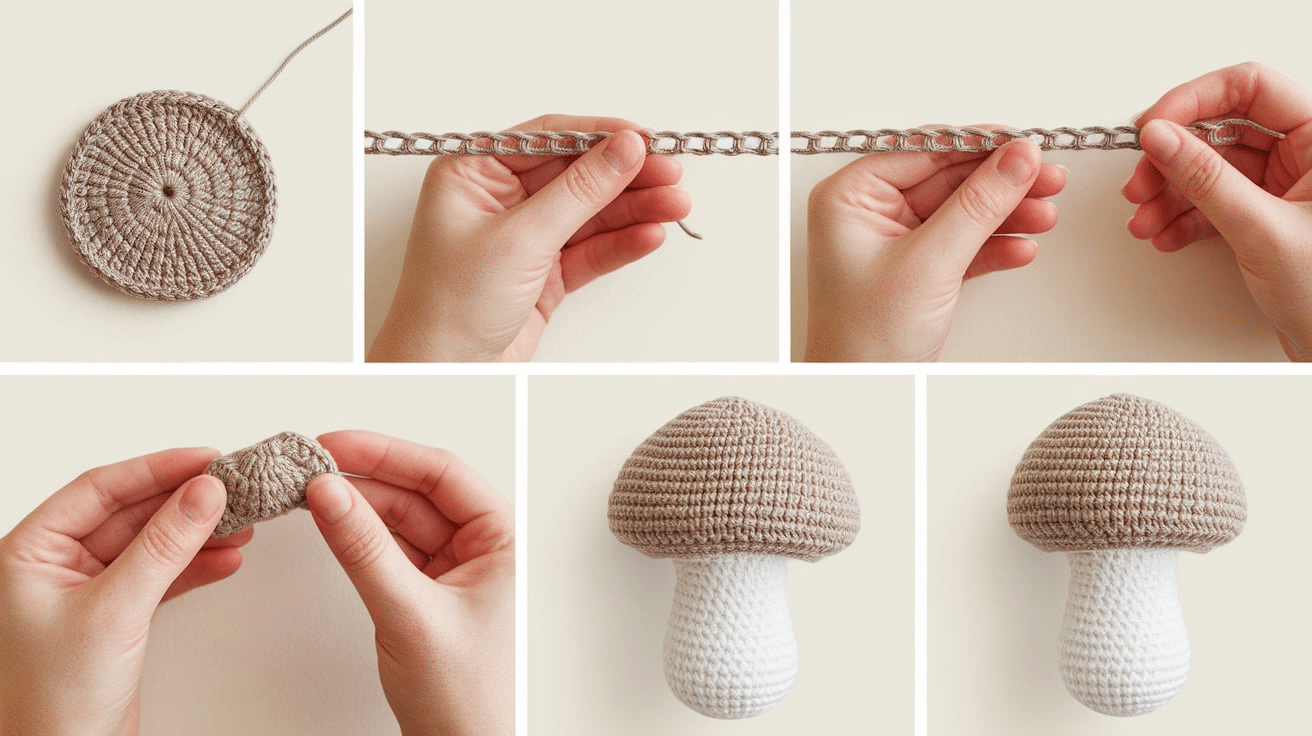
Now that you have your materials ready, let’s crochet a cute flat mushroom! Follow these simple steps to make your own.
1. Making the Mushroom Cap
- Start with a magic ring (or chain 4 and join to make a loop).
- Round 1: Make 6 single crochets (sc) into the ring.
- Round 2: Increase in each stitch (12 sc total).
- Round 3:[1 sc, increase] repeat around (18 sc total).
- Round 4:[2 sc, increase] repeat around (24 sc total).
- Continue increasing a little more if you want a bigger cap.
- Slip stitch to finish and fasten off. Weave in the ends.
2. Making the Mushroom Stem
- Chain 6.
- Start from the second chain, make 1 sc in each stitch (5 sc total).
- Turn and repeat for about 4 rows (or longer if you want a taller stem).
- Fasten off, leaving a long tail for sewing.
3. Attaching the Stem to the Cap
- Place the stem under the mushroom cap.
- Use a tapestry needle and yarn to sew the stem in place.
- Make sure it’s secure, then weave in any loose ends.
4. Adding Spots
- Crochet tiny circles using white yarn (magic ring, 6 sc inside, slip stitch to close).
- Sew or glue them onto the mushroom cap.
- This step is completely optional but will definitely add more character to your mushroom.
And that’s it, you now have a cute crochet flat mushroom. Remember to experiment with colors and sizes to make a unique and fun pattern for yourself.
Uses for Crochet Flat Mushrooms
Once you’ve made your crochet flat mushroom, what can you do with it? These little mushrooms are super flexible and can be used in so many fun ways.
1. Keychains and Bag Charms: Attach a keyring to your mushroom and turn it into a cute keychain or a fun charm for your backpack or purse.
2. Patches for Clothes and Accessories: Sew your crochet mushroom onto a jacket, tote bag, or even a hat to add a handmade touch.
3. Home Décor: String a few mushrooms together for a wall garland, use them as table decorations or coasters, or attach them to a pillow or blanket for a cozy touch.
4. Gift Embellishments: Instead of a ribbon, tie a crochet mushroom to a gift for a unique, handmade touch.
5. Scrapbook or DIY Projects: Glue your mushroom onto cards, bookmarks, or scrapbook pages for a crafty decoration.
These are just a few ideas; you can always get creative and use your crochet mushrooms in any way you like!
Simple Tricks for a Neat Finish
Want your crochet flat mushroom to look extra neat? Here are some simple tricks to help you get clean stitches and a nice finish.
1. Keep Your Tension Even: If your stitches are too loose, your mushroom might look messy. If they’re too tight, it’ll be hard to work with. Try to keep a steady grip on your yarn so your stitches stay the same size.
2. Use a Smaller Hook for a Tighter Look: If your mushroom looks too floppy, try using a hook that’s one size smaller. This helps make the stitches tighter and keeps the shape firm.
3. Weave in Loose Ends Properly: Use a tapestry needle to weave in the yarn ends neatly. This prevents unraveling and gives your mushroom a clean finish.
4. Block Your Mushroom for a Flat Shape: If your mushroom curls up, gently wet it, shape it with your hands, and let it dry flat. This helps it keep its shape.
5. Add Spots or Details with Fabric Glue or Sewing: Instead of crocheting tiny circles, you can use fabric glue or a needle and thread to attach small felt pieces or buttons.
With these simple tips, your crochet mushroom will look clean and smooth.
Conclusion
Crocheting a flat mushroom is a fun and simple project that anyone can try! With just a few basic stitches and some yarn, you can create a cute little mushroom to use in so many ways.
You can also make them in any color or size to match your style. This project is quick, easy, and great for practicing your skills, for beginners and experienced crocheters alike!
Have fun experimenting with different designs, and don’t forget to enjoy the process. At the end, you’ll have a cute, cozy mushroom to add to your space.
Frequently Asked Questions
Is a crochet flat mushroom beginner-friendly?
Yes! It uses simple stitches, making it great for beginners.
Can I make a bigger or smaller mushroom?
Yes! Just adjust the number of stitches and rows to change the size.
How do I keep my mushroom from curling?
Try blocking it by wetting it slightly and letting it dry flat.
How long does it take to crochet a flat mushroom?
It usually takes 20-30 minutes, depending on your speed.
Can I make a two-toned mushroom cap?
Yes! Just switch yarn colors when crocheting the cap.


