


If you love crochet and want to make something beautiful, a crochet flower bouquet is a great project to start.
Unlike real flowers, these never wilt, making them a great gift or decoration. You can mix different flower patterns, choose your favorite colors, and create a unique bouquet that lasts forever.
This guide will walk you through everything you need to crochet a flower bouquet. You’ll learn what materials to use, simple flower patterns, and how to arrange them into a bouquet.
So, let’s start creating a beautiful bouquet of handmade flowers to keep or share with someone special.
What You Need to Crochet a Flower Bouquet
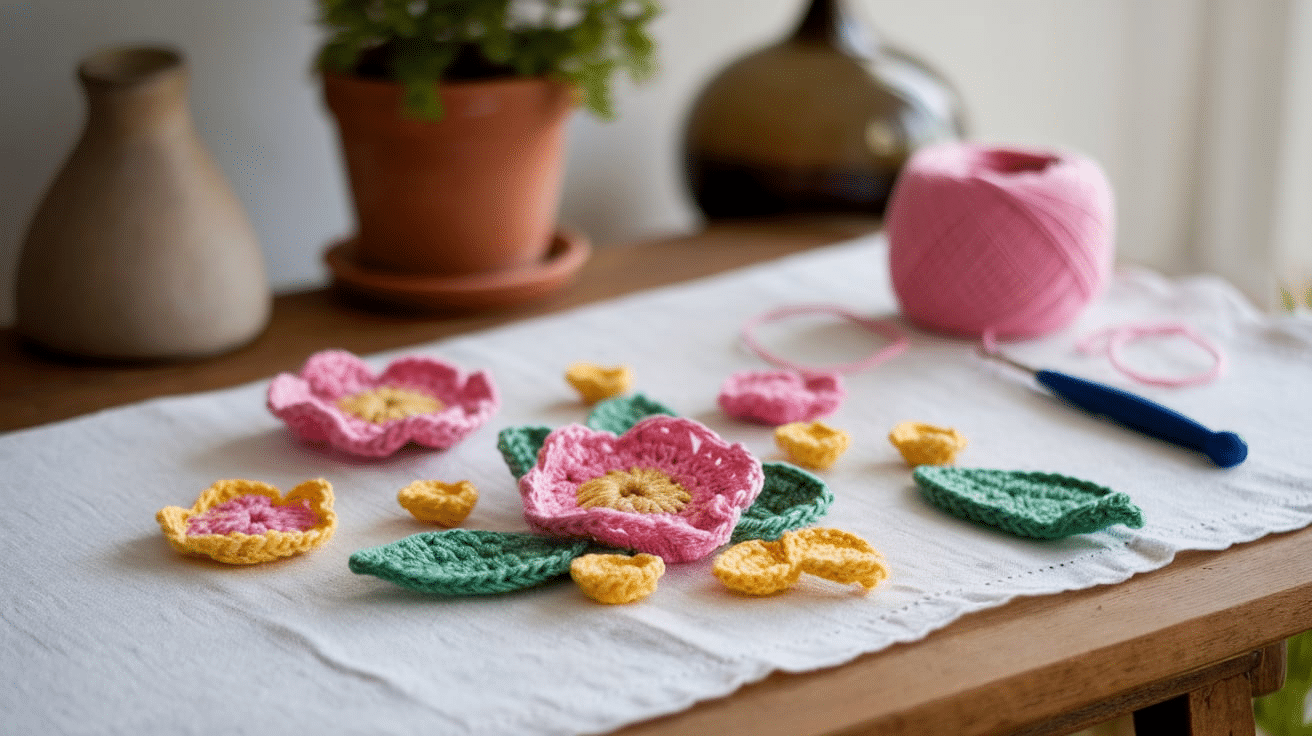
1. Yarn
Choosing the right yarn makes a big difference when crocheting flowers. The type of yarn you use affects how your flowers look, feel, and hold their shape.
- Cotton Yarn: It’s one of the best choices because it holds its shape well. It also has a smooth texture, which makes the stitches look neat and defined.
- Acrylic Yarn: Also another good choice. It’s soft, affordable, and comes in many bright colors. It’s great for making fluffy, fuller-looking flowers.
- Wool or Blended Yarns: These are perfect for a more textured look, but they might not hold their shape as well as cotton or acrylic.
2. Crochet Hook Size
- 2.5mm – 4mm hooks work well for small, tight stitches
- A smaller hook gives a neater, more detailed flower
- A larger hook creates a softer, looser look
3. Additional Tools
- Scissors – For cutting yarn neatly
- Tapestry needle – To weave in loose ends and sew pieces together
- Floral wire – Helps create straight stems that hold their shape
- Floral tape – Wraps around the wire to give a natural look
- Glue gun – Useful for securing petals and leaves (optional)
Different Types of Crochet Flowers for Your Bouquet
A crochet flower bouquet can be as simple or as detailed as you want! There are many types of crochet flowers you can make, each adding a unique touch to your arrangement. Here are some popular ones you can try.
1. Simple 5-Petal Flower: This is one of the easiest flowers to crochet. It works quickly and looks cute in any color. You can make a bunch of these and mix them into your bouquet for a fun look.
2. Roses: Roses are a classic choice for bouquets. They have a spiral shape that makes them look beautiful and realistic. You can make them in red for a romantic bouquet or in pastel colors for a soft touch.
3. Daisies: Daisies are bright, happy flowers that add a fresh and cheerful vibe. A yellow center with white petals is the most common, but you can use any colors you like.
4. Sunflowers: Sunflowers are bold and eye-catching. They have a big, dark center and bright yellow petals. Adding a few of these to your bouquet gives it a warm feel.
5. Tulips: Tulips have a unique shape that makes them stand out. They look great in pink, red, or purple and give your bouquet a nice touch.
6. Lilies: Lilies are perfect for a fancier bouquet. They have long, pointed petals and look stunning in white, orange, or yellow.
7. Lavender Sprigs: Lavender adds a delicate, wildflower touch to your bouquet. The long, thin stems with small purple flowers make your arrangement look fresh and natural.
You can choose to make your bouquet using only one type of flower, or you can mix different kinds. Mixing different types of flowers gives your crochet bouquet a fuller, more realistic look.
Don’t forget to try different colors and styles to create a bouquet that’s unique and matches your vibe.
Step-by-Step Guide to Crocheting a Flower Bouquet
Creating a crochet flower bouquet is easier than you think. Follow these simple steps to make your own beautiful arrangement.
1. Crochet Your Flowers
Start by choosing the flower patterns you want to make. Simple flowers like daisies and roses are great for beginners.
Use bright or pastel yarn colors to match your style. Follow a basic pattern to crochet each flower, making sure to leave a long yarn tail for attaching the stem.
2. Make the Stems
For strong stems, use floral wire or pipe cleaners. Wrap green yarn around the wire to cover it, or crochet a small tube to slide over it.
Attach the stem to the back of each flower using a tapestry needle or hot glue.
3. Add Leaves for a Natural Look
Crochet a few small leaves in green yarn and attach them to some of the stems. This makes your bouquet look more realistic and full.
Leaves are completely optional but will add character to your bouquet if you choose to include them.
Arranging Your Crochet Flower Bouquet

Once you’ve crocheted your flowers, it’s time to arrange them into a beautiful bouquet! Here’s how to put everything together in a simple and balanced way.
1. Gather Your Flowers: Use a mix of big and small-sized flowers to make it look natural. Adding different colors makes it more fun and eye-catching.
2. Arrange the Flowers: Start by placing the larger flowers in the center. Then, add smaller flowers around them to fill in the gaps. Move them around to see how they fit together.
3. Add Leaves and Greenery: Crocheted leaves or small sprigs of lavender make your bouquet look more realistic. Spread them evenly around the flowers to give a fresh, full look.
4. Secure the Stems: Hold the bouquet together and wrap floral tape around the stems to keep them in place. You can also use a piece of yarn to tie them before taping.
5. Finish with a Ribbon: Wrap a pretty ribbon around the stems for a final touch. You can tie a bow or let the ends hang for a soft, elegant look.
Now your crochet flower bouquet is ready! You can do so many creative things with this pretty and handmade project.
Creative Uses for Crochet Flower Bouquets
A crochet flower bouquet isn’t just aesthetic; it’s also super useful! Since these flowers never die, you can enjoy them forever. Here are some fun and creative ways to use your crochet bouquet.
1. Home Décor: Place your bouquet in a vase and use it as a centerpiece for your dining table, coffee table, or bedside table. It adds a cozy, handmade touch to any room!
2. Wedding or Party Decorations: Crochet flowers make beautiful wedding bouquets, table decorations, or even boutonnieres. They’re great for themed parties or baby showers too!
3. Thoughtful Gifts: A handmade flower bouquet makes a sweet gift for birthdays, anniversaries, or Mother’s Day. It’s unique, personal, and lasts way longer than real flowers!
No matter how you use your crochet flower bouquet, it will always be a beautiful and meaningful piece of handmade art!
Conclusion
Crocheting a flower bouquet is a fun and creative way to make something beautiful that lasts forever. Whether you’re making it for yourself, as a gift, or for a special event, these handmade flowers bring a personal touch that real flowers don’t.
You can mix different colors, styles, and sizes to create a unique bouquet that matches your style. And you don’t even need to worry about changing water, they’re long lasting and low maintenance making your work easier.
So have fun making a bouquet that’s one of a kind. Whether it’s big or small, colorful or classic, your crochet flower bouquet will always be something special.
Frequently Asked Questions
Is crocheting a flower bouquet beginner-friendly?
Yes! Simple flower patterns are great for beginners.
How many flowers do I need for a bouquet?
It depends on the size, but 6 to 12 flowers usually look good.
Can I mix different crochet flowers in one bouquet?
Yes! Mixing different types and colors makes it look more natural.
Can I wash my crochet flower bouquet?
Yes, but hand-wash gently and let it air dry.
How long does it take to crochet a flower bouquet?
It depends on the size, but a small bouquet can take around 3-5 hours to finish.


