


Crocheting has always been a way for me to infuse creativity into everyday items, and one of my favorite projects is the crochet sprout.
This simple yet beautiful accessory adds a touch of nature to various objects.
I’ve found it to be incredibly versatile, making it perfect for bookmarks, cable ties, or even as a decorative piece for headphones.
It’s an ideal project for anyone, whether new to crocheting or experienced.
The best part is how easy it is to make, and it’s a fun way to practice basic crochet skills. In this guide, I’ll walk you through the steps to create your own crochet sprout from start to finish.
Grab your yarn and hook, and let’s bring this nature-inspired accessory to life.
What is a Crochet Sprout?
A crochet sprout is a small, leaf-shaped embellishment made using basic crochet stitches, perfect for adding charm to everyday items.
Due to its compact size, it’s an ideal project for using up leftover yarn scraps. Not only does it add a personal touch to your belongings, but it also offers a great way to practice basic crochet techniques.
The sprout’s minimalistic design means it can easily be customized with different colors and yarn types.
If you’re a beginner or experienced crocheter, creating a crochet sprout is a fun and satisfying project that can bring a bit of nature’s whimsy to your everyday life.
Step-By-Step Guide to Making Your Crochet Leaf Sprout
Learn how to make a crochet leaf sprout with these simple, beginner-friendly steps to create a beautiful and versatile accessory.
Materials Needed
To make your own crochet Leaf Sprout, you’ll need the following materials:
- Yarn: Choose a yarn that matches your preferred color. A medium-weight yarn works best for this project.
- Crochet Hook: A 4.0 mm (G) crochet hook is ideal for medium-weight yarn.
- Scissors: For trimming the yarn after finishing your project.
- Tapestry Needle: To weave in the ends and secure any loose threads.
Step 1: Make the Foundation Chain
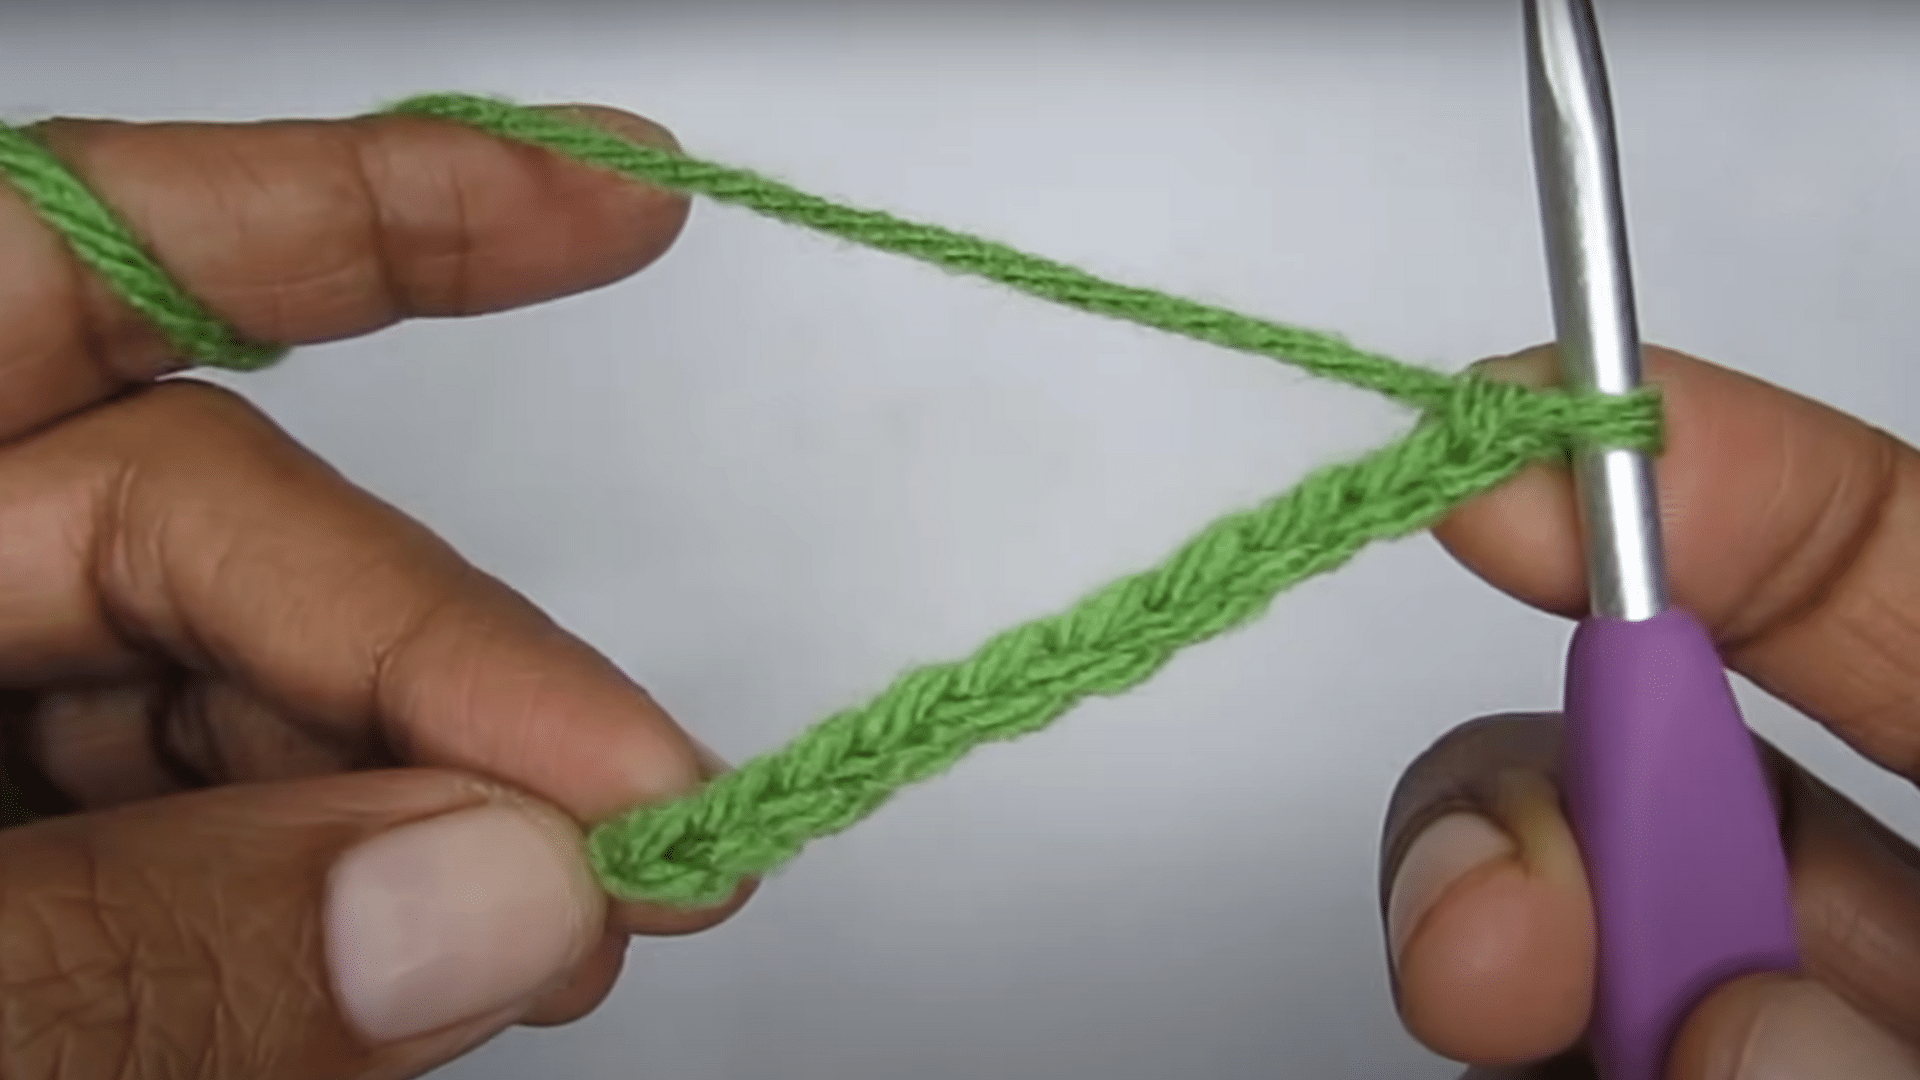
Start by creating a foundation chain of about 15 to 20 stitches, depending on the size of the sprout you want. This chain will form the stem of your leaf sprout.
The foundation chain should be long enough to allow the leaves to sit comfortably on each side. You can adjust the number of chains to suit your preference, but 15 to 20 stitches work well for a balanced sprout.
Once your chain is complete, move on to the next step to shape the leaves.
Step 2: Work on the Leaves
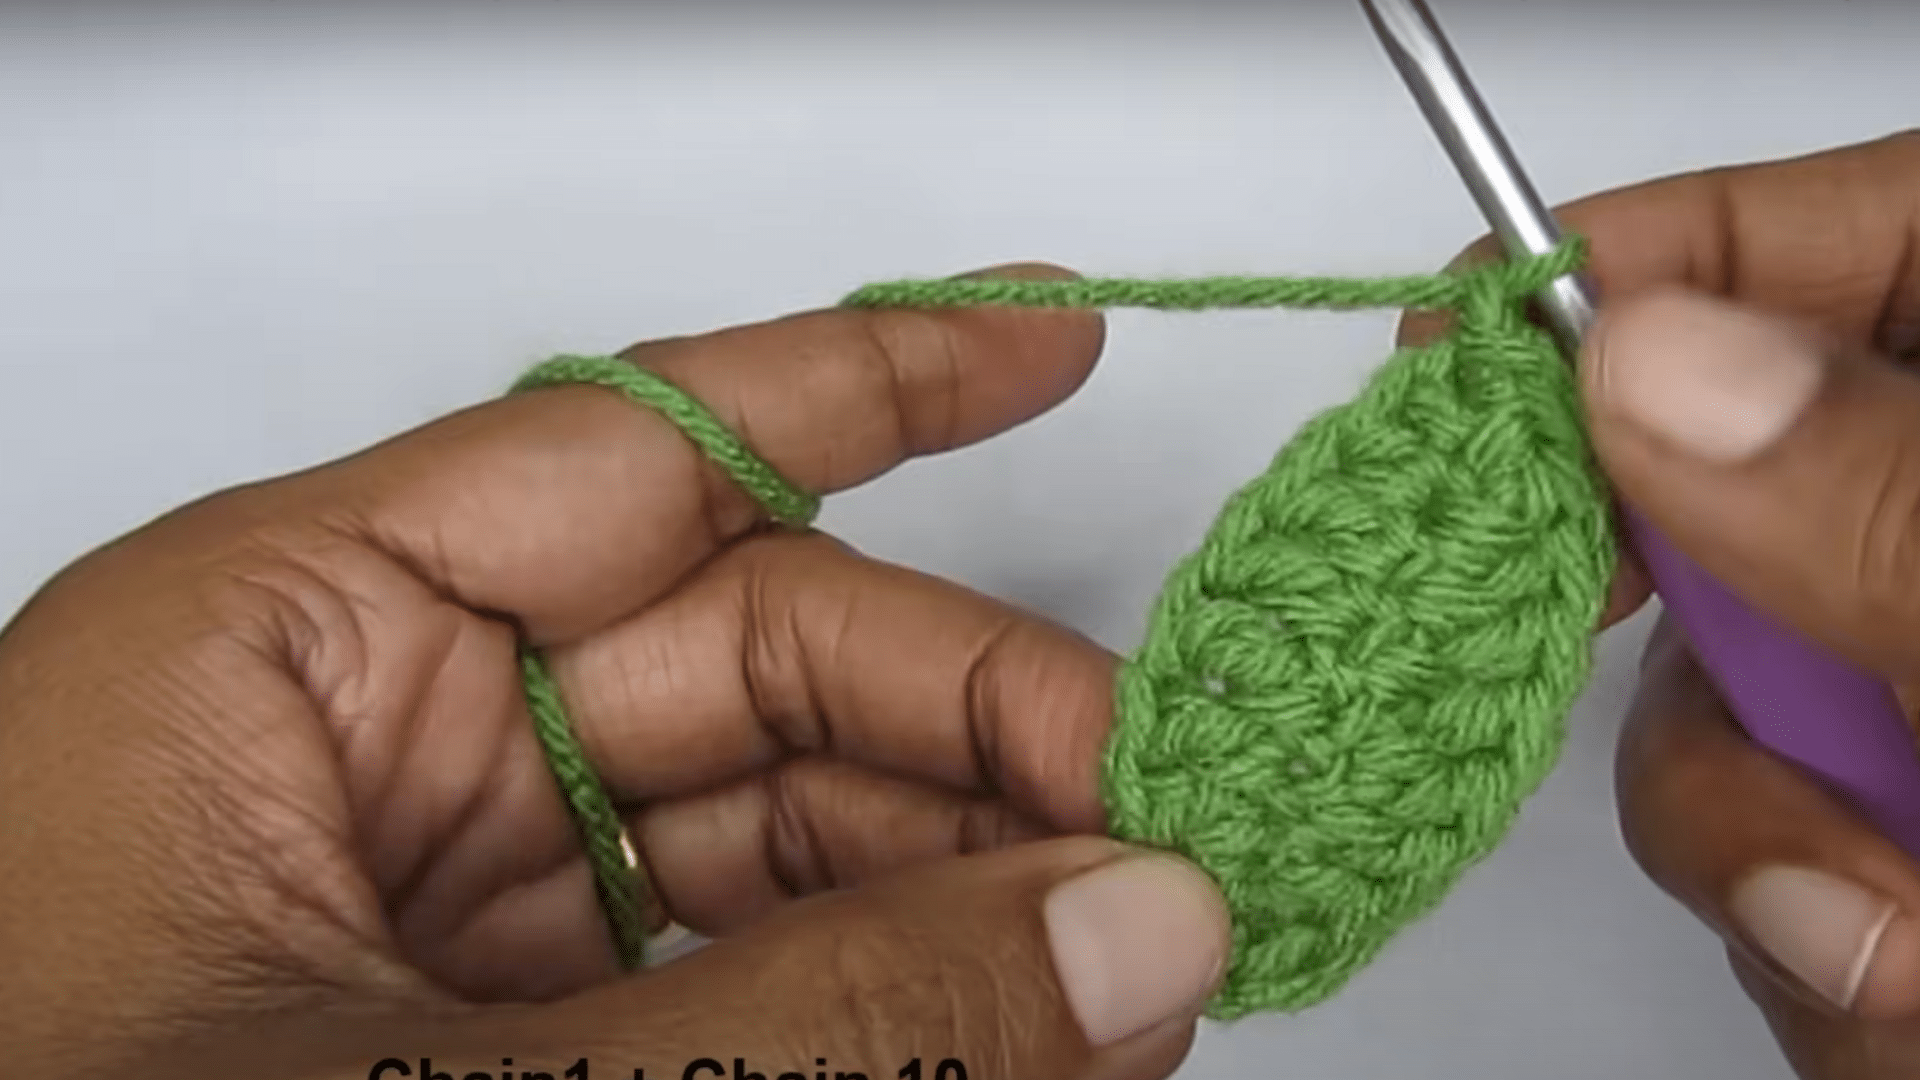
At the end of the foundation chain, begin working back along the stitches to form the first leaf. Use a combination of single crochet (sc), half double crochet (hdc), and double crochet (dc) to shape the leaf.
Start with a single crochet to form the base of the leaf, then switch to half double and double crochet for more height and shaping.
Repeat the process on the other side of the chain to create a symmetrical second leaf. This combination of stitches gives the leaf a nice, natural curve.
Step 3: Join the Leaves
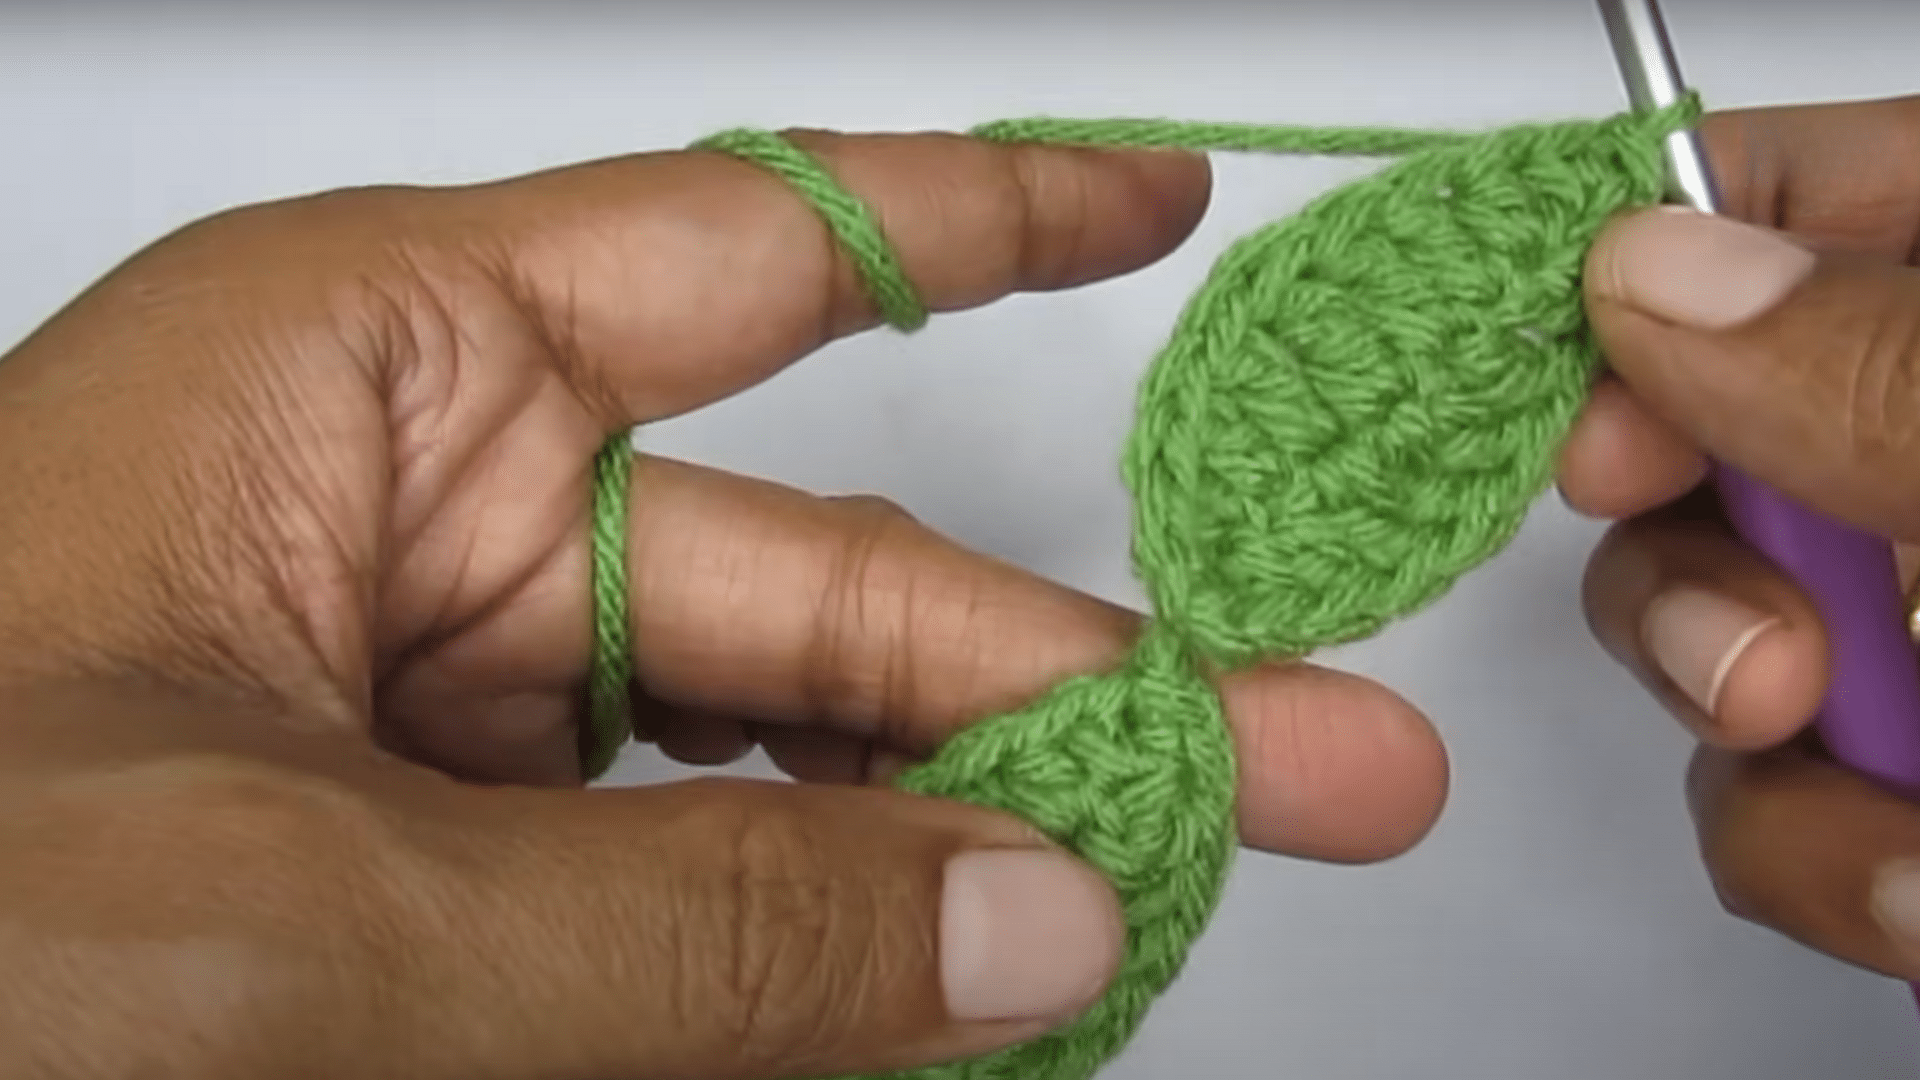
Once you’ve finished both leaves, join them at the base using slip stitches (sl st) to secure them together. The slip stitch will hold the leaves in place and create the central part of the sprout.
Make sure the leaves are evenly spaced before joining them to maintain a balanced shape.
This step is crucial for keeping the sprout neat and making sure it holds its structure. Once the leaves are joined, your sprout will begin to take its final shape.
Step 4: Fasten Off and Secure Ends
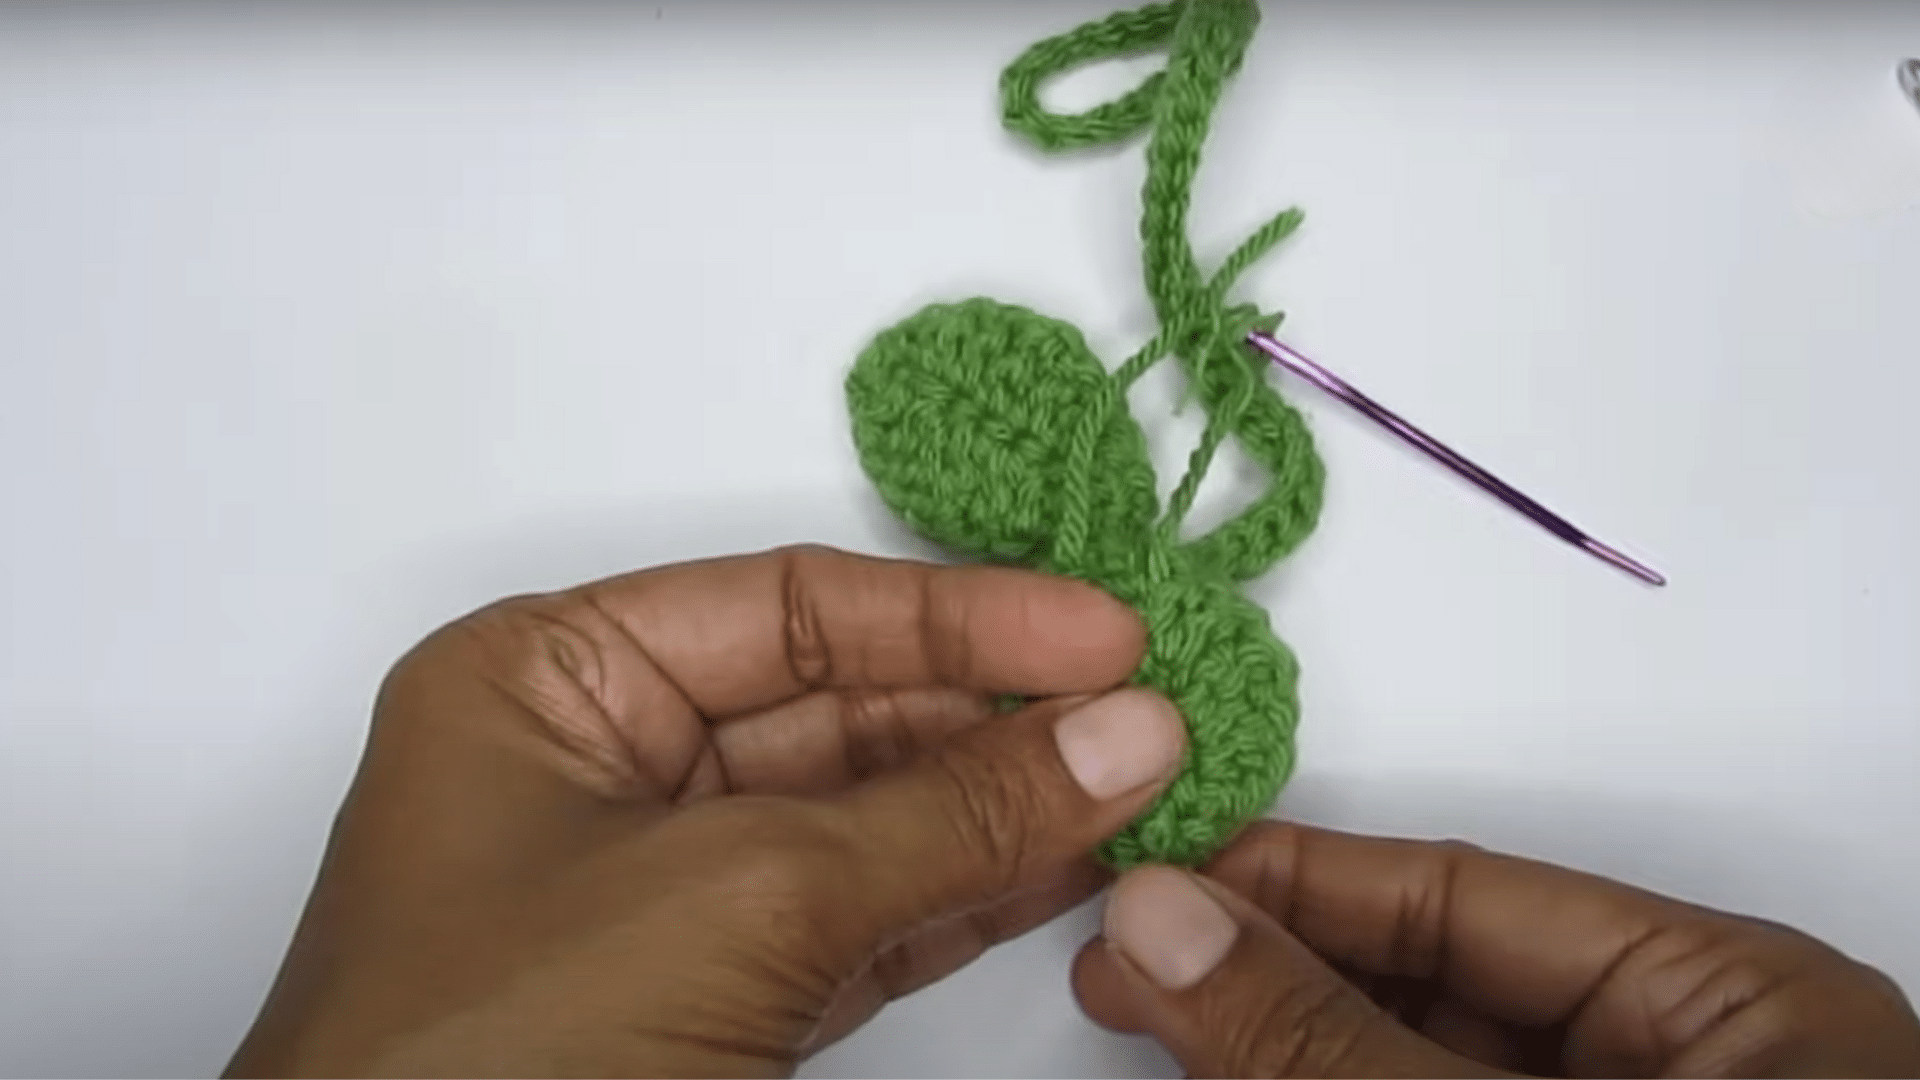
After completing the sprout, fasten off your yarn by cutting it and pulling it through the last loop to secure it. Use a tapestry needle to weave in any loose ends to prevent unraveling.
It’s important to weave the ends in carefully to avoid them sticking out and spoiling the neat look of your sprout. Trim any excess yarn to keep everything tidy.
Once finished, your crochet leaf sprout is ready to use as a bookmark or to decorate anything you like.
Creative Ways to Use Your Crochet Sprout
Once you’ve finished your crochet sprout, there’s a lot you can do with it. Whether you made it for fun or as part of a project, these are some useful and fun ways to show it off.
1. Bookmark
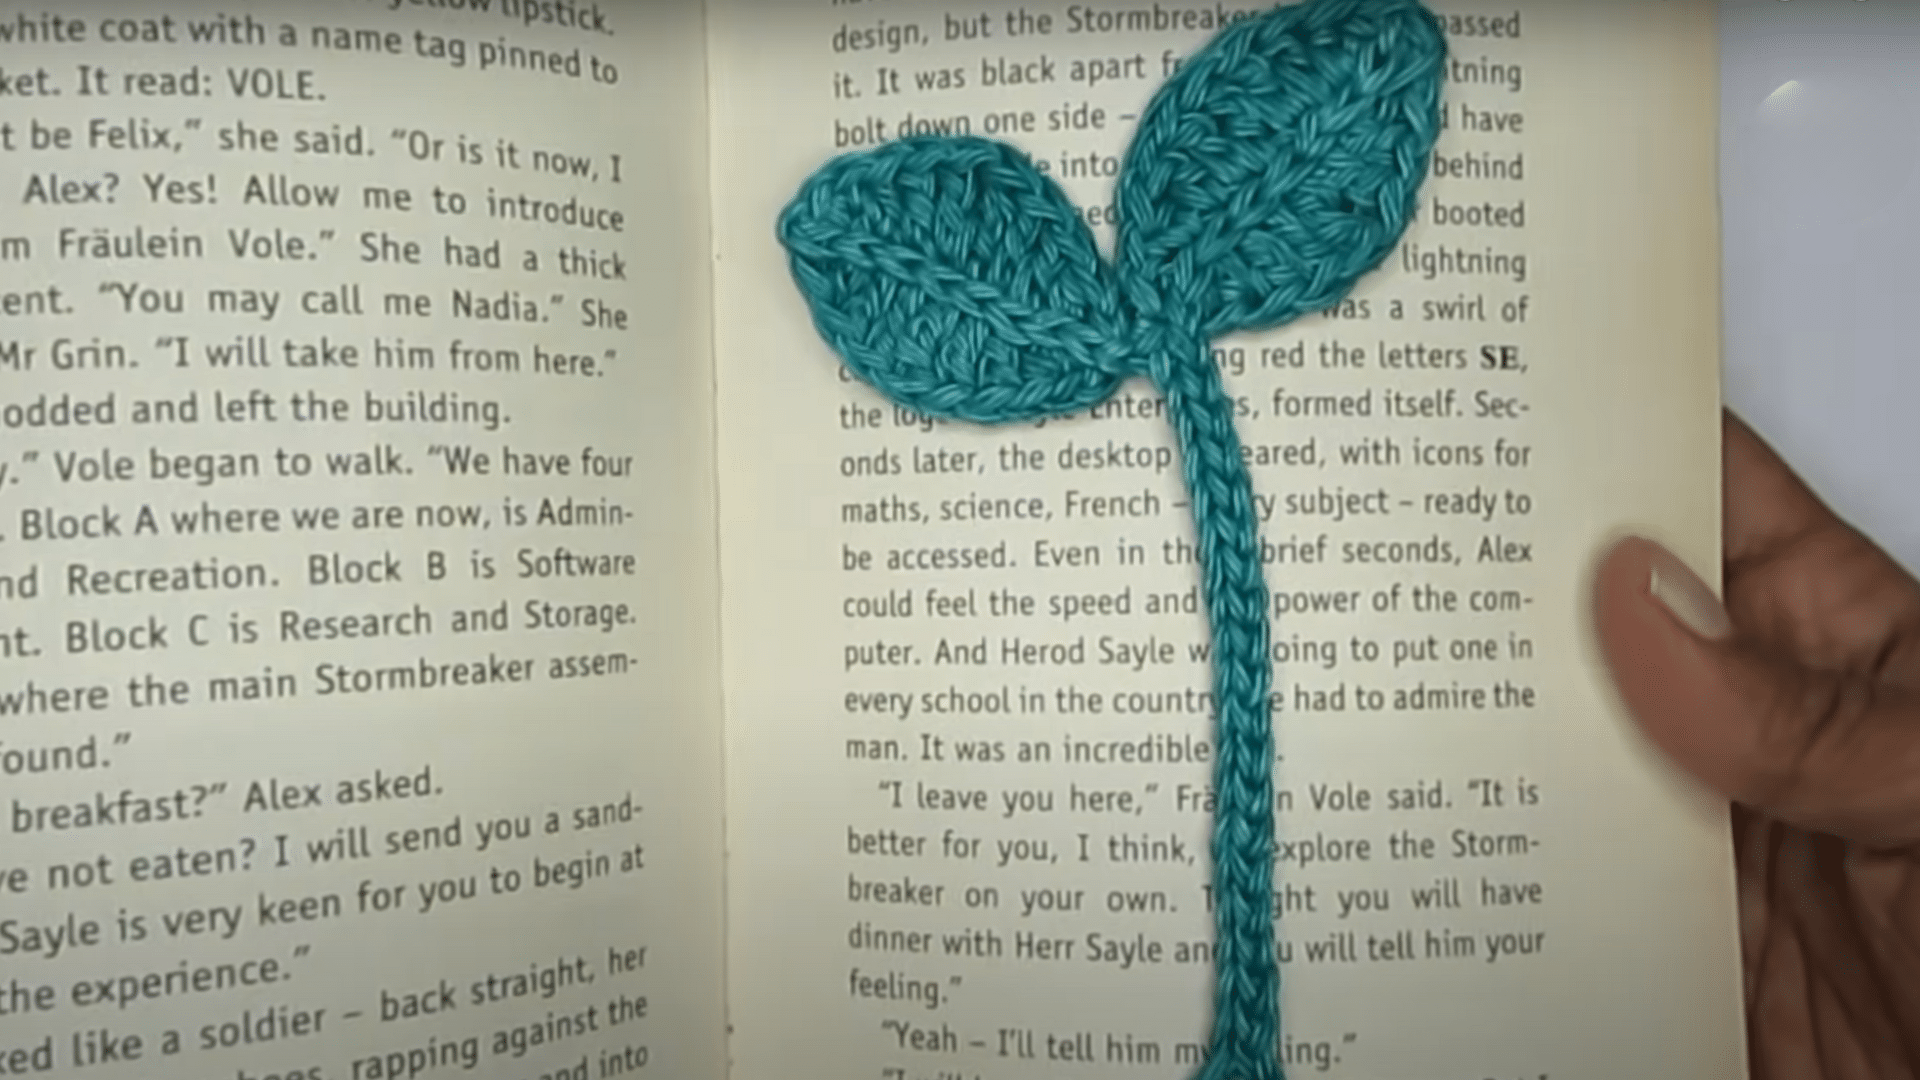
Place the crochet sprout between the pages of your favorite book for a nature-inspired touch. The small size and simple design make it a perfect bookmark that adds a bit of beauty without being bulky.
It’s also a great way to keep your spot while showing off your crocheting skills. Plus, you can easily customize the sprout with different yarn colors to suit your style.
2. Cable Tie
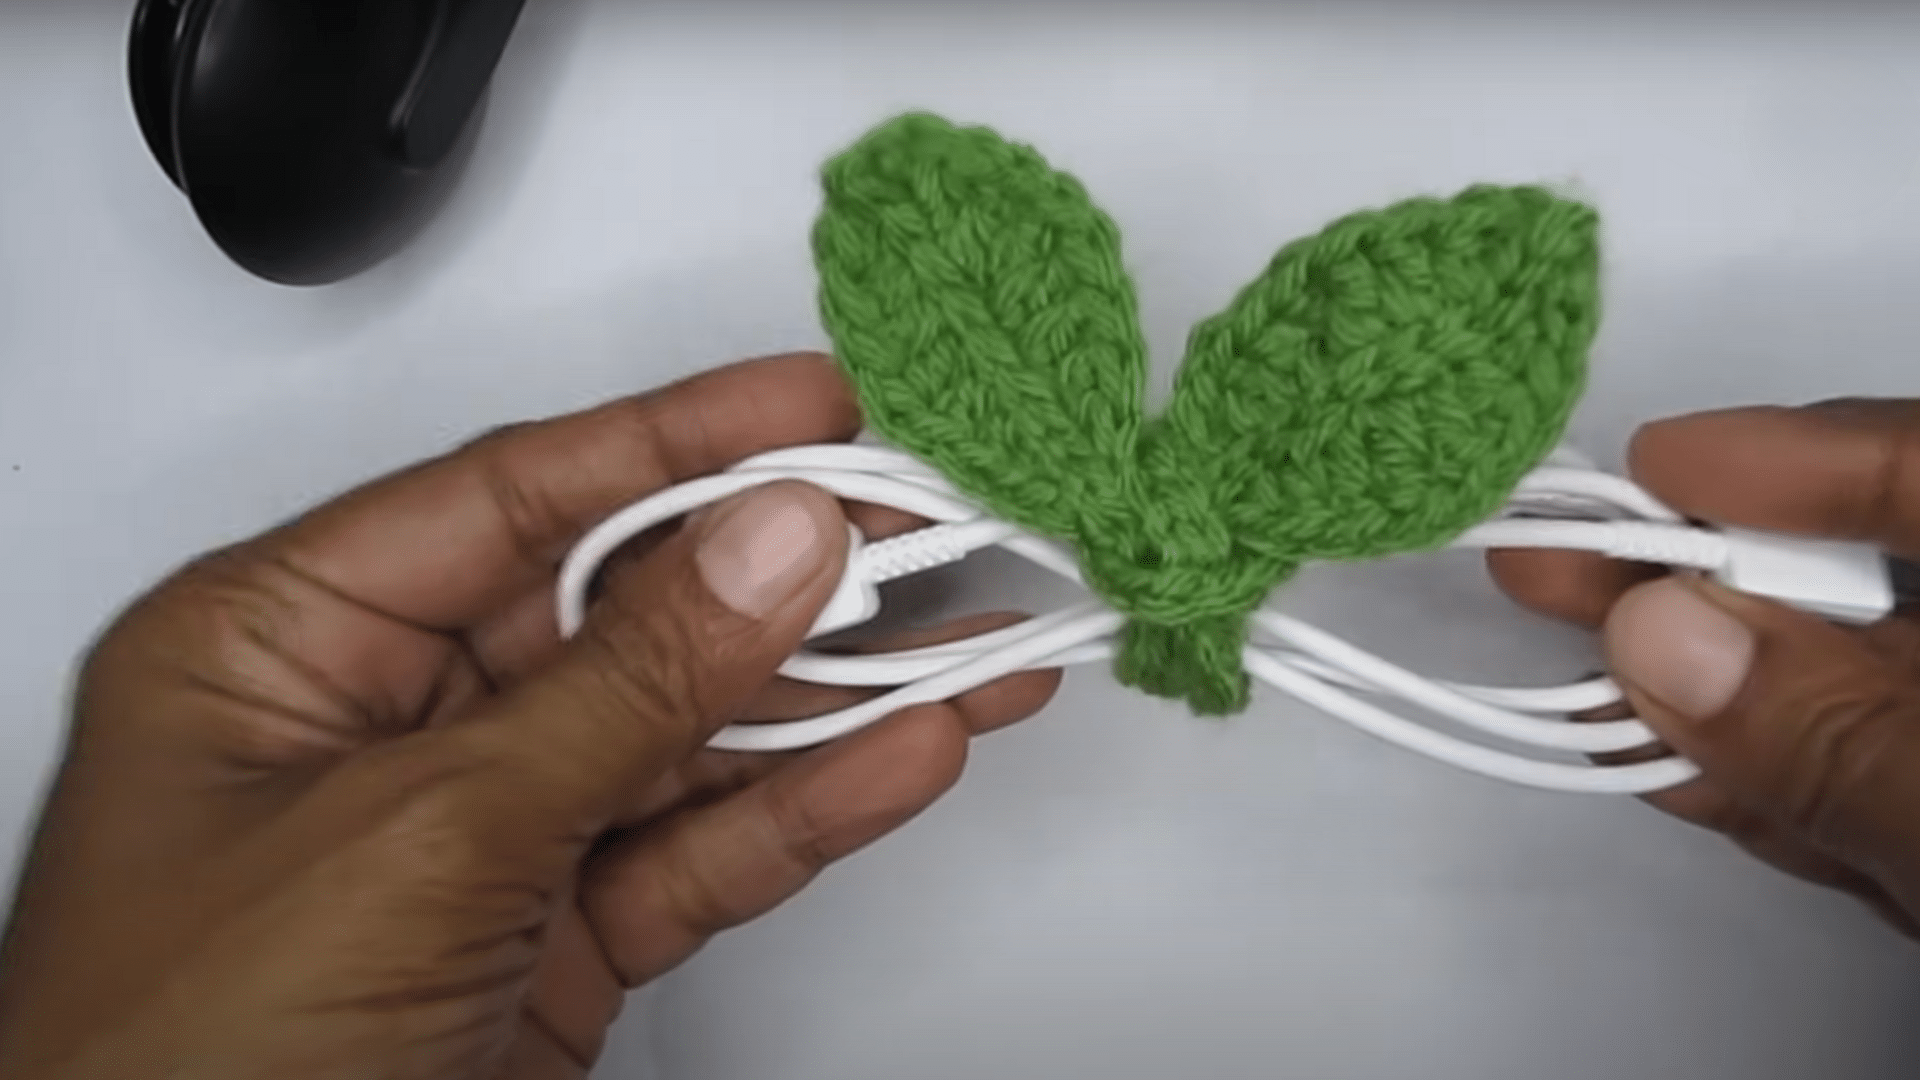
Use the crochet sprout as a decorative and functional cable tie. Wrap it around your charging cables, earphones, or other cords to keep them organized.
This not only prevents tangles but also adds a cute, personalized touch to your workspace or tech accessories. The sprout will help you keep things neat while looking adorable at the same time.
3. Headphone Accessory
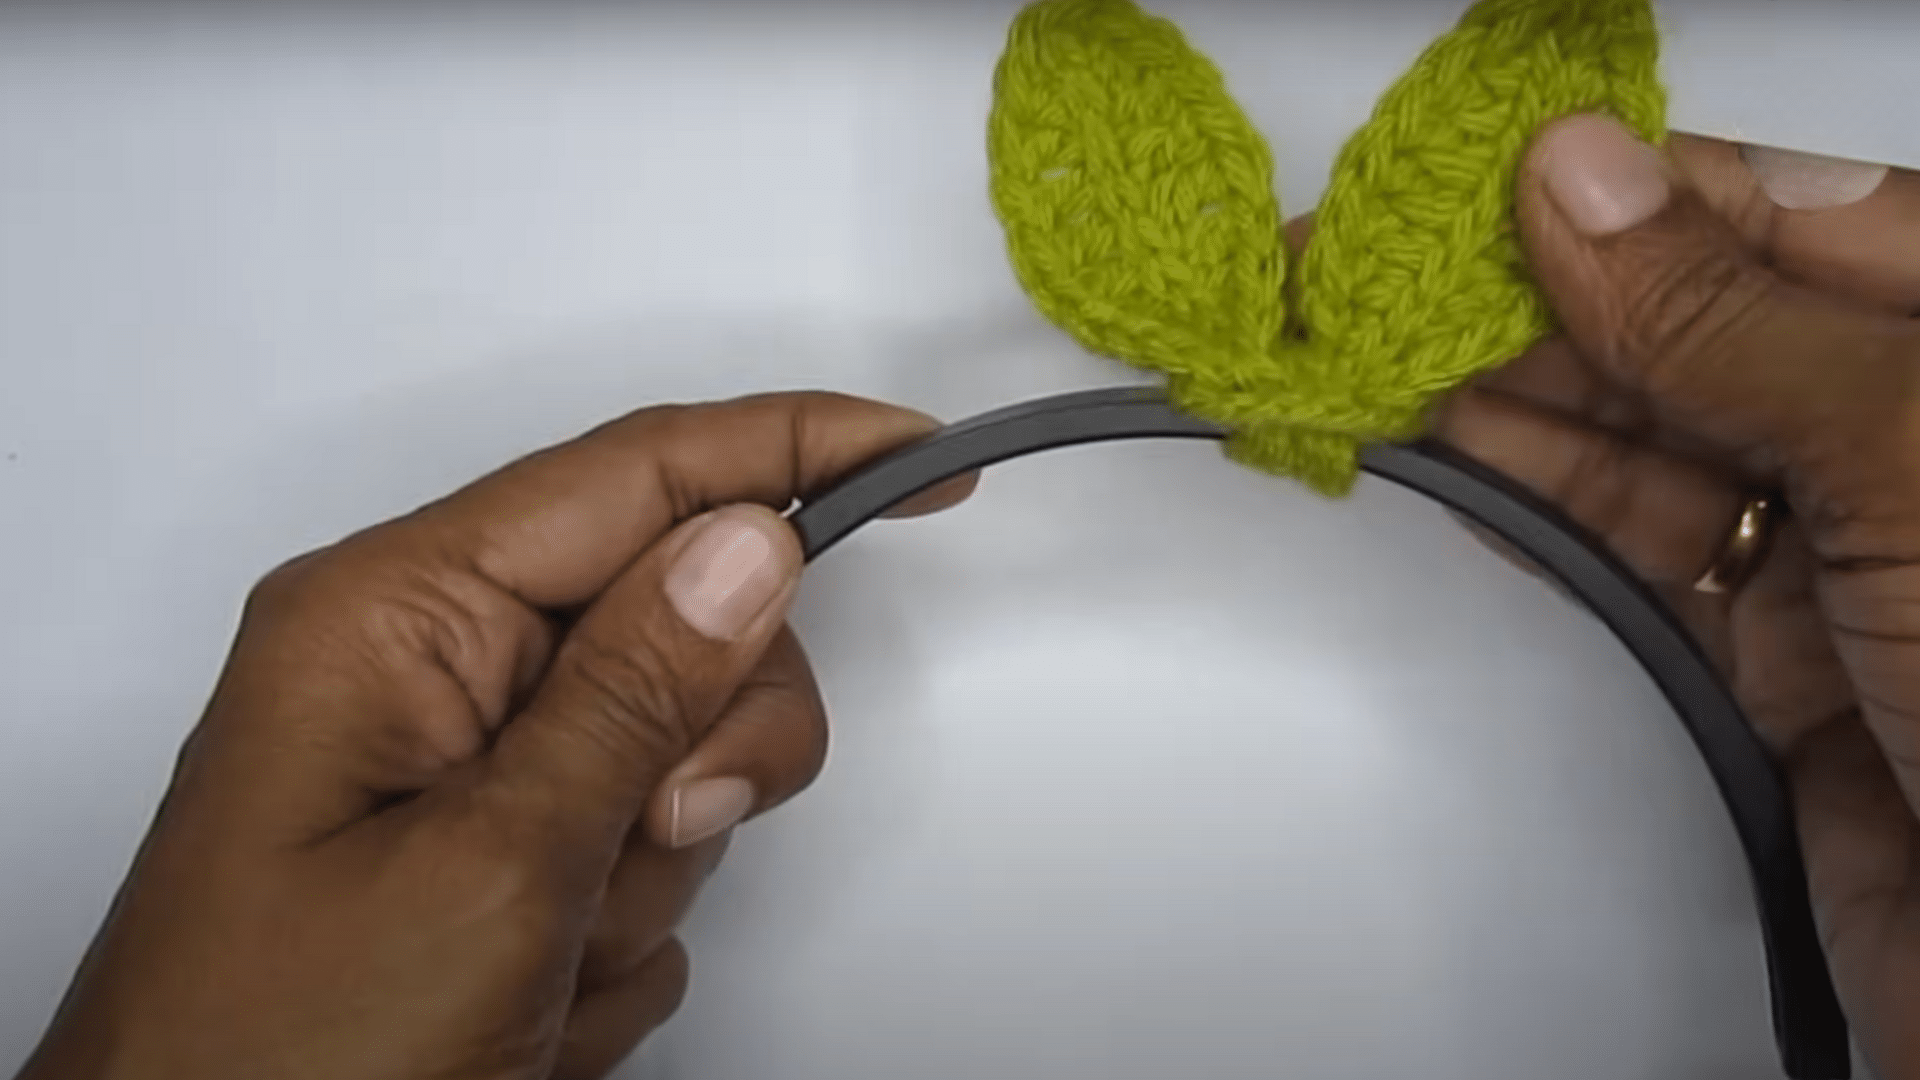
Attach the crochet sprout to your headphones for a unique, nature-inspired look.
The sprout can be easily tied to the headphone wire or placed near the ear cups to give your headphones a fresh, personalized design.
This small crochet piece adds a nice touch to your everyday items, helping them stand out in a simple and fun way.
4. Bag Charm
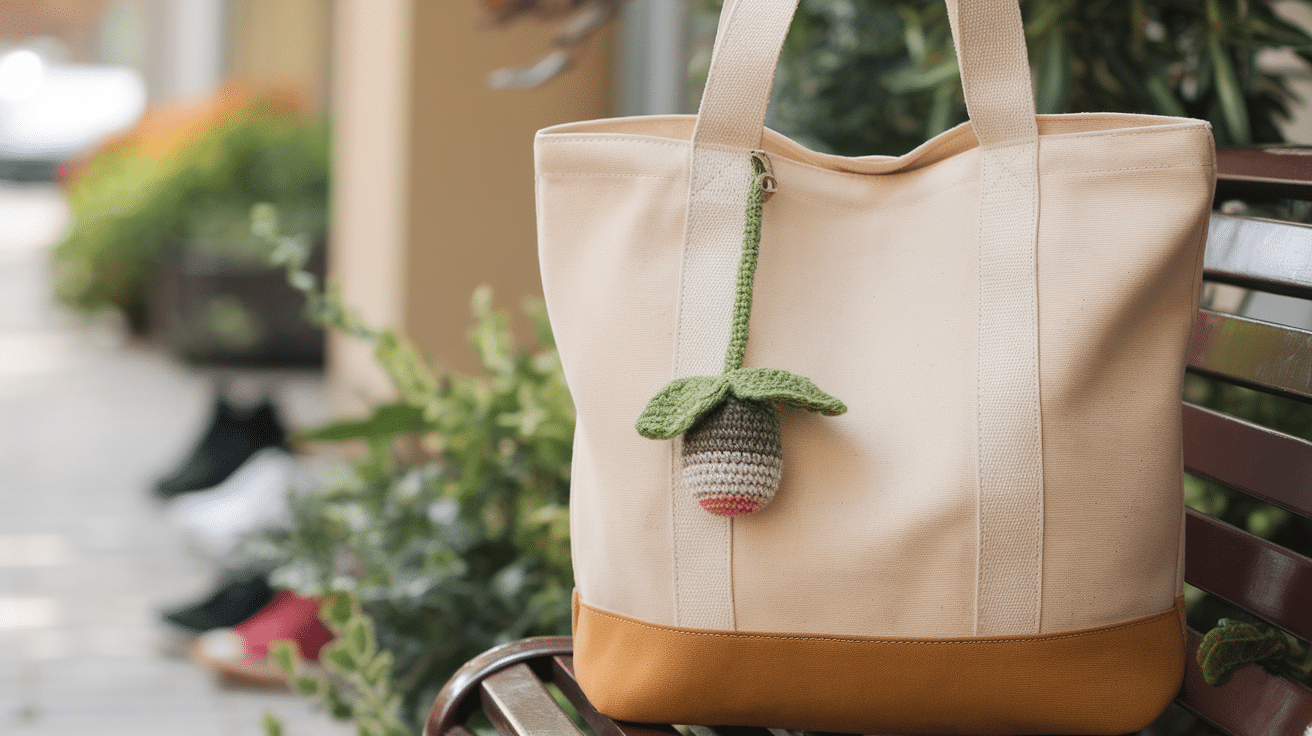
Add the crochet sprout to your bag zipper or strap as a decorative. It’s a quick and easy way to enhance the look of your bag while adding a playful, nature-inspired element.
You can attach the sprout with a small ring or tie it right onto your bag. It adds a personal touch and shows off your crochet skills and style.
Common Mistakes to Avoid While Crocheting a Leaf Sprout
Avoid these common mistakes to ensure your crochet leaf sprout turns out neat, even, and beautiful.
- Uneven Tension: Inconsistent tension can cause your stitches to be too tight or too loose, leading to an uneven sprout.
- Skipping Stitches: Make sure to count your stitches as you go to avoid skipping any and creating gaps in your work.
- Incorrect Leaf Shape: If your leaf doesn’t look right, check your stitch combinations and ensure you’re using the right stitches for shaping.
- Not Weaving in Ends Properly: Failing to securely weave in yarn ends can cause the sprout to unravel over time.
- Rushing the Process: Crocheting too quickly may lead to mistakes, so take your time and enjoy the process.
Crocheting Tips for Beginners
These tips will help you get started with crocheting your leaf sprout and improve your skills as you go.
- Start Small: Begin with a smaller chain to get comfortable with the basic stitches before tackling a larger project.
- Use Stitch Markers: Stitch markers help you keep track of your progress and avoid losing your place.
- Choose Light-Colored Yarn: Light-colored yarn makes it easier to see your stitches and ensures a cleaner finish.
- Practice Tension: Maintaining consistent tension leads to even stitches and a neat, uniform look in your project.
- Keep Practice Swatches: Create small test swatches to practice new stitches before starting your main project.
- Count Your Stitches: Regularly count your stitches to avoid mistakes and ensure your sprout stays even.
- Don’t Overthink Mistakes: If you mess up, just undo the stitch and try again. Crochet takes practice.
- Watch Tutorials: If you’re struggling with any step, there are plenty of helpful video tutorials available to guide you.
Conclusion
I hope this step-by-step helped you make your own crochet sprout. It’s a small project, but it’s a fun way to practice and try something new.
If you made a mistake, don’t worry, I had to redo a few stitches too. That’s just part of learning.
You can use your sprout as a bookmark, keychain, or even a gift. It’s simple, but it adds a handmade touch to anything.
Remember, the more you crochet, the better you get. If this was your first time, be proud that you finished it.
And if you’ve been crocheting for a while, maybe this sprout gave you a quick, relaxing project to enjoy. Thanks for following along with me. I’d love to know how your sprout turned out.
Keep your hook nearby; you never know what you’ll want to make next.


