


Looking for a quick and fun crochet project? I love making crochet coasters – they’re small, handy mats that are perfect for holding cups and glasses.
When I first started crocheting, coasters were one of my go-to projects. They’re easy to make, don’t take much time, and helped me build confidence with new stitches.
I could finish one in a single sitting and actually enjoy the process without getting overwhelmed.
In this blog, I’ll walk you through everything you need to get started. I’ll cover the basic tools and stitches, show you step-by-step how to make a set, and share my favorite tips for fixing common mistakes.
I’ll also throw in a few fun decorating ideas and creative ways to use or gift your coasters. Let’s get started!
What are Crochet Coasters?

Crochet coasters are small mats that you make using yarn and a crochet hook.
They are usually round, square, or shaped like flowers or hearts. Most coasters are just a few inches wide, which is just big enough to hold a glass or cup.
People use coasters to protect tables from heat, water, or scratches. For example, when you put a cold drink on a wooden table, water can drip and leave a mark. A coaster helps keep the table safe and dry.
Besides being useful, crochet coasters can also look really cute or cool.
You can make them in any color, with fun patterns like stripes, flowers, or even animal faces. They add a little personal style to your kitchen or coffee table.
One of the best things about crochet coasters is that they are great for beginners. They don’t take much yarn, they’re small (so not too time-consuming), and you only need to know a few basic stitches.
How to Crochet a Coaster: Step-by-Step Guide
Making a crochet coaster is a fun and easy project, even if you’re just starting out. Follow these simple steps to create your own coaster!
What You Need to Make Crochet Coasters
You don’t need anything fancy to get started. With just a few basic supplies, you’ll have everything you need to make your first coaster.
- Yarn: Cotton yarn is the best because it’s strong and easy to clean.
- Crochet Hook: Use the size that matches your yarn (usually size G, H, or I).
- Scissors: To cut the yarn when you are done.
- Yarn Needle: To sew in the loose ends after you finish.
- Stitch Marker (Optional): Helps you keep track of where you are when crocheting in rounds.
Step 1: Make the Starting Circle
To begin, make a slip knot and put it on your hook. Then chain 4 stitches. After that, insert your hook into the very first chain you made.
Yarn over and pull through to create a little circle. This is where you’ll build your coaster.
You’ll crochet into the center of this circle, not the chains themselves.
This starting method helps you make a strong base that holds its shape well.
Make sure the circle isn’t too tight so your stitches can fit easily inside.
Step 2: Crochet the First Round
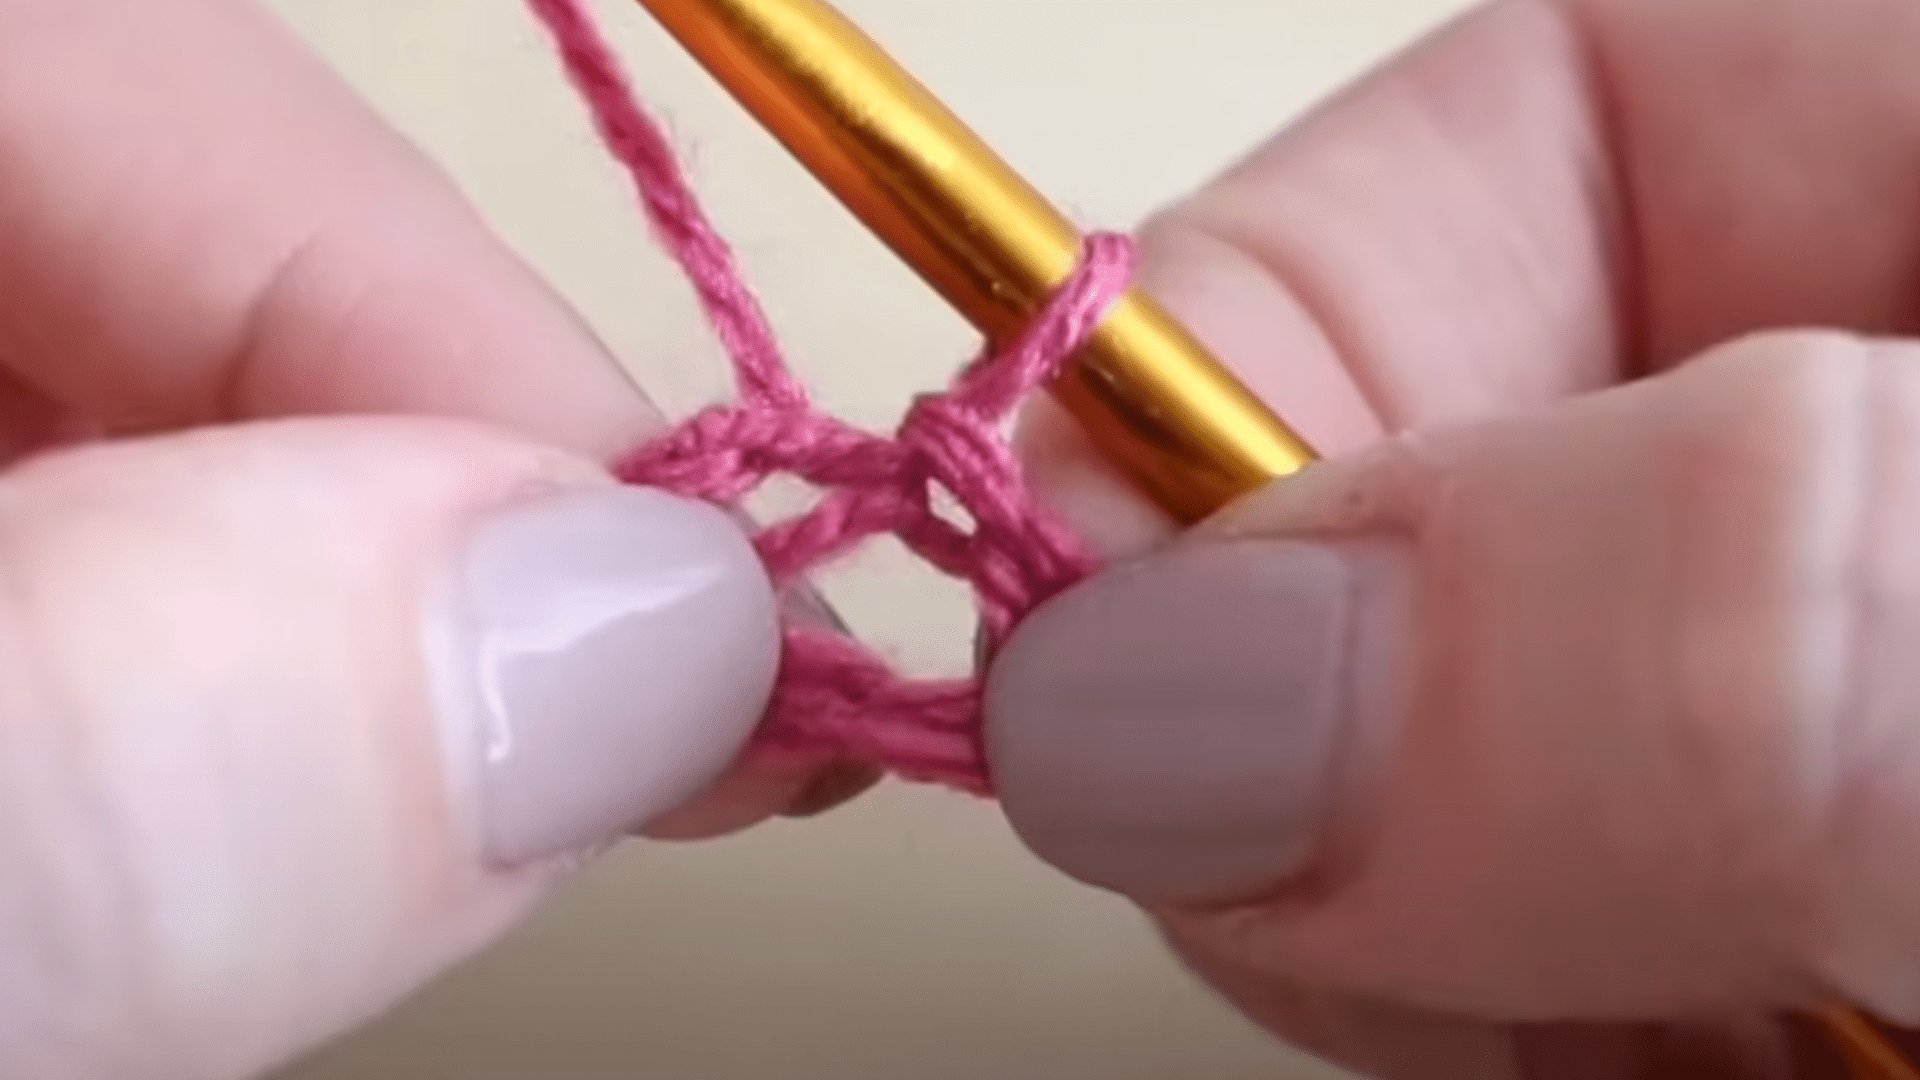
Now that you have your circle, it’s time to start the first round. Begin by chaining 3 stitches.
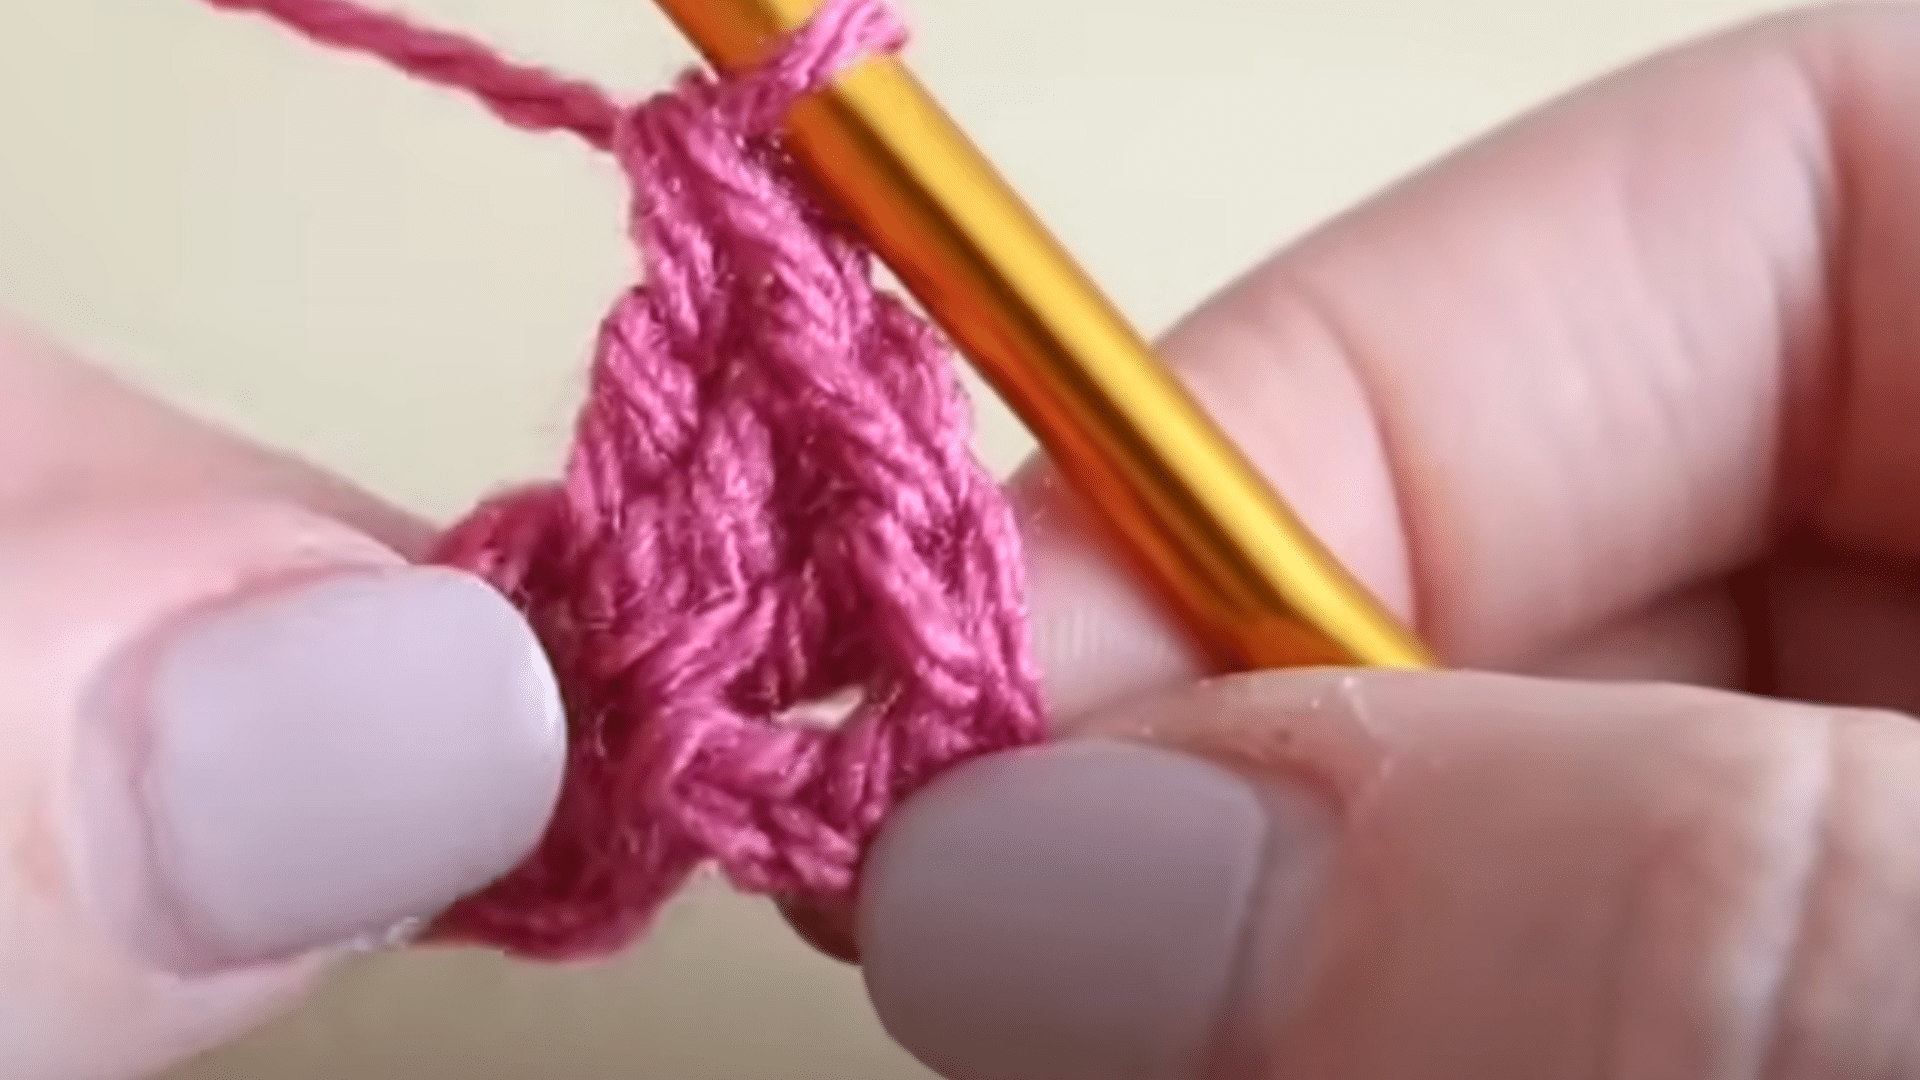
This chain will count as your first treble crochet stitch. Now yarn over, go into the center of the circle, and make 11 more treble crochets.
These should all go into the middle of the ring. When you’re done, you’ll have 12 stitches total.
To finish the round, insert your hook into the top of your starting chain-3 and make a slip stitch. This joins the circle neatly.
Step 3: Add More Stitches
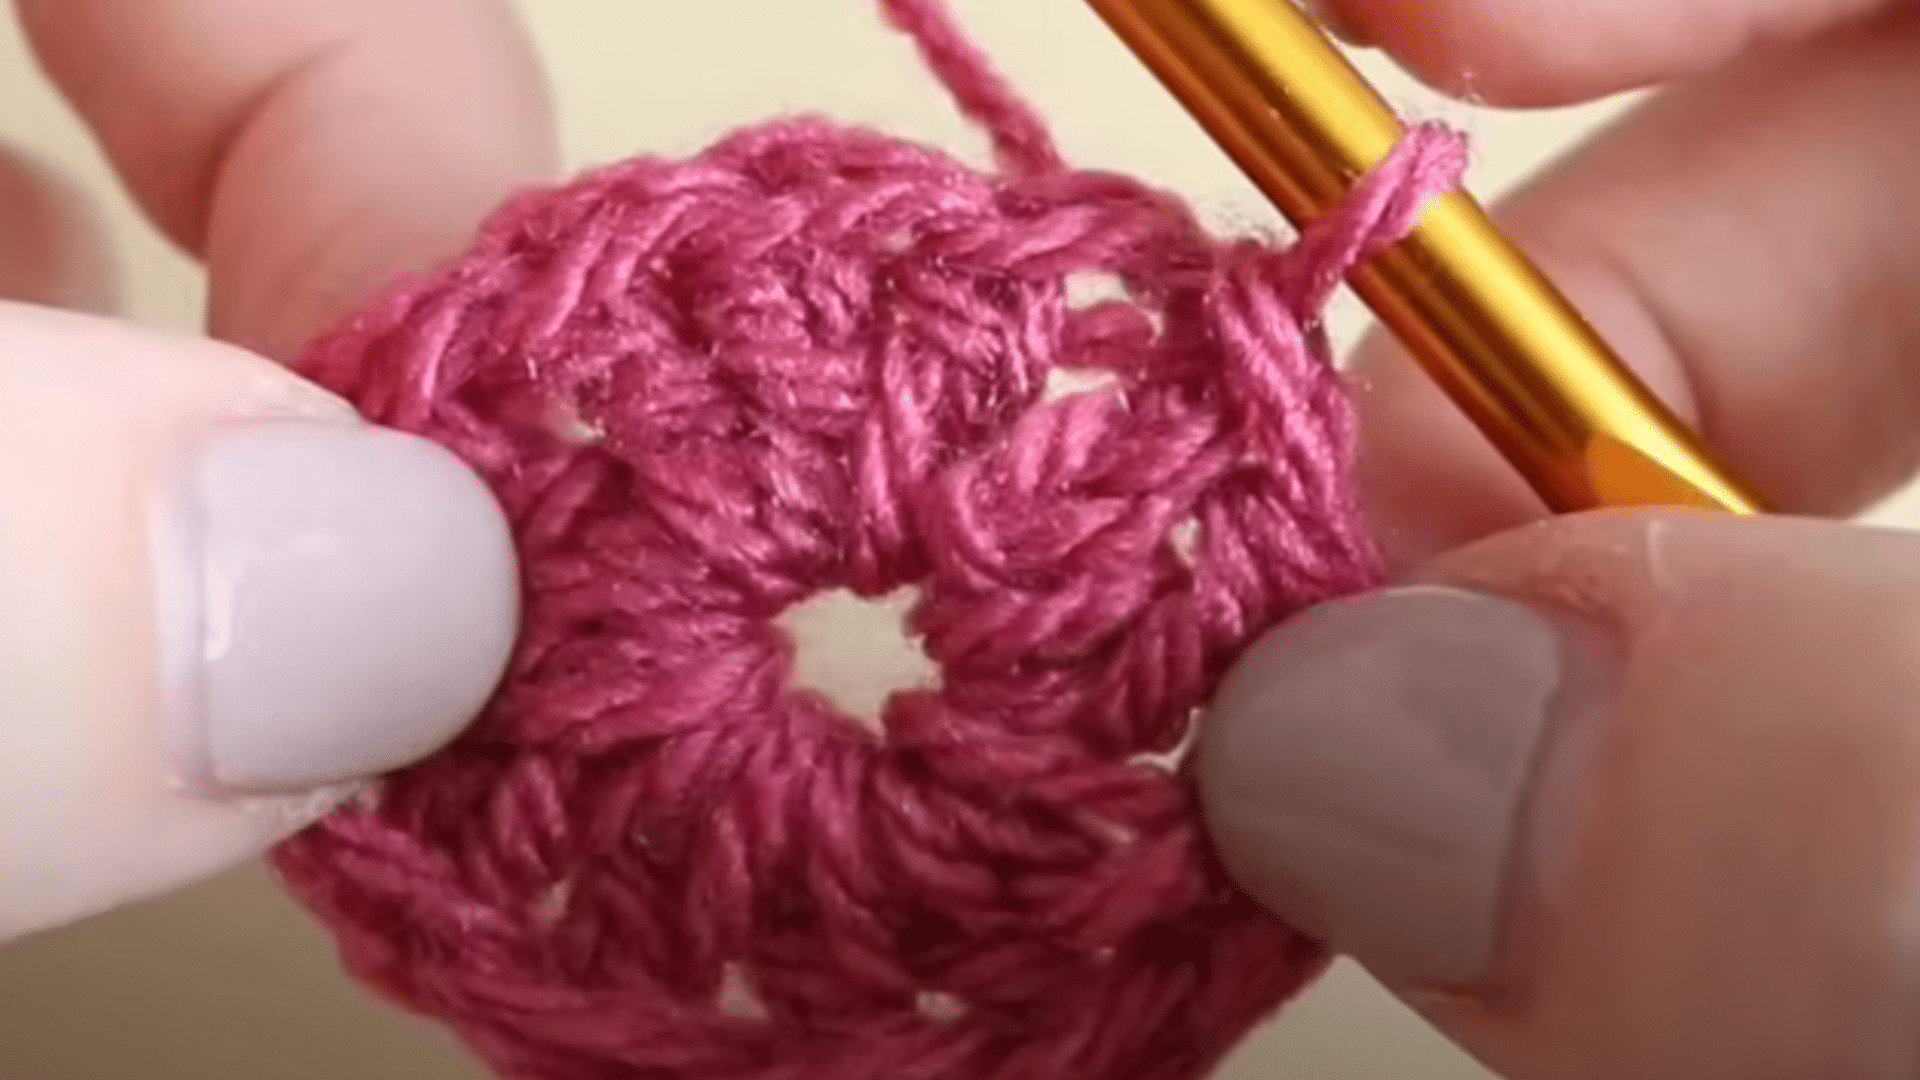
Start round two by chaining 3 stitches. Then, in the same space, make another treble crochet.
This means you now have 2 stitches in one space-this is called an increase. In every stitch from the first round, you’ll make 2 treble crochets.
This helps your circle grow bigger. Keep going all the way around, putting 2 stitches in each spot.
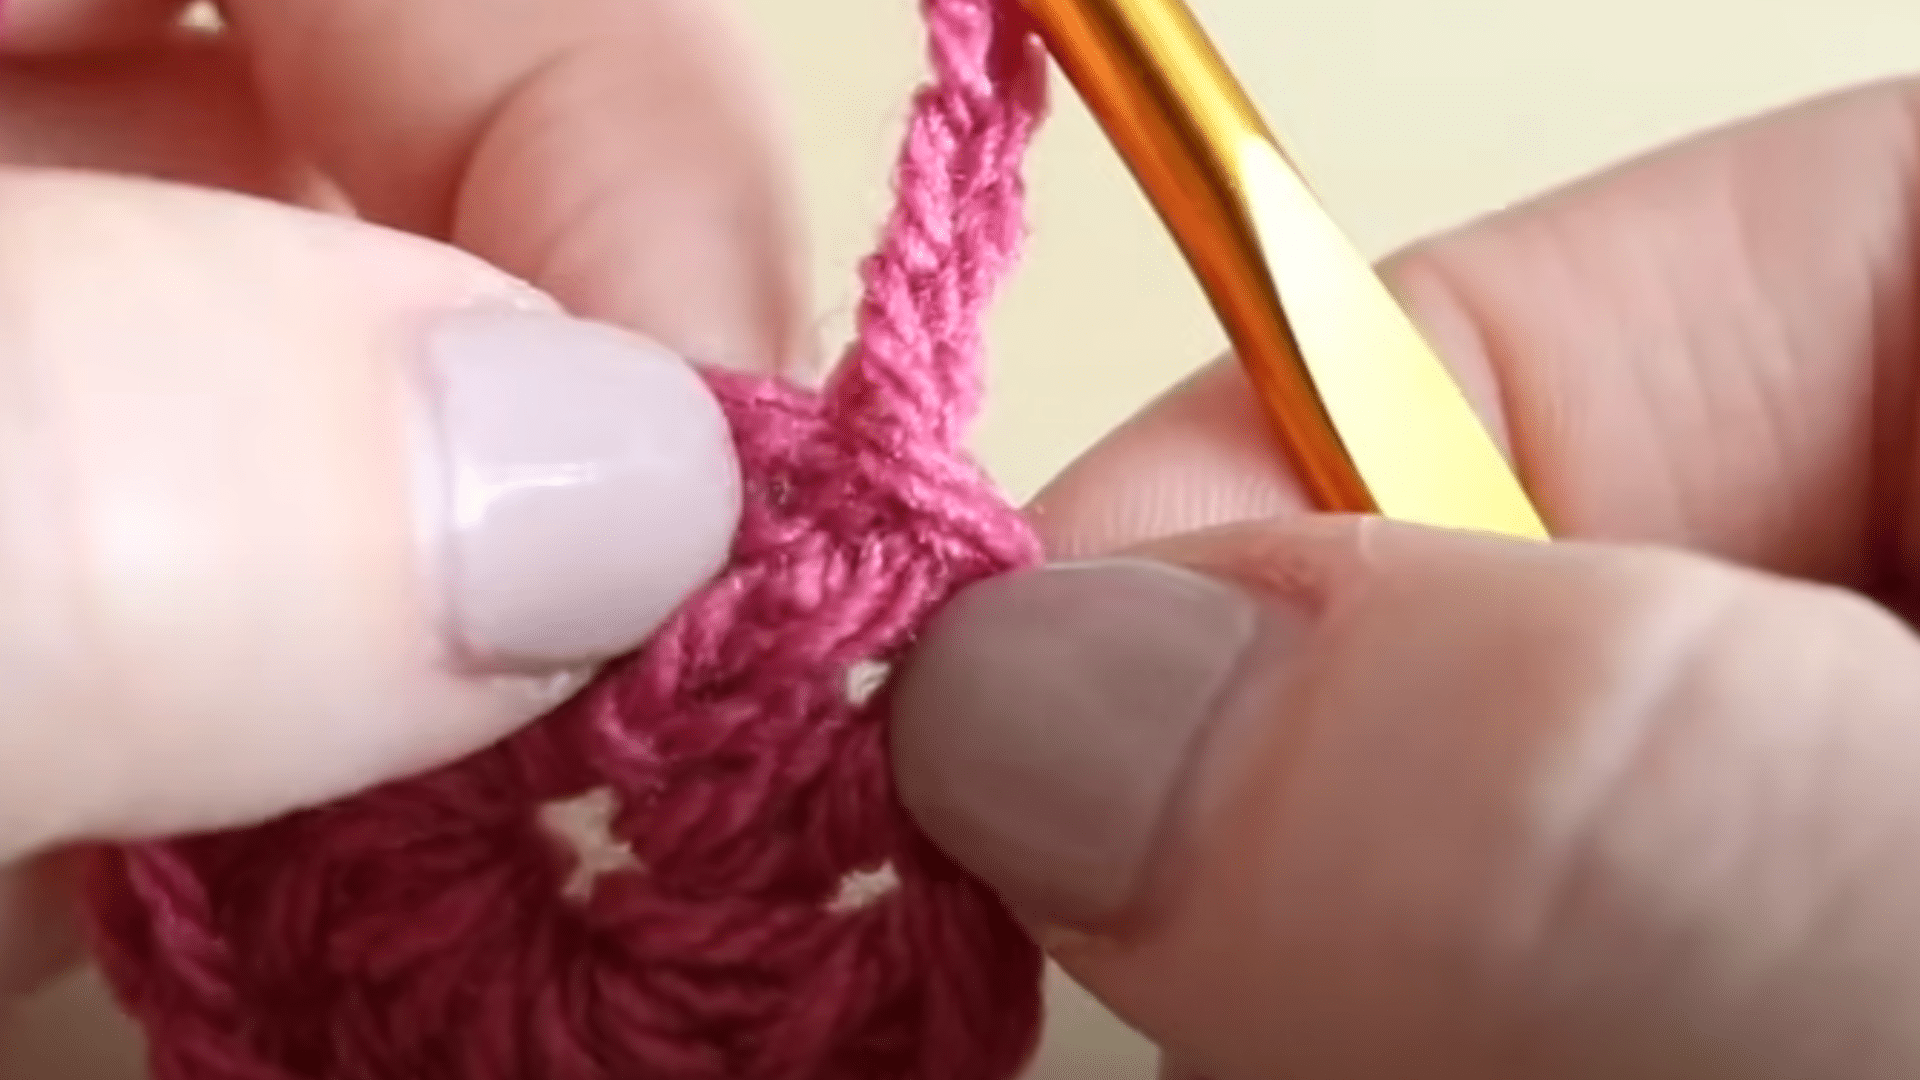
When you reach the end, join with a slip stitch into the top of your starting chain.
Now you should have 24 stitches in total.
Step 4: Follow the New Pattern
This round uses a pattern of one increase, then one regular stitch. First, chain 3 and make a treble crochet in the same stitch.
That’s your first increase. In the next stitch, just make one treble crochet. Then in the following stitch, make 2 trebles again.
Keep repeating: one increase, then one single stitch. This helps your circle grow evenly.
When you’ve done this around the whole circle, join with a slip stitch.
You should end this round with 36 stitches. The coaster will now look more like a flat circle.
Step 5: Make It Bigger

In this round, we increase the space between the doubled stitches.
Start by chaining 3 and making another treble crochet in the same stitch. That’s your increase. Now make one treble in the next two stitches-just one in each.
Then make another increase (2 trebles in the same stitch). Keep going with this pattern: increase, one treble, one treble.
Repeat until you reach the end of the round. Finish with a slip stitch at the top of your starting chain. You should now have 48 stitches total.
Step 6: Grow the Circle
This round continues the pattern by adding more single stitches between the increases.
Start with a chain 3 and make a treble in the same stitch. Now do one treble in each of the next three stitches.
Then, do an increase by making two trebles in the same stitch. Keep going like this: three single stitches, then an increase.
When you’ve finished the round, join with a slip stitch at the top of your starting chain.
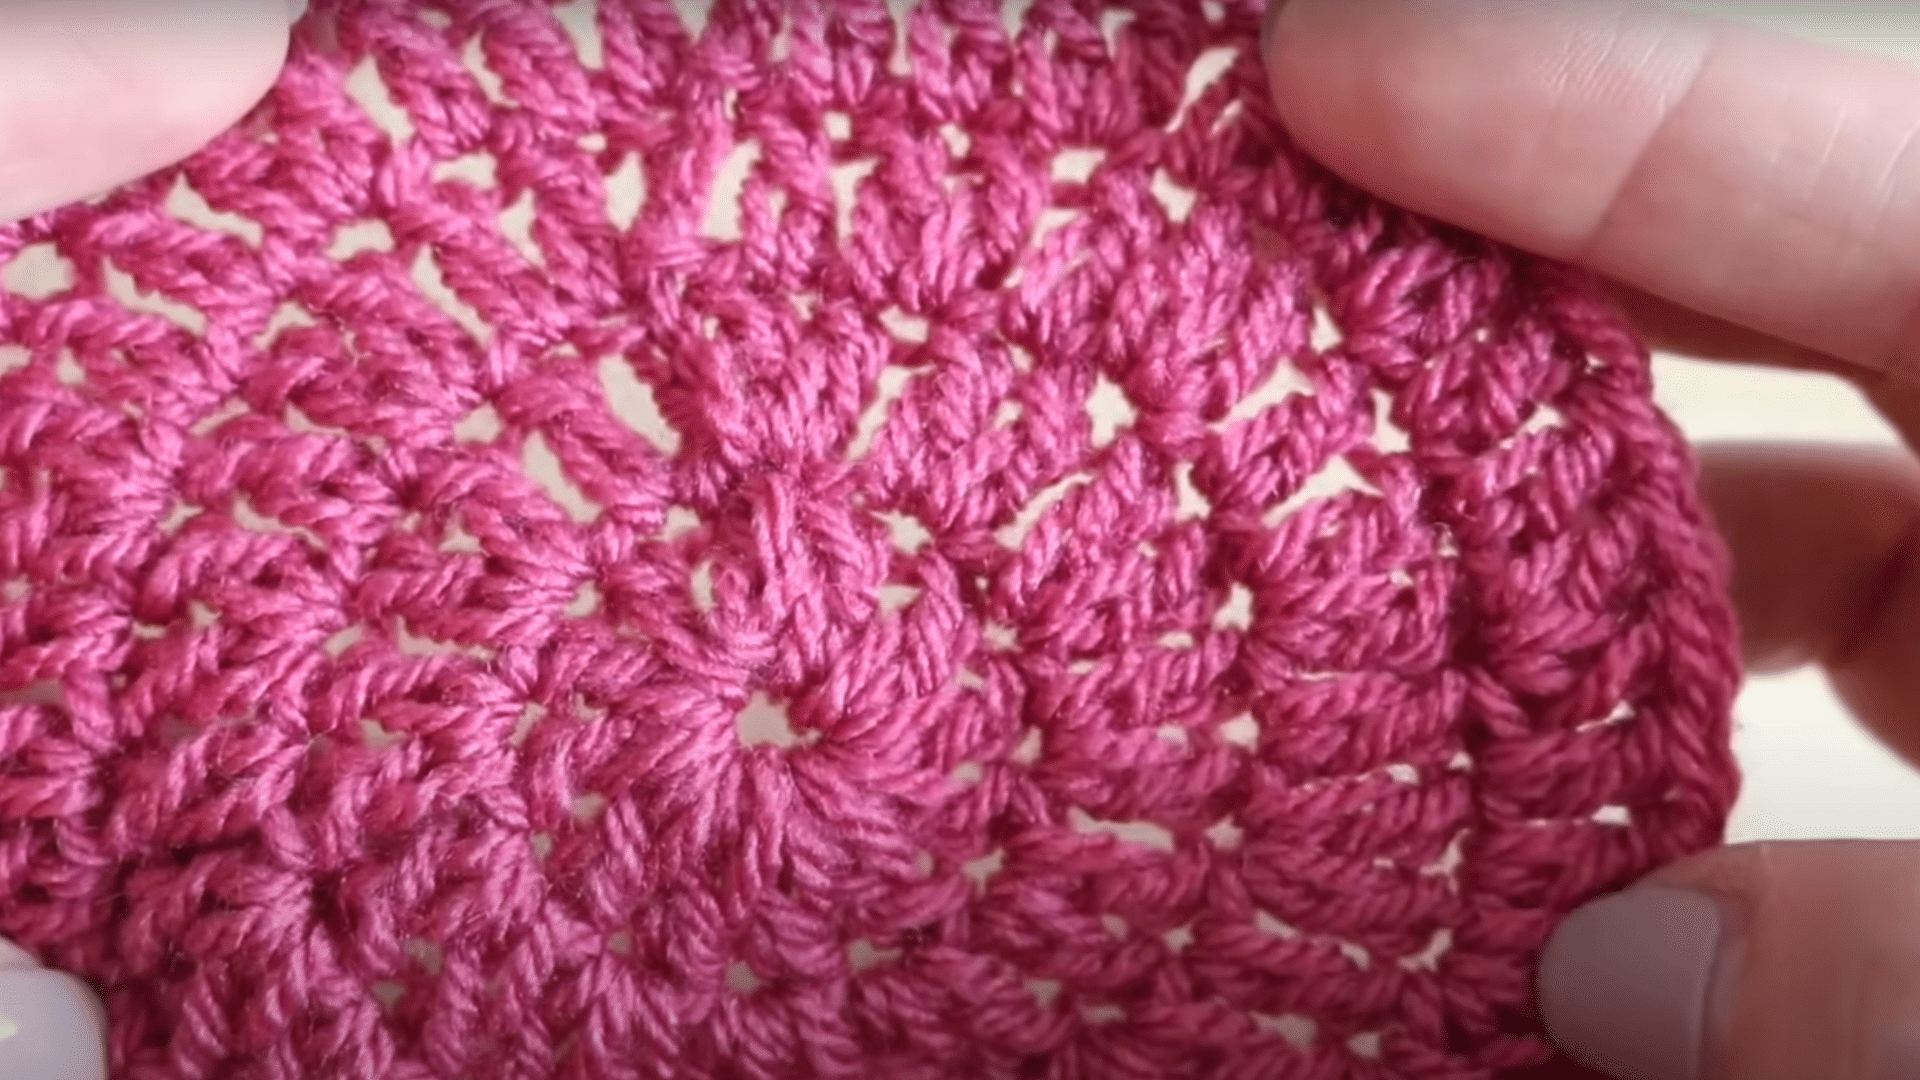
This gives you 60 stitches and a nice, flat circle.
Step 7: Add a Fancy Edge
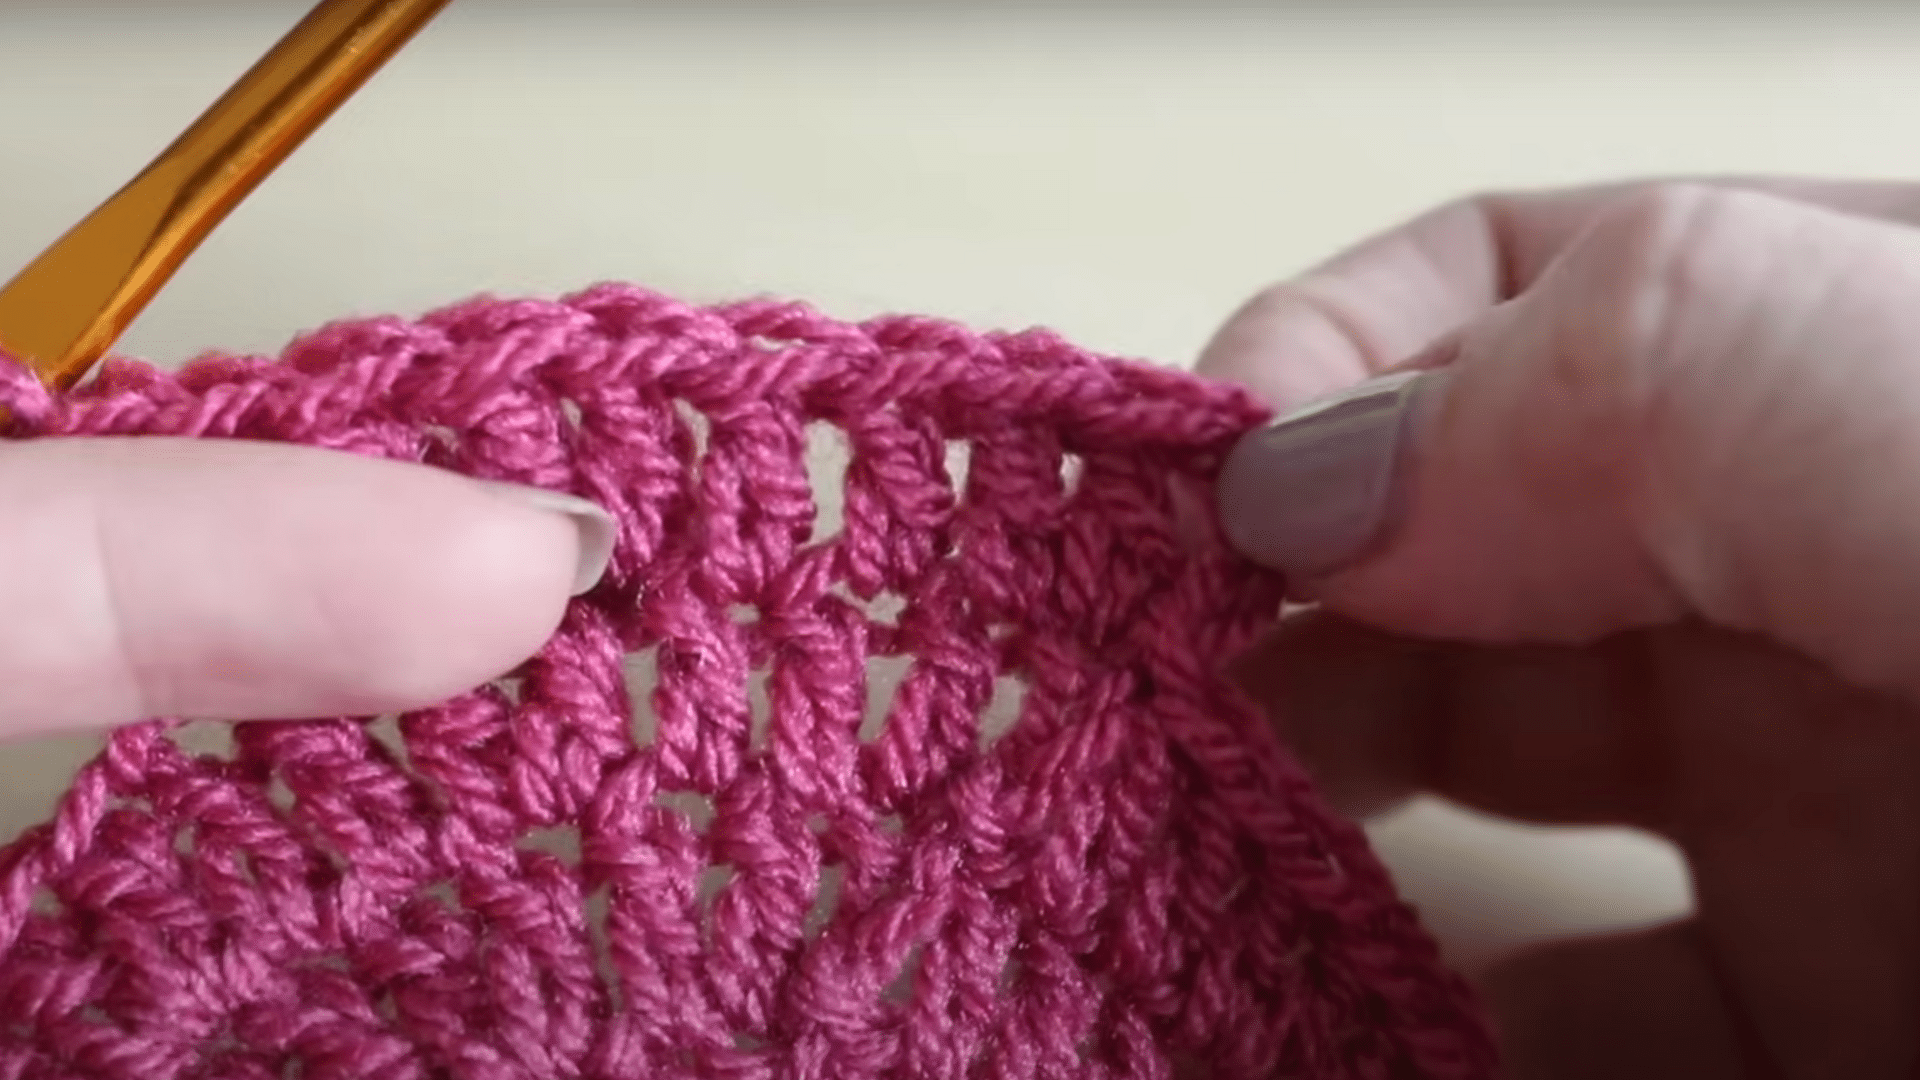
Once you’ve finished the last round, you can stop there or add a nice edge. A decorative edge makes the coaster look finished and more fun.
You can add a simple border or try something fancy like a scalloped or shell edge.
The video that goes with this guide shows some cool edge ideas in a separate tutorial.
You can use any edge style you like, and it will work no matter what size your circle is. This step is optional but adds a nice final touch.
Here’s the full step-by-step tutorial by @Bella Coco on YouTube that shows you how to crochet a coaster from start to finish. It’s beginner-friendly and easy to understand!
Easy Crochet Stitches to Know for Coasters
Before you start making crochet coasters, it’s good to learn a few basic stitches. These stitches are so simple, it hardly took me any time to pick them up.
| Stitch Name | Description | How to Do It |
|---|---|---|
| 1. Chain Stitch (ch) | The first stitch you usually learn. Looks like a little chain. Starts most projects. |
– Make a slip knot on your hook. – Yarn over (wrap yarn over the hook). – Pull yarn through the loop. – Repeat for more chains. |
| 2. Single Crochet (sc) | Short, tight stitch. Makes your coaster sturdy. |
– Insert hook into next stitch. – Yarn over and pull up a loop (2 loops on hook). – Yarn over again and pull through both loops. |
| 3. Slip Stitch (sl st) | Very small, flat stitch. Used to join rounds or move yarn. |
– Insert hook into next stitch. – Yarn over and pull through both the stitch and the loop on your hook. |
| 4. Magic Ring | Smart way to start round projects. Keeps the center tight with no hole. |
– Wrap yarn around two fingers to form a loop. – Insert hook under loop and pull up a loop. – Chain 1 to lock. – Crochet into the ring. – Pull the tail to close. |
Customizing Your Crochet Coaster
Crochet coasters don’t have to be boring! Once you know the basics, you can make them in different shapes, colors, and styles to match your home or give as gifts.
I like to make each coaster in a set unique and give it a little creativity for extra character.

1. Shapes
- Round Coasters: The round coaster is the most common. It’s easy to make because you just keep adding stitches in a circle. You can make it as small or as big as you like.
- Square Coasters: Square coasters are simple, too. Instead of working in a circle, you crochet in rows. You can use single crochet stitches or double crochet stitches to make a flat, even square.
- Heart-Shaped Coasters: Hearts are a fun choice, especially for gifts like Valentine’s Day. They are a little trickier than circles or squares, but once you practice, they come together quickly. Usually, you start by making a magic ring and then shape the heart with chains and stitches.
- Flower Coasters: Flower coasters look beautiful and can make any table look special. You usually start with a circle, then add “petals” by changing the stitches in each round. Flowers are great if you want a coaster that looks a little fancy but still doesn’t take too much time.
2. Using Different Colors and Patterns
You can make your coasters even more fun by changing colors as you crochet. Changing colors is easy. Just cut the yarn you’re using, tie on the new color, and keep crocheting!
- Use two or three colors to make stripes.
- Make the middle one color and the outside another color.
- Use rainbow yarn that changes colors on its own.
3. Adding Simple Borders
A simple border around your coaster makes it look finished and neat. Adding a border is a fun way to practice new stitches and make your coaster look extra special.
- Single Crochet Border: Go around the edge with single crochet stitches. It makes the coaster a little thicker.
- Picot Border: Add little points around the edge to make it look like lace.
- Shell Border: Make small groups of double crochets together to create a wave or shell shape.
Tips to Decorate Your Coasters
Once you know how to crochet a basic coaster, you can make it even more special by adding your own style. There are lots of easy ways to decorate and personalize your coasters.
- Stripes: You can make stripes by switching yarn colors after a few rounds or rows. To change colors, just cut the yarn you are using, tie on a new color, and keep crocheting. Stripes can be thick or thin – you get to choose!
- Color Changes: Besides stripes, you can create cool patterns by changing colors in the middle of a round or row. Try using two or three favorite colors together. You can even make a rainbow coaster by using many bright colors.
- Fun Yarns: There are lots of yarns that can make your coasters look different. Some yarns are fuzzy, shiny, or even have tiny specks of color in them. Using special yarn can make your coaster look extra fun without doing any extra work.
- Buttons: You can sew small buttons onto your coaster to add a cute touch. Pick fun shapes like flowers, stars, or hearts. Just make sure the buttons are flat enough so the cup or glass can still sit nicely on the coaster.
- Embroidery: If you know a little bit of embroidery, you can stitch simple designs onto your finished coaster. You could add a small flower, a heart, your initials, or even a smiley face! Use a yarn needle and a little extra yarn in a bright color.
Conclusion
Crochet coasters are a great project for beginners. They are small, easy, and fast to make. You only need a little yarn and a few simple stitches.
Coasters are useful because they protect tables and make great gifts. They also give you a fun way to practice your crochet skills and try new colors and shapes.
Ready to make your first coaster?
Now that you know how, it’s time to start! Pick your yarn, grab your hook, and give it a try.
Your first coaster doesn’t have to be perfect. Just have fun and enjoy learning. You’ll be making beautiful coasters before you know it!


