genericviagra

buy cheap cialis pill online lloyds pharmacy viagra cheapest without prescription farmacia online alprostadil

viagra no prescription required

cheap without prescription Cialis Super Active online meds where can i buy viagra cheap without prescription brand viagra online sildenafil online

canadian discount pharmacy

cheap without prescription Generic Levitra purchase tadalafil amoxicillin no prescription cheap without prescription pill online buy cheap generic viagra

yohimbe

Generic Viagra buy cheap cheap cialis impotence treatment cheapest without prescription buy viagra online stamina rx

buy prescriptions

buy cheap Viagra Super Active sildenafil citrate tablets soma pharmacy buy online cheap pharmacy cialis online

next day cialis

Zithromax cheap without prescription viagra sale online abortion pill online cheapest without prescription brooks pharmacy no prescription required

online pharma

buy cheap Viagra Soft viagra price comparison can i buy viagra online buy online order kamagra net pharmacy

viagra herbal

cheap without prescription Xenical discount viagra online lowest price viagra cheapest without prescription get viagra prescription online doctor

cialis generic

Levitra cheapest without prescription canadian rx canadian viagra online buy cheap canadian prescription drugs buy amoxil

Archive for the 'Painting' Category

Stamping Holiday Centerpieces

Wednesday, November 7th, 2007

stazon-napkin-4.gif

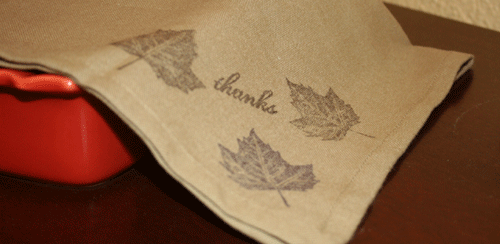
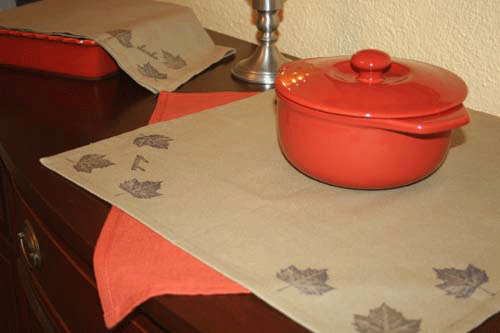
I borrowed this idea from an old Martha magazine – stamping napkins, tablecloths, or towels for the holidays. These large napkins could make lovely certerpieces or could line the table length or buffet that you serve from. A great, quick hostess gift or decoration for any holiday!

stazon-napkin-2.gif

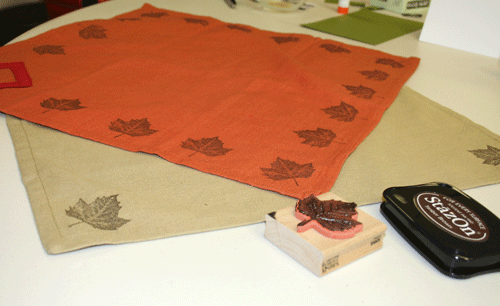
This is one of those perfect projects: Cheap, Quick, Simple, and Not Messy! Literally, a 5 minute project. As you can see some are stamped all the way around, in the corners only, or clustered around the corners. All these looks using only one stamp!

Needed:
Package of Cloth napkins
Stazon permanent ink pad
Holiday picture stamps or messages

stazon-method-1.gif

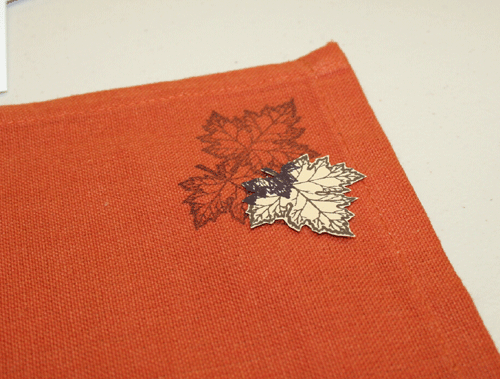
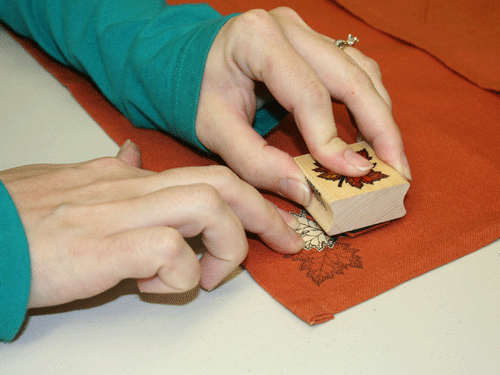
My friend also cut stamped a leaf and cut it out in order to stamp the leaves clustered in a corner without overlapping the leaves. The paper leaf blocks the ink to keep each leaf looking crisp.

amy-layer-detail.gif

amy-layer-stamp.gif

Note that I am only using Brown and Plum Stazon ink and one stamp so you can obviously be alot more creative with this idea! I am hoping to find holly leaf or star stamps to decorate for Christmas.

Pumpkin Coffee Canister

Friday, October 19th, 2007
pumpkincan7.jpg

Don’t know what to do with those empty coffee canisters? Turn them into pumpkins! My mom used to do this and they make great fall decorations and you can fill them with just about anything, or give them to the kids to use for trick-or-treating. Even if you’re not a crafty person, this project is easy and quick and virtually fool-proof.

Supplies needed:

Empty metal cans
Two different shades of acrylic orange paint
Black acrylic paint
Pencil
Sponge or sponge brush
Small paint brush or small sponge
Paper plate
nail and hammer, or electric drill and bit
Craft wire or a wire coat hangar

1) You’ll first peel the packaging off the can, and wash with soapy water to remove any residue; dry completely.

2) Drill two holes (or use the nail and hammer) about an inch below the rim on opposite sides of each other to place the handle. Be careful handling the can afterwards – the holes will be sharp on the inside, so you may want to file them down a bit.

pumpkincan1.jpg

3) Take the darker color orange paint and pour a little into the paper plate, then sponge the paint over the outer surface of the can. You can brush it on first if you like and them dab it to create texture. Let the paint dry completely.

pumpkincan2.jpg

4) Take the lighter color orange paint, pour a little into the paper place, and then using the sponge dab it into both colors and sponge onto the can, creating more texture and a more saturated color. Let the paint dry completely.

pumpkincan3.jpg
 
pumpkincan4.jpg

5) Using your pencil, draw on the eyes, nose, and mouth, using whatever template you already have or whatever’s in your minds eye. Then fill in with the black paint (in the same manner – sponging it on or dabbing it with a paint brush). You may need to do two coats so no orange shoes through.

pumpkincan5.jpg

6) The final step is attaching your handle. If you have a wire coat hangar around you may certainly use this, but you must also have pliers or a big, strong man to help twist the wire. Since I had a coat hangar, I decided to use one, but using craft wire may be the easiest to work with. You’ll stick one end through one of the holes, and twist it at the sides to keep it in the hole. Then you’ll do it from the other side.

pumpkincan6.jpg
 
pumpkincan8.jpg

To protect yourself from being poked by the sharp ends, you may want to sand them down a smidge. Then place on a mantle or table and voila! A pumpkin coffee canister that can hold cookies, candies, potpourri or even your art supplies.

Antique Wall Hangings

Friday, January 19th, 2007
antique-plaque.jpg

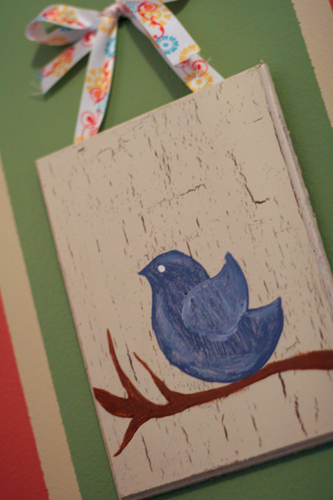
In an effort to spruce up my kitchen some, I decided to make some wall hangings. I didn’t want them to be basic and painted flat colors and look one-dimensional. So I headed to Lowe’s to check out the painting finishes they have. I found one that was just what I was looking for: crackling.

antique-plaque1.jpg

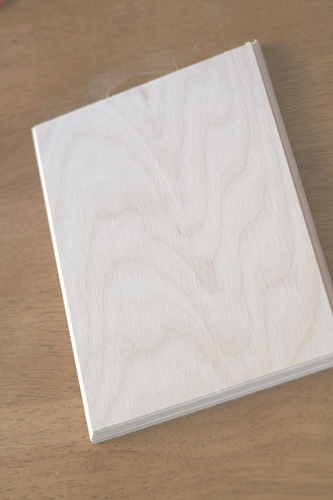
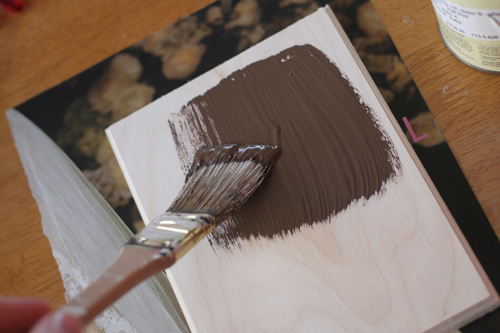
I picked up these unfinished plaques at Wal-mart for a dollar each, and used some paint that I already had. I wanted the finish product to be light, with some dark underneath, so I painted the base a coffee bean brown.

antique-plaque2.jpg

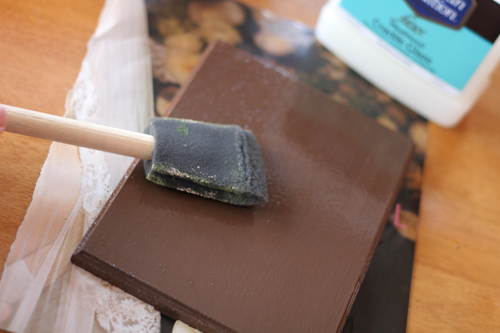
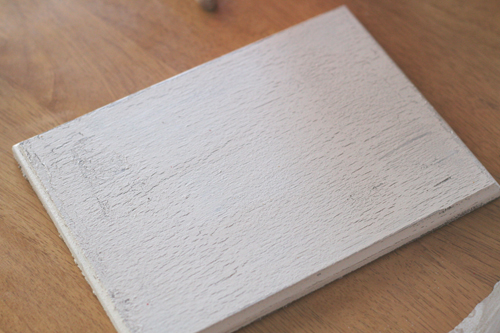
Once that dried, I applied the crackling glaze with a sponge brush, letting that dry completely before I added the top coat of off white.

antique-plaque3.jpg

As you can see, when it dries, the glaze doesn’t let the paint adhere to the entire surface, creating cracks in the paint and giving it that great antique-y finish.

antique-plaque4.jpg

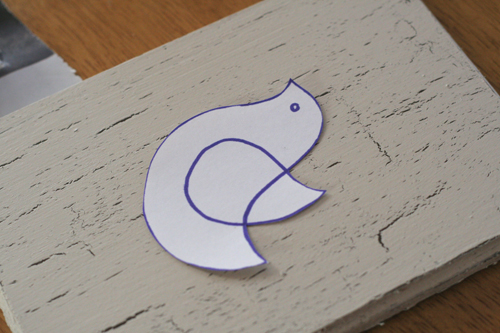
Next I decided on my shape (which would happen to be a bird, go figure – hey, atleast it’s not felt!), drew it, cut it out and then traced it on the wood with a pencil.

antique-plaque5.jpg

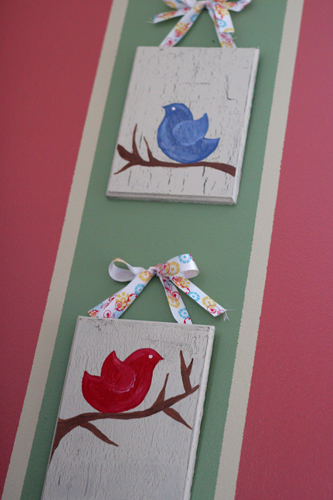
I then painted my bird and the branches, let dry and there you go – easy and inexpensive wall hangings with that old-world feeling to it.

antique-plaque6.jpg

The supplies cost about $10 (the crackling glaze ate up $8, but it spreads thin so a little goes a long way and you’ll be using this stuff for awhile) and all together took about 30 minutes, not including drying time.

Chalkboard Calendar

Friday, January 5th, 2007

chalkboardcalendar.jpg This idea is genius. And that’s why I heart Martha Stewart. With January inspiring ways to make your life more organized, here is a way to keep your busy self going in the right direction, on the right day, at the right time. The instructions are simple (just using variant shades of white and black chalkboard paint) and she even gives a pattern so you’re not left wondering which square to paint what. Click here to paint your own chalkboard calender.
Finger-Painted Canvases

Tuesday, January 2nd, 2007

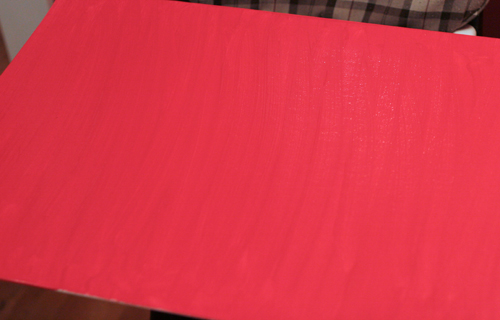
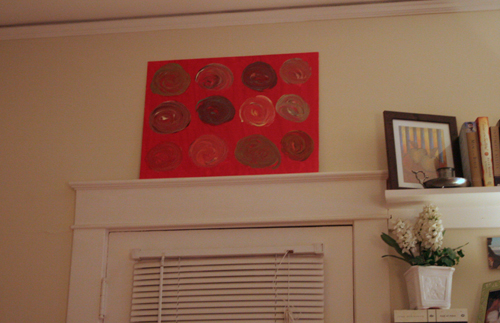
I have this bare spot above our patio door that I couldn’t decide what I wanted there. When I was cleaning out a spare closet, I found a new canvas I had never used and thought I would paint it and place it there.

canvas1.jpg

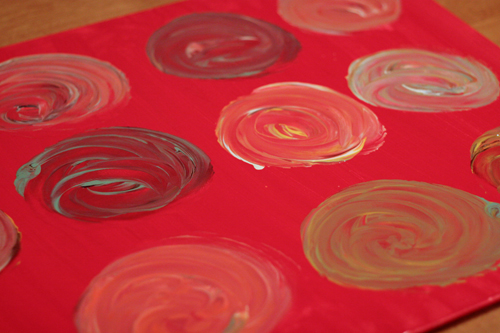
So I gathered my paints, painted the base layer on the canvas, and then applied the other colors I wanted, using my fingers to swirl and paint and make my designs.

canvas2.jpg

canvas3.jpg

canvas4.jpg

From start to finish it only took 30 minutes, and the total cost was about $7. And it doesn’t take a super-artsy person to pull this off, just someone who doesn’t mind getting a little paint on their hands.

canvas5.jpg