
Have you ever tried knitting socks from the toe up and gotten stuck at the heel? You’re not alone. That tricky heel flap can make even experienced knitters want to pull their yarn out.
In this guide, I’ll walk you through creating the perfect toe-up heel flap, step by step: no more holes, no more confusion, no more abandoned projects.
By the end of this article, you’ll understand:
- Why toe-up construction gives you more control
- How to create a strong, comfortable heel flap
- Simple tricks to avoid common mistakes
- Ways to adjust the fit for your unique feet
Ready to achieve the toe-up heel flap once and for all?
What Is a Toe-Up Heel Flap?
A toe-up heel flap is a unique way to shape the heel of a sock. Instead of knitting from the top of the sock down, you start at the toe and work your way up.
This method lets you customize the fit more easily. You can make the heel flap longer or shorter as needed, and you can adjust the foot length as you knit, ensuring a snug, comfortable fit.
There are three main benefits to this approach:
- Improved fit: Since you work from the toe up, you can try the sock as you go.
- Customization: You can add extra stitches or rows where you need them.
- No leftover yarn worries: With toe-up construction, you can knit until you run out of yarn. This is especially helpful if you’re using limited or expensive yarn.
Using a toe-up heel flap, you can create a more tailored, durable sock. It’s a great technique to learn, and once you try it, you may not go back to traditional top-down knitting.
Materials and Tools Needed
To get started, you’ll need a few basic supplies. I’ll walk you through them.
- First, you’ll need yarn. Pick something sturdy and soft. A medium-weight yarn works well for most projects. Make sure it’s durable enough to handle wear.
- Next, choose your needles. I like to use circular needles because they make it easy to work in the round. But if you prefer double-pointed needles, that’s fine, too. Just pick the size that matches your yarn.
- You’ll also want a measuring tape. This helps you keep track of length and ensures your project fits just right.
- Stitch markers are a big help, too. They keep everything organized so you don’t lose your place. I recommend having a few handy.
- Finally, it’s good to have a notebook or row counter. You can jot down notes or track your rows to stay on target.
That’s it! With these materials, you’re ready to start your project.
Step-By-Step Construction
Let’s break it down into simple steps. I’ll walk you through each stage so you can follow along easily. You’ll shape the toe, knit the foot, form the heel flap, turn the heel, and finish the leg.
1. Shape the Toe
Start by casting on stitches using a toe-up method. Increase evenly on both sides until you reach the desired width. Take it slow here. You’re setting the foundation for the whole sock.
Make sure your tension remains consistent during these initial rows, as this will affect how the sock fits around your toes. Count your stitches after each increase round to avoid mistakes that could throw off your pattern later.
This toe section should fit comfortably without being too tight or too loose. Remember that different yarns have varying degrees of stretch once the sock is worn.
If you’re new to sock knitting, it might help to try on the beginning of the sock as you go to ensure you’re creating the right shape for your foot.
2. Knit the Foot
Once the toe is done, continue knitting in the round to build the length of the foot. This is a great time to try the sock and check if it fits correctly. Adjust as needed before moving on.
As you work on the foot section, maintain an even tension throughout your stitches to create a comfortable and consistent fabric.
Remember that the foot should be knit until it reaches about 2 inches less than the total foot length, as the heel construction will add the remaining length.
You can also use this opportunity to add any decorative stitches or patterns to the top of the foot if desired. However, many knitters prefer to keep this section in simple stockinette stitch for maximum comfort when worn with shoes.
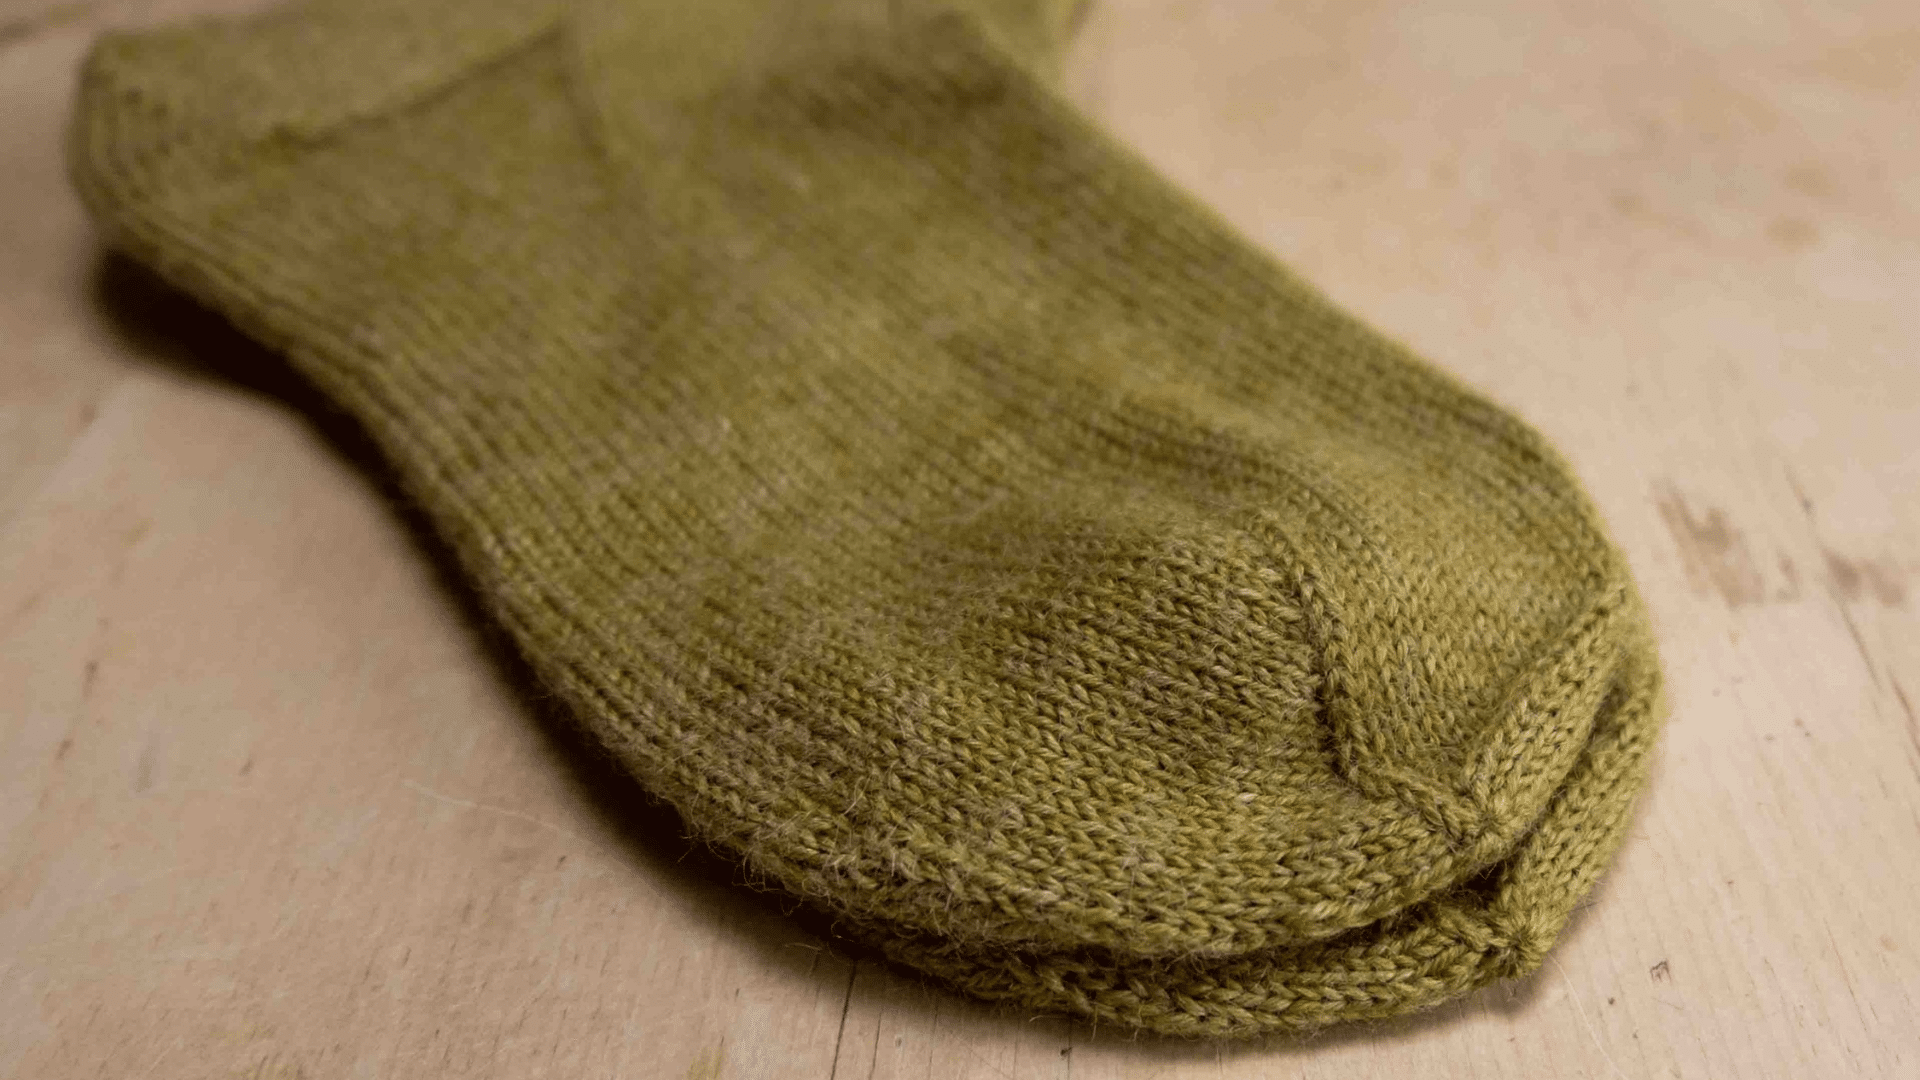
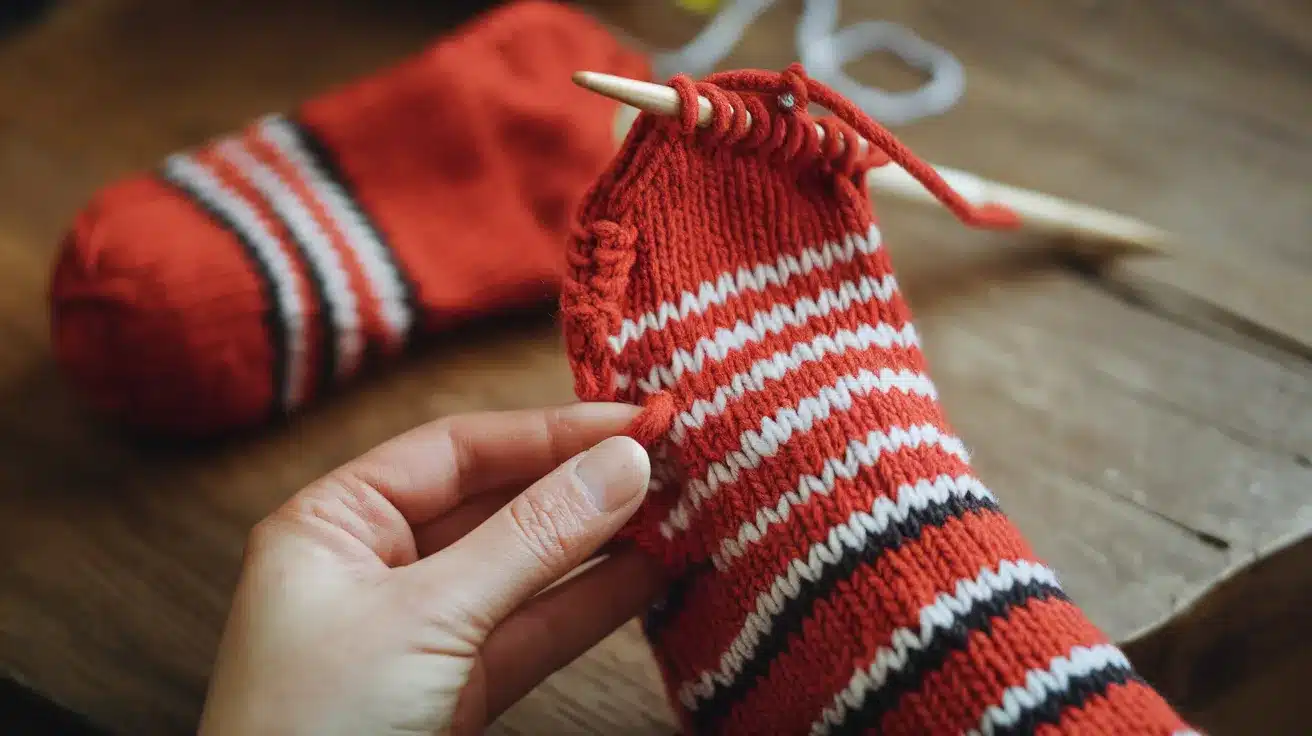
3. Create the Heel Flap
When you’ve reached the heel, stop knitting in the round and work only a portion of the stitches. Knit back and forth to form a rectangular flap. This flap will eventually wrap around the back of your heel. Pay attention to the number of rows you knit so both socks match.
For best results, consider marking the beginning of your heel flap with a stitch marker or piece of contrasting yarn. This makes it easier to count rows and maintain consistency.
The heel flap is typically worked over half of your total stitches, though patterns may vary. During this section, many knitters incorporate a slip-stitch pattern, which creates a denser, more durable fabric to withstand the friction and wear that heels typically experience.
Remember that heel height should be proportional to foot size – a taller heel flap works better for larger feet.
4. Turn the Heel
After the flap, it’s time to turn the heel. This means shaping it so the sock fits snugly around your heel. Using short rows, work the stitches to create a smooth curve.
It might take a little patience, but once you get the hang of it, you’ll see how neat and comfortable it looks. The technique involves working back and forth on a portion of stitches while leaving others unworked temporarily.
This creates the cup-like shape that hugs your heel naturally. I find it helpful to place markers before starting this section to keep track of where I am in the pattern.
Remember that tension is important during this step – maintaining your stitches even will result in a more comfortable fit and prevent any tight spots that might cause discomfort when wearing your finished socks.
5. Finish the Leg
Once the heel is turned, you’ll return to knitting in the round. From this point on, it’s all about building the length of the sock’s leg. You can make it short for an ankle sock or longer for a cozy fit. Adding ribbing at the top helps keep it in place and gives a clean, finished look.
Consider your yarn choice carefully at this stage – thicker yarns create warmer socks ideal for winter, while lighter weights offer breathability for everyday wear.
Many knitters also like to incorporate decorative stitch patterns on the leg portion since it’s the most visible part of the sock when worn. Remember that the leg should have enough stretch to slide over your heel but still hug your calf comfortably without cutting off circulation.
By breaking down each section into these steps, you can focus on it one at a time. Remember, there’s no rush. Enjoy each stage, and watch your sock take shape.
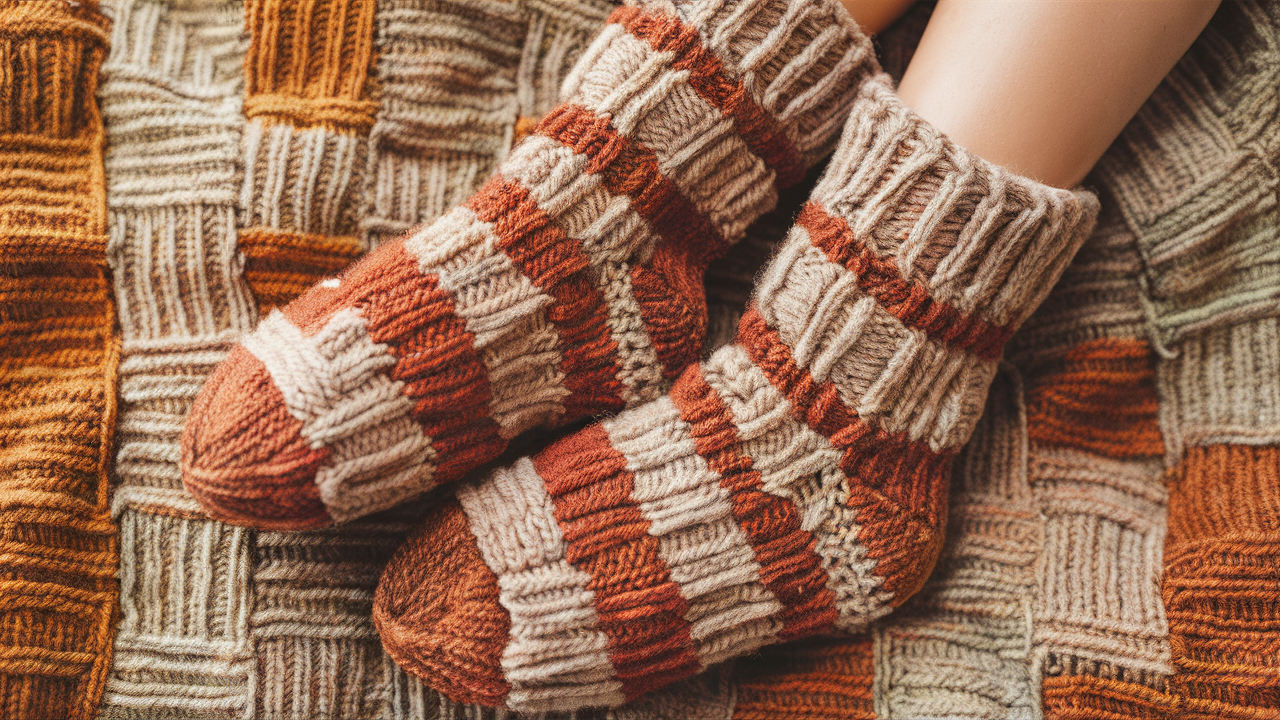
Choosing the Right Yarn for Your Heel Flap
I’ve knit hundreds of socks, and here’s what I know: the right yarn makes all the difference in your heel flap. Why does it matter? Your heel takes a beating with every step you take.
The best sock yarns contain nylon – about 25% is perfect. This gives your heel strength without making it stiff or scratchy. Want to know a secret? Many knitters overlook yarn twists. A tightly twisted yarn resists abrasion better than a loosely spun one.
My go-to yarn picks:
- Opal (tough as nails and machine washable)
- Regia (holds up for years)
- Lang Jawoll (comes with reinforcement thread in the label!)
- Cascade Heritage (soft but strong)
Using a special yarn without nylon is no problem. When working the heel, add a strand of thin reinforcement thread. Stick with fingering weight for heels. Heavier yarns feel lumpy in shoes, and lighter yarns wear through too quickly.
Match your needle size carefully. Too loose, and your heel will wear out fast. Too tight, and your sock will not fit over your heel.
Effective Tips for Success
I’ve made every mistake possible when knitting toe-up heel flaps. Learn from my failures instead of making them yourself!
1. Use Stitch Markers Religiously
Those little rings aren’t just decorations. Place them at the beginning and end of your heel flap. This simple habit prevents the most common mistake – working too many or too few stitches.
2. Count Often
Stop and count your stitches after every few rows. It takes seconds but saves hours of frustration. When in doubt, count again.
3. Use the Right Needle Size
The heel needs to be firm, not loose. I often go down one needle size just for the heel section. This creates a stronger fabric that will last longer.
4. Take Notes
Jot down what works for your feet. Everyone’s foot shape is different! Your perfect heel flap might need adjustments that aren’t in any pattern.
5. Practice on Worsted-Weight Yarn First
Thin sock yarn can be tricky to see. Try your first toe-up heel flap with thicker yarn. The stitches are easier to count, and mistakes are easier to spot.
Remember, knitting should be fun! If you get frustrated, put it down and come back tomorrow with fresh eyes.
Conclusion
You did it! You’ve mastered the toe-up heel flap. What was once a tricky part of sock knitting is now in your toolbox of skills. Your next pair of socks will fit better and feel more comfortable.
Remember, practice helps. Your first heel flap might not be perfect, but that’s okay—each sock gets better. Keep this guide handy when you start your next project.
Try the different variations we talked about. See what works best for your feet. The best part? No more second sock syndrome! When you knit toe-up, you can try on as you go.
Share your success! I’d love to see your toe-up socks in the comments below. Happy knitting, and enjoy your cozy, custom-fit socks for years to come!
Frequently Asked Questions
Can I Use This Heel Flap Method for Children’s Socks?
Yes, this heel flap works great for kids’ socks. Just scale down your stitch count based on foot measurements, not age.
Will This Heel Flap Work with Any Yarn Weight?
This method works with any yarn, from fingering to worsted. Adjust your needle size to match your yarn, and the technique stays the same.
How Do I Fix Gaps at The Sides of My Heel Flap?
At each corner, pick up an extra stitch where the flap meets the sock body. Decrease these extra stitches in the next round.
Can I Make This Heel Flap Without A Gusset?
No, the gusset is essential for proper fit. The heel flap and gusset work together to create room for your heel.
Do I Need to Block Toe-Up Socks Differently from Top-Down?
Blocking is the same for both styles. Wet the block on sock blockers or rolled towels and let dry completely before wearing.