


If you’re looking for easy and safe ways to make homemade pouches for your toddler, you’ve come to the right place.
I’ve made plenty of DIY pouches myself and know what works. I’ll show you how to create simple, affordable, and safe pouches at home.
In this article, you’ll find:
- Step-by-step ideas that anyone can follow.
- Advice on choosing safe materials.
- Quick tips to personalize each pouch for your child.
I understand the worry about safety—I’ve been there, too. That’s why I share only the methods I trust for my kids. DIY pouches are great because they save money, keep things organized, and are free from harmful materials.
By the end, you’ll have everything you need to confidently make pouches your toddler will love—and you’ll feel good about it.
Choosing Safe Materials
When I first started making pouches for my toddler, safety came first. I wanted fabrics and fasteners that wouldn’t harm my little one. You’re probably feeling the same. Let’s see exactly what to look for:
1. Best Fabrics
Soft fabrics are perfect for little hands. They’re gentle on the skin and easy to clean. My favorites are cotton, flannel, and muslin, which are natural and breathable.
- Cotton: Durable, washable, and gentle on sensitive skin.
- Flannel: Soft, warm, good for snacks or toys.
- Muslin: Lightweight, quick-drying, perfect for carrying wipes or clothes.
2. Non-Toxic Threads and Fasteners
Threads and fasteners might seem small, but toddlers chew on everything. I always choose threads labeled as “non-toxic” or “baby-safe.” The same goes for fasteners.
- Non-toxic threads: free from harmful dyes and chemicals.
- Baby-safe snaps: sturdy plastic, won’t rust or pinch.
- Safety-tested zippers: smooth edges to protect little fingers.
3. Easy-To-Use Closures
A good closure keeps the pouch closed tight but is easy enough for your toddler to open independently. I prefer Velcro, plastic snaps, or zippers with big pull tabs.
- Velcro: easy open-and-close, even for small hands.
- Zippers: secure and easy to grip.
- Snaps: quick to fasten, safe, and long-lasting.
Pick materials that give you peace of mind. It’s simpler than you think.
Simple DIY Pouch Ideas
When I started making pouches, I wanted them to be simple, useful, and practical. These are three ideas that work great for toddlers. You don’t need fancy skills, just a few basic materials.
1. Fabric Snack Pouch
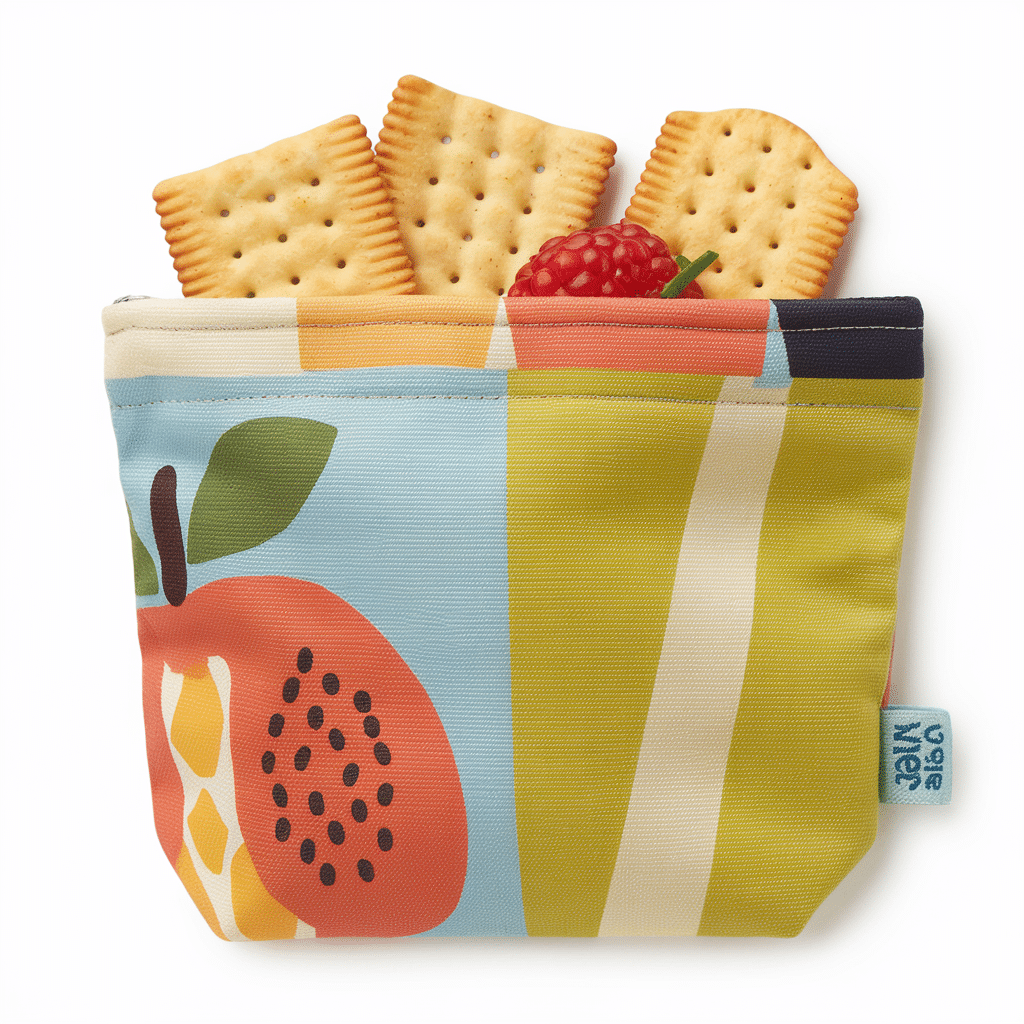
I love making this pouch to carry your toddler’s snacks, like crackers or fruit. It’s made from soft cotton fabric, which is easy to clean. It’s a great way to organize snacks while keeping them fresh. I add a Velcro or snap closure, so it’s easy for you to open but safe for little hands.
Unique Features:
- Soft and toddler-friendly.
- Washable and reusable.
- Easy-to-use closure.
2. Personalized Toy Pouch
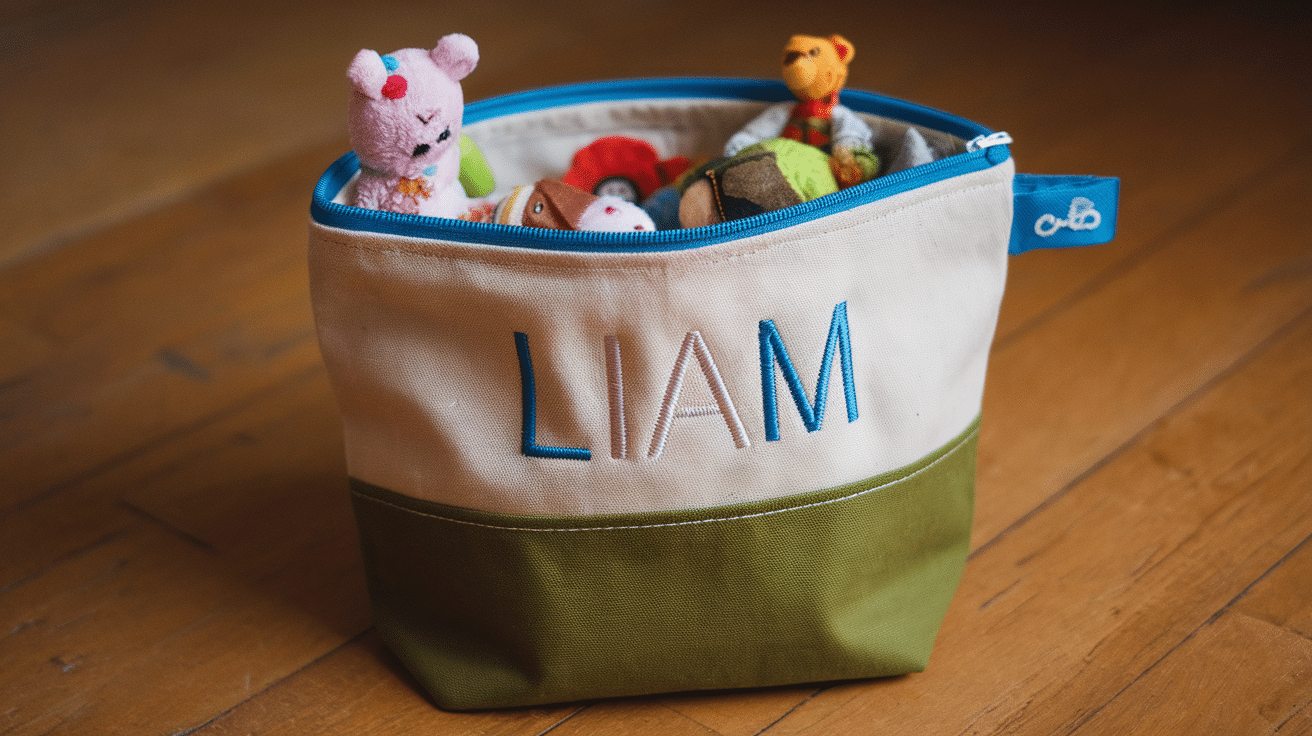
This small pouch holds your toddler’s favorite toys or small figures. I usually use colorful, fun fabric to make it exciting. It’s perfect for keeping toys organized when you’re out and about, and it can easily be personalized with your child’s name or favorite characters.
Unique Features:
- Personalized design.
- No sharp edges, very safe.
- Lightweight for toddlers to carry.
3. Diaper and Wipes Pouch
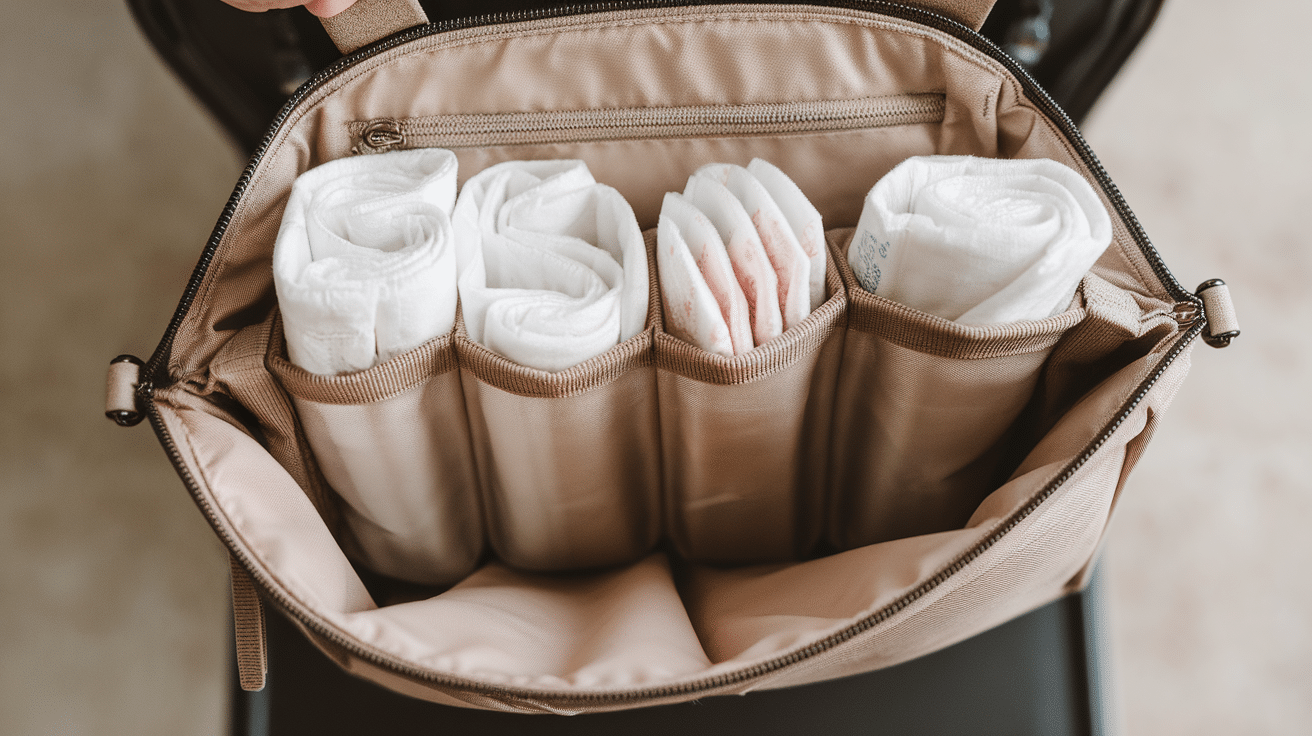
I made this compact pouch to hold a few diapers and wipes. It’s perfect for quick outings where you don’t want to carry a large diaper bag. The waterproof fabric lining keeps everything clean and dry, and it’s easy to access when needed.
Unique Features:
- Waterproof lining.
- Compact and easy to carry.
- Keeps items organized.
4. Mini Art Supply Pouch
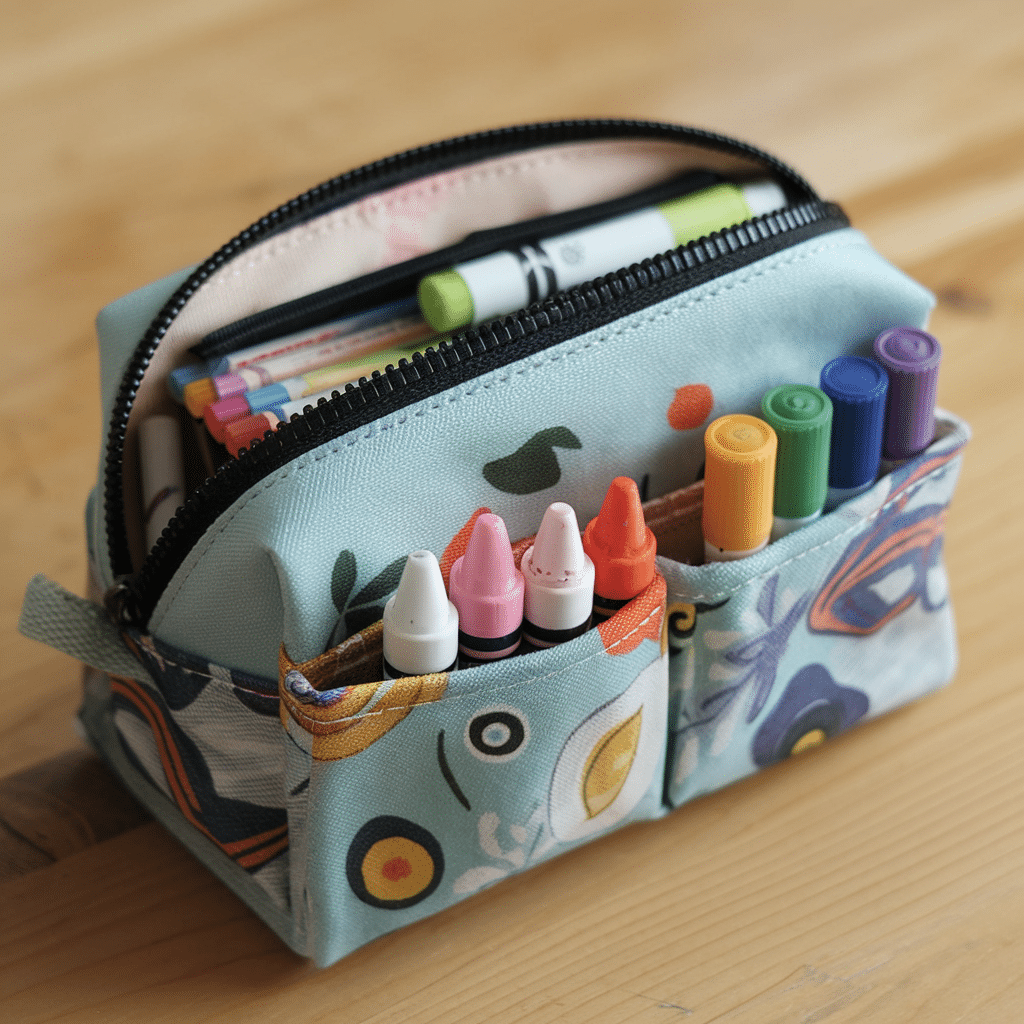
I created this small pouch to carry crayons, markers, and other mini art supplies. It’s perfect for keeping your toddler busy on car rides or during doctor visits. The compartments help separate each item, and the fabric is soft but durable.
Unique Features:
- Multiple compartments.
- Soft fabric that’s gentle on little hands.
- It is ideal for creative time on the go.
5. Cloth Doll Pouch
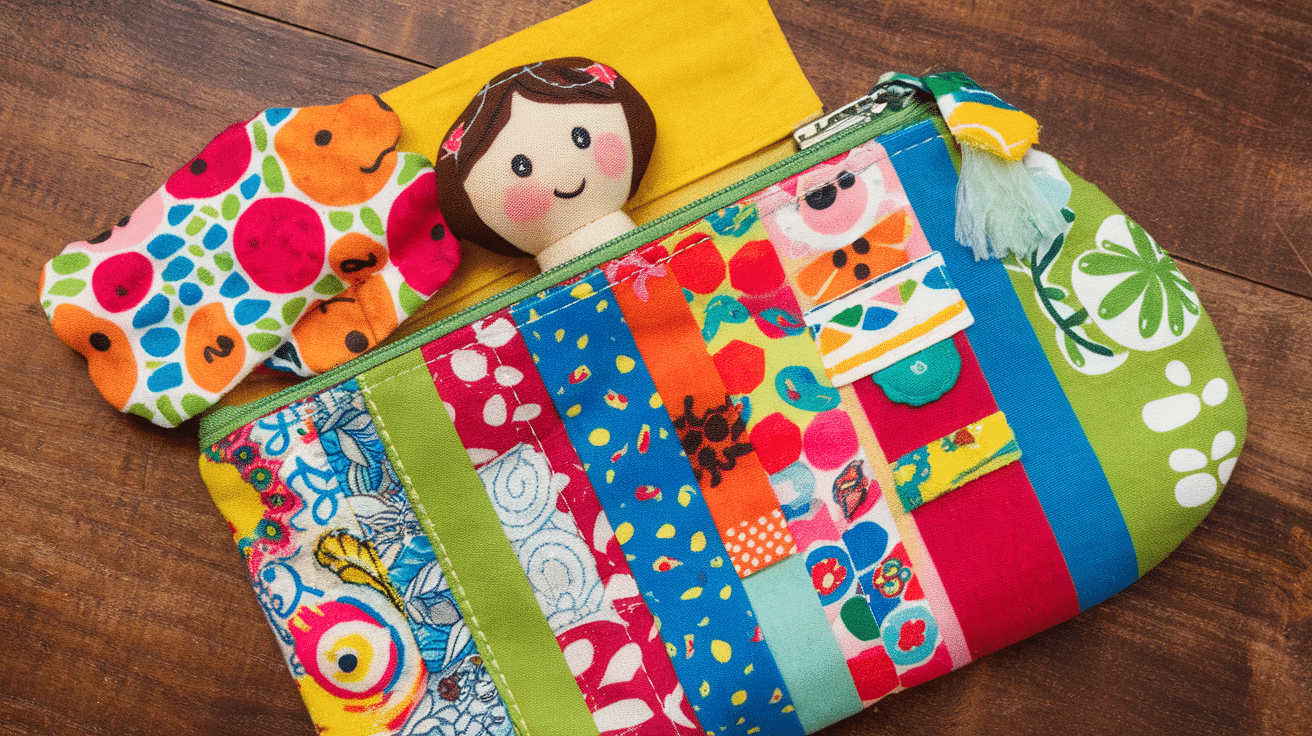
This small, soft pouch is made to carry your toddler’s favorite cloth doll or soft toy. It’s easy to carry and keeps the doll safe from dirt and damage. I love using bright, fun fabric prints to make it extra special.
Unique Features:
- Soft and safe for toys.
- Easy for toddlers to carry.
- Cute and colorful designs.
6. Baby Feeding Pouch
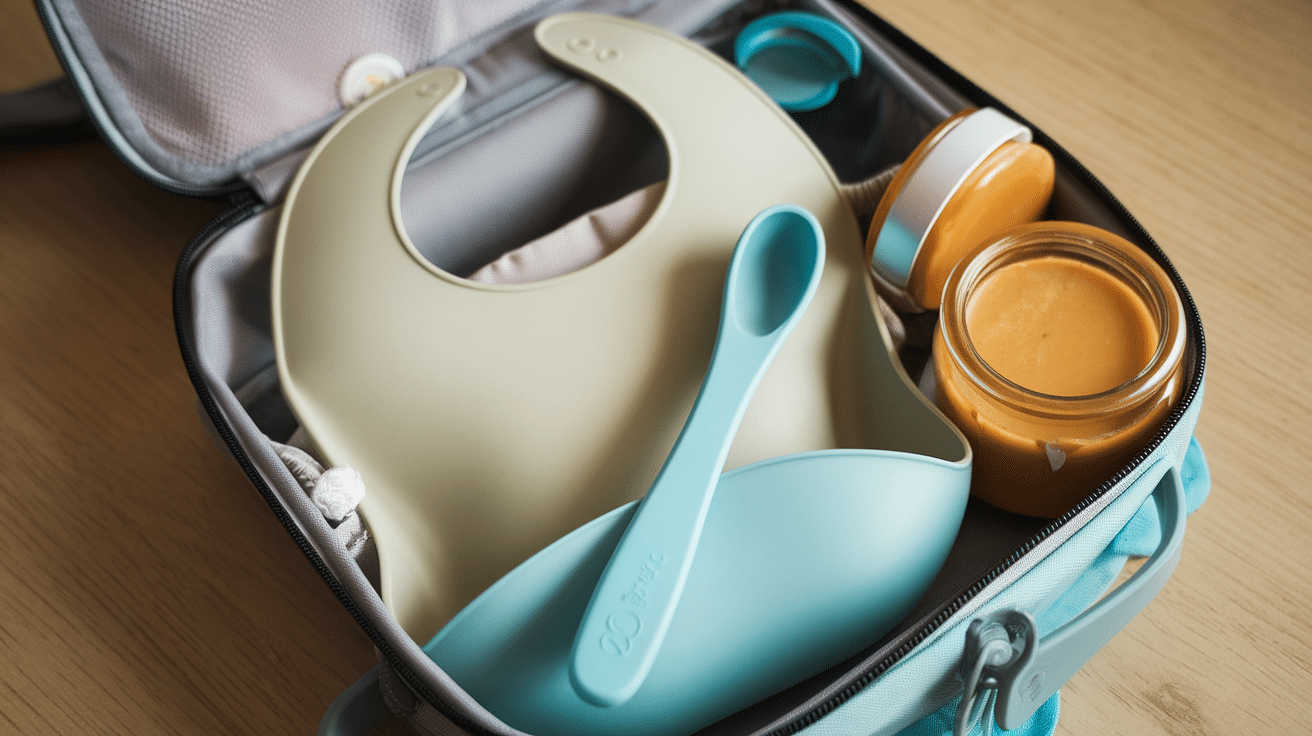
This pouch is for carrying your toddler’s feeding essentials, like a bib, spoon, or baby food jars. It’s small and compact, perfect for quick trips to the park or visiting family. I’ve added a secure zipper closure to keep everything safe inside.
Unique Features:
- Keeps feeding items organized.
- Compact size for easy carrying.
- Zipper closure for security.
7. Outdoor Play Pouch
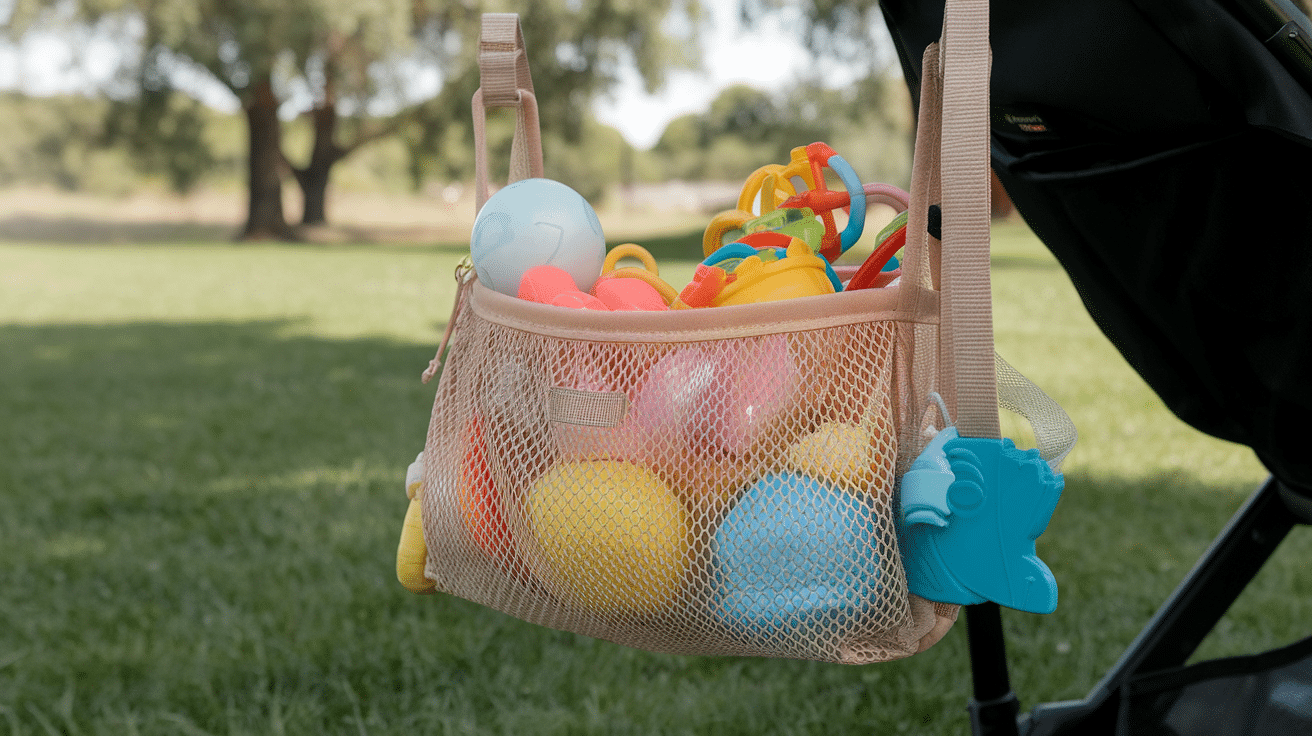
I made this mesh pouch to store small outdoor toys like balls, bubbles, or sandbox tools. The breathable fabric allows air to circulate, making it perfect for outdoor playdates. It can even attach to your stroller or backpack for easy transport.
Unique Features:
- Breathable mesh fabric.
- Easy to carry or attach to a stroller.
- Holds a variety of outdoor toys.
8. Health and Safety Pouch
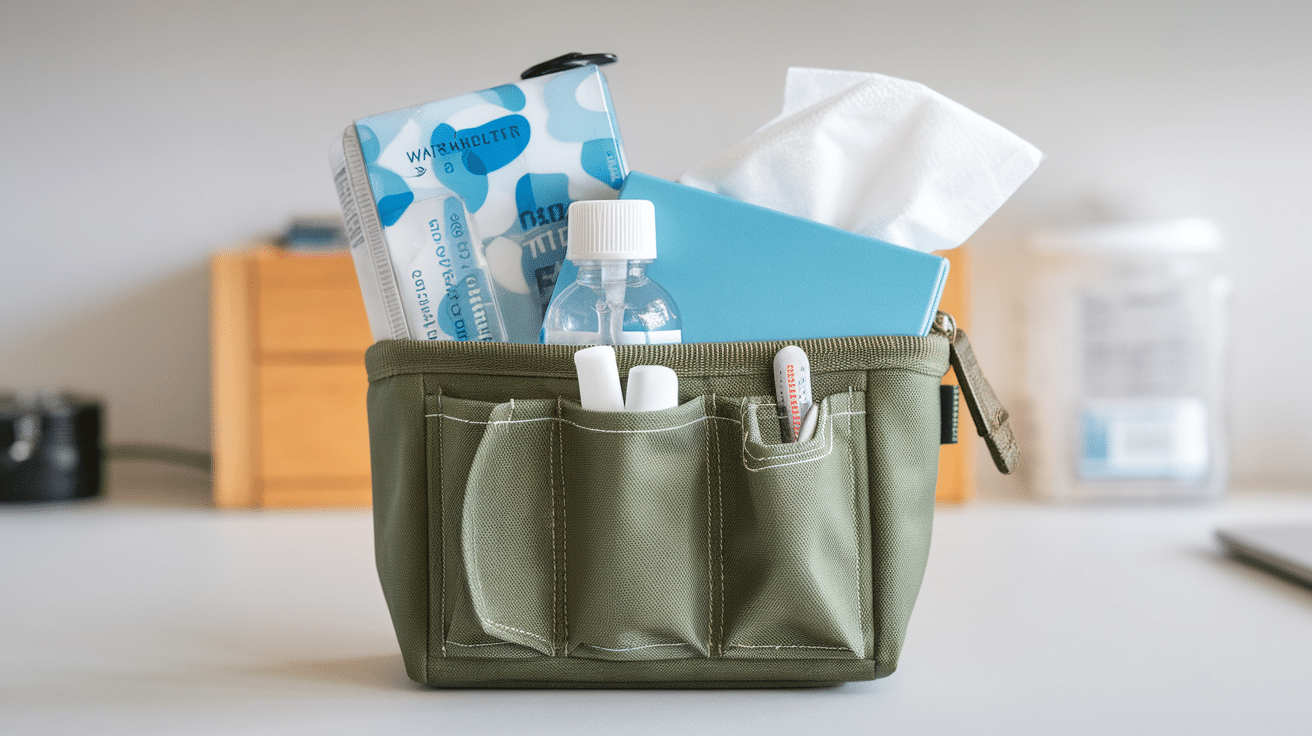
This pouch is designed to carry essential health items like hand sanitizer, tissues, or a thermometer. It’s small and neat and can be carried in your diaper bag. I love how easy it is to keep health essentials organized while on the go.
Unique Features:
- It is compact and handy.
- Keep health items separate and clean.
- Water-resistant fabric.
9. Mini Clothes Pouch
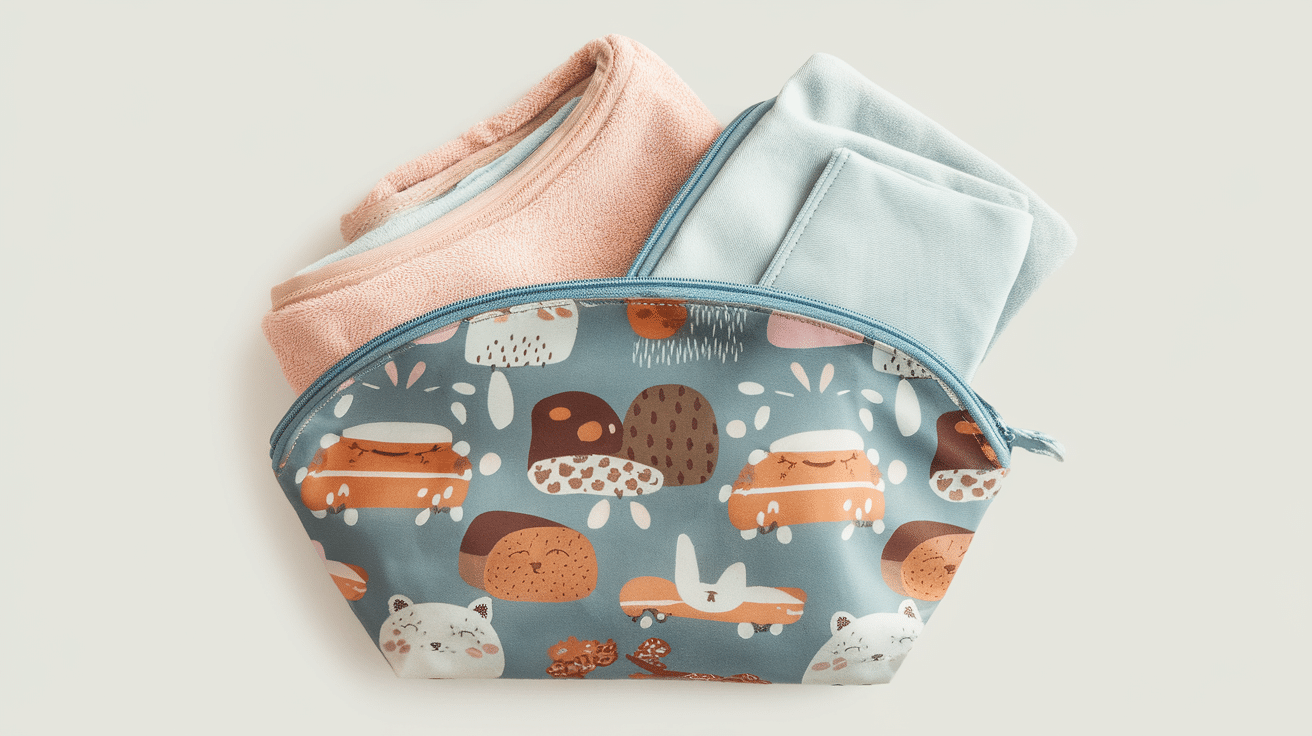
I made this simple pouch to store an extra set of clothes for your toddler. Whether you’re heading to the park or traveling, it’s a great way to stay prepared. The pouch is soft and roomy enough for an outfit and a small towel or bib.
Unique Features:
- Soft fabric for gentle handling.
- Keeps clothes neat and clean.
- Zipper closure for security.
10. Toddler’s Snack and Toy Combo Pouch
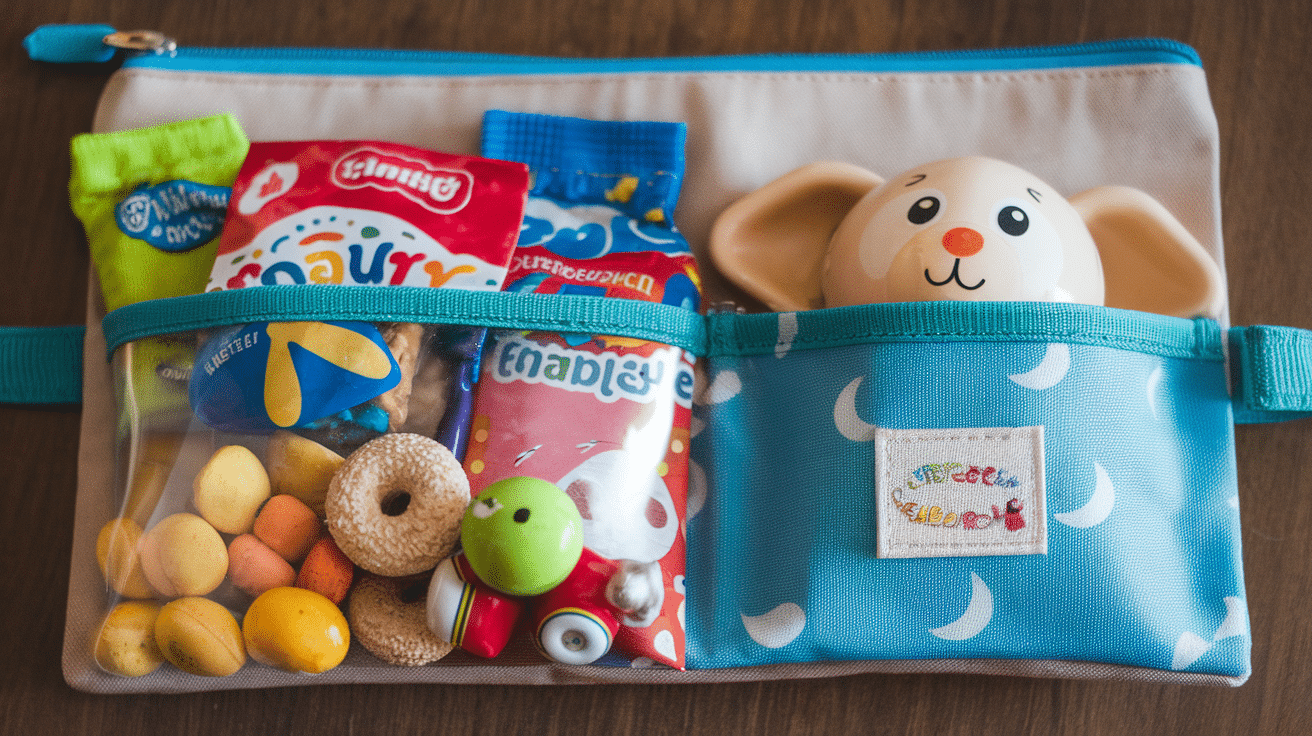
This pouch is a combination of a snack holder and a toy organizer. It has two separate sections—one for snacks and one for toys. It’s perfect for keeping your toddler entertained and fed during outings or road trips. I use durable fabric to ensure it lasts.
Unique Features:
- Dual-purpose for snacks and toys.
- Durable fabric.
- Keeps items organized and separate.
Step-By-Step Guide: Making a Basic Pouch
When I made my first pouch, I wanted clear, simple instructions, exactly what you’ll find here. Follow these easy steps, and your pouch will be ready quickly.
What You Need
- Fabric (cotton works great)
- Non-toxic thread
- A closure (Velcro, zipper, or snap)
- Scissors
- Sewing needle or sewing machine
- Measuring tape or ruler
Step 1: Cut the Fabric
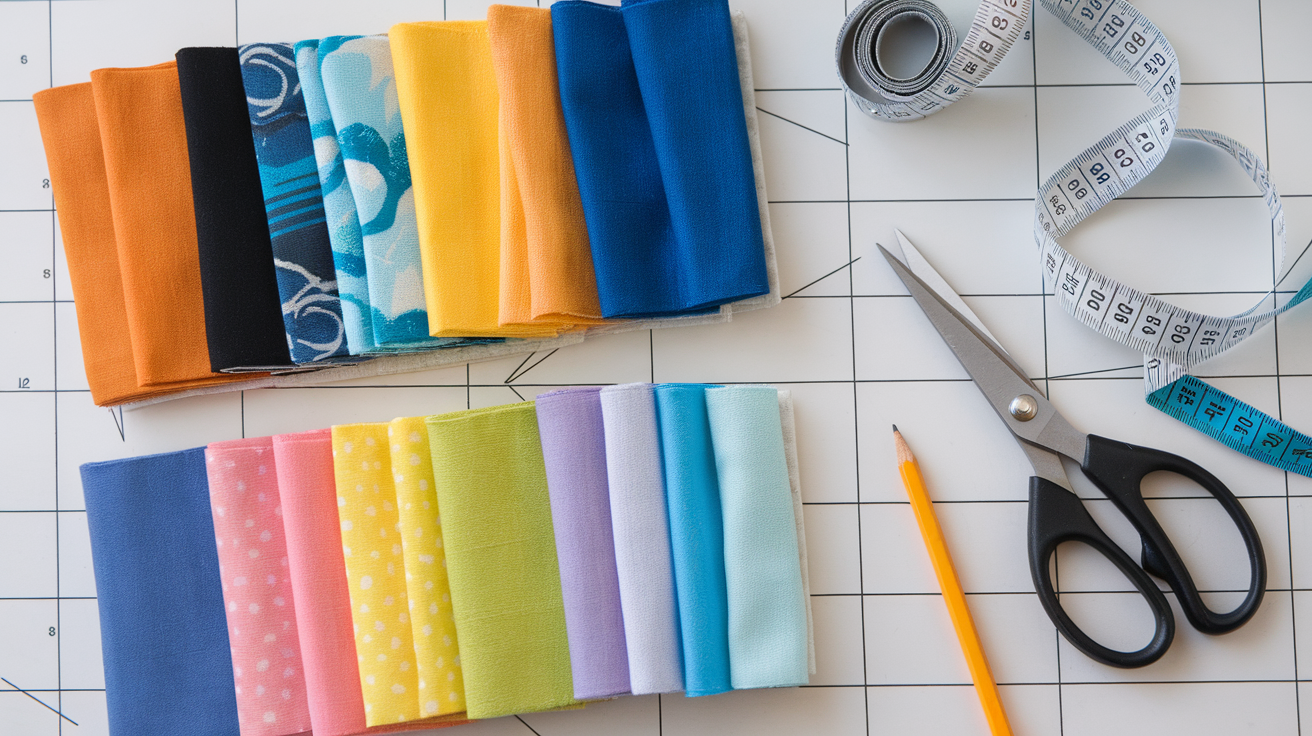
You can choose any fabric material based on the purpose, such as cotton for softness or denim for durability. Before cutting, it’s helpful to measure carefully using a ruler and fabric chalk or a fabric marker to ensure straight lines.
If you’re making a pouch for a specific purpose (like a pencil case or toy holder), adjust the dimensions accordingly. Be sure to leave a little extra space around the edges to account for seams when sewing.
After cutting, you’ll have two identical rectangular pieces ready for sewing. Make sure to choose a fabric pattern or color that suits your style or the intended recipient.
Step 2: Sew the Edges
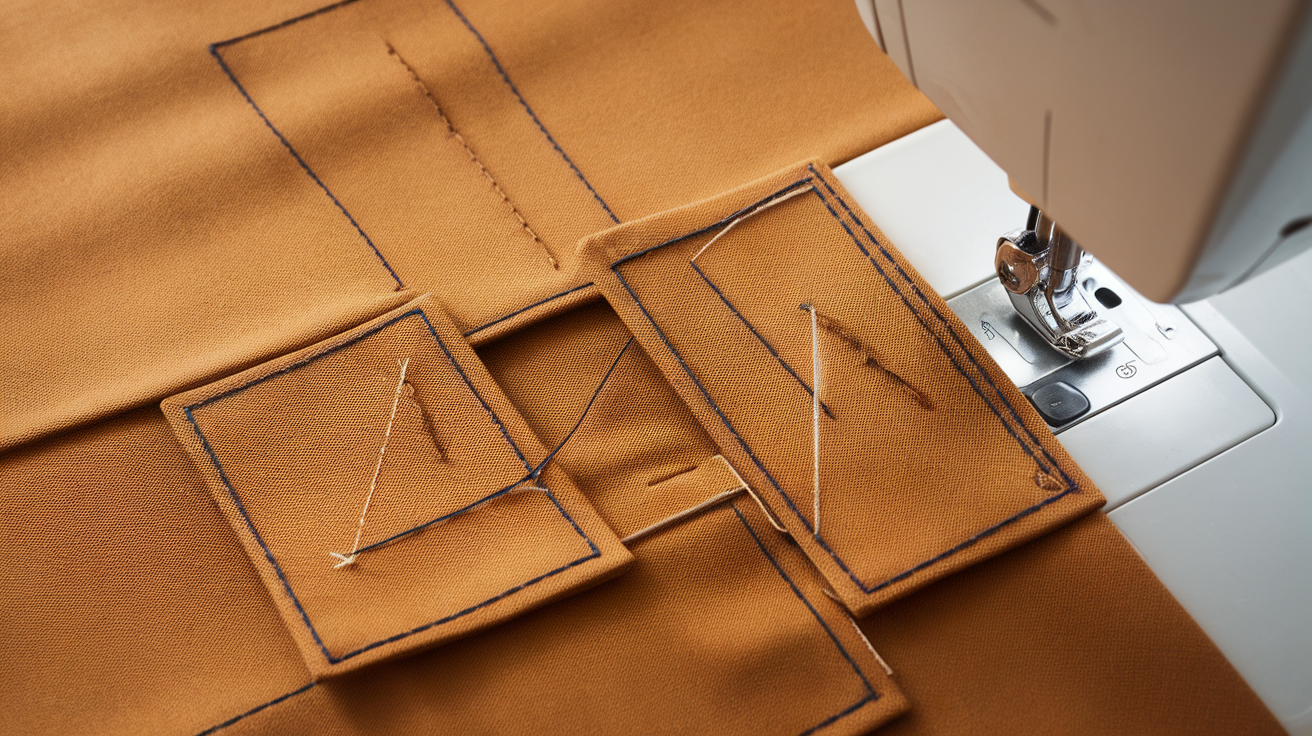
Secure the fabric with pins or fabric clips to keep everything in place while you sew. Using a sewing machine or hand stitching, sew three sides of the rectangle closed, leaving one of the longer edges open for the pouch’s opening.
When sewing, aim for small, tight stitches to ensure durability and prevent any loose seams. Make sure to backstitch at the beginning and end of each seam to reinforce the edges.
By the end of this step, you’ll have a pouch with three closed sides, and the fabric will be ready to be turned right-side out for the next phase of the project.
Step 3: Attach Your Closure
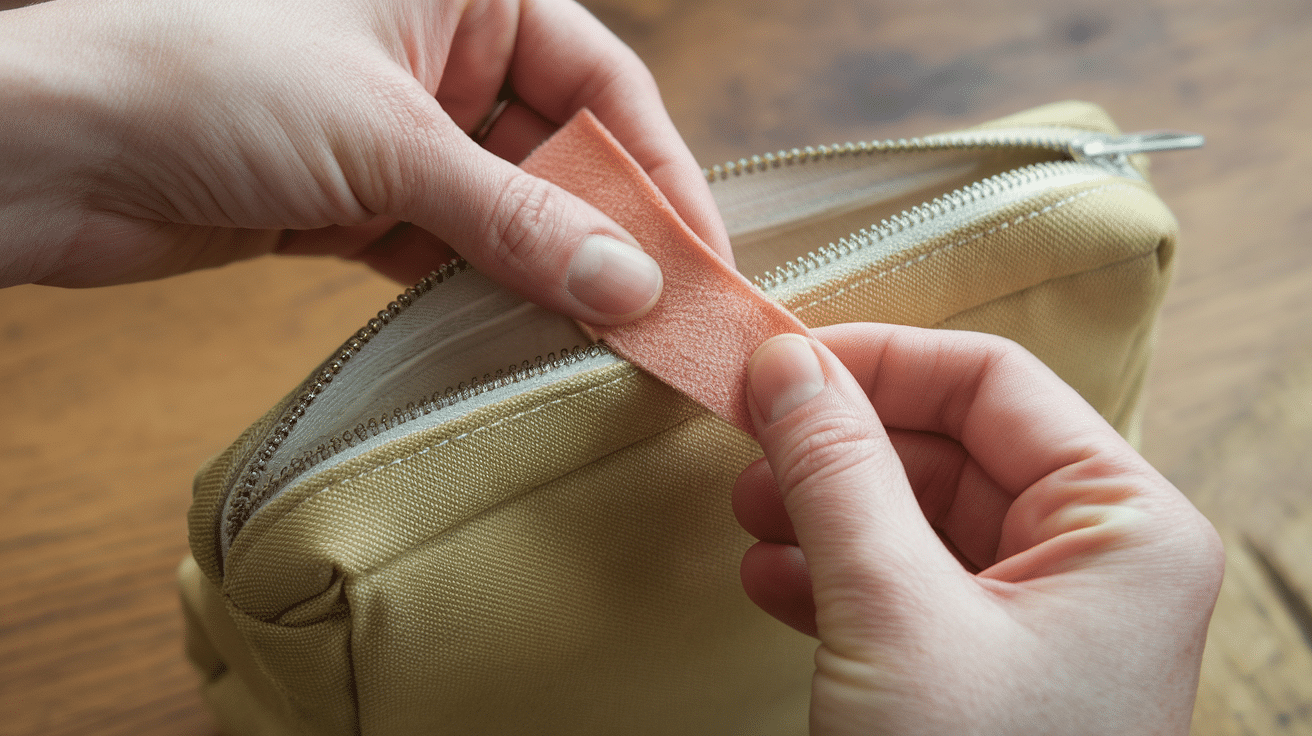
Once you’ve sewn the sides of the pouch, it’s time to attach a closure. This will allow the pouch to open and close securely. Depending on your preference and the material you’re working with, you can use Velcro strips, snaps, or a zipper.
For toddlers, Velcro is a great choice because it’s easy for little hands to manipulate. To attach the closure, place one side of the Velcro or snaps on the open edge of one fabric piece, ensuring it is aligned evenly.
Attach the matching piece on the opposite side of the opening, making sure both pieces align properly when pressed together.
The closure should be easy to open but secure enough to keep the pouch’s contents safe. Check that both sides are attached firmly and that the pouch can be opened and closed without difficulty.
Step 4: Finish the Edges
Then, sew along the folded edge to keep the fabric in place. This step ensures that the pouch looks polished and the fabric doesn’t fray over time.
It also provides extra durability, preventing any raw edges from coming undone. Be careful to sew evenly around the opening, ensuring the stitching is secure but neat.
This step adds a touch of refinement to the pouch and ensures that the top edge is smooth and safe for handling, especially for young children who may be using the pouch.
Tips for Beginners:
- Start with cotton fabric—it’s easy to sew and forgiving.
- Go slow. Neat stitches come from taking your time.
- Double-check that the closure is tight and secure.
You don’t need sewing experience to succeed. Just follow these steps, and your first pouch will be ready quickly.
Fun Customizations Your Toddler Will Love
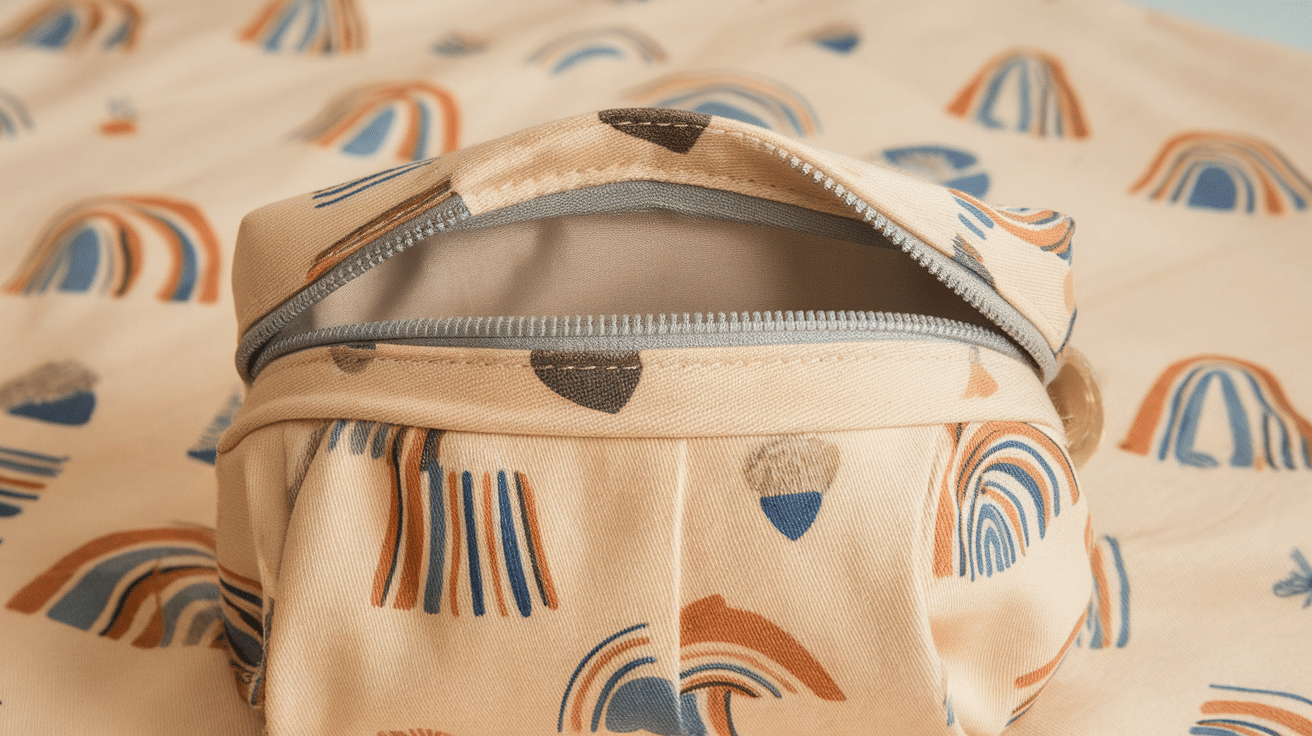
Adding customizations to your toddler’s pouch can make it even more special and fun! Consider using fabric in bright colors or fun patterns featuring their favorite animals, characters, or themes.
You can also add patches, embroidery, or appliqué designs for a personalized touch. For an interactive element, try adding a colorful zipper pull or a button with a unique shape.
If your toddler loves sensory play, add textured fabric or a tag for them to touch. These small customizations will not only make the pouch more visually appealing but also encourage your toddler to enjoy using it every day!
Adding Bright Patterns and Colors
Toddlers love colors and patterns. Please choose a fabric with your favorite animals, shapes, or cartoons. Bright colors also make the pouch easier to spot.
Ideas:
- Use fun prints like stars, trucks, or flowers.
- Mix and match colorful fabrics for pockets or closures.
- Pick their favorite color as the main fabric.
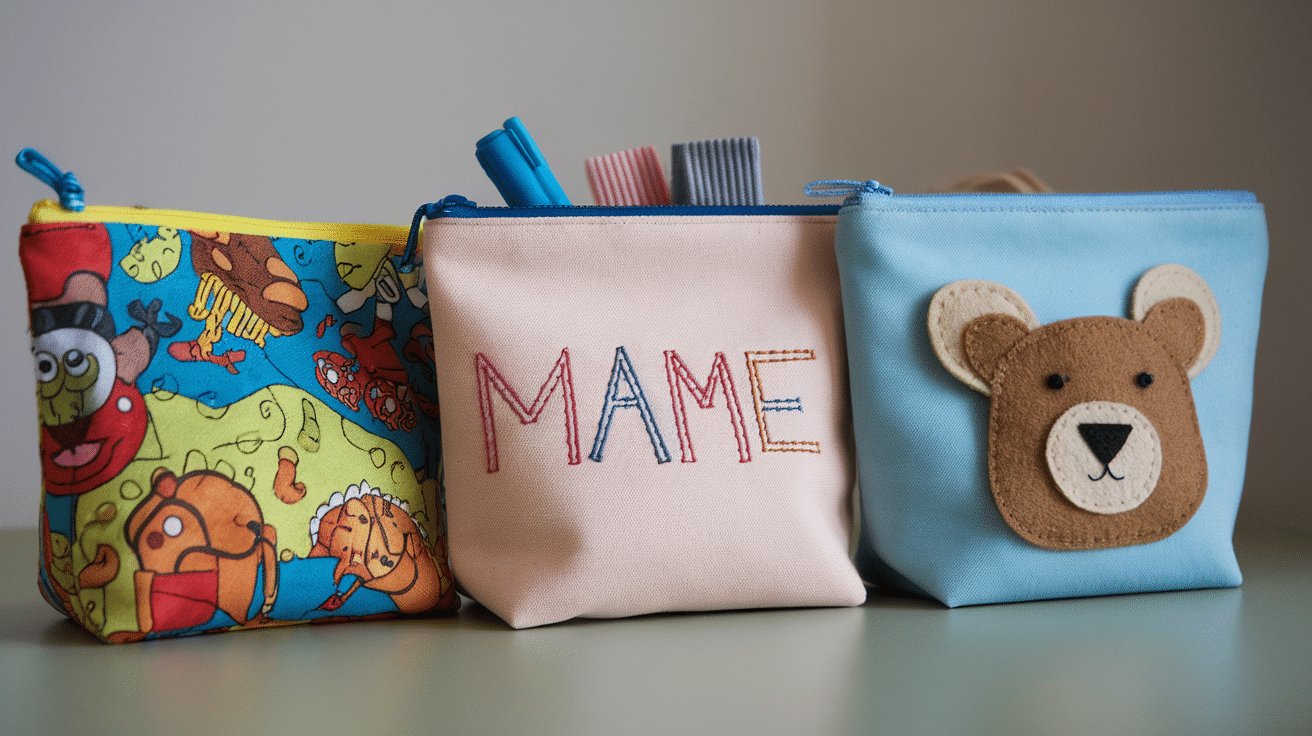
Personalizing with Names or Simple Designs
Adding your toddler’s name or a simple design makes the pouch feel special. I keep it easy and fast.
Ideas:
- Use fabric markers or paints to write their name.
- Sew a felt initial onto the pouch.
- Iron on simple shapes like hearts, stars, or animals.
Ideas to Get Your Toddler Involved
Toddlers love helping and feel proud when they’re part of making something. Here’s how I include my little one safely:
Ideas:
- Let them pick the fabric or color.
- Allow them to decorate with stickers or stamps.
- Have them help place simple designs like felt shapes onto the pouch.
Your toddler will love seeing something they helped make. And you’ll both have fun along the way.
Safety Tips for DIY Pouches
When creating your own DIY pouches, safety is essential, especially if they’ll be used for items that come in contact with food, children, or sensitive items. Safety is key when making things for toddlers. Let’s see how I ensure that every pouch stays safe and secure.
Ensuring Small Parts Are Secure
Toddlers tug and chew everything. Make sure all small parts are firmly attached.
Simple checks:
- Sew buttons or snaps extra tight.
- Double-stitch Velcro strips.
- Avoid glue—it can weaken over time.
Avoiding Choking Hazards
I always consider choking risks. I look at each pouch carefully and imagine it through my toddler’s eyes.
Things I watch for:
- Avoid tiny beads or decorations.
- Choose large, child-safe closures.
- Check finished pouches for loose threads or fabric pieces.
Checking Durability Regularly
DIY pouches can wear down with daily use. I do quick checks often.
Easy ways to check:
- Pull gently on seams to test strength.
- Inspect closures regularly for damage.
- Wash pouches often and check for signs of wear after washing.
Conclusion
Making pouches for your toddler doesn’t have to be complicated. The simple ideas we’ve shared can be done in an afternoon with basic materials.
I’ve made dozens of these pouches over the years. Trust me—the joy on your little one’s face makes every stitch worthwhile!
What will you create first? Perhaps the felt animal pouch or the no-sew fabric option? Remember these key points:
- Always check for loose threads
- Use child-safe materials
- Let your creativity shine!
Your homemade pouches will not only save money but become treasured items as your child grows. They might even become keepsakes one day.
Start small. Even the simplest pouch can become a special part of your toddler’s daily adventures. Now, grab those supplies and enjoy this special project together!
Frequently Asked Questions
Can I Make These Pouches without A Sewing Machine?
Yes! You can sew by hand using tight, secure stitches. It might take longer, but your pouch will still hold up great.
What’s the Best Way to Wash Homemade Pouches?
Machine wash in cold water and air dry. It keeps the fabric fresh and helps pouches last longer. Check closures regularly after washing.
How Do I Fix a Broken Zipper on My Pouch?
Replace the zipper carefully with a new one, sewing slowly. Or switch to Velcro or snaps—they’re easier to manage and replace.
Are Homemade Pouches Better than Store-Bought?
Homemade pouches are often safer and cheaper. You control materials and quality, giving you peace of mind that they’re safe for your toddler.
How Long Does It Take to Make a DIY Toddler Pouch?
Most simple pouches take about 20–30 minutes. Beginners might take longer initially, but speed improves quickly with practice.


