


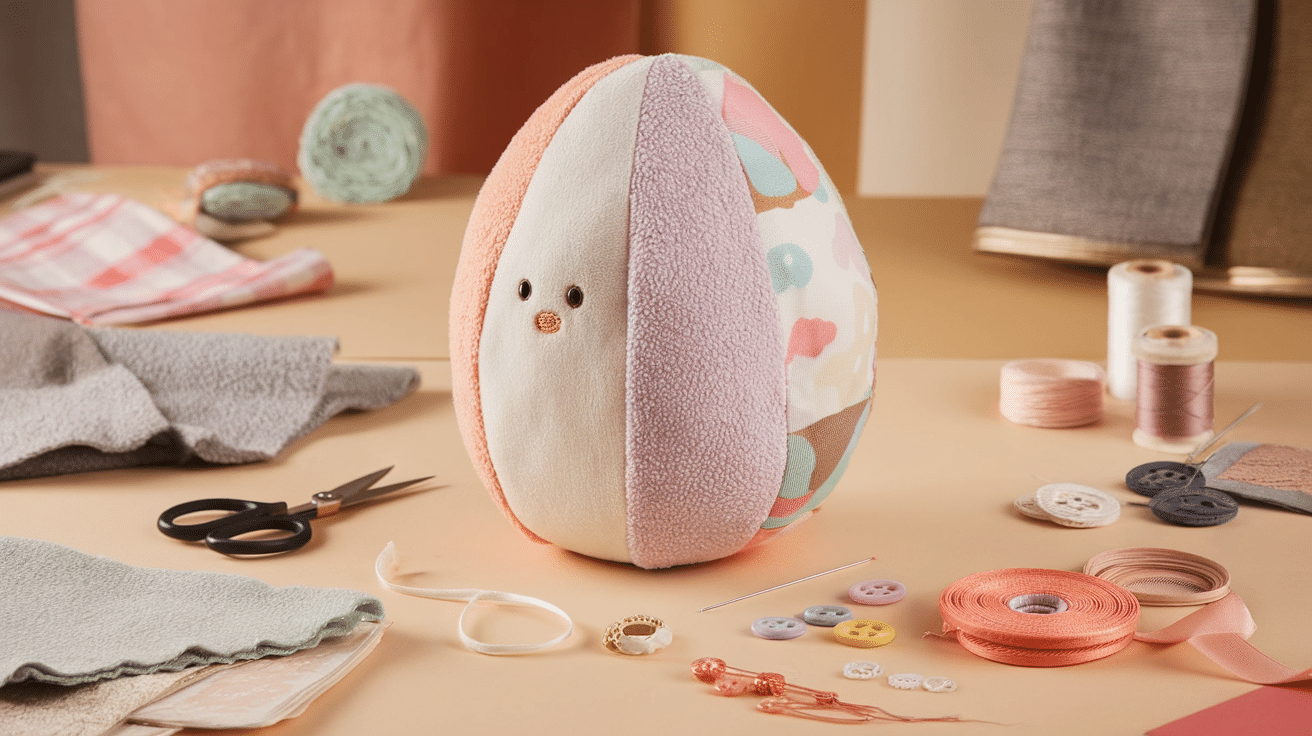
An egg plush is a fun and simple sewing project made using soft fabric and stuffing. It works well as a toy, decoration, or gift, and an egg plush pattern helps achieve the perfect shape and size.
This project is great for beginners because it requires only a few materials, basic sewing skills, and a little creativity. By choosing the right fabric and following a clear pattern, you can quickly make a soft and cute egg plush.
Handmade plush toys allow for customization so that you can experiment with different colors, textures, and designs. Making an egg plush is an enjoyable craft that adds a touch of charm to any space.
What is an Egg Plush Pattern?
An egg plush pattern is a sewing template for creating a soft, rounded, egg-shaped plush toy. It provides the correct shape and size, making the sewing process easier and more accurate.
These plush toys can be used in various ways, including as stuffed toys, home décor, or festive decorations for occasions like Easter. Their simple shape makes them ideal for beginners who want to practice sewing while making something fun.
Using an egg plush pattern allows for customization. You can choose different fabrics, add facial details, or use embroidery to create a unique look. If making a small keychain or a large pillow, this pattern helps bring creativity to life.
Materials Needed for an Egg Plush
Having the right materials ensures a smooth sewing experience and a high-quality finished plush. The fabric, filling, and tools all play a role in creating a soft and durable plush.
Fabric
Soft and flexible fabrics work best for plush toys. Some recommended options include:
- Minky: Soft and fluffy, giving the plush a cuddly feel.
- Cotton: Easy to sew and holds shape well, making it beginner-friendly.
- Fleece: Provides warmth and stretch, making the plush softer.
Filling
Stuffing gives the egg plush its shape and softness. Common options include:
- Polyfill: A lightweight and soft stuffing that creates a plush and airy texture.
- Cotton stuffing: A firmer option for those looking for a more compact plush.
Sewing Tools
To assemble the plush, you will need:
- Needles and thread: For hand-sewing or adding decorative stitches.
- Sewing machine: Speeds up the process and ensures strong seams.
- Scissors: For cutting fabric pieces accurately.
Additional Supplies
For extra details and decoration, consider:
- Fabric glue: Helps secure small pieces or close openings without sewing.
- Embroidery thread: Used for facial details, outlines, or decorative stitching.
- Buttons or ribbons: Add personality and style to the plush.
Choosing high-quality materials ensures that the plush remains soft, durable, and well-stitched.
Step-by-Step Guide to Making an Egg Plush
Creating an egg plush is a fun and easy sewing project that can be customized in many ways. By following a structured pattern, you can ensure a well-shaped and neatly finished plush.
This project is great for beginners who want to practice sewing and for experienced crafters looking to create a cute handmade item. With careful cutting, stitching, and stuffing, you can make an egg plush that looks professional and lasts long.
Step 1 – Download and Print the Pattern
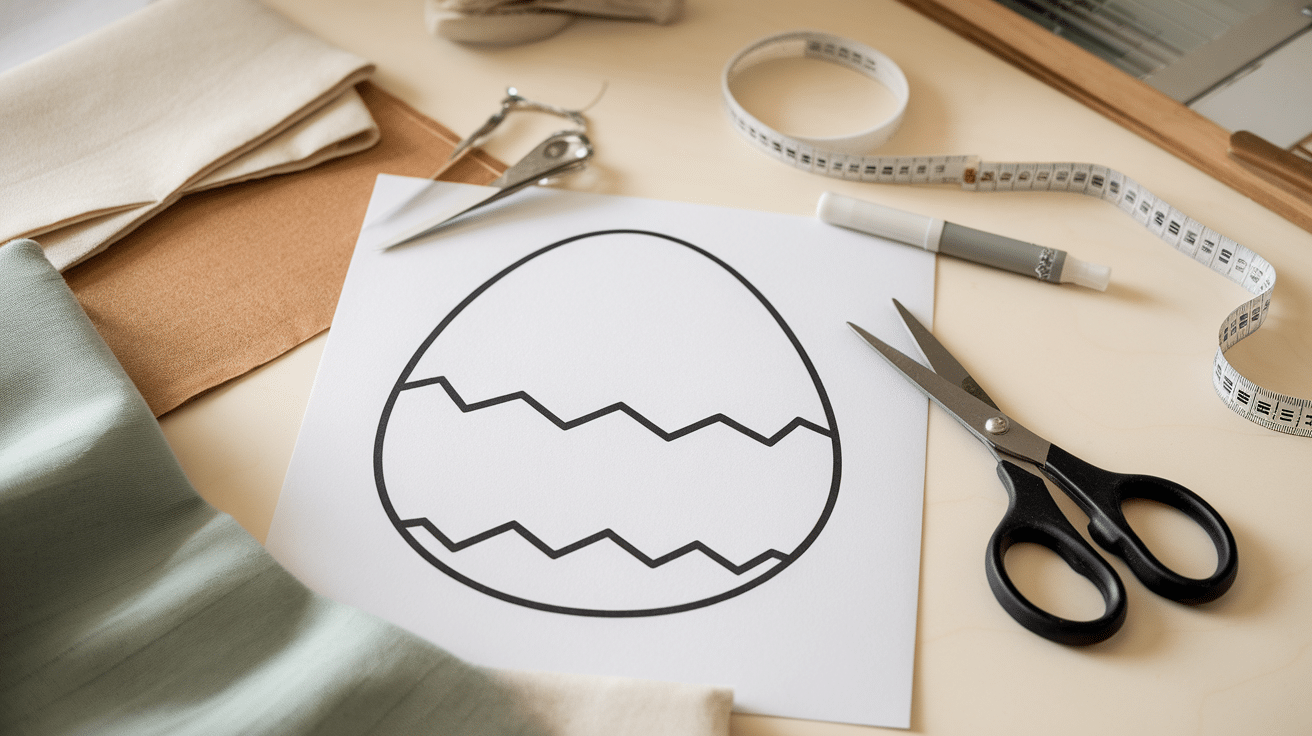
Start by downloading the egg plush pattern from a reliable source. To maintain the correct proportions, make sure the file is in a printable format, such as PDF.
Print the pattern at its actual size to avoid any measurement errors. Adjust the scale before printing if you want a smaller or larger plush.
For accuracy, print on thicker paper or cardstock to create a sturdy template. This makes tracing the pattern onto the fabric easier without bending or tearing.
Cut out the pattern pieces carefully, following the lines precisely. A well-cut pattern will result in a better-shaped plush.
Step 2 – Cutting the Fabric Pieces
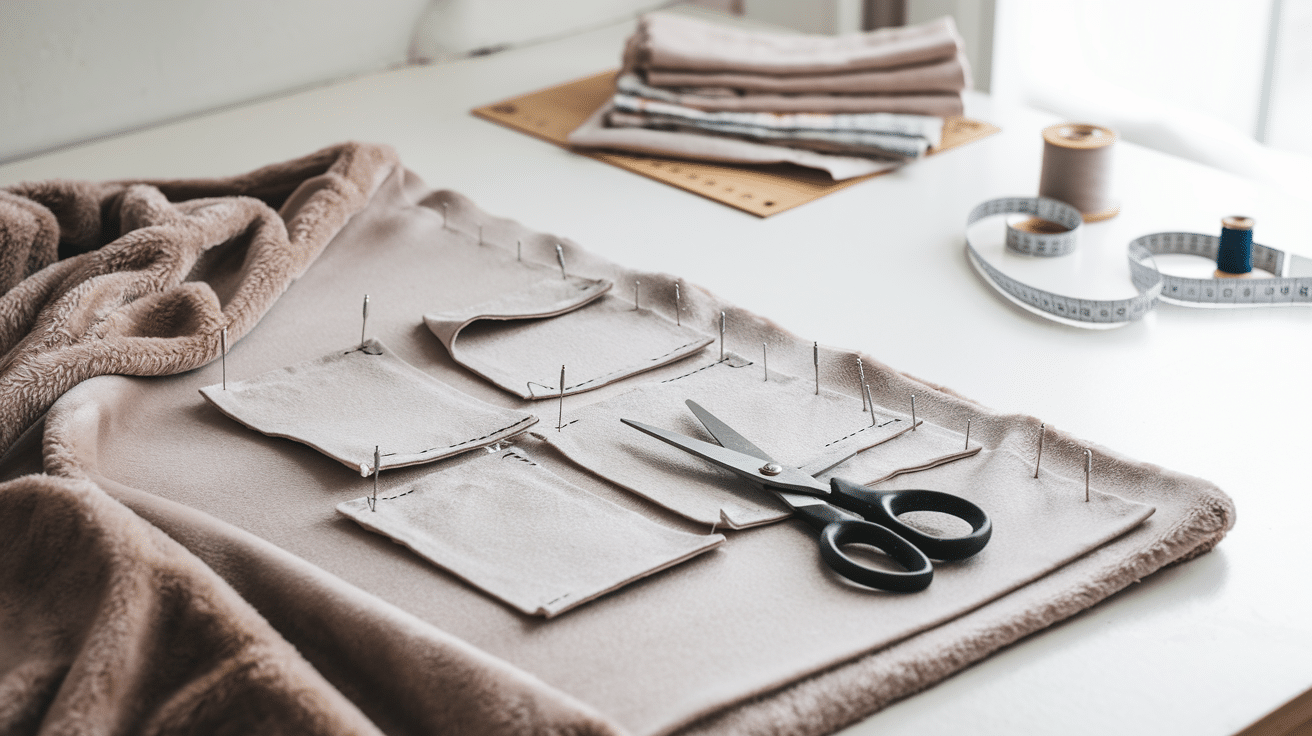
Choose a soft and flexible fabric that suits your project. Minky, fleece, or cotton are great options for plush toys. If using a fabric with a stretch, be mindful of how you cut it to maintain the plush’s shape.
Lay the fabric flat on a clean surface. Place the pattern pieces on the fabric and secure them with pins or fabric weights.
This prevents shifting while cutting. Use sharp fabric scissors to cut along the edges of the pattern. Make sure the cuts are smooth and even, as jagged edges can make sewing difficult and affect the final look of the plush.
If making multiple plush toys, cut all the pieces at once to save time. Keeping fabric scraps can also be useful for testing stitches or adding small decorative details later.
Step 3 – Adding Decorative Details
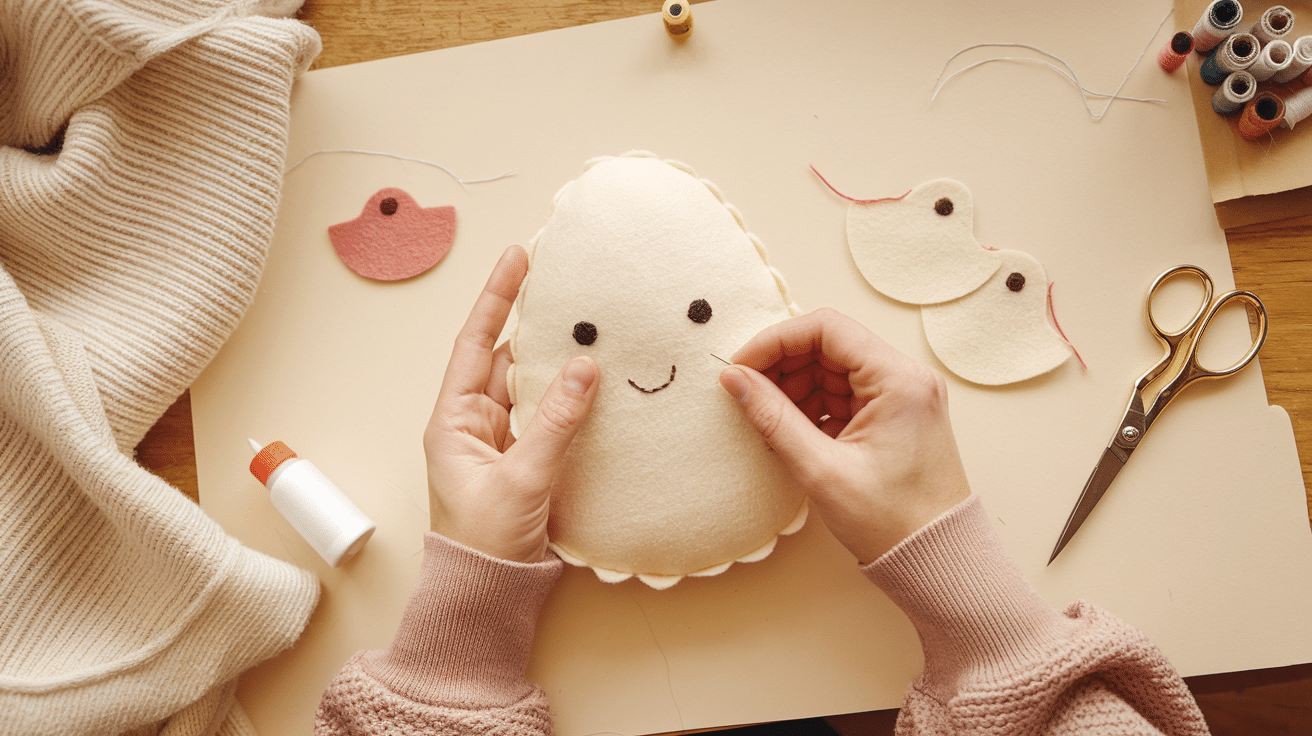
Before sewing the plush together, it’s best to add any decorative elements. If you want to include a face, embroidery thread is ideal for stitching features like eyes, a smile, or small patterns. Use small, even stitches to keep the details looking clean.
For those who prefer an easier option, fabric glue can help attach felt pieces for eyes, cheeks, or other features.
Be sure to press down firmly and let the glue dry completely before moving to the next step. Adding decorations at this stage prevents difficulty in stitching later and helps ensure the design stays in place.
Step 4 – Sewing the Pieces Together
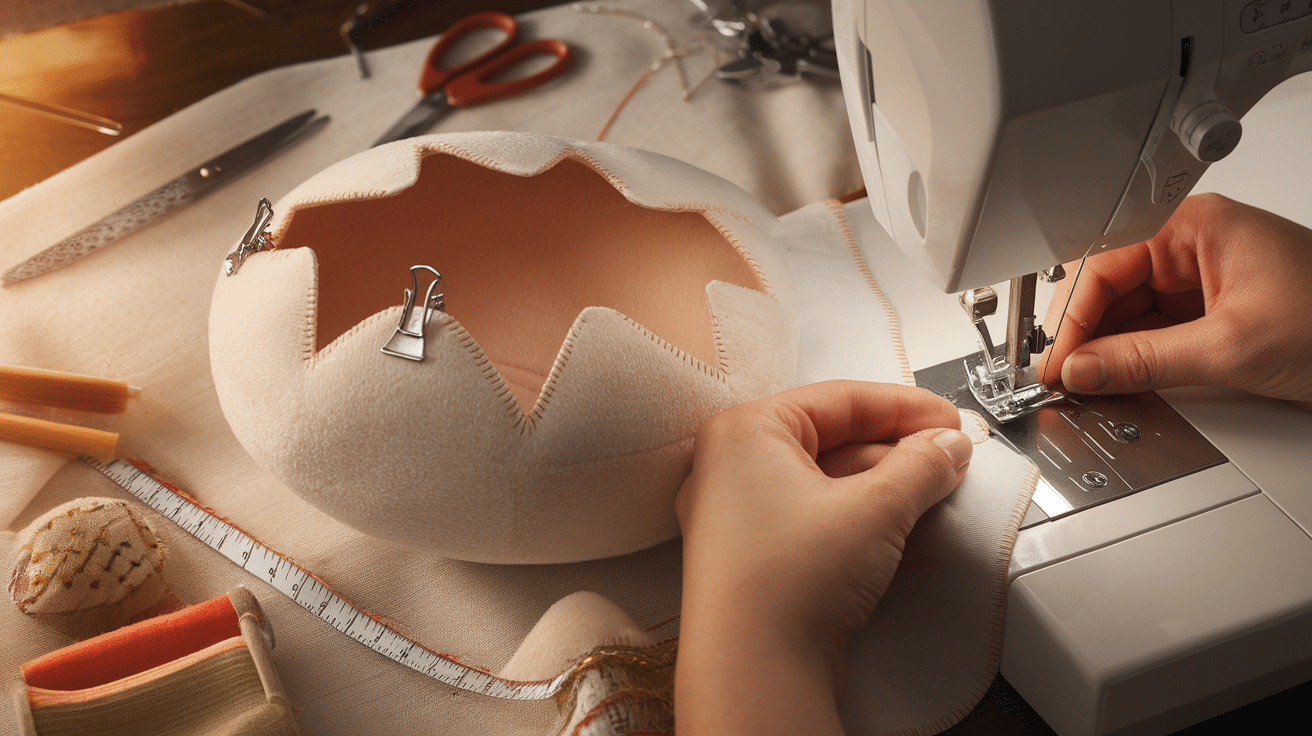
Once the details are added, it’s time to assemble the plush. Place the fabric pieces with the right sides facing each other. Secure them with pins or clips to prevent shifting while sewing.
If using a sewing machine, set it to a short stitch length for durability. Sew around the edges of the plush, leaving a small opening (about 1-2 inches) for stuffing.
If hand-sewing, use a backstitch or whipstitch for a secure seam. Keep stitches even and close together to prevent gaps or weak spots in the fabric.
After stitching, trim excess fabric around the edges, leaving a small seam allowance. If the fabric is thick, making small snips along curved areas will help the plush maintain a smooth, rounded shape. Be careful not to cut too close to the stitches.
Step 5 – Stuffing and Closing the Egg
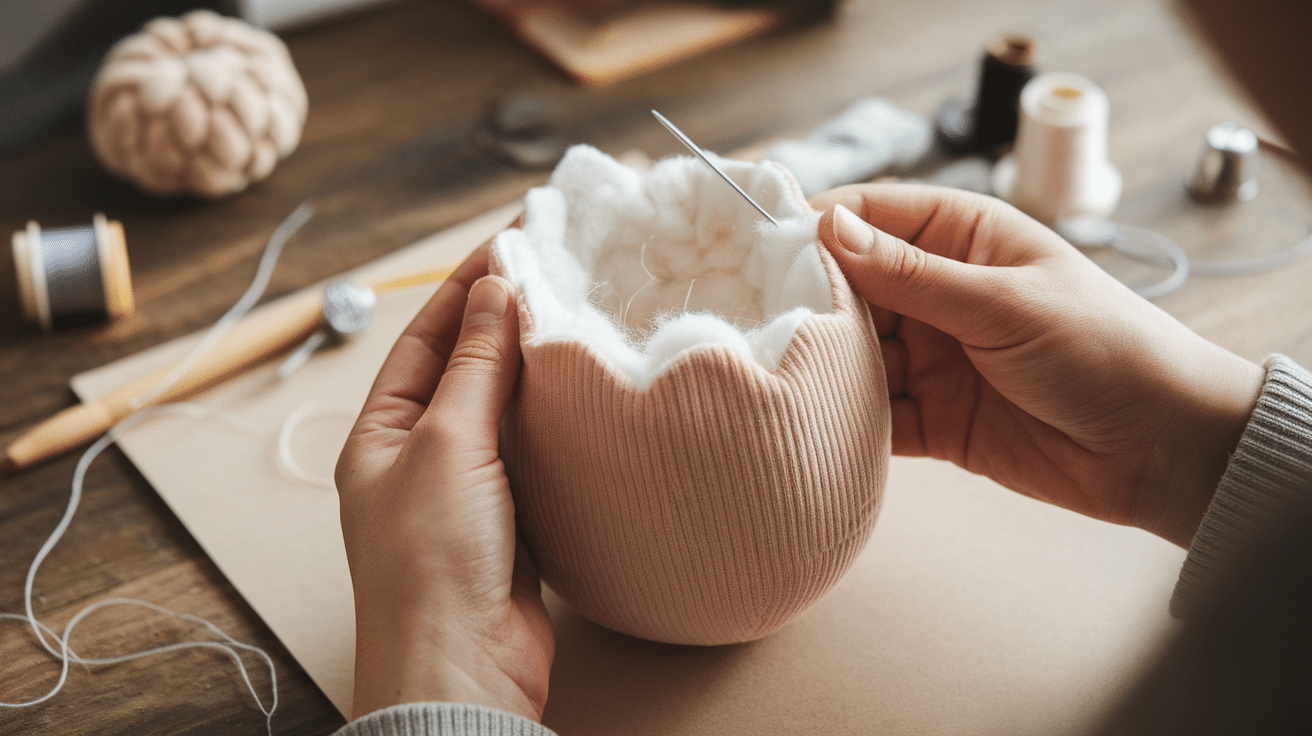
Turn the plush right-side out through the opening. Use a blunt object, such as a chopstick or the end of a paintbrush, to push out the edges and smooth the shape.
Fill the plush with polyfill or another soft stuffing material. Start with small amounts and distribute the stuffing evenly to avoid lumps.
Adjust the amount based on how firm or soft you want the plush to be. Stuff the plush fully but not too tightly, as overfilling can strain the seams.
Once stuffed to your liking, close the opening using a ladder stitch. This stitch creates an invisible seam that blends into the fabric for a clean finish. Pull the thread tight to secure the opening, then knot it and hide the thread inside the plush for a polished look.
With the stuffing secured, give the plush a final shape adjustment by pressing and fluffing it. If needed, use a steam iron on a low setting to smooth out any wrinkles. Now, your handmade egg plush is complete and ready to be enjoyed!
Customization Ideas for Egg Plush Patterns
Personalizing an egg plush makes it more special and fun. With the right fabrics, colors, and accessories, you can create a plush that matches your style or fits a theme. Adding unique touches helps turn a simple plush into a one-of-a-kind creation.
Choosing Fun Fabrics and Colors
The type of fabric used affects the final look of the plush. Soft, fluffy materials like fleece or minky create a cozy feel, while cotton or felt gives a smooth and structured appearance. Shiny or glittery fabrics can add an eye-catching effect.
Mixing colors is another way to make the plush stand out. Pastel shades give a soft, delicate look, while bold and bright colors create a playful design. Striped or patterned fabrics add variety and make the plush more visually interesting.
Embellishing with Accessories
Small details can turn a simple plush into something unique. Adding buttons for eyes or stitching a small mouth gives the plush a cute and expressive face. Ribbons, lace, or bows can be sewn onto the plush for extra charm.
Fabric paints or markers are great for adding custom designs without needing additional sewing. Patterns like polka dots, stars, or floral prints can be drawn directly onto the fabric for a creative touch.
Embroidery thread can also be used for decorative stitching, adding small designs like hearts or swirls.
Creating Themed Egg Plush Variations
An egg plush can be designed for different themes, making it perfect for holidays or special occasions. An Easter egg plush can have bright spring colors and bunny ears, while a winter-themed version could be decorated with snowflake patterns.
Animal-inspired plush designs are another fun option. Adding felt ears, tails, or whiskers can turn a basic egg shape into a cat, dog, or bunny plush.
For those who love characters, the plush can be styled to resemble favorite cartoon or game characters by using specific colors and facial features.
By experimenting with different fabrics, decorations, and themes, you can make a fun and personal plush. Customizing an egg plush is a great way to express creativity and create something special.
Common Mistakes and How to Avoid Them
Even with careful sewing, small mistakes can happen when making an egg plush. Issues like uneven shapes, fraying fabric, or loose decorations can affect the final look and durability. Knowing how to prevent these problems ensures a well-made plush that lasts.
Uneven Shape After Stuffing
Stuffing affects the shape of the plush, and an uneven fill can create lumps or flat areas. To fix this, use small amounts of stuffing at a time and distribute it evenly.
Gently pressing and shaping the plush as you stuff helps maintain a smooth, rounded look. If the plush still looks uneven, adjusting the stuffing by adding or removing small portions can help achieve a balanced shape.
Fabric Fraying at Seams
Some fabrics, especially cotton or felt, may start to fray at the edges after sewing. To prevent this, use a tight stitch, such as a backstitch or zigzag stitch, to secure the seams.
If using a sewing machine, finishing the raw edges with an overlock stitch or fabric glue can help keep the fabric from unraveling. Choosing fabrics with a tighter weave, like fleece or minky, can also reduce fraying.
Decoration Falling Off Over Time
Adding decorative details like buttons, embroidery, or ribbons can make the plush more unique, but they need to be secured properly to last. Hand-sewing decorations with strong thread and using double knots can keep them in place.
If using fabric glue, choose a high-quality, washable adhesive designed for fabric. For plushes that will be handled frequently, reinforced stitching ensures that embellishments stay attached even after extended use.
Caring for Your Egg Plush
Proper care helps keep an egg plush, soft, clean, and in good shape for a long time. If it’s used as a toy, decoration, or gift, regular maintenance prevents wear and tear. Simple cleaning and storage techniques will keep it looking fresh and well-preserved.
Cleaning and Washing
Plush toys can collect dust and dirt over time, so occasional cleaning is necessary. If the plush has no delicate decorations, it can be hand-washed with mild detergent and cold water.
Gently scrubbing with a soft cloth removes stains without damaging the fabric. After washing, pressing out excess water with a towel and letting it air dry helps maintain its shape. For plushies with delicate features, spot cleaning is a better option.
Storing Plush Toys
Proper storage prevents fabric damage and keeps the plush in its best condition. Storing it in a dry place away from direct sunlight prevents fading and material weakening.
Keeping plush toys in a breathable storage bin or a fabric bag protects them from dust. If the plush will be stored for a long time, placing a small sachet of dried lavender or baking soda nearby helps prevent odors from building up.
Conclusion
Making an egg plush is a fun and creative project that allows endless customization. Anyone can create a soft and unique plush toy with the right materials and a simple pattern. It’s a great way to practice sewing skills while making something adorable.
Experimenting with different fabrics, colors, and decorations makes each plush unique. Adding small details like embroidery or accessories gives it personality and charm. Creating a small keychain or a large pillow can add a handmade touch to any space.
Handmade plush toys bring warmth and joy. They make thoughtful presents and meaningful keepsakes. With little effort and creativity, a simple sewing project can become a special and cherished item.
Frequently Asked Questions
How Long Does It Take to Make an Egg Plush?
The time needed depends on the sewing method and experience level. Hand-sewing may take a few hours, while a sewing machine can make the process faster.
What Fabric Works Best for An Egg Plush?
Soft fabrics like fleece, minky, and cotton work well. Fleece and minky create a plush feel, while cotton is easier to sew and holds its shape better.
Can I Make an Egg Plush without A Sewing Machine?
Yes, hand-sewing with a backstitch or whipstitch works well. It takes more time but provides strong seams. Fabric glue can also help secure small details.
How Do I Keep My Egg Plush Clean?
Hand wash gently with mild soap and cold water. Avoid soaking for too long. Let it air dry completely before using or storing.
Can I Resize the Pattern to Make Different Plush Sizes?
Yes, you can enlarge or shrink the pattern before cutting the fabric. Adjust the seam allowance and stuffing to keep the shape balanced.


