


Norwegian mittens are more than just a way to keep your hands warm. They tell stories of tradition, craftsmanship, and heritage.
These mittens, which have been knitted for generations, feature detailed patterns that reflect Nordic culture.
In this article, you’ll learn:
- The history and meaning behind Norwegian mitten patterns
- The materials and techniques needed to knit them
- A step-by-step guide to making your pair
- Tips for choosing colors and getting the right fit
You’re in the right place if you’ve ever struggled to find a clear, beginner-friendly guide. I’ll break down the process so it’s easy to follow.
You can trust this guide because it’s based on time-tested techniques and real knitting experience. Whether new to knitting or looking to improve, this course will teach you how to start knitting Norwegian mittens.
A Brief History of Norwegian Mittens
Norwegian mittens have been around for centuries. They weren’t just made for warmth—they were part of everyday life, passed down from generation to generation.
But Where Did They Begin?
Historians believe mitten knitting in Norway dates back to the Middle Ages. Fishermen and farmers needed thick, warm gloves to survive the cold.
Wool was the perfect choice, as it held heat even when wet. Over time, knitting became more than just practical. It became a tradition.
Families created their mitten patterns, passing them down like family recipes. These designs carried meaning, often reflecting nature, daily life, or protection symbols.
Nordic Influence Runs Deep
- Geometric shapes represent balance and order.
- Stars and snowflakes symbolize winter and nature.
- Crosses and diamonds were believed to bring luck and protection.
Today, these patterns still connect us to the past. When you knit a Norwegian mitten, you’re not just making something warm—you’re carrying on a tradition.
Traditional Designs and Symbolism
Norwegian mitten patterns aren’t just for looks. They tell stories. Each design has meaning, shaped by history and culture.
Let’s Break It Down.
- Stars and snowflakes – Represent winter, nature, and the beauty of the Nordic landscape.
- Geometric shapes – Show balance and order, often repeating for harmony.
- Crosses and diamonds – Thought to bring luck and protection.
Not All Mittens Look the Same
Different regions in Norway have their styles. Some use bold, contrasting colors, while others prefer softer, more detailed patterns.
Coastal areas often have wave-like designs, while inland mittens may feature mountains or animals. When you knit a Norwegian mitten, you’re creating more than just warmth.
You’re keeping a tradition alive—one stitch at a time.
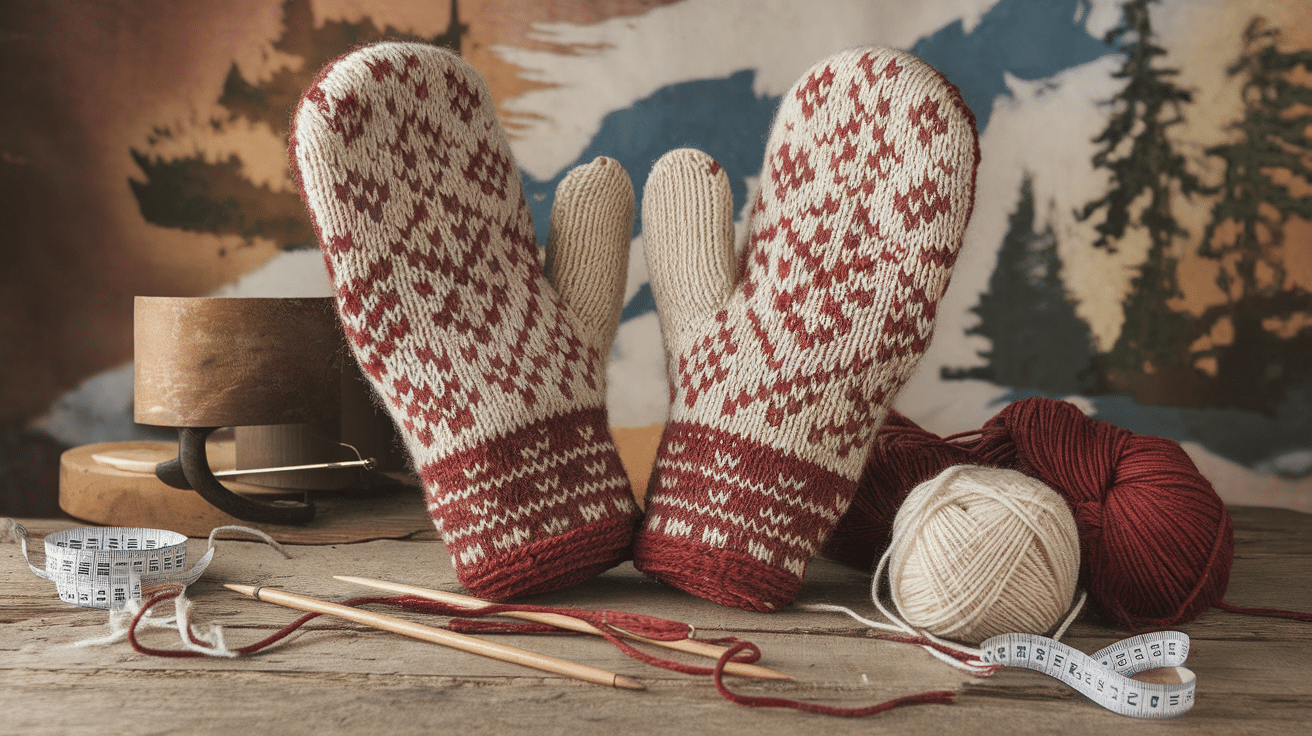
Materials Needed for Knitting Norwegian Mittens
Before you start knitting, you need the right materials. The right yarn and tools make all the difference.
Let’s keep it simple.
Yarn: Warmth and Durability Matter
- Wool – The best choice. It’s warm, holds its shape, and lasts for years.
- 100% Norwegian wool – Traditional and durable, great for stranded knitting.
- Wool blends – Softer options if pure wool feels too rough.
Needles: Getting the Right Size
- Double-pointed needles (DPNs) – Best for knitting in the round.
- Circular needles – Useful if you prefer the magic loop method.
- Needle size – Usually between 2.5mm and 3.5mm, depending on your yarn.
Other Tools You’ll Need
- Stitch markers – Keep track of pattern sections.
- Tapestry needle – For weaving in ends.
- Scissors – A small, sharp pair works best.
- Measuring tape – Helps with sizing.
Basic Stitches and Techniques
Knitting Norwegian mittens isn’t hard, but it does take practice. The key is stranded colorwork, the right tension, and color control. Let’s break it down.
Stranded Colorwork: The Heart of The Design
- The unused yarn is “floated” along the back.
- Keep floats loose so the mitten stretches properly.
- If a float is longer than five stitches, twist it with the working yarn to avoid gaps.
Gauge and Tension: Why They Matter
- Check your gauge before starting.
- Use the same tension for both colors.
- If stitches look uneven, practice on a small swatch first.
Managing Multiple Colors
- Keep one yarn in each hand (English and Continental method).
- Use yarn guides or thimbles to separate strands.
- Untwist your yarn often to avoid a tangled mess.
The more you practice, the smoother it gets.
Soon, you’ll be knitting colorwork like it’s second nature.
Step-By-Step Guide to Knitting a Norwegian Mitten
Knitting a Norwegian mitten takes time, but it’s worth it. Follow these steps and have a warm, handmade mitten for years.
Step 1: Casting on And Creating the Cuff
Start with a long-tail cast-on to give the edge some stretch.
- Use double-pointed needles (DPNs) or a circular needle if you prefer a magic loop.
- Cast on the required number of stitches.
- Join in the round carefully—no twisting!
- Knit 1×1 or 2×2 ribbing (knit 1, purl 1) for a snug fit at the wrist.
Some traditional patterns include a decorative braid above the cuff. You can add it for an extra touch.
Step 2: Knitting the Hand and Thumb Gusset
Once the cuff is done, switch to stranded colorwork.
- Follow your pattern’s chart for the main design.
- Keep your floats loose for stretch.
- Increase stitches for the thumb gusset—this gives room for your thumb.
When the gusset is wide enough, move the thumb stitches to waste yarn and keep knitting the hand.
Step 3: Finishing Touches and Blocking
As you reach the fingertips, the pattern will taper.
- Decrease stitches as the pattern shows.
- When only a few stitches remain, cut the yarn and pull it through.
- Go back to the thumb stitches. Please pick them up, knit them to the right length, and then decrease and close them up.
Now, block the mittens—this evens the stitches and softens the wool.
- Soak them in lukewarm water.
- Gently squeeze out the water (don’t twist).
- Lay flat to dry, shaping them with your hands.
That’s it! You now have a warm, handmade Norwegian mitten ready for winter.
Color Combinations and Patterns to Try
Choosing colors for Norwegian mittens is one of the best parts. Traditional or modern? Simple or bold? It’s up to you.
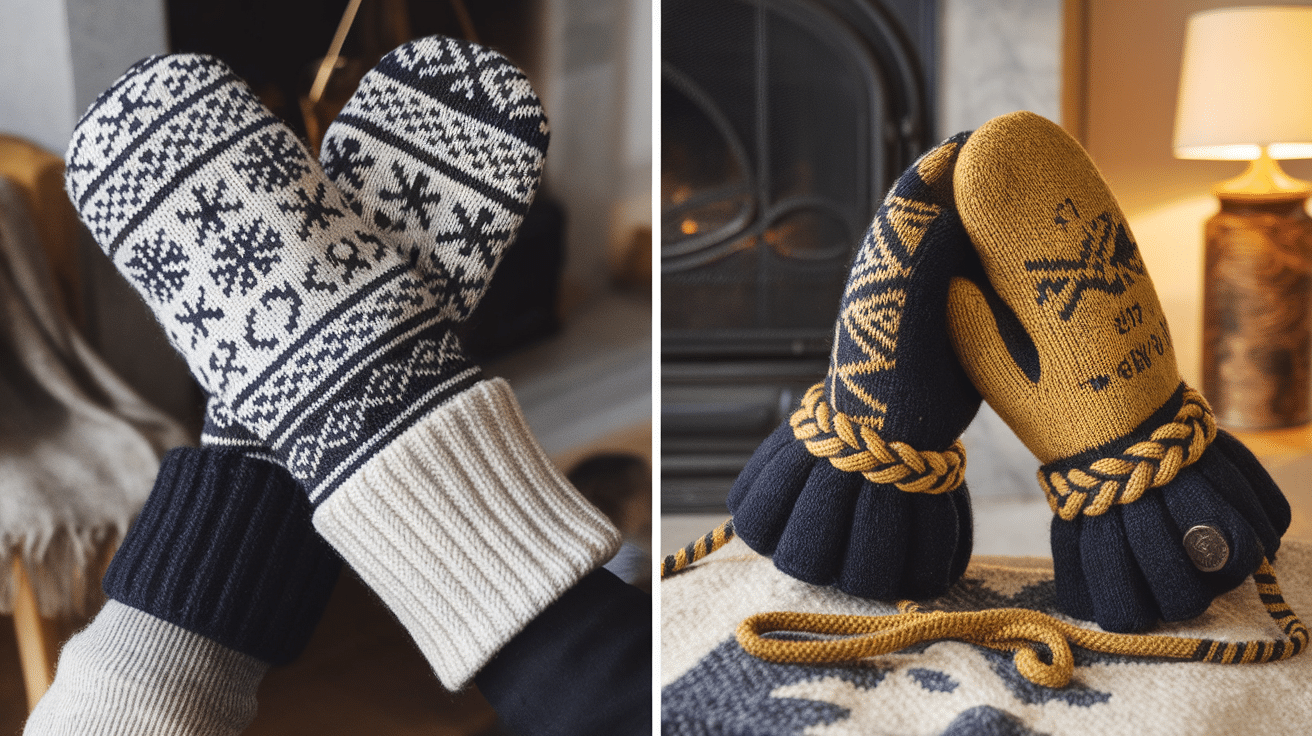
Traditional vs. Modern Color Schemes
Classic Norwegian mittens usually have two colors—one light and one dark.
- Black and white – The most common and timeless combination.
- Red and white – A warm, festive look.
- Blue and gray – Soft and subtle, inspired by winter landscapes.
Modern mittens break the rules. You can mix more colors, go bright, or add unexpected shades.
- Mustard and navy – A rich, stylish mix.
- Teal and cream – Fresh and modern.
- Soft pastels – A gentler take on traditional patterns.
How to Customize Your Mitten Pattern?
Want to make your mittens personal? You can.
- Swap colors – Pick shades that match your style.
- Change the cuff – Try a longer ribbing or add a decorative braid.
- Mix patterns – Combine different Nordic designs in one mitten.
- Add initials or a date – A simple way to make them special.
Traditional or modern, simple or bold—your mittens should feel like you.
Tips for Achieving the Perfect Fit
A mitten that’s too tight feels stiff. Too loose? It won’t keep you warm. Getting the right fit is key.
Measure Your Hand Correctly
- Hand width – Measure across your palm, just below the fingers.
- Hand length – Measure from the base of your palm to the tip of your middle finger.
- Thumb length – Measure from the base of your thumb to the tip.
Adjust the Pattern for Different Sizes
- For a bigger mitten – Use thicker yarn or slightly larger needles.
- For a smaller mitten – Go down a needle size or remove a few stitches evenly.
- For longer fingers – Knit extra rounds before shaping the top.
- Add a few rows of ribbing at the cuff for a snug wrist.
Common Mistakes and How to Fix Them
- Too tight? Loosen your tension or switch to bigger needles.
- Gaps at the thumb? Pick up extra stitches where the thumb meets the hand.
- Uneven stitches? Blocking will smooth things out.
Take your time and measure as you go. A well-fitted mitten feels just right—not too loose or tight.
Conclusion
Knitting Norwegian mittens is more than just making something warm. It’s a tradition. A craft passed down for generations.
In this article, you learned:
- The history and meaning behind Norwegian mitten patterns.
- The best materials and tools to use.
- How to knit step by step.
- Tips for choosing colors and getting the right fit.
If you’re a beginner, don’t worry. Start simple. Take your time. Every stitch gets easier.
Handmade mittens are special. They hold warmth, care, and history. When you knit your pair, you’re keeping a tradition alive—one stitch at a time.
Frequently Asked Questions
What Is Special About Norwegian Mittens?
For extra warmth, Norwegian mittens feature intricate patterns, traditional symbolism, and stranded colorwork. They have been passed down for generations, combining beauty with practicality.
How Long Does It Take to Knit a Pair?
It depends on skill level. Beginners may take a week or more, while experienced knitters can finish in a few days.
What’s the Best Way to Keep My Mittens from Stretching Out?
Use high-quality wool, knit with proper tension, and avoid pulling the floats too tightly. Store them flat when not in use.
How Do I Fix a Hole in My Norwegian Mittens?
Use duplicate stitch or darning with matching yarn. Reinforcing weak spots early helps prevent larger holes.
Can I Machine-Wash Wool Norwegian Mittens?
Most wool mittens should be hand-washed in cool water with mild soap. Machine washing may cause shrinking or felting.


